How to Draw Lips From the 3/4 View
This basic step by step drawing tutorial will show you how to draw lips from the 3/4 view.
This drawing lesson, along with tutorials about a nose and eyes, is a part of our mini-series about drawing a face from the 3/4 view.
Since portraits are most often drawn from this angle, the ability to draw a face and parts of the face from this angle is very important.
In this lesson on how to draw lips from the 3/4 view, we will try to consider in detail all the features of drawing a mouth from this point of view and give some useful tips on how to consolidate the knowledge gained.
Step 1
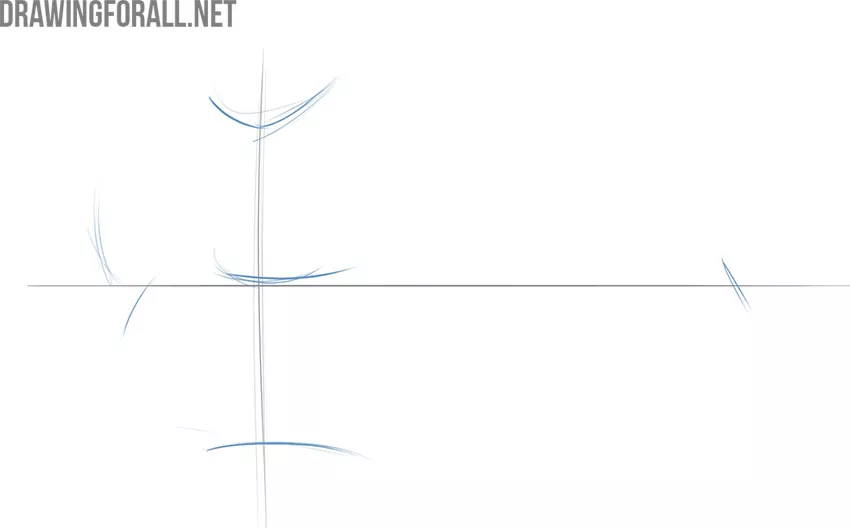
Start drawing the lips by sketching a vertical guideline. This line is the center of the face and helps not to get lost in proportions. Next, sketch out a long horizontal line, which will also help you not to get confused in the proportions of the lips in the process of drawing.

Step 2
Above the crosshair, sketch out the tubercle using a short, curved line. Now, using a couple more short lines, sketch out the upper and lower edges of the lips. On the right and left sides of the horizontal line, sketch out the side edges of the lips.
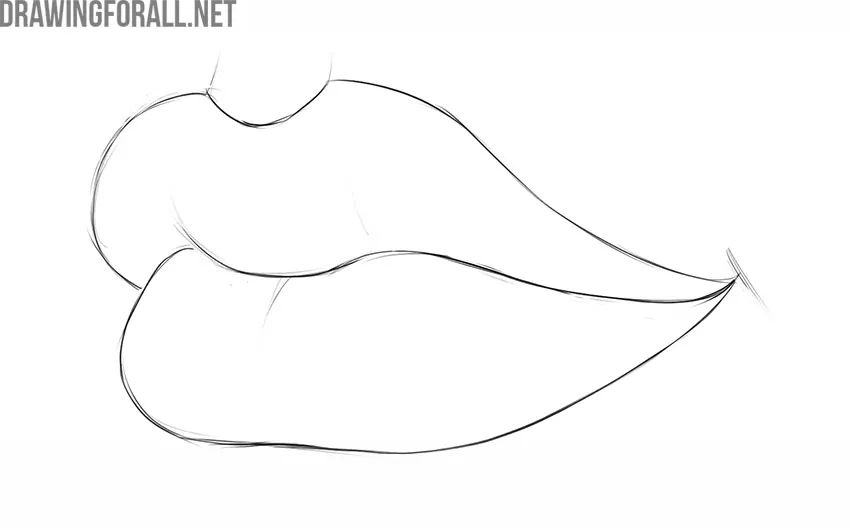
Step 3
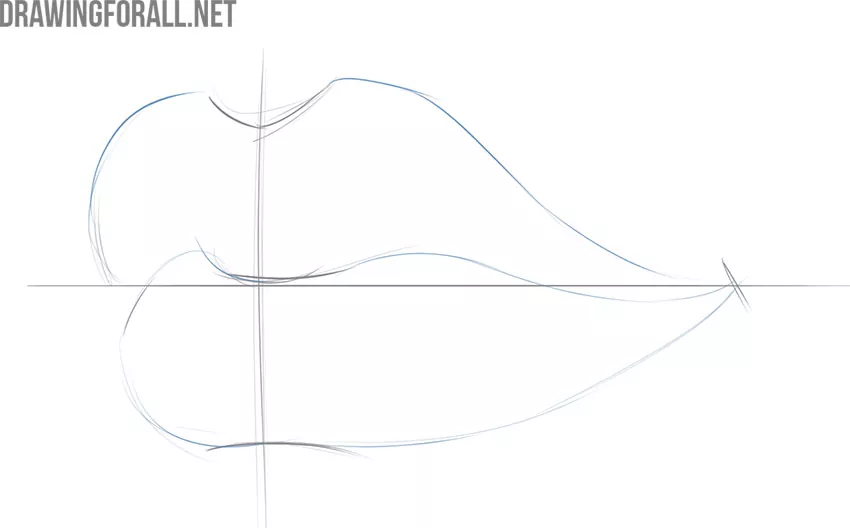
Using long and very smooth lines draw the line of the mouth and the lines separating the lips from the rest of the face. By the way, these lines are called the vermilion borders. When drawing a mouth, always keep in mind that this is a volumetric object, and try to convey this volume on paper.
Step 4
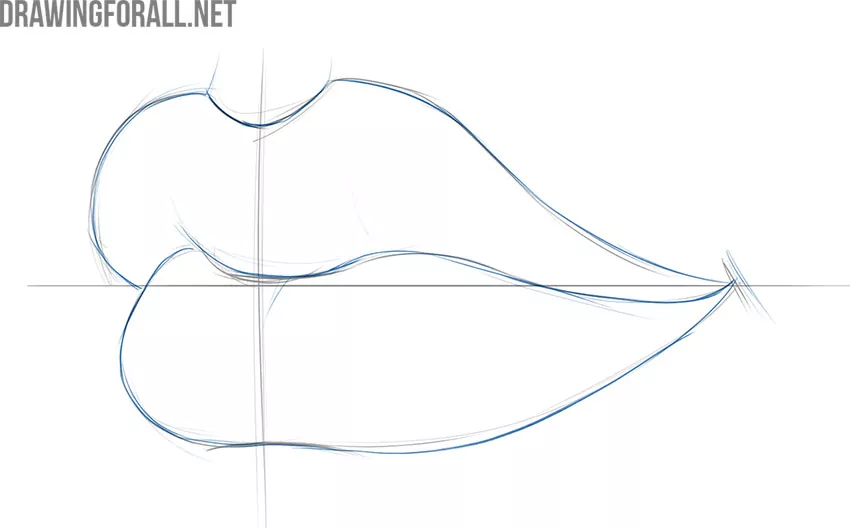
Using cleaner finish lines, draw the lips in detail, and add creases to them. Draw the philtrum columns with a couple of simple lines. When drawing lips from the 3/4 view, it is very important to remember the rules of perspective and make the parts closer to us a little larger than the distant ones.
Step 5
It’s time to give the lips drawing a more finished look. To do this, carefully erase all construction lines that are no longer needed. Do not forget that in the process of drawing, you always need to compare parts of the drawing with each other in order to find mistakes in a timely manner and correct them.
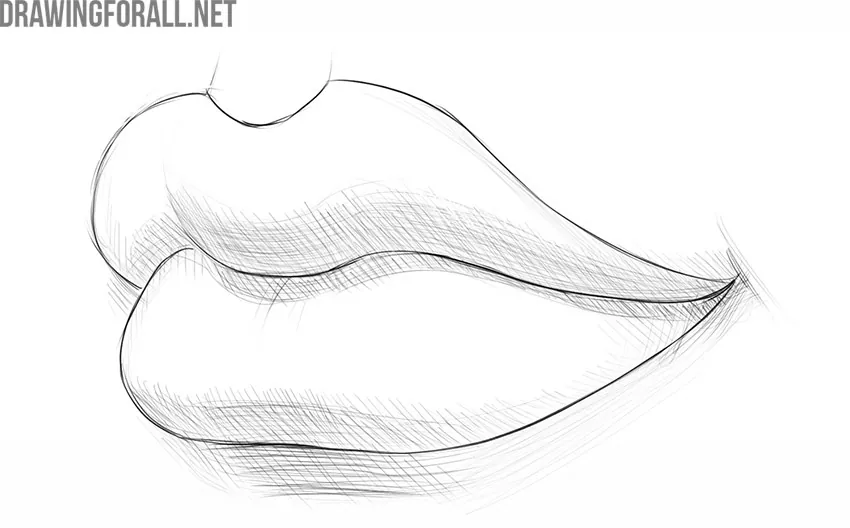
Step 6
To give the lips drawing a more complete and voluminous look, you need to add shadows. Using hatching, start drawing the shadows from the darkest areas, gradually adding mid-tones. The lightest areas can be left intact. You can add extra volume to the drawing if you make the areas closer to us a little more contrasting than the distant ones.
In order to draw lips most correctly and convincingly, you need to know their anatomy. Knowing the anatomy of the mouth at least in general terms will help you most clearly understand what details you are drawing, and how certain facial structures affect the shape of the lips and mouth.
It is also very important to draw lips as much as possible from different angles and using different references. To begin with, you can draw your lips by looking at them in the mirror. You can also use internet references and photographs of antique statues. Constant practice will help you consolidate the knowledge gained in this drawing lesson.


i cant do it
EVEN ME IS SOME HOW