Hatching
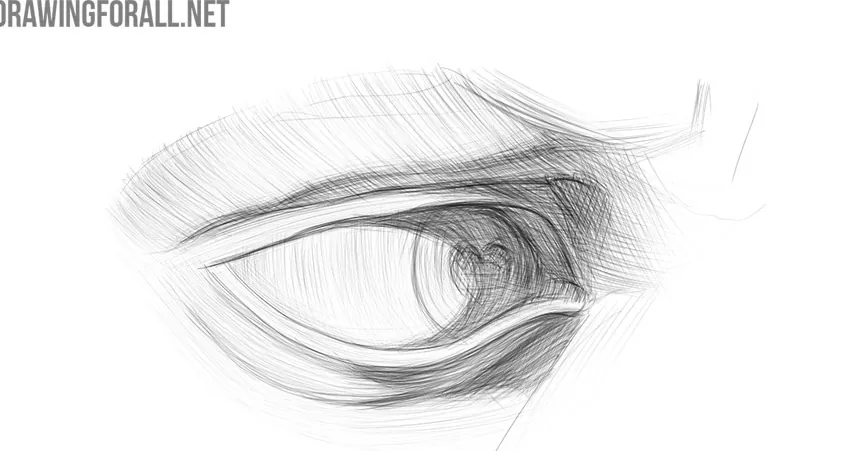
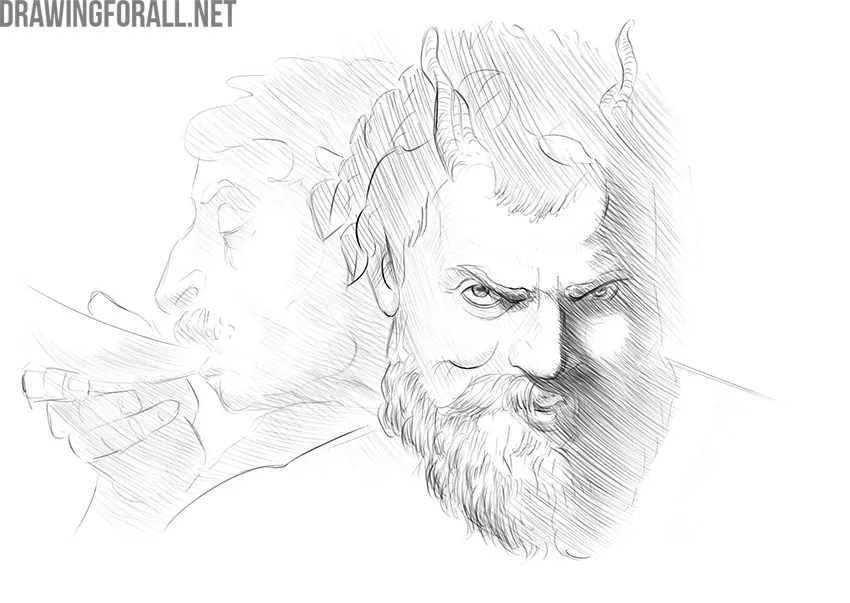
Hatching is actually a rhythmic set of lines. In other words, the hatches differ from the lines in that it is created by short movements. Hatching is necessary in order to create tone, shadow, and volume in the drawing. If the artist masterfully mastered the technique of hatching, he will be able to depict any objects on the plane giving them maximum volume and realism.
There are two main hatching options.
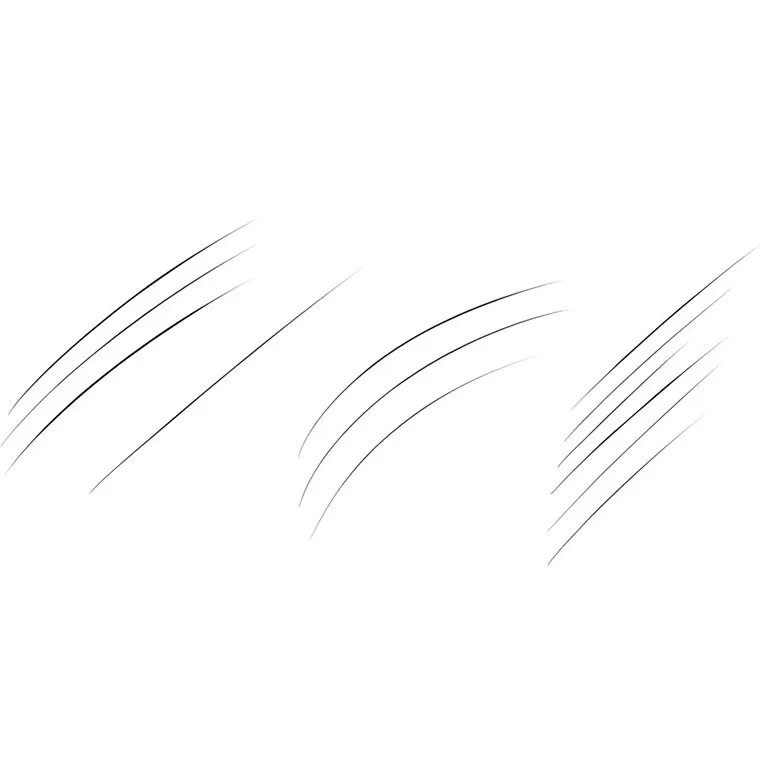
The first hatching option looks like a kind of zigzag. With this option, the pencil does not come off the sheet of paper while moving the hand. With this option, you can create a different texture, but it is not suitable for evenly painting surfaces. Due to the fact that the pencil does not come off the paper, thickenings appear at the ends of the lines, which become even more noticeable with additional hatching layers.
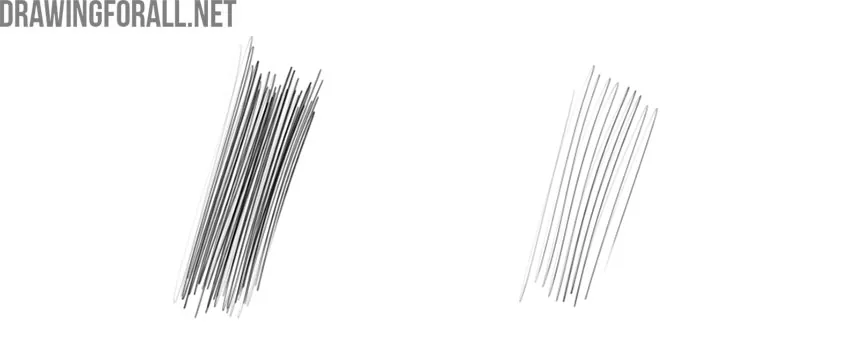
In order to create a uniform tone on paper, you must use the hatching method with disappearing tips. In this option, each stroke is created separately, and when the line is completed, the hand with the pencil moves away from the sheet of paper to create the next stroke. Both tips of the line should smoothly thin so creating a dissolving effect on both sides. The disappearing ends of the lines in this variant of hatching make it possible to gently dissolve in each other, creating the effect of spraying.
There are exercises to train this hatching technique. For example, you can draw a rectangle, divide it into 13 parts, and make a smooth transition from the darkest to the lightest tone. You can also try to evenly shade an A4 sheet so that the darkest tone is on the left and the lightest on the right
This hatching option, in turn, is divided into two main types.
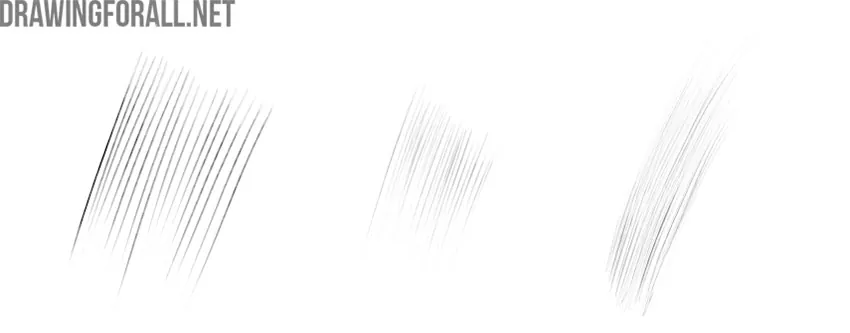
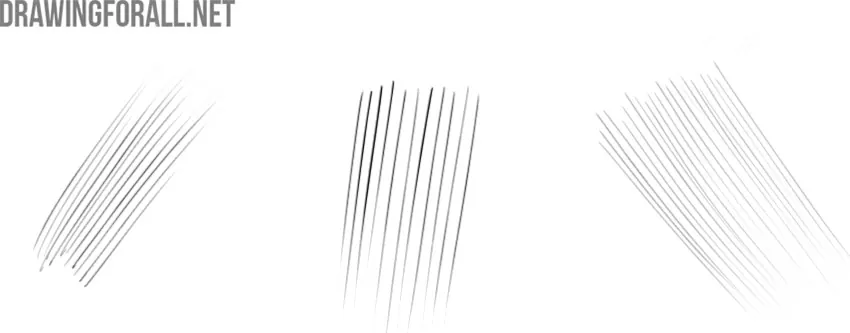
The first type is parallel hatching. With this option, all strokes are located in the same plane and move in the same direction. These strokes can be created either taking into account the shape of the drawn object or be absolutely straight across the entire hatched area.
The second type is crosshatching. To create this type of hatching, first, create one layer to the sheet, then draw a second layer at a slight angle. To make the tone darker, create another hatch layer by slightly changing the slope of the strokes.
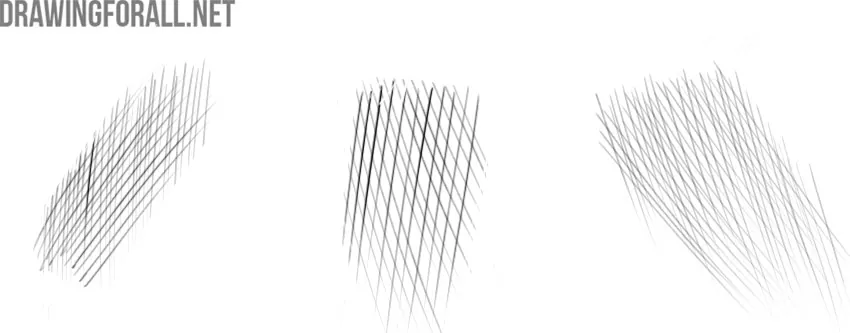
The team of Drawingforall.net does not recommend using too many hatching layers in one area. If you overdo it with the number of hatching layers, you can give the picture a dirty and untidy look.
In order to correctly convey the shape of an object, it is necessary to hatch the objects in accordance with their shape. For example, in a round object, it is best to use curving lines that will encompass the shape of the object.
When drawing flat objects, it is best to use straight hatching. Vertically standing objects look better with vertical hatching and horizontal objects with horizontal hatching. The size of the hatching also depends on the size of the surfaces. The larger the surface, the larger the hatching should be.
Hatching is also critical when creating space and volume in a drawing. That is, it is necessary to create hatching in accordance with linear perspective and aerial perspective.
For example, in the foreground, hatching should be more active than in the background. As the team of Drawingforall.net already wrote in the article about drawing lines, thicker and darker lines seem closer to us than lighter and faded ones. This works with both separate lines and a set of lines that create hatching.
Closer objects should be hatched according to their shape. As objects move away from us, the lines of strokes should be less and less dependent on the shape of the objects. To draw very distant objects, you should use more simple hatching that is not tied to the shape of objects. Together with the objects in the foreground, hatched according to the shape, you will create a feeling of depth and volume of space in your artwork.

There is also a difference between the hatching of lighted and shaded objects. Shadows should have a more generalized and integral look. In the shadows, we do not see objects as clear and sharp as in the light, and we must convey this effect in the artwork. To do this, for shadows, it is necessary to use wider hatching less dependent on the relief. Using such hatching, you need to paint the shadows of the objects along with the cast shadow, as well as all objects inside the shadows.
That is, you need to use wider and longer strokes and paint over several objects in shadows at once. Objects in illuminated areas, as the team of Drawingforall.net has said, should be hatched according to their shape. It will also give the picture more volume and highlight illuminated objects against the background of unlit.
It is critical to be able to create different types of hatching and use the right types in the right places. Good use of the entire diversity of the above techniques will allow you to create truly interesting and vibrant artworks.