

How to Draw Lips
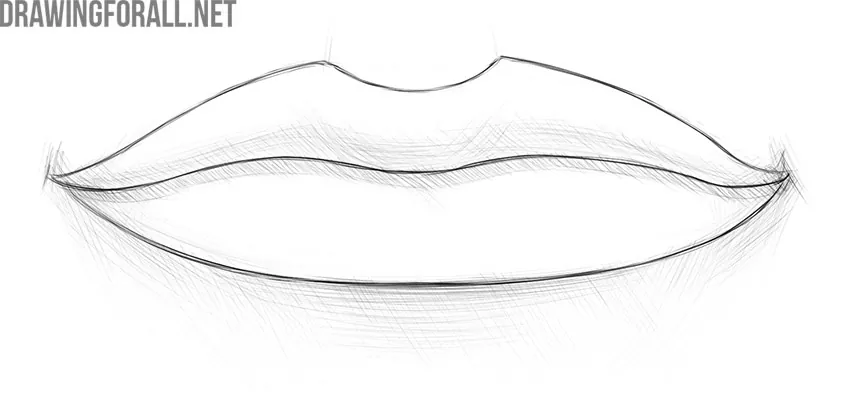
In this fundamental tutorial, we will show you how to draw lips. This step-by-step guide is extremely useful not only if you want to learn how to sketch a mouth, but also if you want to draw a face in general.
In order to properly construct lips, you should at least have a general understanding of the anatomy of the mouth. This is important in order to draw lips accurately by understanding their forms, rather than simply copying the outer contour.
We also advise you to study the rules of light and shadow as well as the rules of perspective. This is important for understanding how to draw objects in space and give them a more three-dimensional appearance.
How to draw lips step by step
Step 1: Draw the basic guidelines
To draw a mouth without mistakes, you must first sketch the guidelines. First, draw a vertical line that runs through the center of the face, then add a horizontal guideline.

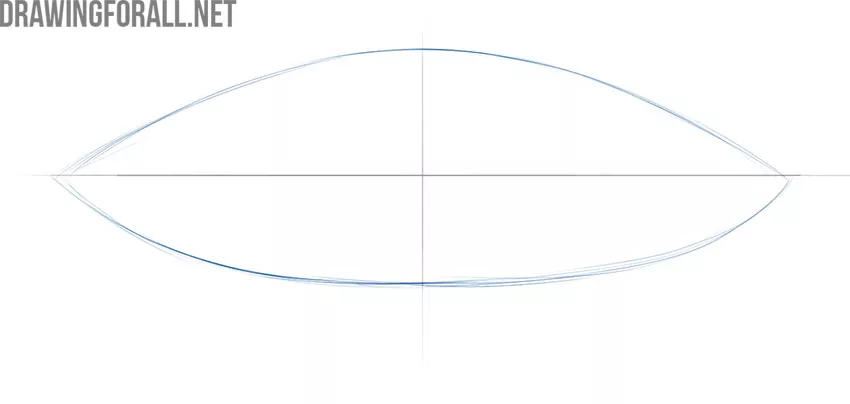
Step 2: Sketch the lip shapes
Depict the outlines of the upper and lower lips using very light lines. Here, roughly outline the volume and general shape of the lips without trying to draw details.
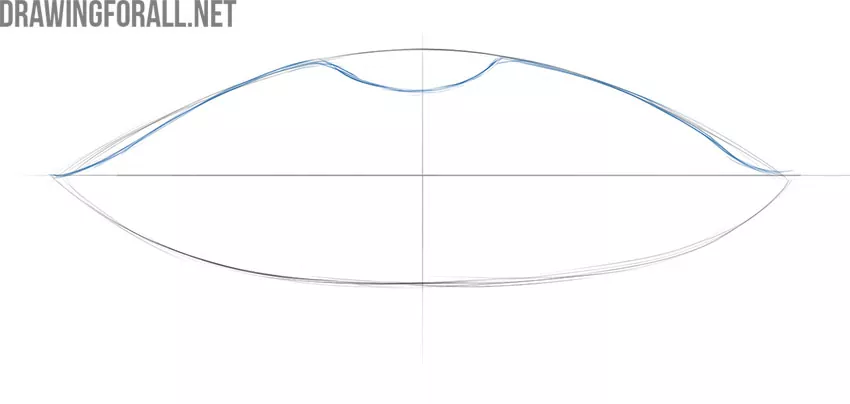
Step 3: Refine the upper lip
Now, with more accurate lines, draw the outlines of the upper lip, guided by the guidelines from the previous step. To check the overall shape, you can look at your drawing in a mirror.
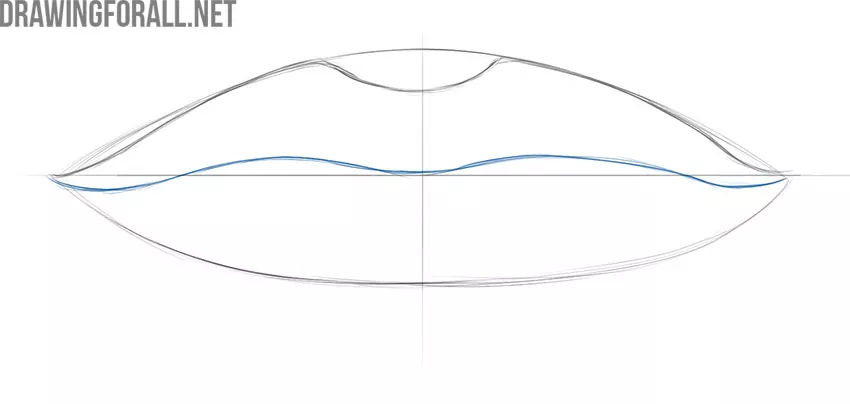
Step 4: Draw the inner edge
Now, using the guidelines from the previous steps, draw the lower edge of the upper lip. When drawing such symmetrical details, constantly compare the left and right sides and occasionally move the drawing farther away so you can spot mistakes more easily.
Step 5: Outline the lower lip
Using accurate lines, draw the lower lip. Keep in mind that all people are different, and their lips have different shapes. This general method can be used to draw different lips by slightly changing the shape of the lines.

Step 6: Erase the guidelines
Now erase all unnecessary guidelines from your drawing for a cleaner, more complete look. In addition, you can add some details, such as folds on the lips.
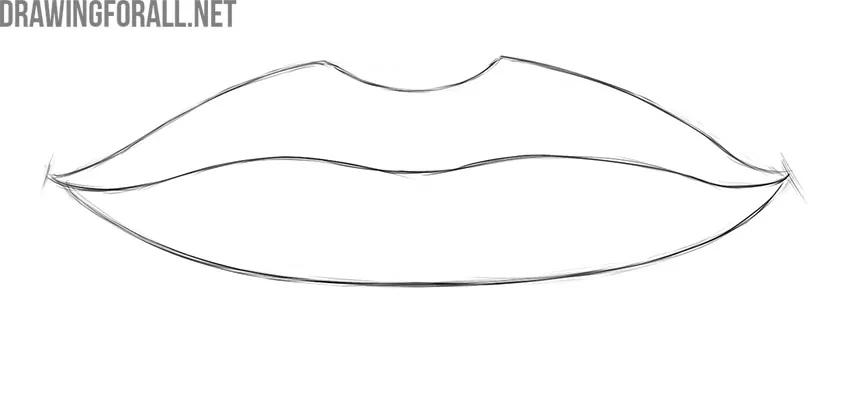
Step 7: Add shadows with hatching
Now use hatching to depict shadows, taking into account the shape of the lips and the rules of light and shadow. To make the shadows darker, add additional layers of hatching.
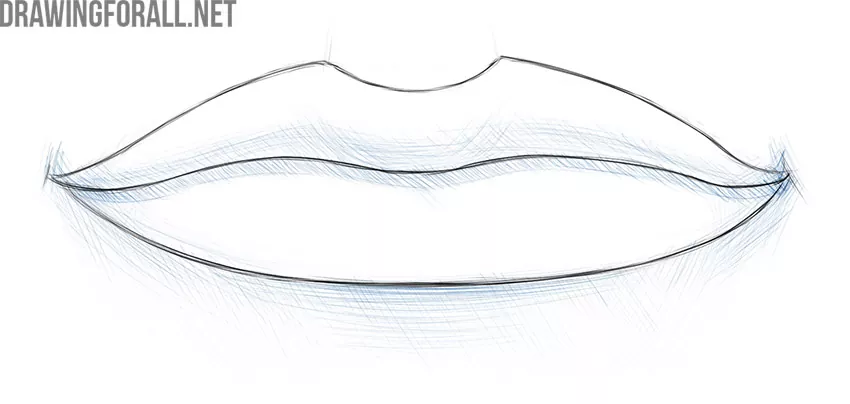
Step 8: Refine the finished lips
Review your lips drawing as a whole to find mistakes and correct them if necessary. You can also add details such as folds on the lips.
Remember that the lips drawing in this tutorial shows a general method. Try drawing lips with a different shape using the steps above. This will help you consolidate the skills you have acquired.
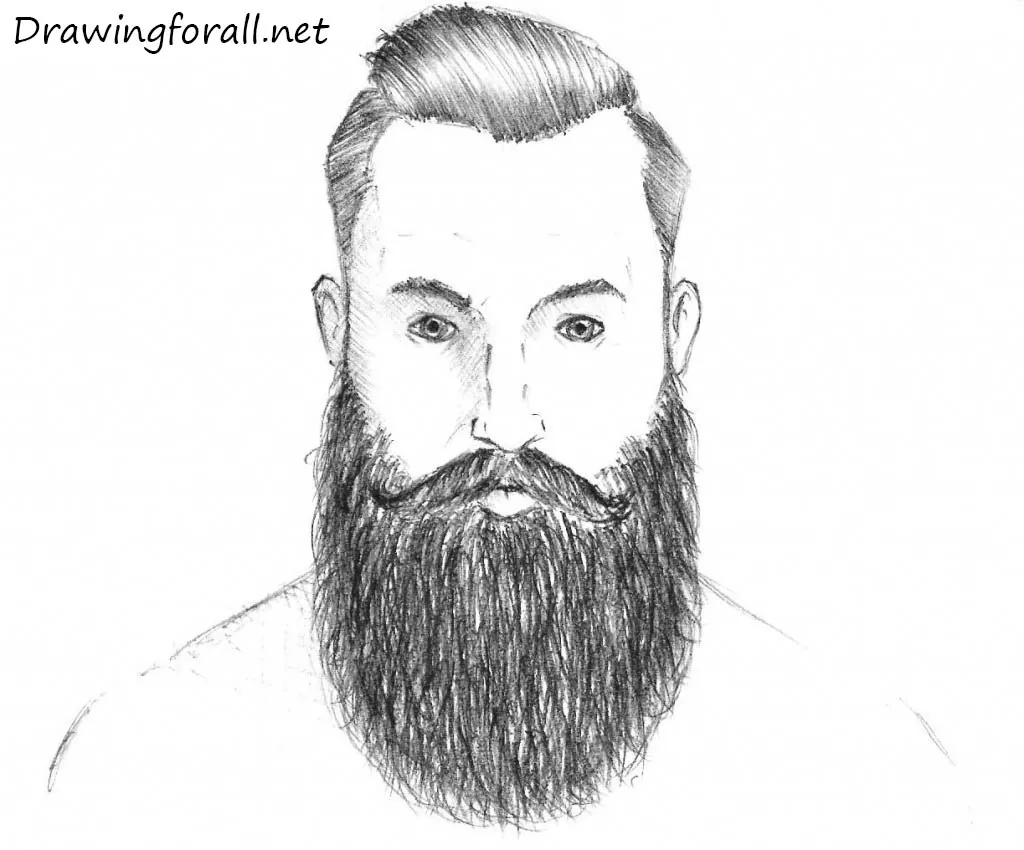
To make your skills more comprehensive, draw the entire face with lips and other details, such as the drawn nose, ears, and drawn eyes. Each time you draw the lips separately or the whole face, keep in mind the steps given in this drawing tutorial.



this helps me out alot thanks