How to Draw a Nose From the 3/4 View
We continue to show you how to draw a nose from different angles. Here we will show you how to draw from the 3/4 view.
When drawing a portrait, you need to know how to draw all parts of the face. And in order for you to be able to draw any face from any point of view, we have created this series of drawing tutorials for you.
If our tutorials on how to draw parts of the face from the front are necessary to draw a full-face portrait, then this instruction on how to draw a nose from the 3/4 view will be useful if you want to depict a portrait from the 3/4 view.
Step 1
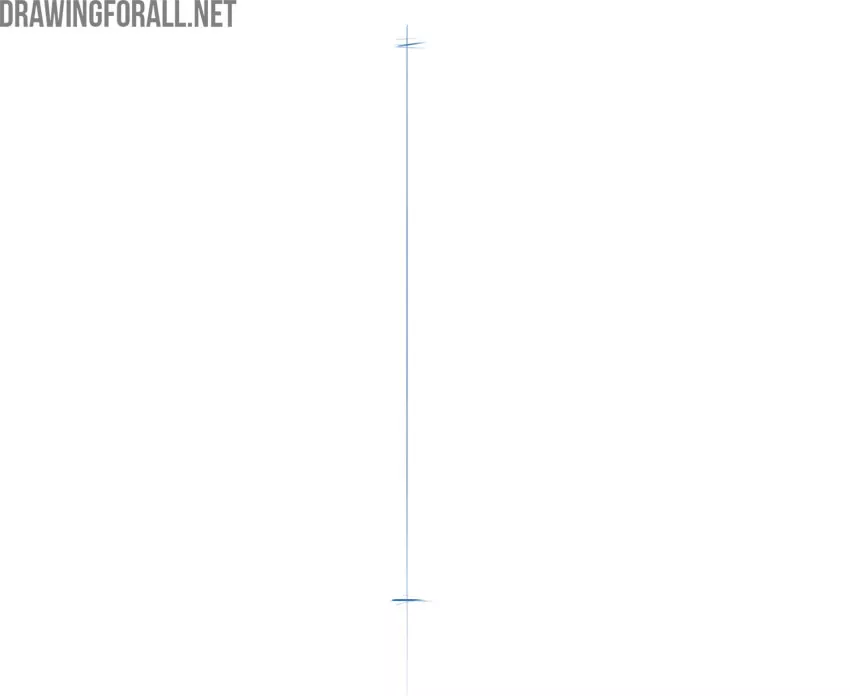
In order for the drawn nose to be proportional and correct, it is necessary to build centerlines first. Start with a long vertical line that indicates the middle of the face. Mark the location of the base of the tip of the nose at the bottom of the line and the location of the bridge of the nose at the top of the line.
Step 2
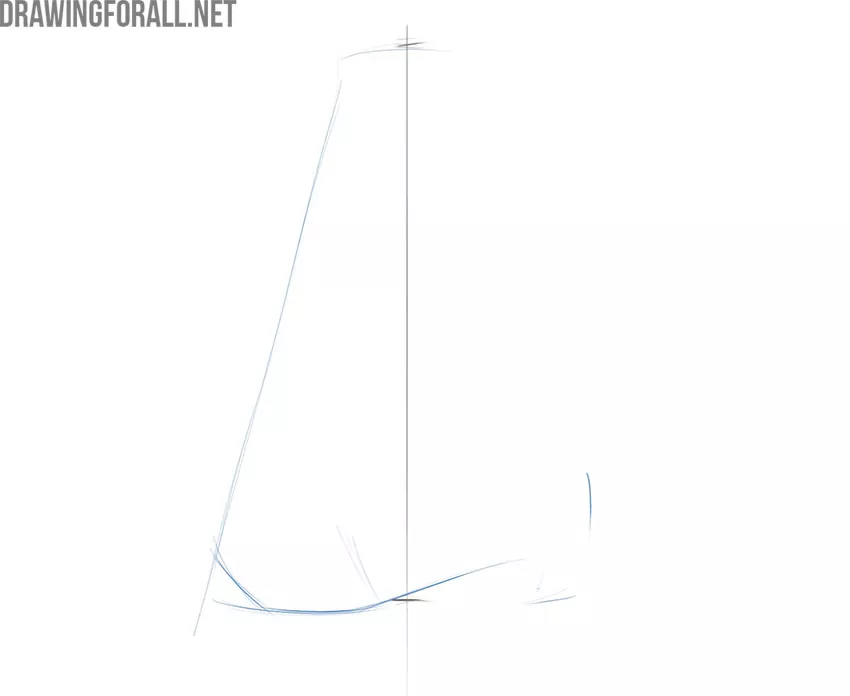
Using very light lines and using the guidelines from the previous step, sketch out the outlines of the nose. Sketch out the bridge of the nose, the tip of the nose, and the wing of the nose. While drawing all these parts of the nose, try to keep in mind that you are drawing a volumetric object, and convey the feeling of this volume on paper.
Step 3
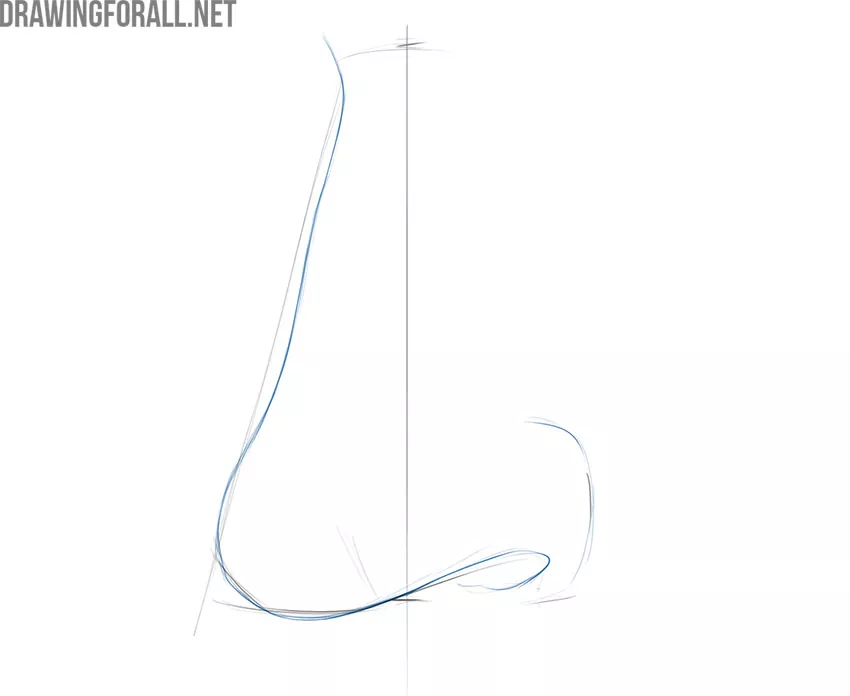
Now using darker and sharper lines draw the outline of the nose. Draw more clearly the wing of the nose and the visible part of the nostril. Do not forget to constantly compare the parts of the nose drawing with each other, so as not to be mistaken in proportions.
Step 4
To give the nose drawing a more voluminous look, sketch the edges with very light lines and erase all guidelines. Depict the line for the back of the nose, the tip, and the wing of the nose. To check your nose drawing for mistakes, move it away from you from time to time or look at it through a mirror.
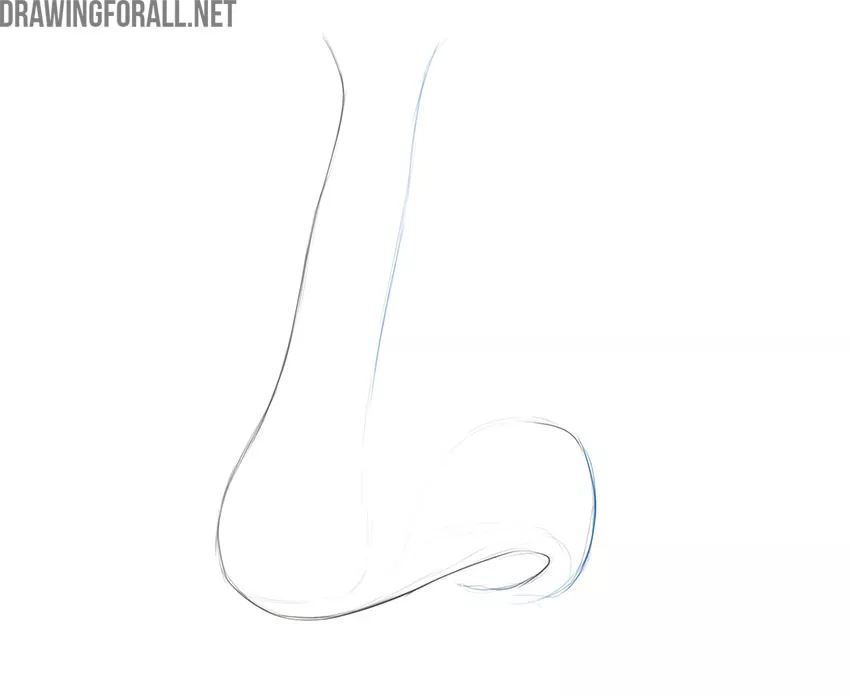
Step 5
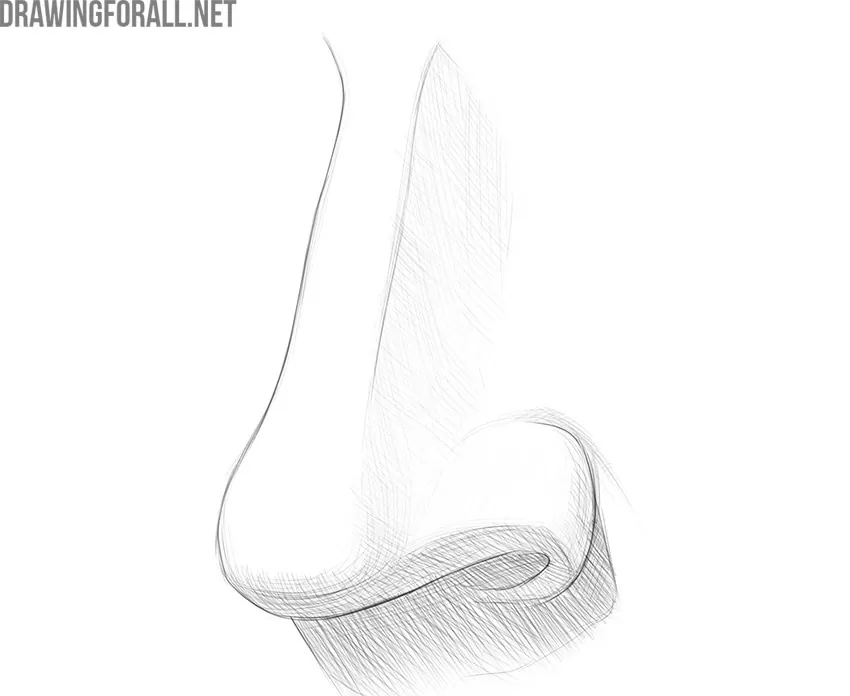
Now is the time to give the nose drawing a more voluminous and complete look. To do this, you need to draw shadows using classic hatching. Start from the darkest areas, then draw shadows in the mid-tones. Leave the lightest areas untouched.
If you have sketched a nose by following all the steps above, then it’s time to make the final touches, find mistakes, and if they were made, then fix them. Try to find all the smallest mistakes in the ratio of light and dark areas, and fix them too.
Do not forget that the main ally and assistant of any artist is a constant practice. To solidify your skills learned in this nose drawing tutorial, try drawing a nose a few more times using the steps above.
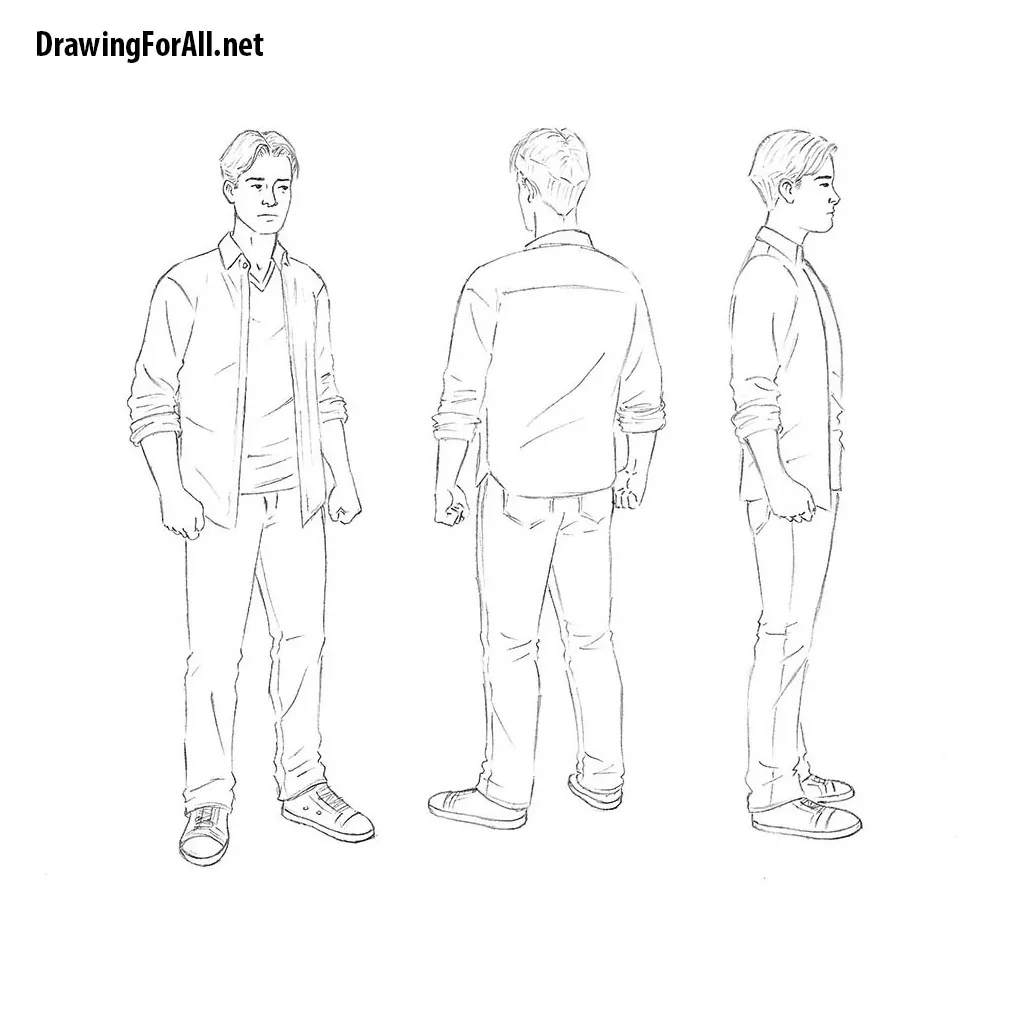
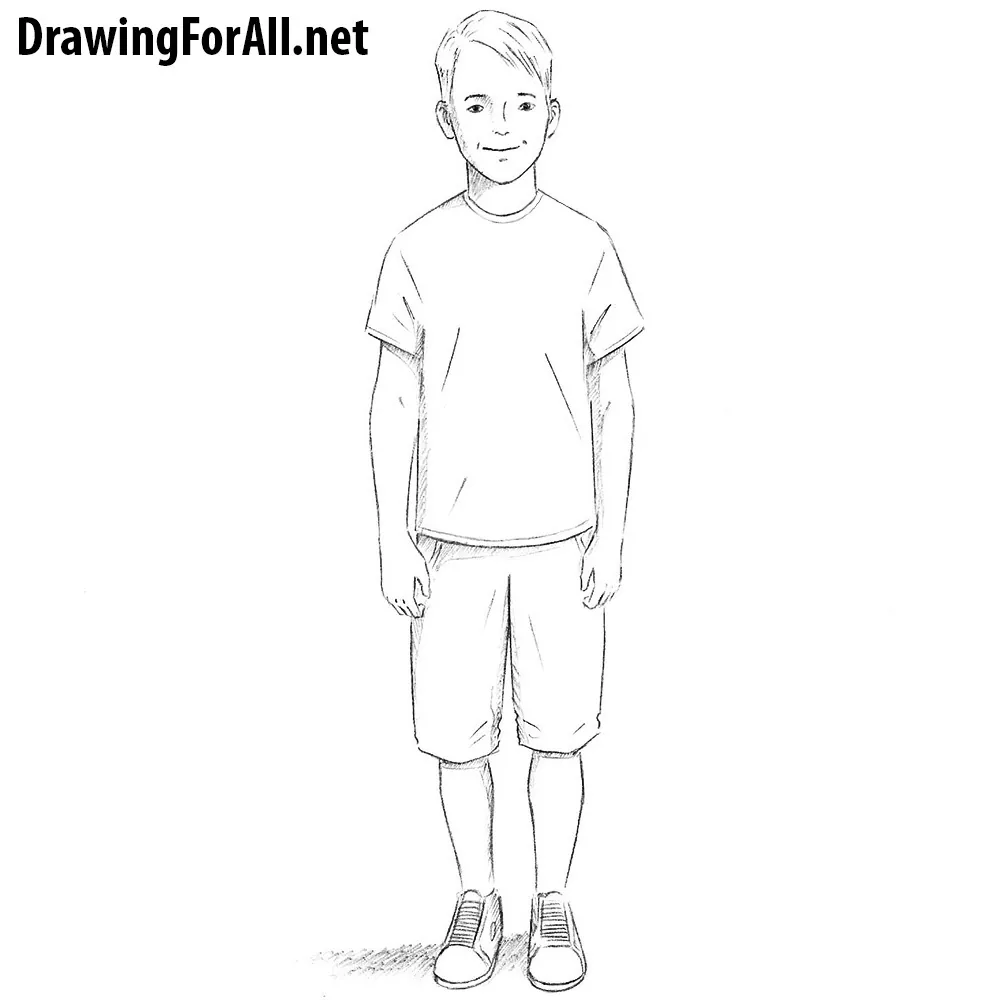
Also try drawing a person’s face, detailing the nose and other facial features, trying to maintain the proportions between the parts and give the portrait a complete look.
In order to draw a nose most correctly and convincingly, it is necessary to know well not only how to draw lines and shadows, but also to understand the anatomy of the nose. If you know at least in general terms what the nose consists of and what structures affect its appearance, then it will be much easier for you to draw this part of the face.
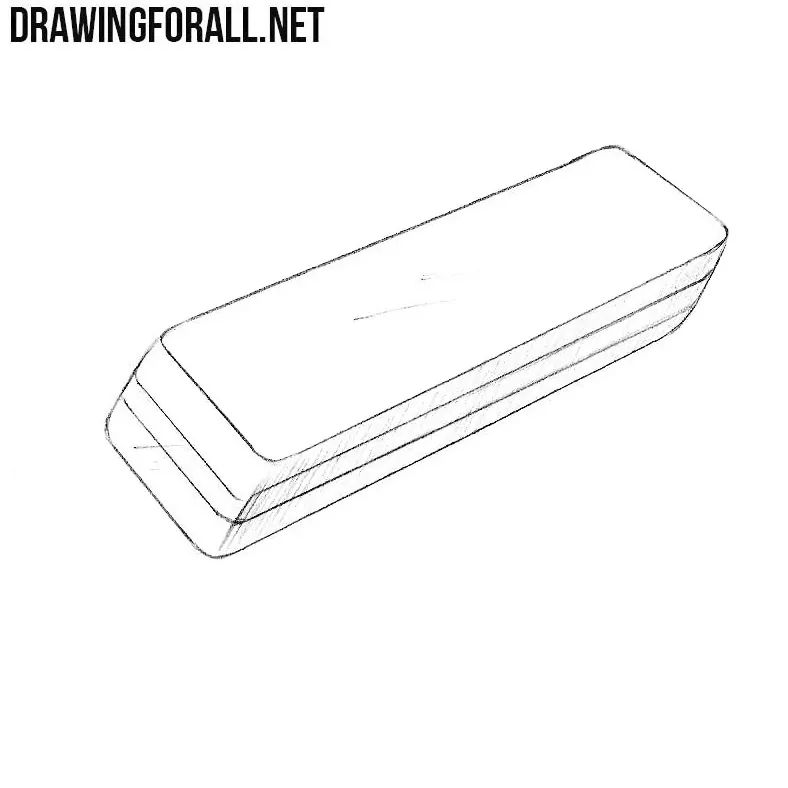
In addition to knowing anatomy, it is also advisable for you to do exercises for artists that help you understand how to draw shadows most convincingly. For example, our lessons on drawing a ball and a cylinder are exercises that develop the ability to draw shadows on rounded surfaces.


IS SIMPLE