

How to Draw a Nose
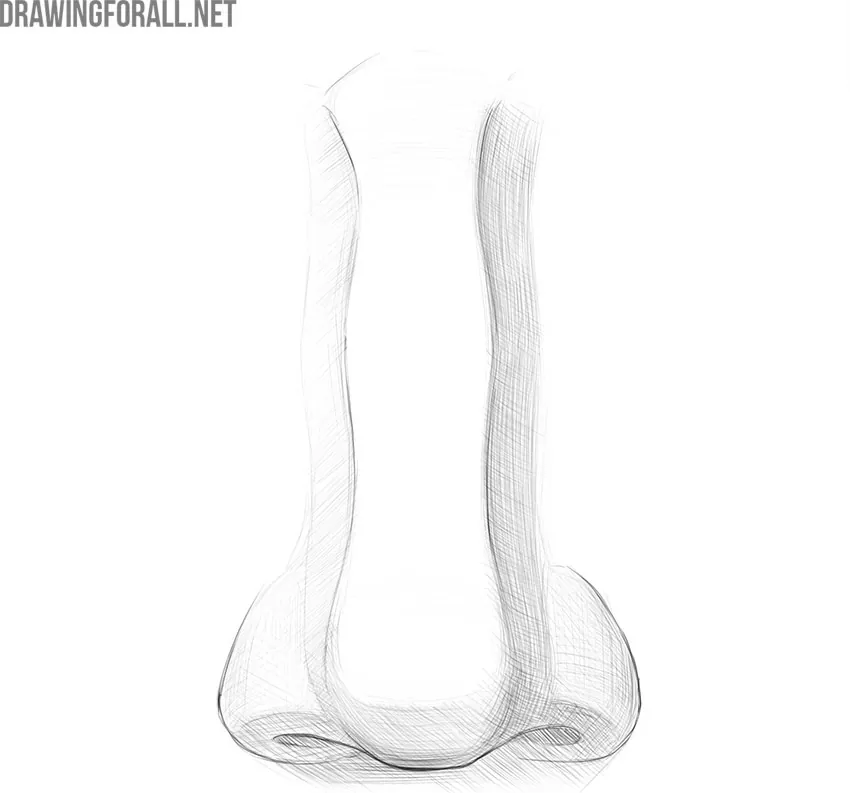
This tutorial is extremely important for anyone who wants to learn how to construct realistic faces, because here we will show you how to draw a nose.
The nose is one of the most visible parts of the face, and drawing a nose has a number of very important features that we will talk about in this article.
Before starting this tutorial, you can read our article on the anatomy of the nose to learn more about its form.
How to draw a nose step by step
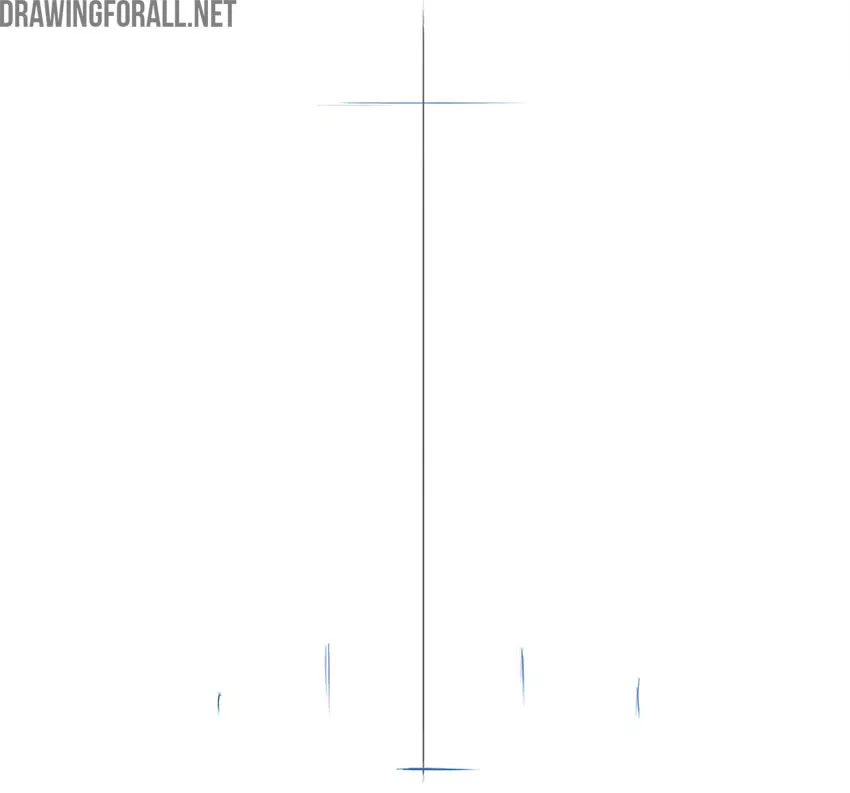
Step 1: Draw the center guideline
Before you start drawing the nose, sketch a vertical centerline, which will serve as a guide to maintain symmetry and the correct relationships between its parts. On a person’s face, this line runs right through the center.

Step 2: Mark the nose boundaries
Now sketch a horizontal line for the base of the nose at the bottom and mark the approximate upper border of the nose above. At the bottom, outline the side boundaries of the tip and wings of the nose.
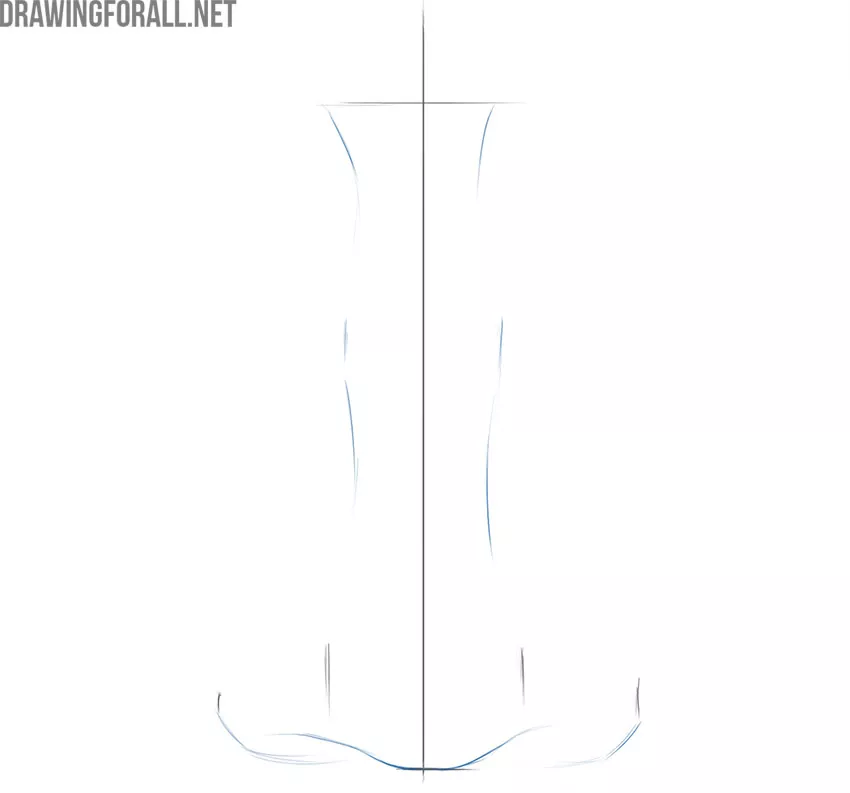
Step 3: Outline the nasal bridge
Using very light lines, draw the nasal dorsum, or nasal bridge. It can have a variety of shapes and differ from the one shown here. Using the lines drawn in the previous steps, block in the lower edges of the tip and wings of the nose.
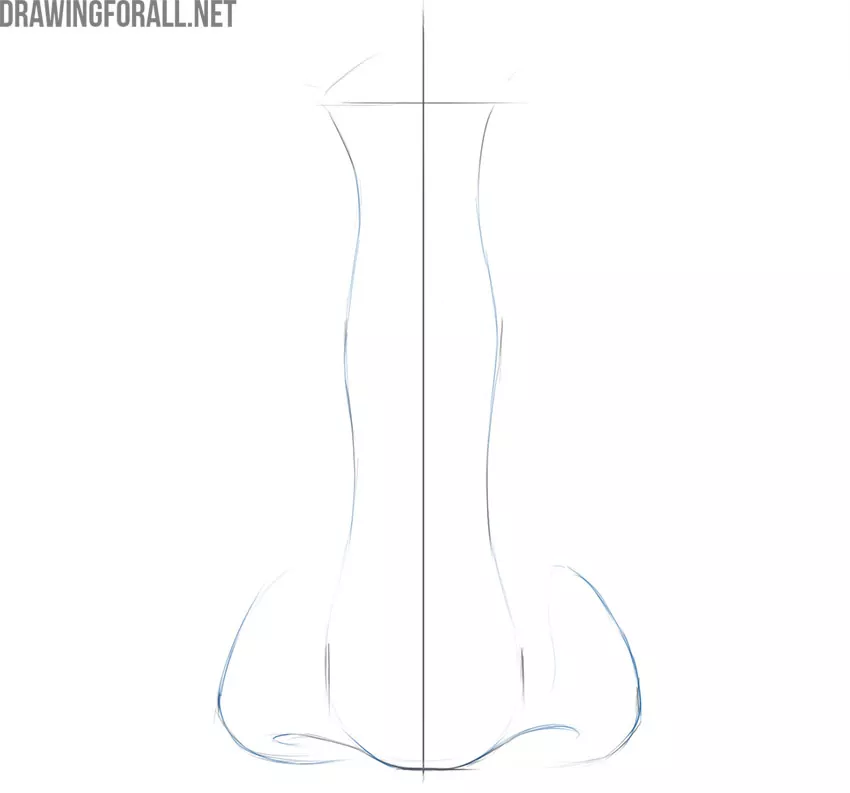
Step 4: Refine the nose contours
Finish drawing the tip and wings of the nose, giving them smoother outlines. Don’t forget to draw the nostrils. Next, give the nasal bridge a smoother look by connecting the previously drawn guidelines with soft, flowing lines.
Step 5: Erase the guidelines
To give the nose drawing a cleaner, more complete look, erase all unnecessary guidelines from the previous steps. Make the remaining lines smoother and more accurate.
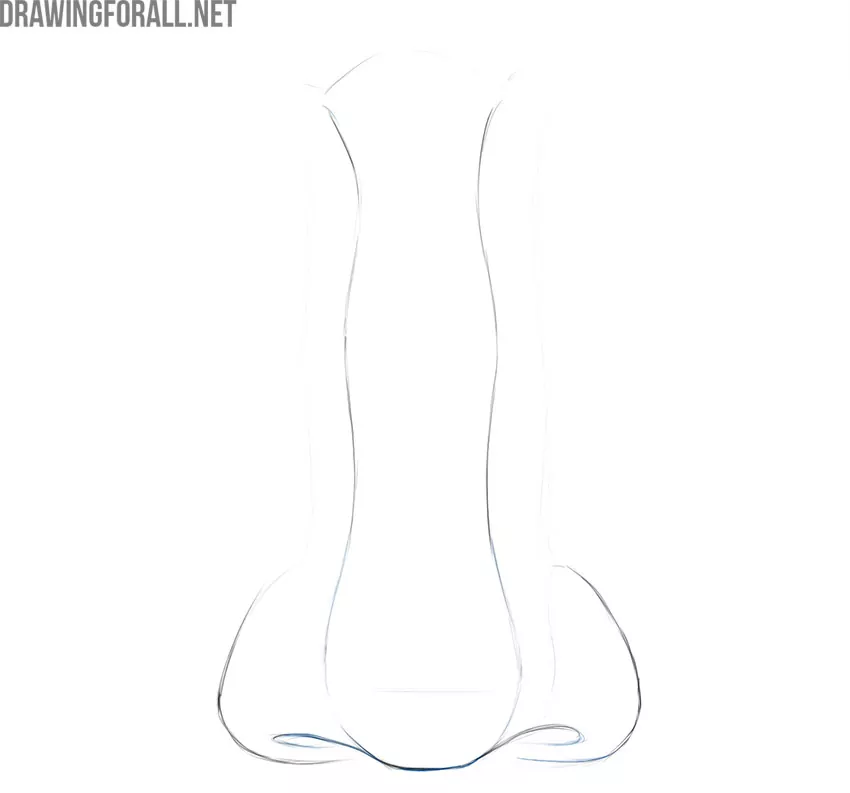
Step 6: Add shadows with hatching
Now, with the help of hatching, add shadows to the nose. This will make it look more three-dimensional and realistic. First, determine the light source and lightly separate the illuminated areas from the shadowed ones. Then fill in the shadow areas with even hatching.
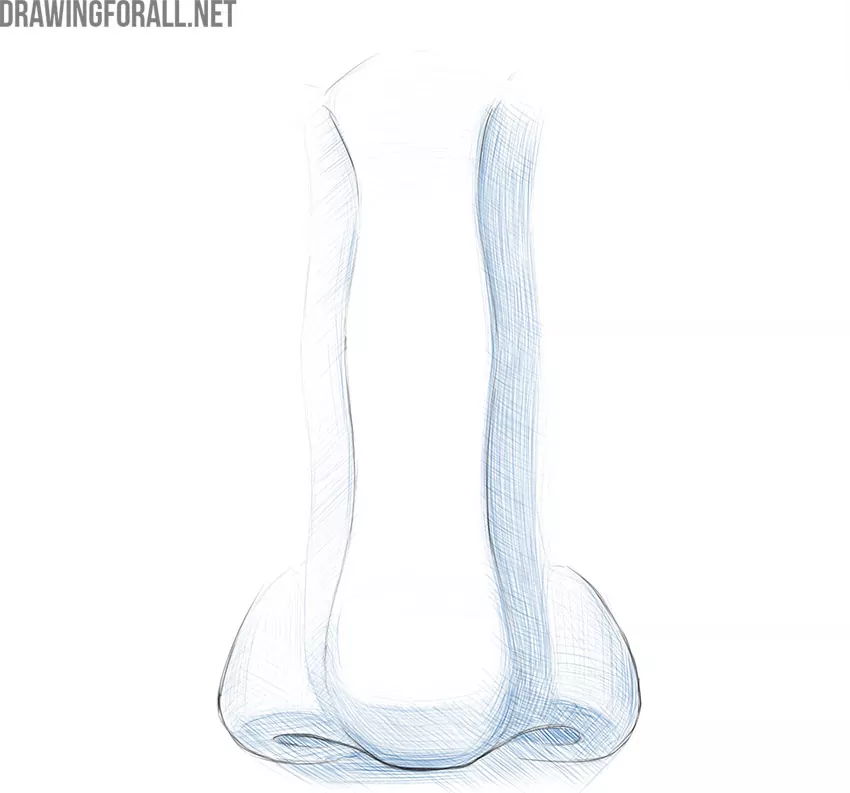
Step 7: Refine the nose drawing
Analyze your drawing and look for any mistakes. If you find them, correct them. Check the nose as a whole and refine any details that still need adjustment.
Remember that all noses are different, and the nose in this tutorial is a general formula that you can adapt to draw many different noses.
Just change the necessary outlines as you draw to make the final result look the way you want.
Try drawing this nose several times, repeating all the steps. Change the shape of the nose, change the angle of the light, and add some details, such as freckles.
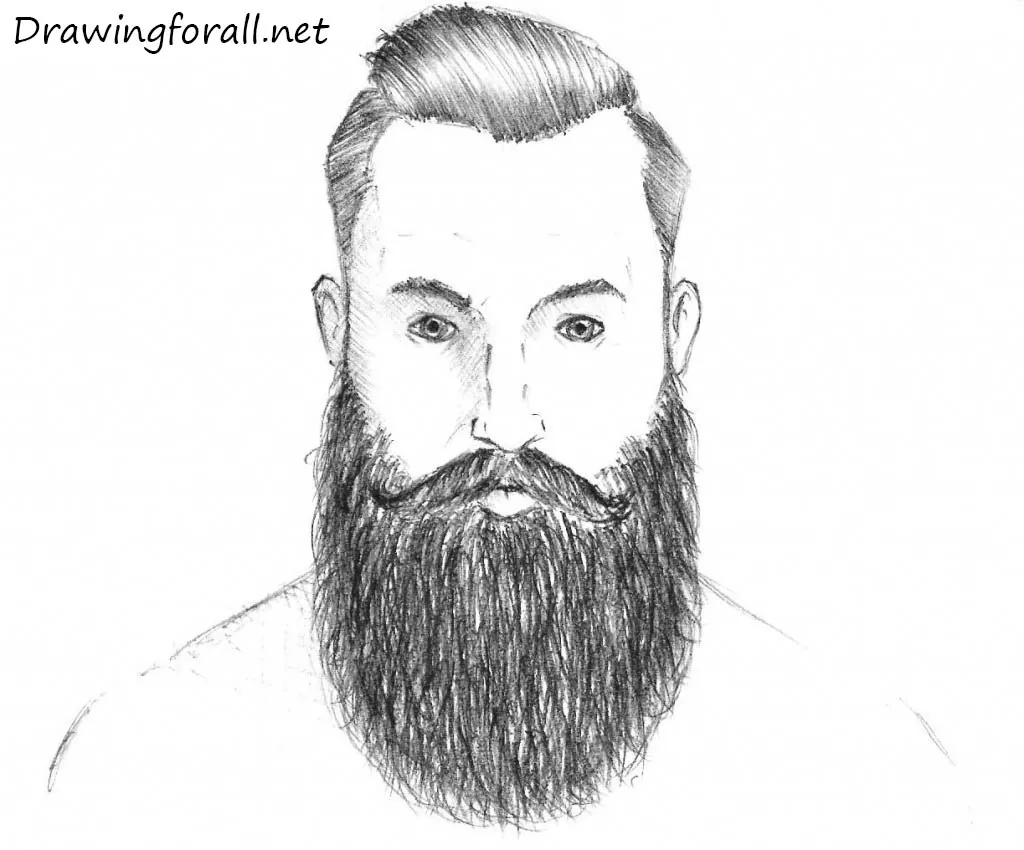
Of course, the nose is rarely drawn on its own, separate from the rest of the face. To create a complete portrait, try drawing the face in detail and use the steps from this tutorial to draw the nose.




nice tutorial 😉
Your drawings are cool but complicated and that’s how I like it.