How to Draw a Realistic Ball
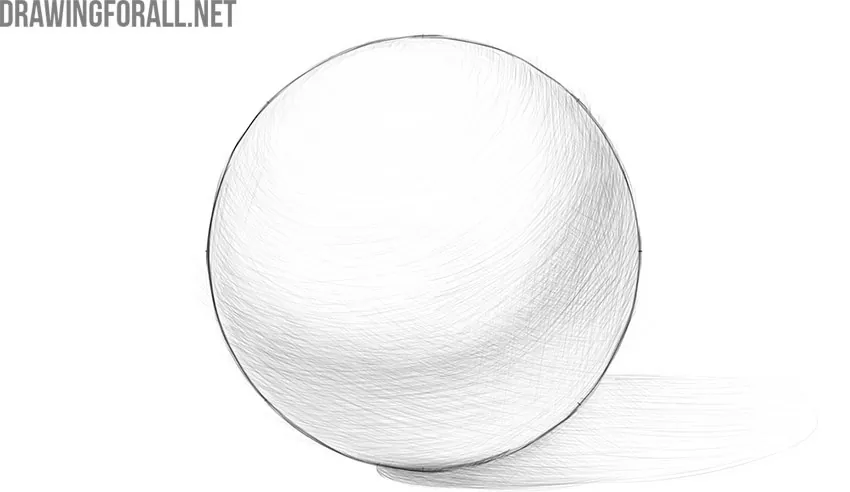
In this article, the team of Drawingforall.net will show you how to draw a ball. This tutorial is very useful for those who want to greatly improve their drawing skills.
As we have said many times in our previous articles, when drawing complex objects, you should represent them in the form of simple geometric shapes. Balls are used for example to depict shoulders, knees, or elbows.
When drawing a ball, it is necessary to clearly imagine its volumetric shape, and try to depict a volumetric object on a two-dimensional plane. That is, you should try to depict a ball, not a circle, and below we will show you how to do this.
Step 1
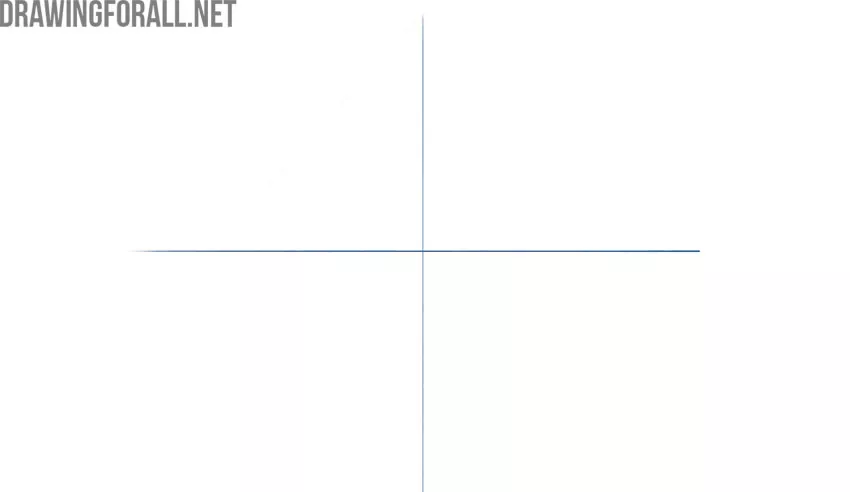
Since we are drawing a ball, it should be as uniform and proportional as possible. In order to achieve this, it is necessary to depict lines of symmetry. So, using very smooth pressure on a pencil sketch two lines as in the image below. The junction of the lines will be the middle of the ball in the future.
Step 2
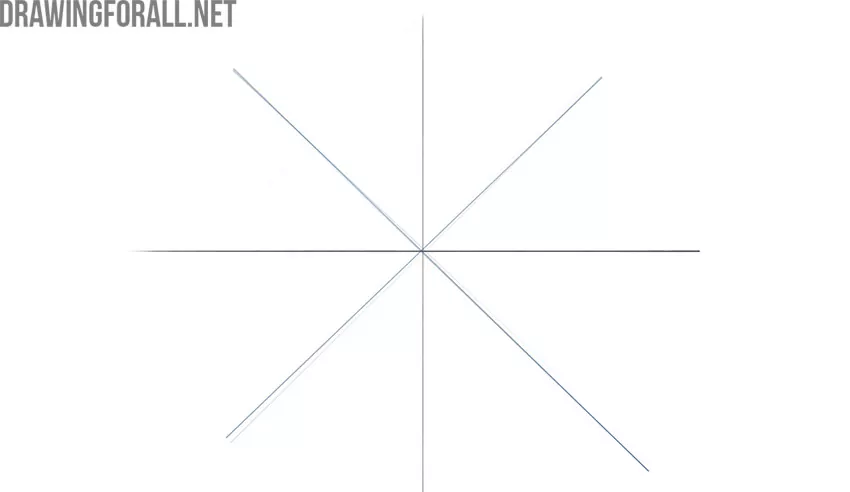
Now depict two more lines, which will also intersect in the very center. In general, the more lines there are, the easier it will be for you to create an even ball. But do not rely only on auxiliary lines, try to develop the ability to draw balls using a minimum of such lines.
Step 3
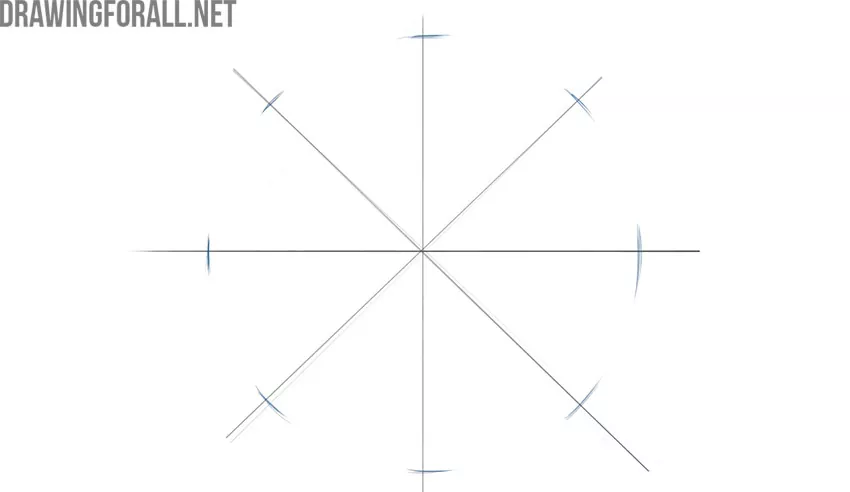
Now on all lines from the previous stage at an equal distance from the center, depict slightly rounded strokes, as the artists of Drawingforall.net did in the image below. The lines in this stage should also be as light as possible.
Step 4
Now using very smooth, curved lines, connect the strokes from the third stage. Don’t be alarmed if the ball appears to be uneven. Just erase the failed section and try drawing the lines again.
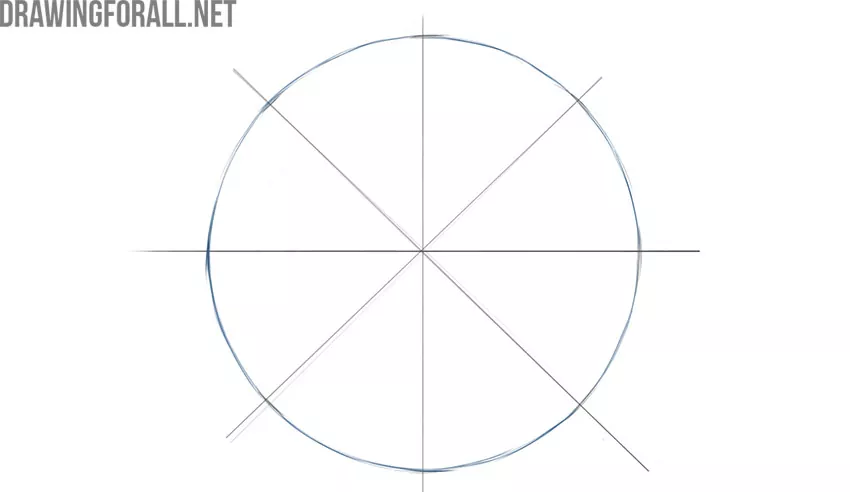
Step 5
Now put the pencil aside for a while and take an eraser to remove all the auxiliary lines created in the previous stages. You can trace the ball, align the failed and disproportionate areas. To check the proportionality of the artwork, look at it through a mirror.
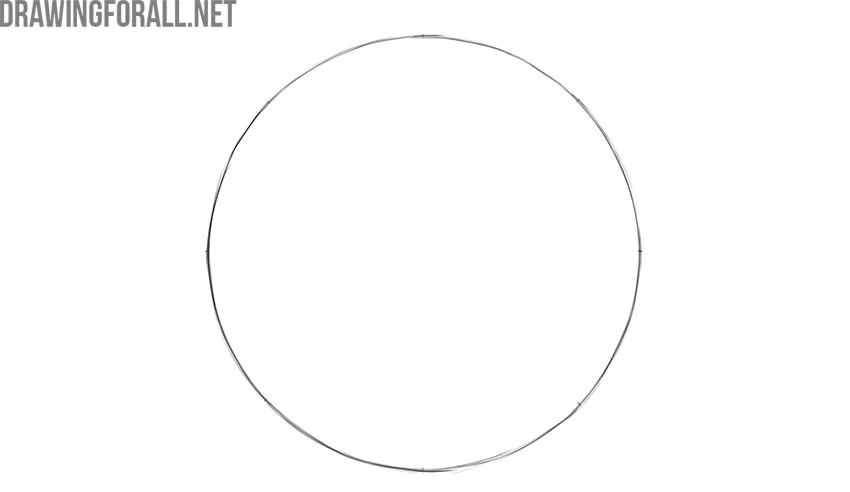
Step 6
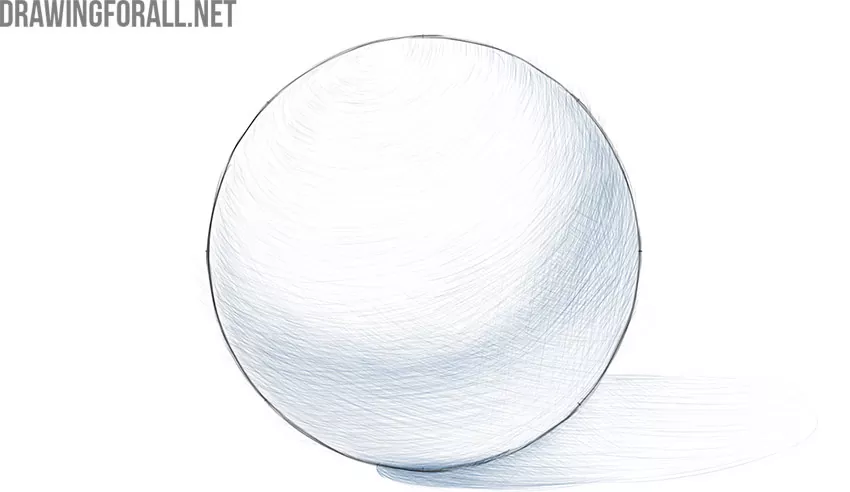
So, now is the time to make the ball volumetric, for which we will apply shadows. Using very light rounded strokes, start drawing the shadows smoothly, keeping in mind the shape of the ball. Notice how the hatching lines hug the ball from all sides in the image created by the artists of Drawingforall.net.
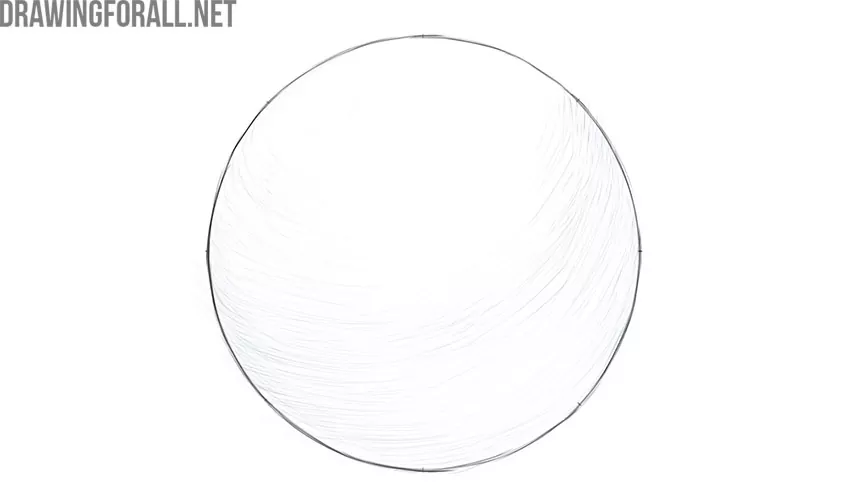
Step 7
Keep adding shadows. They should still hug the ball and create a voluminous and rounded look. Add the cast shadow below the ball to make the ball even more voluminous and tangible. When creating shadows, be sure to take into account the rule of light and shadow, which we wrote about in the corresponding article.
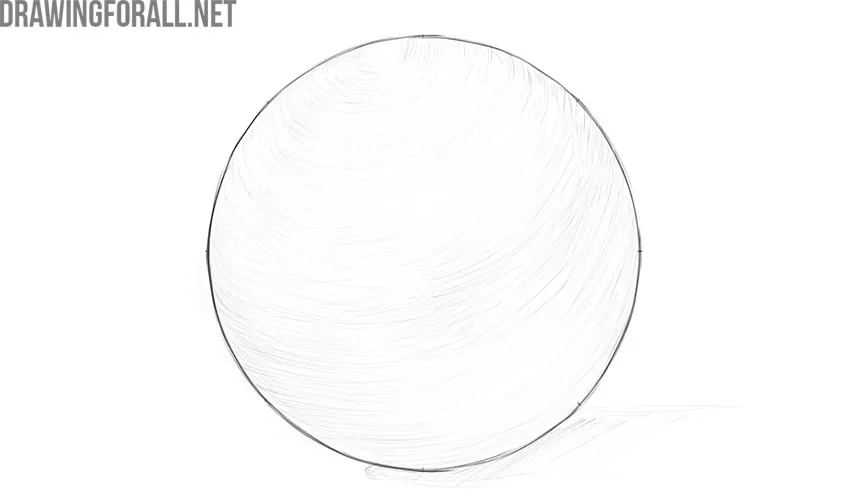
Step 8
Be sure to depict all the necessary parts of the lights and shadows. Don’t forget about the darkest and lightest areas and the laws of aerial perspective. We talked about all this in the article about light and shadow mentioned above.
Step 9
So, the tutorial on how to draw a ball is complete. Erase all unnecessary lines, if any, and do all the necessary finishing touches, if necessary. If you did everything correctly, then your drawing of the ball will look like this image created by the artists of Drawingforall.net.

So, as we said above, the ability to draw balls and other geometric shapes is very important. These are actually basic skills for any artist. To hone this skill to perfection, try depicting this geometric body from different angles, and using different lighting. And don’t forget that the more you practice, the more correct and realistic your artworks will look.




It’s stupid thing did not help