How to Draw a Nose From the Side
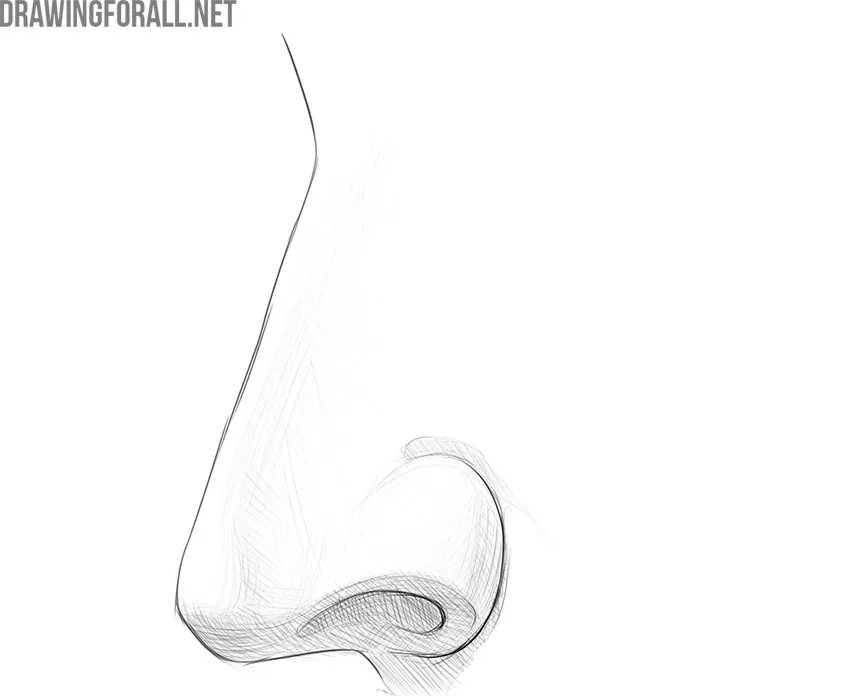
In this step-by-step tutorial, we will show you how to draw a nose from the side. This tutorial is a continuation of our tutorial on drawing a nose from the front.
After studying this guide and learning how to draw a nose from the side, you will be able to draw human portraits in profile more accurately and convincingly.
As always, it is worth reminding you that here we show one example of constructing a nose. All people are very different in appearance, but the features of the human face follow the same general principles, which means they are drawn in about the same way.
How to draw a nose from the side step by step
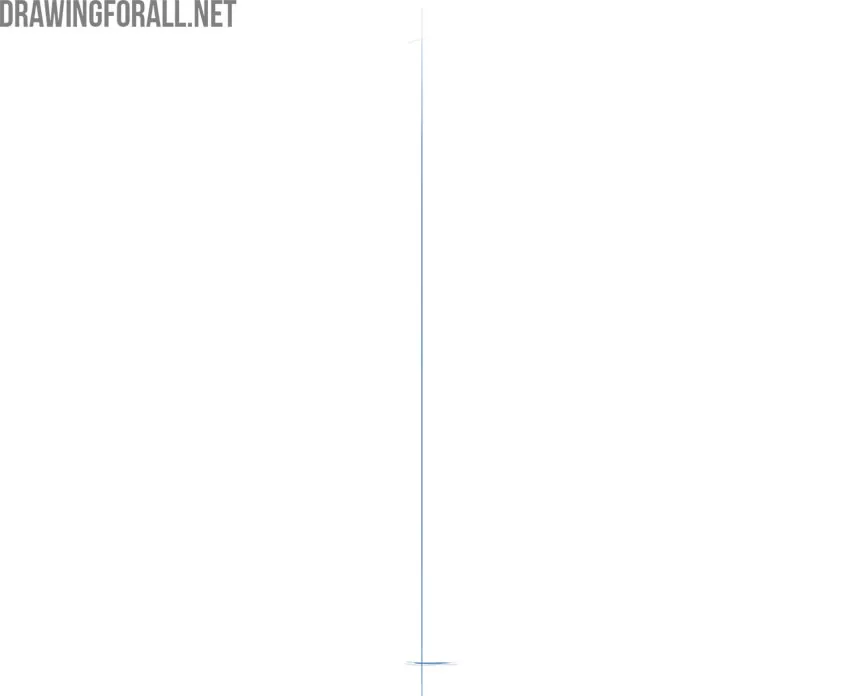
Step 1: Draw the centerline
Sketch the centerline. If we look at the face from the front, this line runs through the center of the face, dividing it in half. This guideline will help you place the nose correctly.
Step 2: Sketch the nose outline
Now block in the outlines of the nose. Use very light, general lines without trying to add details yet. At this stage, we only need to mark the main contours and boundaries of the nose.
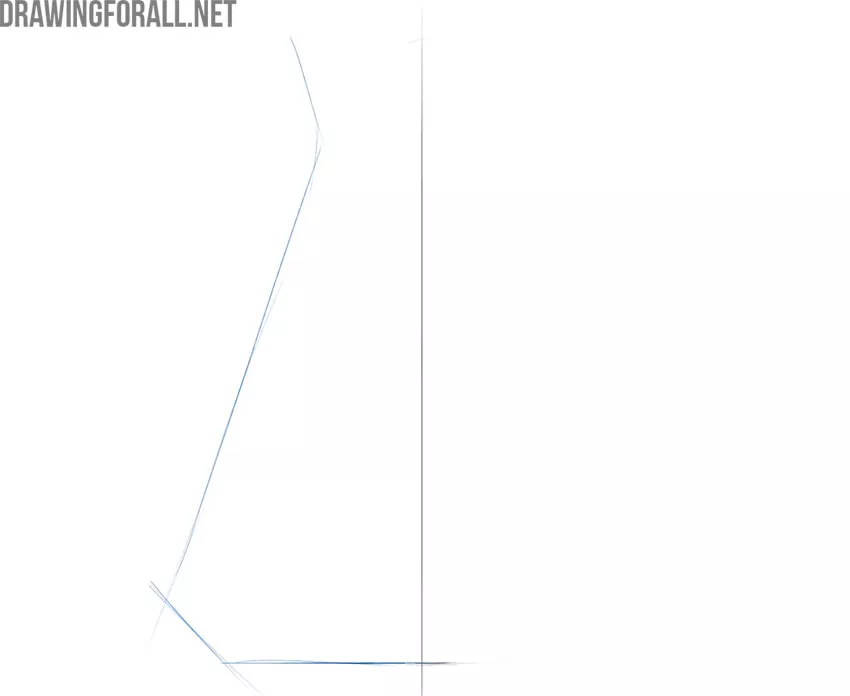
Step 3: Add the nose wing
Now sketch the wing of the nose at the bottom using very light and smooth lines. To construct the nose and its details more accurately and convincingly, we advise you to read our article about nose anatomy for artists.
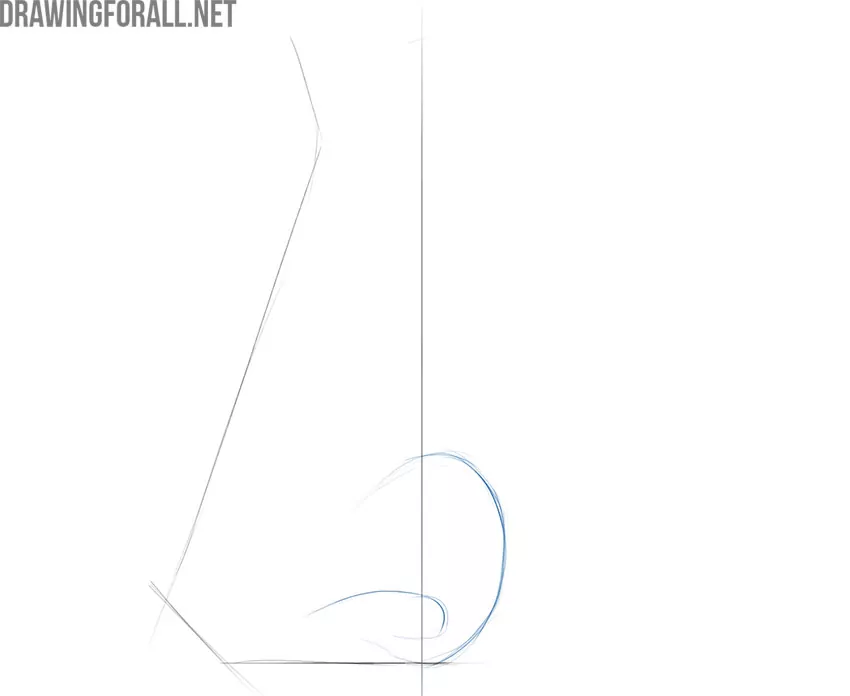
Step 4: Refine the nose contours
Now start drawing the nose in more detail. Using smooth, clean lines, carefully refine the outlines, giving it a more complete look. Try to depict the subtle curves created by the muscles and bones beneath the skin.
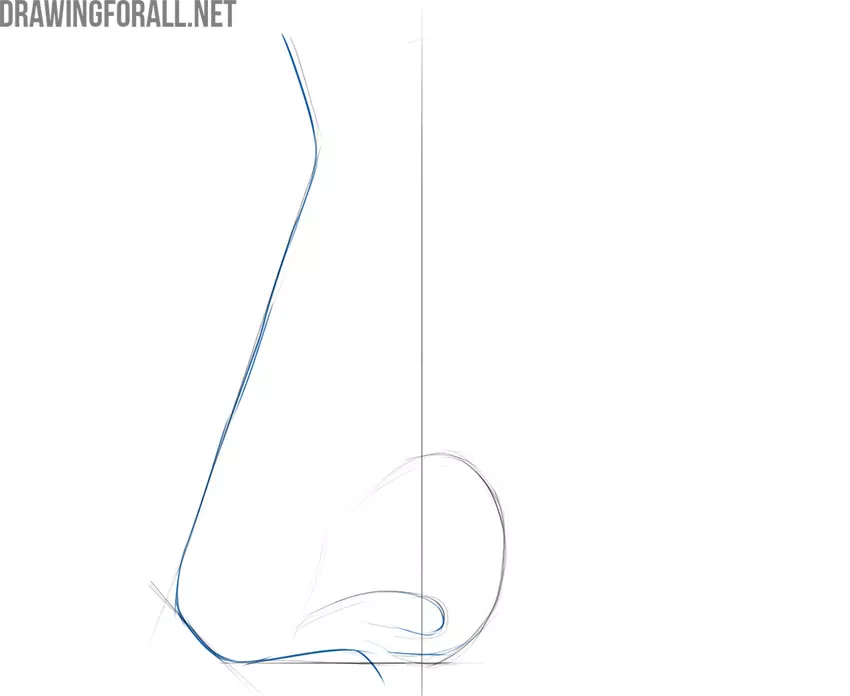
Step 5: Erase the guidelines
Now carefully erase all the guidelines from the nose. Give your work a clean, finished look and correct any inaccuracies you notice.
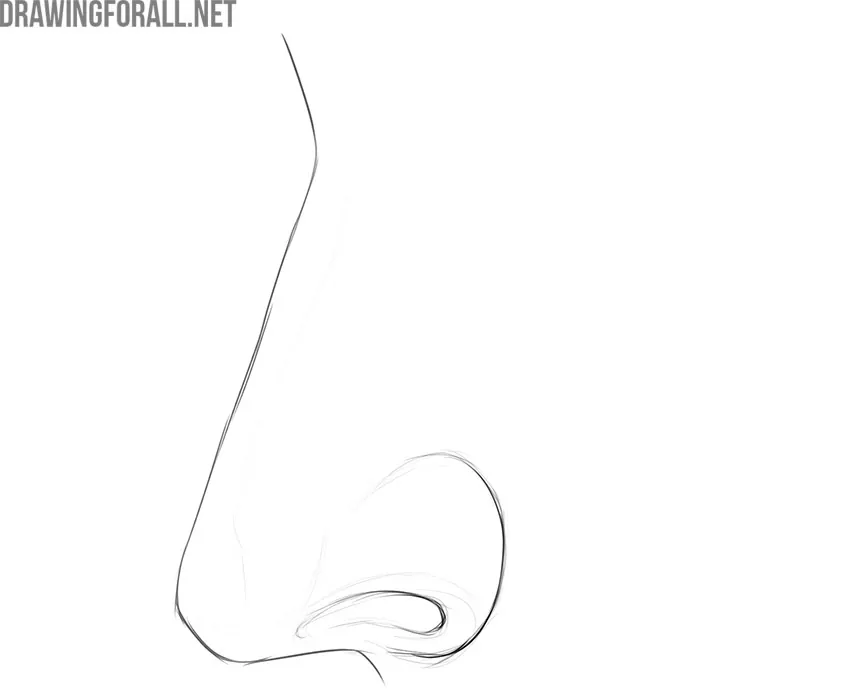
Step 6: Add shadows and hatching
Add shadows to give the nose drawing more volume. With the light falling from above, use drawing hatching on the areas of the nose that receive less light. For a more detailed understanding of how shadows work on objects, we advise you to read our article about drawing light and shadow.
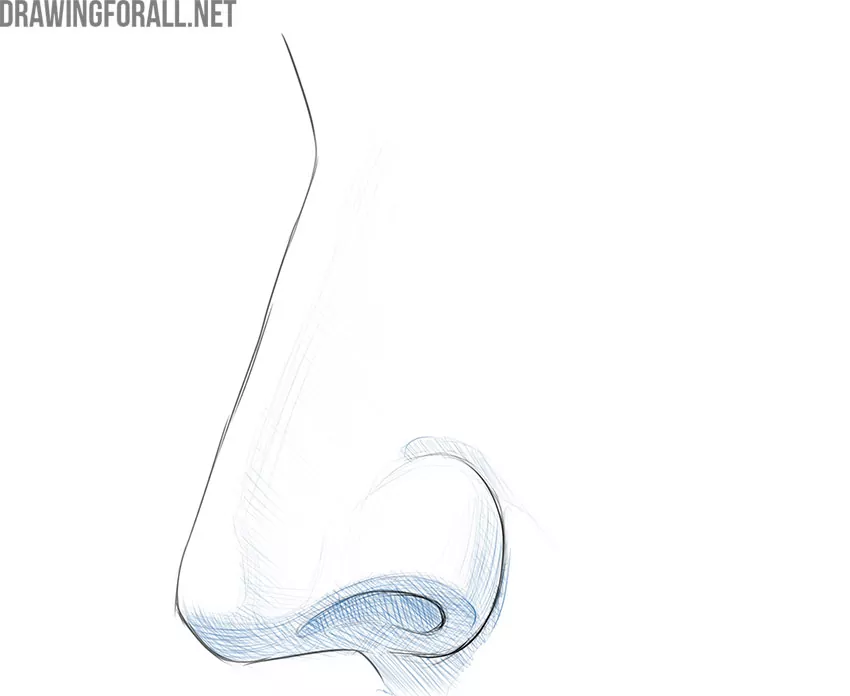
Step 7: Refine the finished drawing
Check your nose drawing and correct any small mistakes or inaccuracies you find. To make mistakes easier to notice, look at your sketch in a mirror or step back from it.
This was another basic drawing tutorial in which we tried to show you the process of constructing a nose from the side as clearly and accurately as possible.
To reinforce the knowledge gained in this tutorial, try sketch this part of the face several times using the steps above.
Add shadows of different densities and use different lighting schemes to get different results and fully develop the skills you have learned.
Next, try to draw a portrait of a person, drawing the nose and all the other facial features while keeping their placement and size proportional.
Above the nose, draw the eye from the side, making sure its angle matches the nose and the overall shape of the face. Below the nose, draw the mouth, again keeping it consistent with the side-view perspective.