How to Draw Koschei
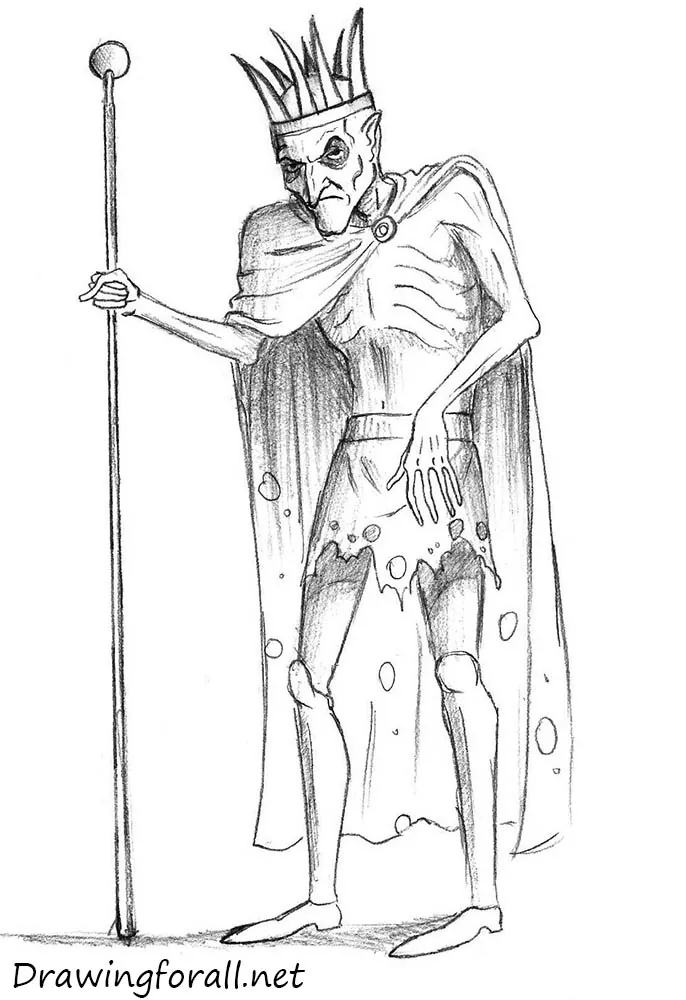
In previous lessons, we drew such famous Russian characters as a Matryoshka doll and Cheburashka. In this drawing tutorial, we will show you how to draw Koschei. Koshchei or Kashchey, in the East Slavic mythology, is an evil sorcerer, whose death is hidden in several nested in each other magical animals and objects.
Koshchey prototypes exist in the legends of almost every East European country, and each of these prototypes is necessarily a very thin and angry old man, wielding the magic. In Russian folk tales, Koshchei (Bag of Bones) is the most terrible character. He steals other people’s wives, kills all living things, and takes away all the gold he can see.
Let’s start this tutorial and learn how to draw Koschei!
Step 1
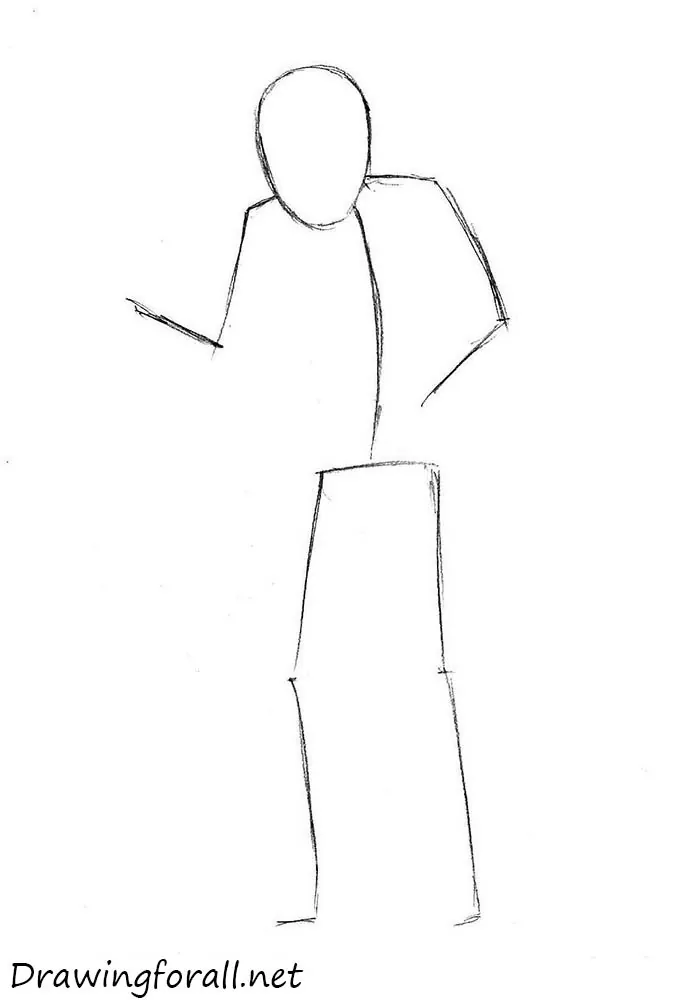
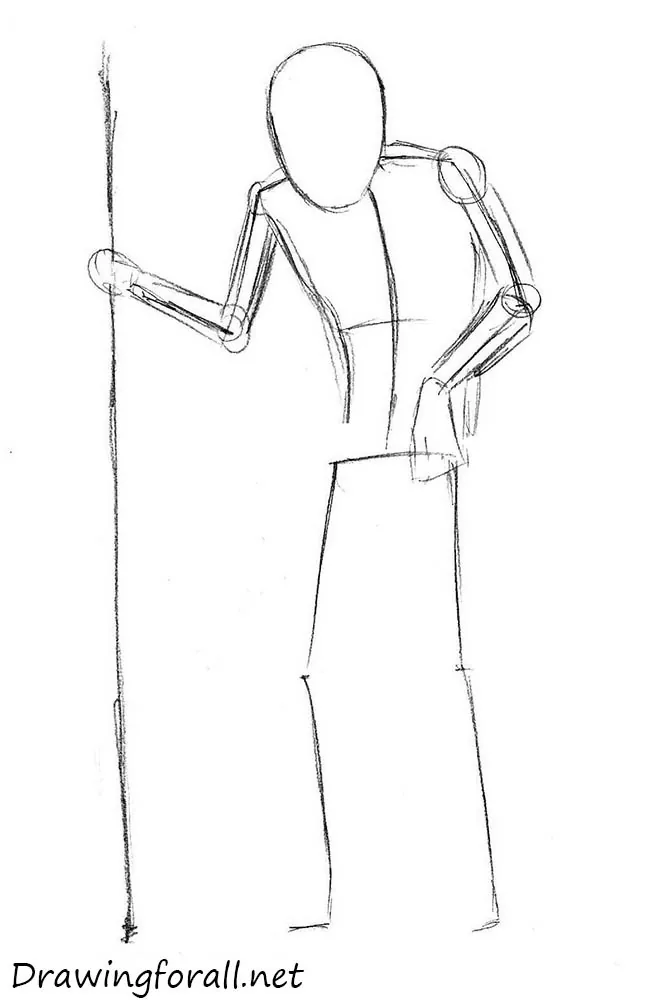
In our drawing tutorials, we usually start by drawing a man made of sticks and circles. So, first, draw an oval as a guide for the head of Koschei. Then using a simple lines sketch out the shoulders, spine, arms, and legs. Pay attention to the posture of Koschei. A very noticeable feature is his stoop. The spine should be slightly bent and his head should be pulled into his shoulders. As a result, you have to get a stickman as in our example.
Step 2
Start adding volume to the figure of Koschei. Start with the upper part of Koschei. First, sketch out the torso using a figure, similar to an elongated rectangle. Then using cylinders draw the arms. After that draw shoulders and elbow using circles. Draw a long line in his right hand as the guide for the cane.
Step 3
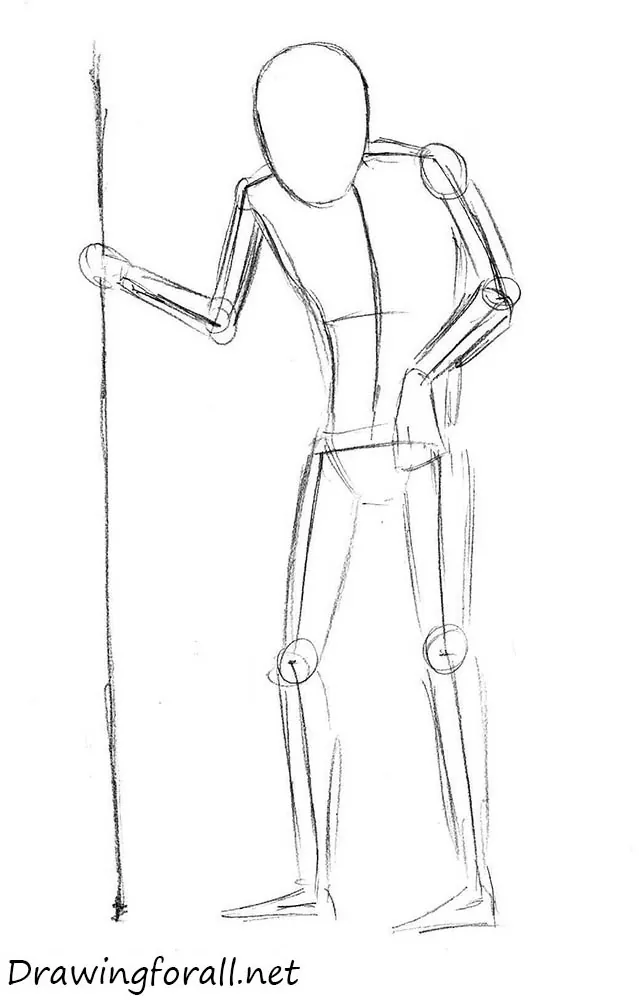
Add volume to the lower part of Koschei’s body. Using cylinders sketch out the legs and using circles draw the knees. Sketch out the feet. By the way, if you like such creepy characters, we recommend you our tutorial on how to draw a Plague Doctor.
Step 4
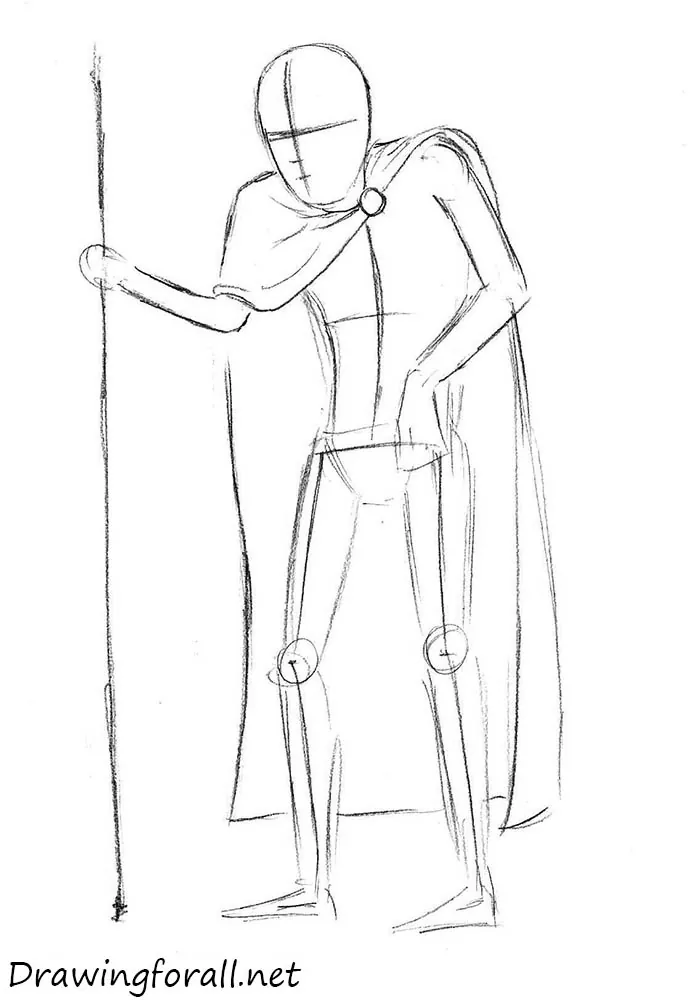
Draw the lines of facial symmetry. First draw a vertical line which will divide the face into two parts and will help to find the center of the face. Then draw a horizontal line that will help you to draw the eyes. Slightly below this line sketch out the lines of nose and mouth. After that sketch out the cape. First draw a buckle which located under the chin of Koschei. Then draw the cape using curved lines. Add some folds to the upper part of the cape.
Step 5
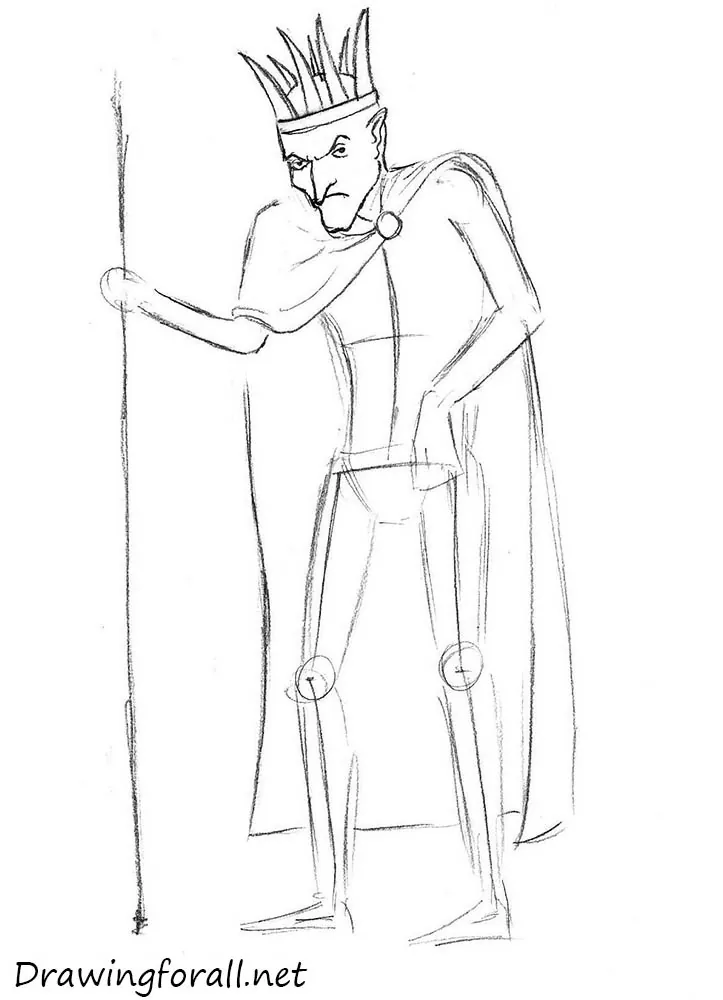
Start drawing the details. First draw the eyes using the eye line from the previous step. Draw the frown using curved lines. Using the lines from the previous step draw the sharp nose and mouth. Start to draw the crown. It is not as hard as it seems. Above the eyes, in the middle of the forehead, draw two lines. Then draw elongated triangles around the head. Then erase the guidelines from the head and move to the next step.
Step 6
Continue to add details to the head of Koschei. First, draw the wrinkles on the forehead and temple. Then draw circles under the eyes. Draw the outlines of the cheekbone and nasolabial folds. At the same stage draw the torso of Koschei. Using wavy lines draw the ribs. Now erase all the supporting and guiding lines of the body from the previous steps and proceed to the next stage.
Step 7
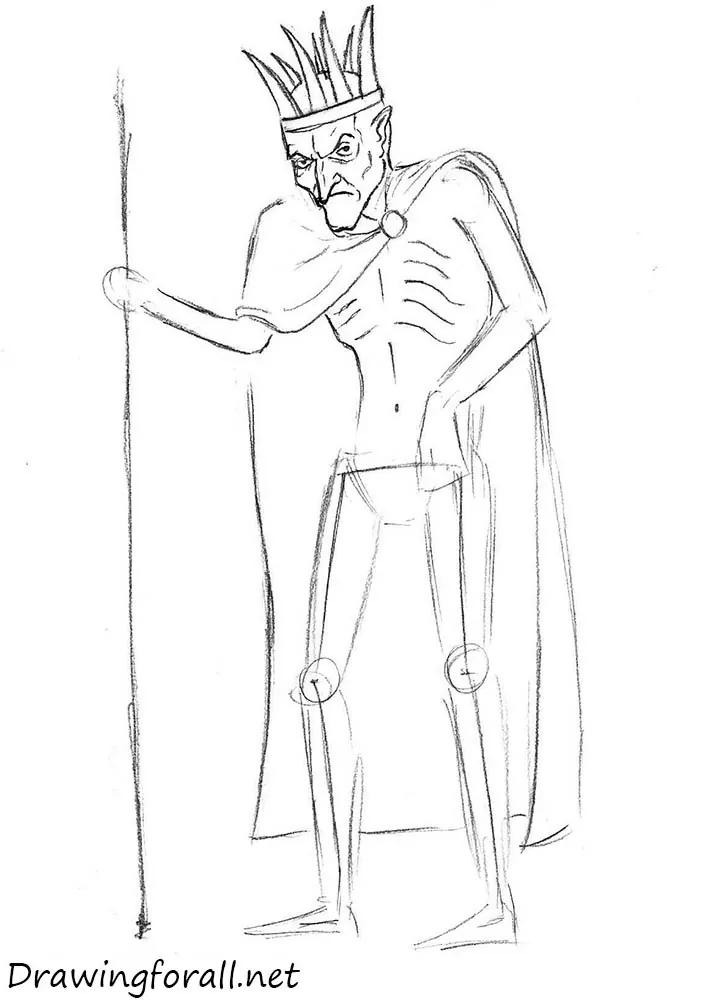
Draw the arms. Since Koschei is very thin, all the outlines of his muscles appear very clearly. Draw the outlines of the skinny deltoids, biceps and forearm. Then start to draw palms. First draw the long, thin, and bony fingers. Then using short lines draw the knuckles and tendons. After that, using two long and straight lines draw the cane. By the way, just in the same way we drew an arrow.
Step 8
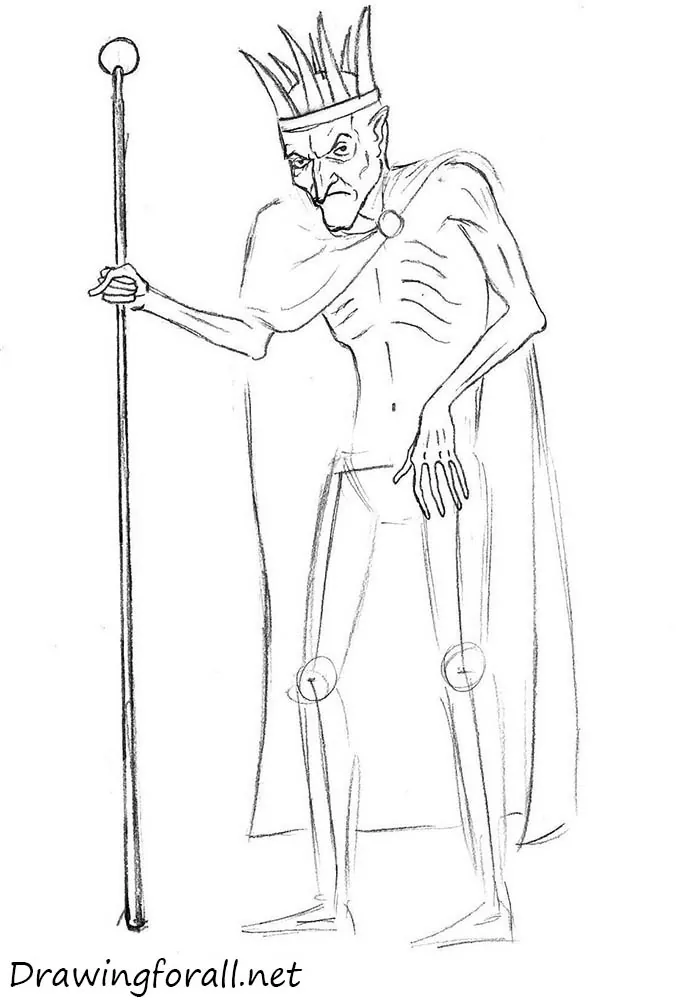
Draw the lower part of Koschei’s body. Draw the belt using two simple lines. Then draw the cape. After that draw, the ragged bottom line and using circles of different sizes draw the holes. Similar ragged lines we drew in the lesson on how to draw Scarlet Spider. Then add some folds to the cape. Now draw the legs. Erase all the guidelines from the legs and draw the armor, which covers the entire lower part of the leg, from the knees to the feet. After that darken the lines of the legs and erase all unnecessary strokes.
Step 9
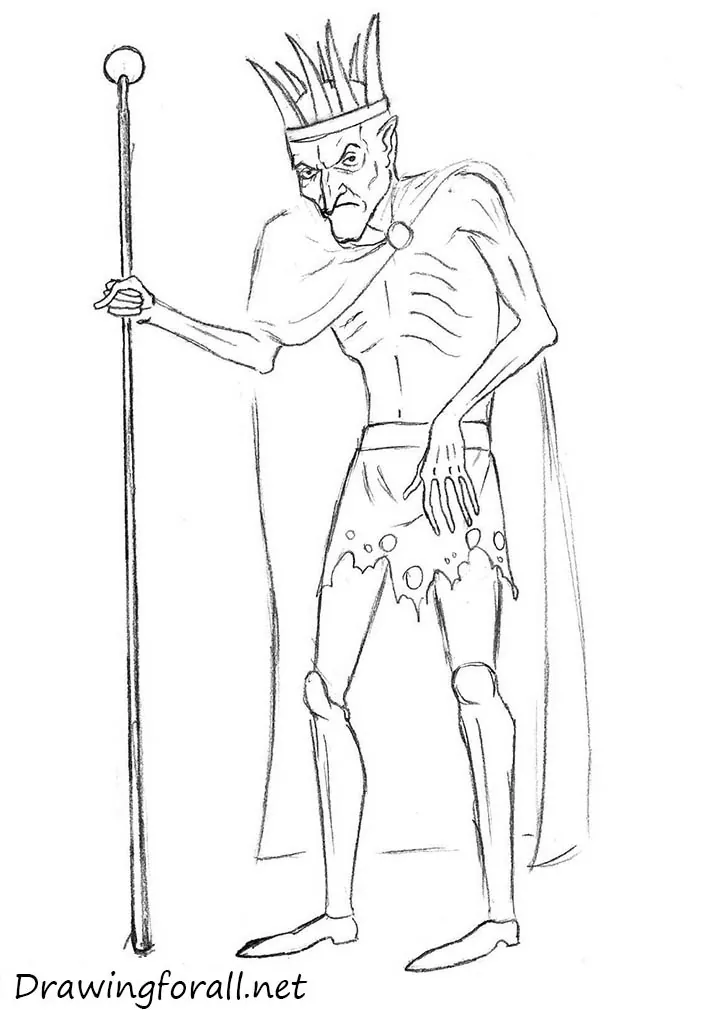
This step is very simple. Here it is necessary to add numerous holes on the cape of Koschei and add folds of fabric. After that, add a few smooth horizontal lines on the part of the cape, which hangs from his right hand. Then, add some vertical folds and holes to the internal side of the cape. Koschei is almost ready. Erase all unnecessary guidelines and darken the lines. Look at your drawing. If something seems not as perfect as you want – erase it and redraw.
Step 10
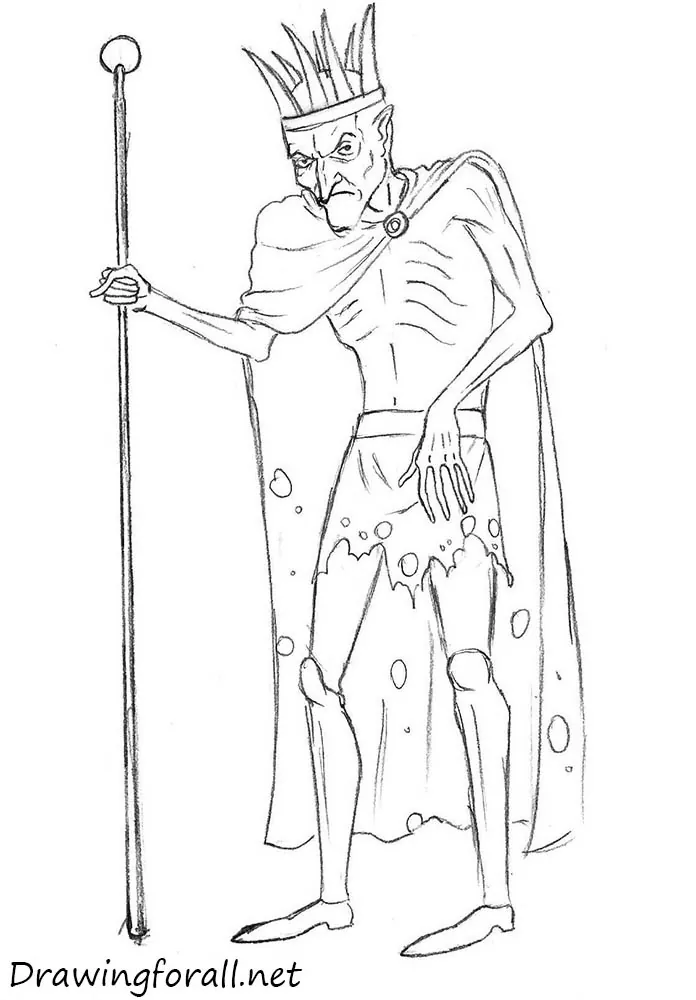
At this step of the tutorial on how to draw Koschei, we will add shadows. Unlike the comics style, in this drawing will not be too contrasting shadows. All shadows should be applied using soft and smooth hatching. The same way we drew the shadows in the lesson on how to draw Wolverine’s head.

So, it was a tutorial on how to draw Koschei step by step. We hope you enjoyed this tutorial. Share this tutorial with your friends, subscribe to us on social networks. If this tutorial seems too hard for you, we recommend you tutorials on how to draw an apple or how to draw a candle.


