How to Draw a Matryoshka Doll
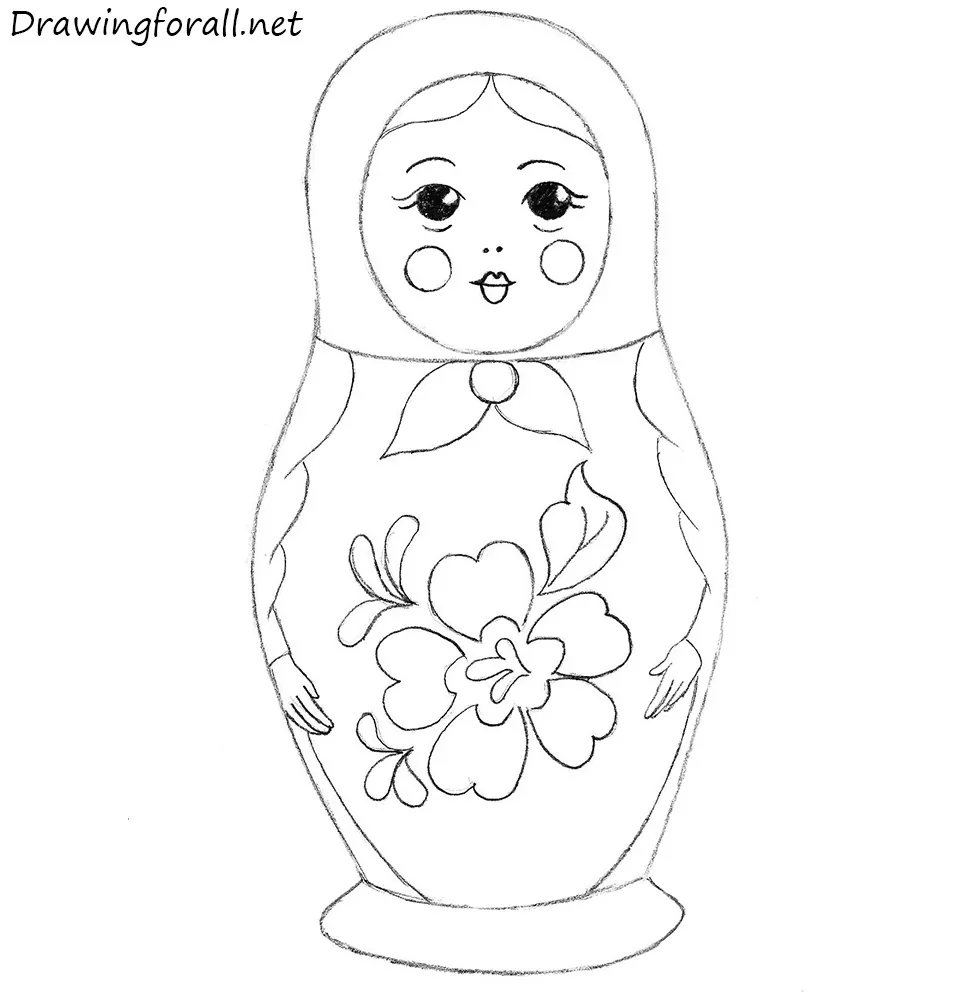
In this guide, we will tell you how to draw a Matryoshka doll. For those who do not know, Matryoshka
– is a Russian wooden toy in the form of a painted doll, inside of which are the same smaller dolls.
Although matryoshka is considered a traditional Russian toy, not many people know that in fact it was not invented in Russia. The prototype of Matryoshka was a Japanese Fukurokudzyu doll from Honshu island. In the 90s of the 19th century the first wooden figures of girls with red cheeks, dressed in sarafans and in headscarves began to be produced in Russia.
By the way, the very first matryoshkas were very expensive – they were manually painted by talented painters, who used techniques for working with icons. That’s why the first Matryoshka dolls had carefully painted faces and characteristic colors.
So, let’s start this tutorial and learn how to draw a Matryoshka doll!
Step 1
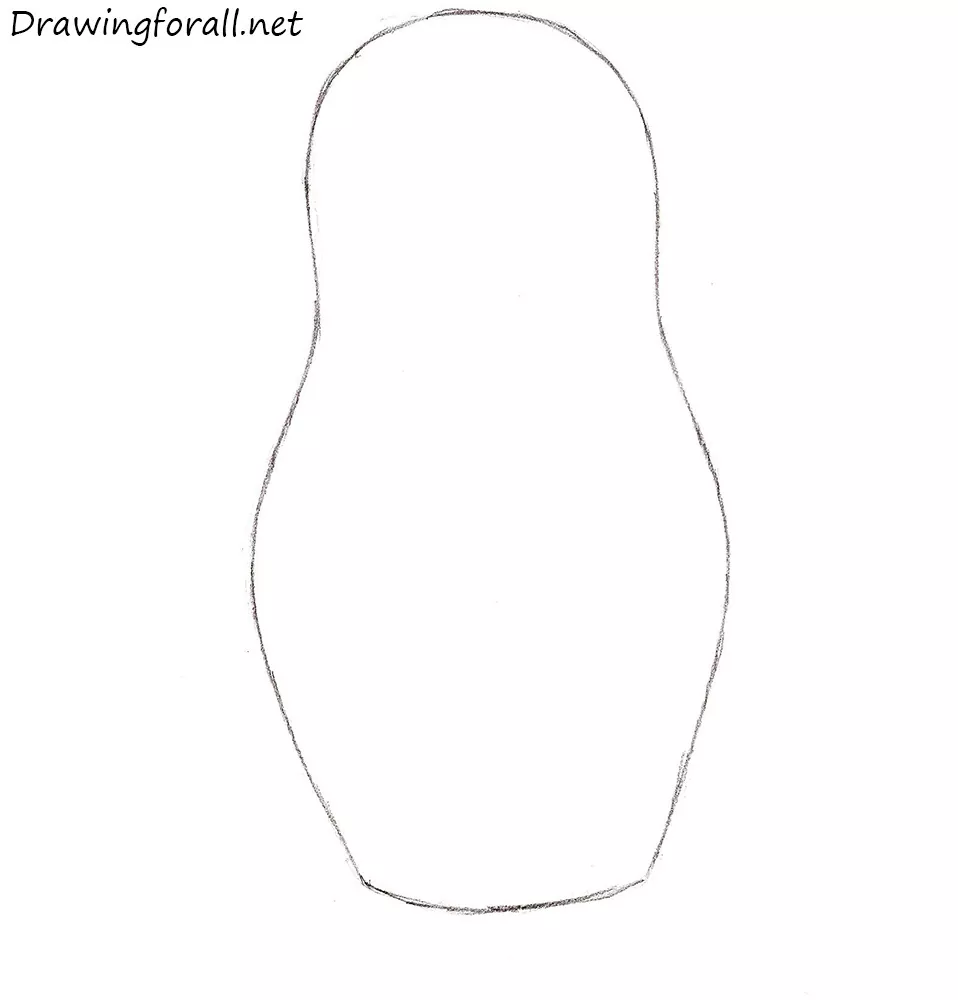
First sketch out the outlines of the nesting doll. Usually, when we draw the human figure, we start from simple lines and circles. But this drawing lesson is a little different. Now we have to draw a shape similar to a bowling pin. Try to draw the figure as symmetrical as possible. In order to ensure symmetry, look at the Matryoshka drawing through the mirror. In the mirror image, you will immediately see all the mistakes. If you could not draw it correctly, just erase it and try to draw the figure again.
Step 2
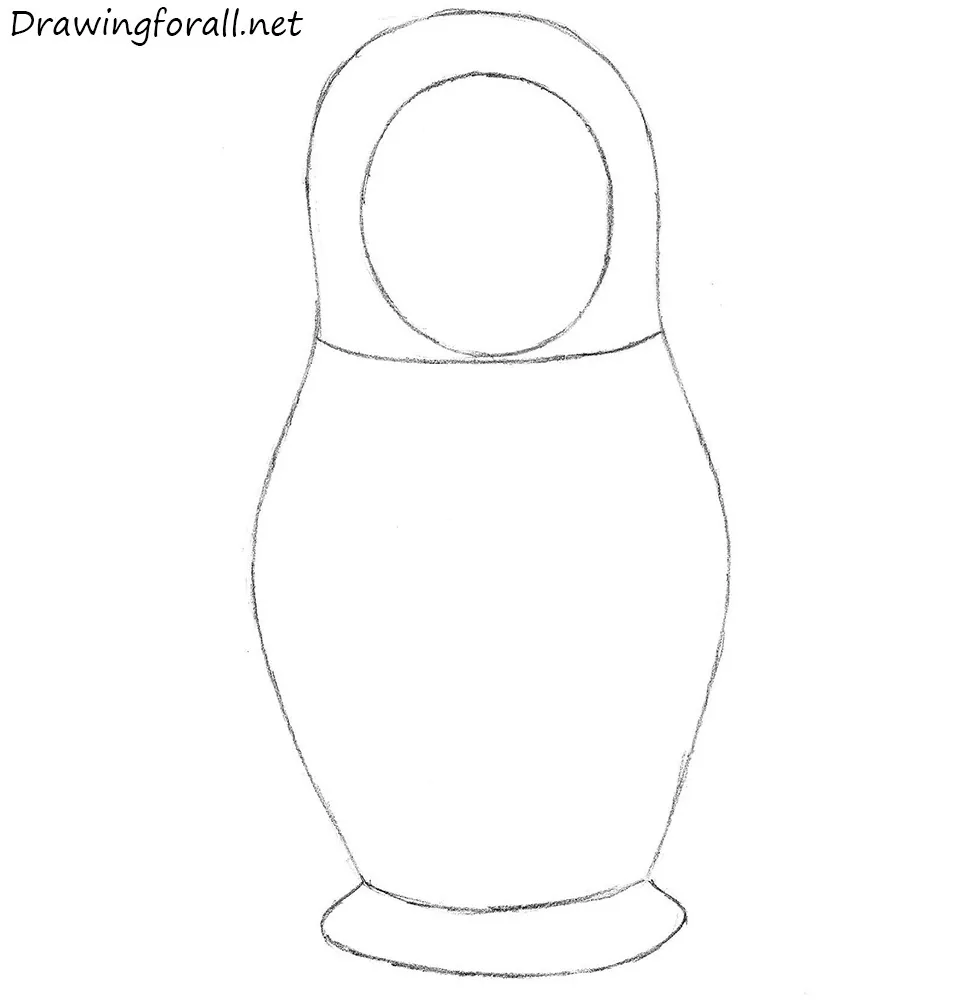
Start adding details. First, draw the line at the upper part of the figure, in the area of the neck. Slightly above this line, draw a circle, in which the face will be located. At the end of this step draw the stand at the bottom of the Matryoshka. If you doubt the symmetry of drawing, just look at the figure through the mirror. If everything is correct then move to the next step.
Step 3
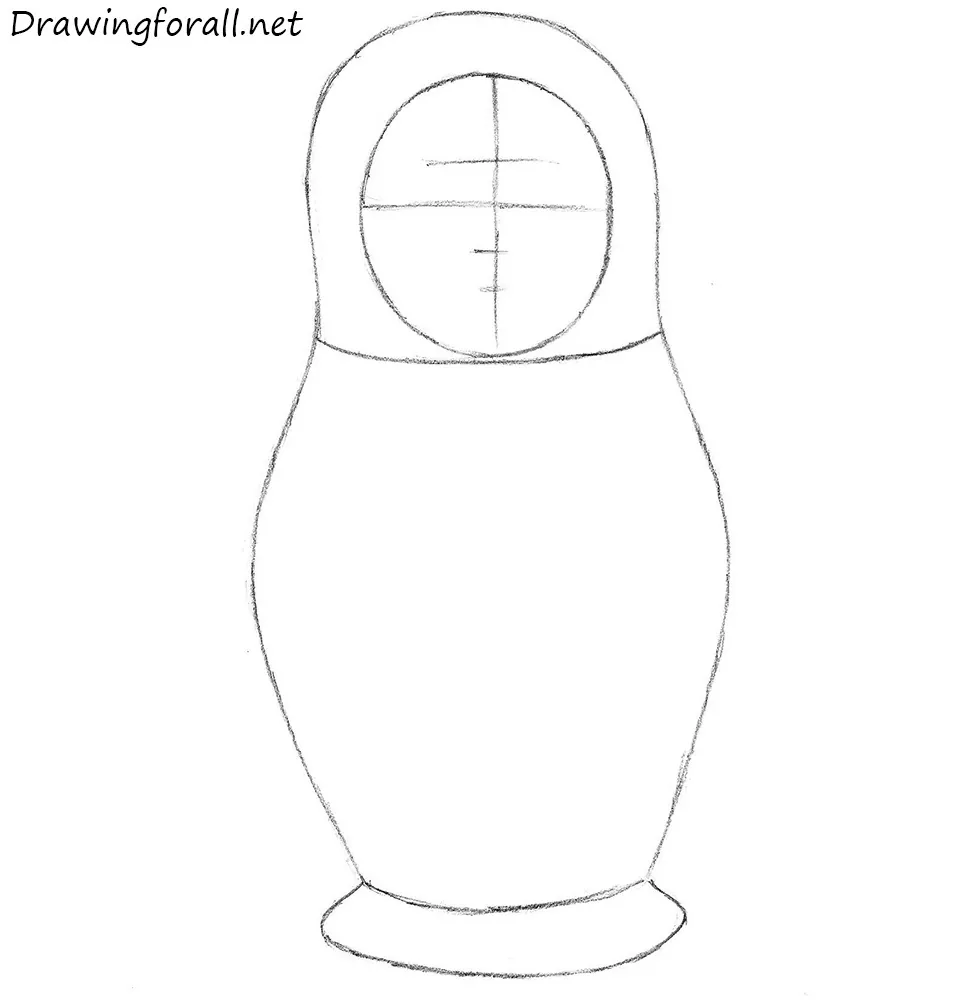
At this step sketch out the lines of the facial symmetry. First, draw a vertical line that will help you to find the center of the face. Then draw a horizontal line that will help you to draw the eyes. Slightly above the eye line draw the line of eyebrows. And slightly below the eye line draw the lines of the nose and mouth. Notice, that the distance between the horizontal lines is approximately equal.
Step 4
Now, using the lines from the previous step, draw the facial features. At first, draw eyes and paint them black, leaving one white glare in each eye. Note that the glares must be in the right parts of the eyes. Using curved lines draw the eyebrows and eyelashes. After that, draw the nose that looks like a pair of dots. Then draw the plump lips and circles of rouge on the cheeks.
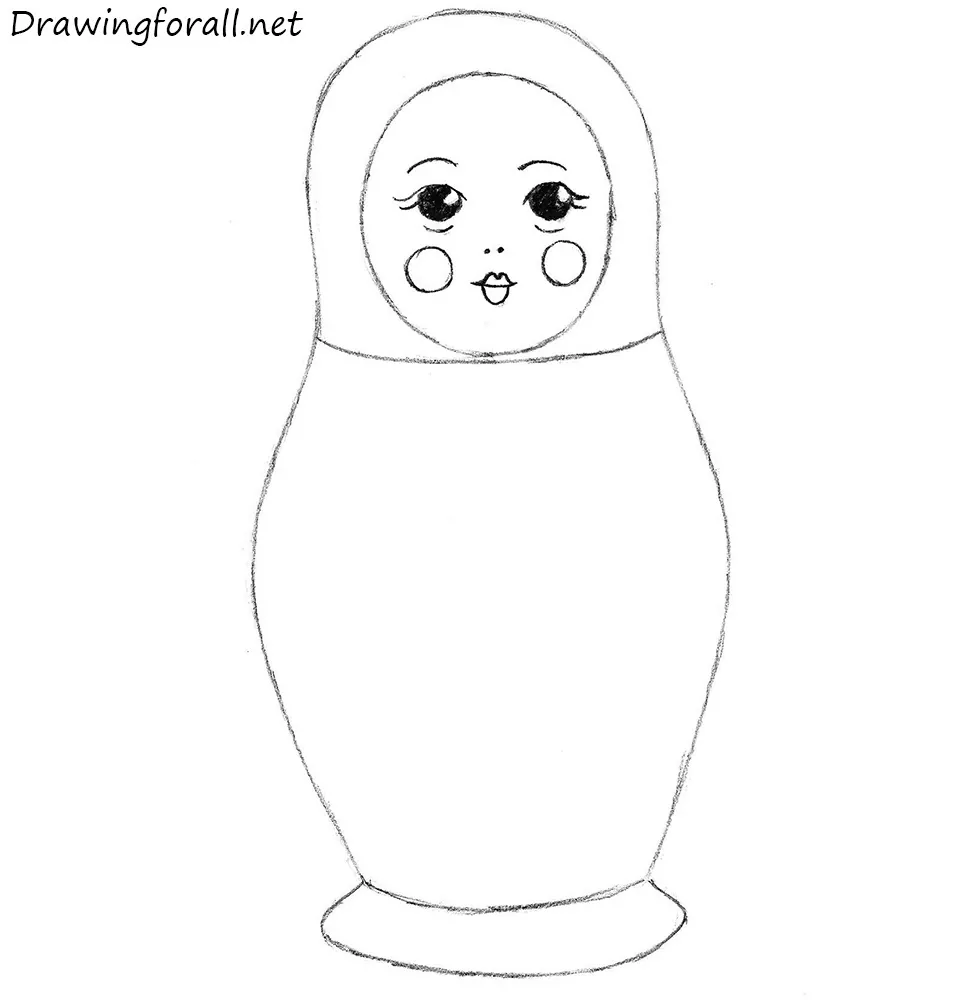
Step 5
This step is very short. Here we draw the knot of the scarf, which will be located just below the face of the Matryoshka. This knot will consist of the central part similar to a circle and side parts similar to leaves. Also, draw the hair protruding from under the top of the scarf.
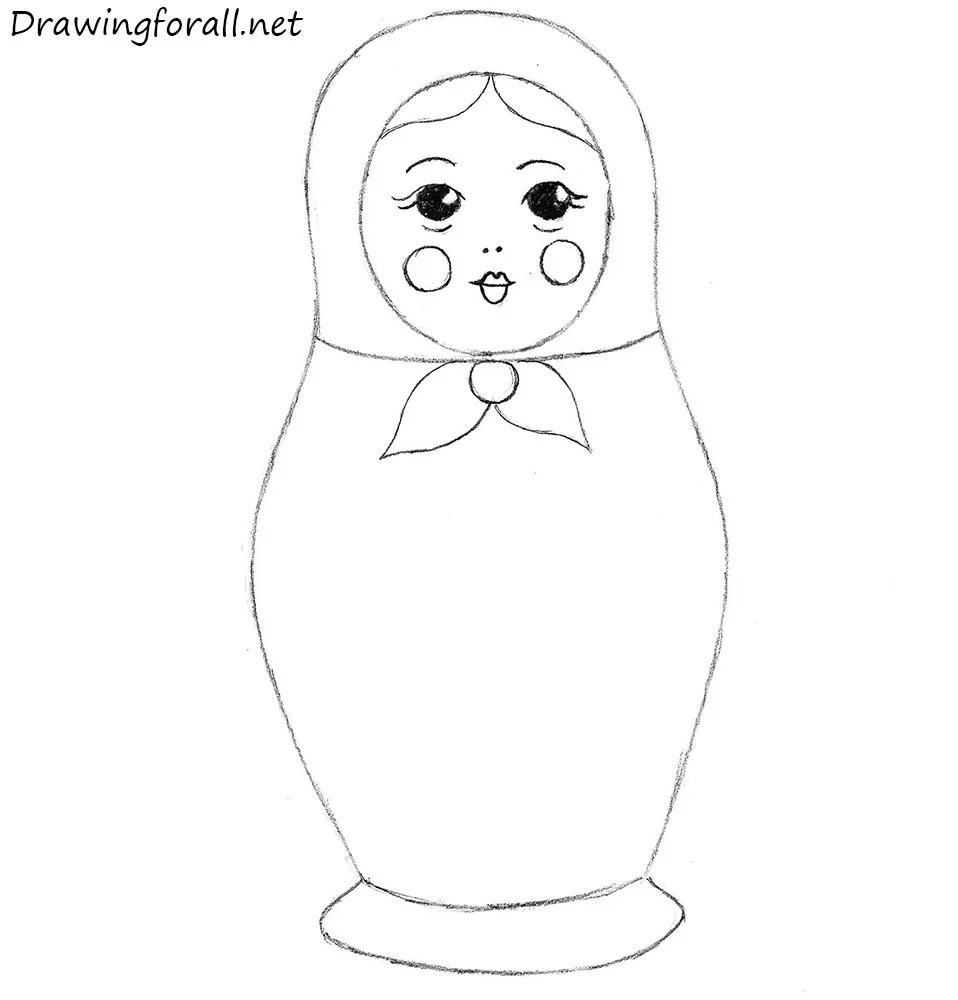
Step 6
At the edges of the body draw sleeves and palms. The lines should be smooth and symmetrical, as shown in our example. We remind you that in order to ensure the symmetry of the figure you can look at it through the mirror.
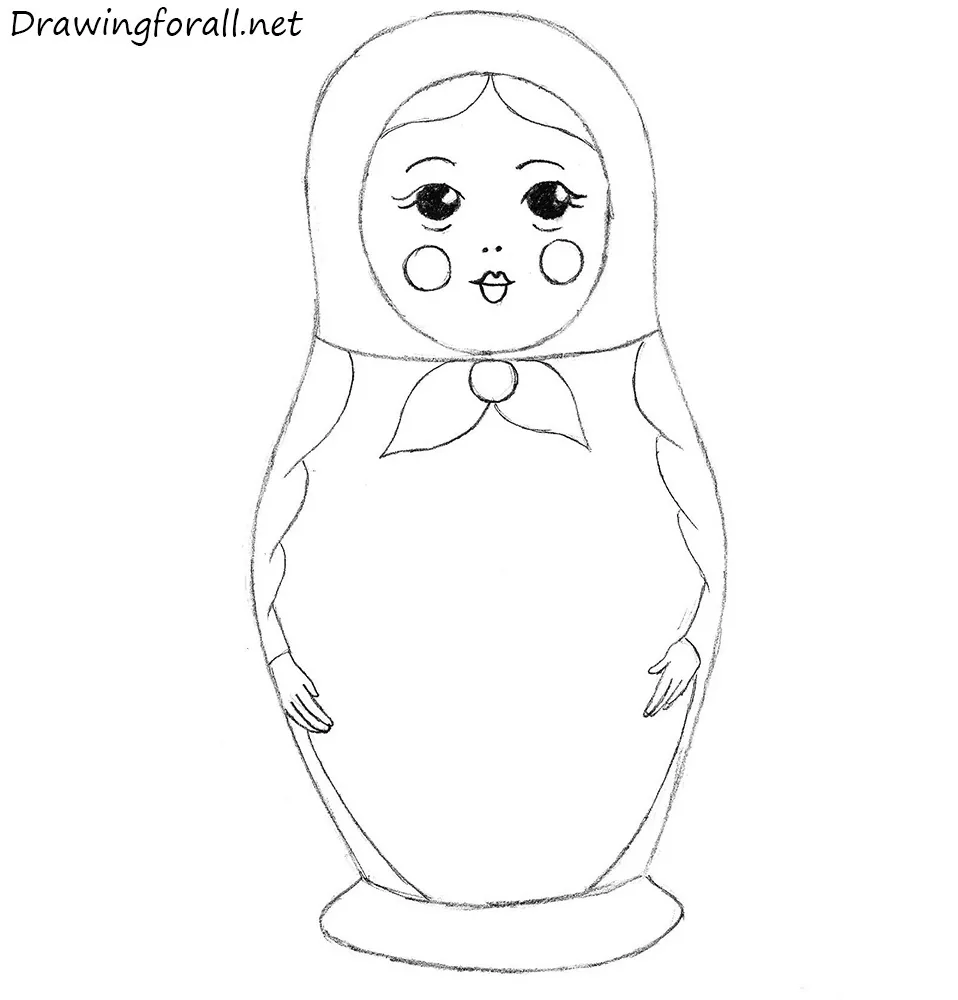
Step 7
Now draw the pattern in the center of the body of the nesting doll. Basically, you can choose the pattern you want. The main thing is to preserve the general style of the drawing, similar to Russian folk painting. It looks pretty complicated, but actually, it is not. At first, draw the figure with three petals and then surround it with the bigger leaves. Then draw three leaves around it as in our example.

That was a tutorial on how to draw a Matryoshka step by step. Write your wishes about new drawing lessons in the comments. Subscribe to us on social networks and wait for drawing tutorials from Drawingforall.net.



Thanks for this excellent tutorial!)
Thank you
I had a brain tumor and am back drawing my hand is not 100% but this helps me stay positive
Thank you very much for the tutorial!
Thank you very much! Very beautiful!!!!!!!!!
yeah!!!
so good!
really fun