How to Draw Eyes Step by Step
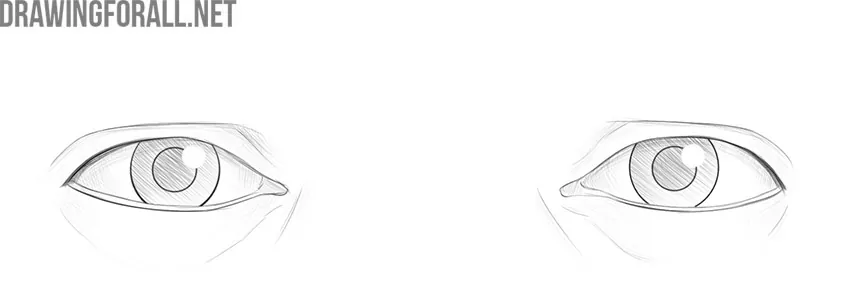
In this guide, we will tell you how to draw eyes step-by-step. As you know, the eyes often express much more than all other details of the drawing. Therefore, it is very important for any artist to know the anatomy of the eyes and be able to draw eyes. Any skill is trained by repeated repetition. By exercising regularly, you can achieve incredible skills.
So let’s start the instruction on how to draw eyes step-by-step.
Step 1
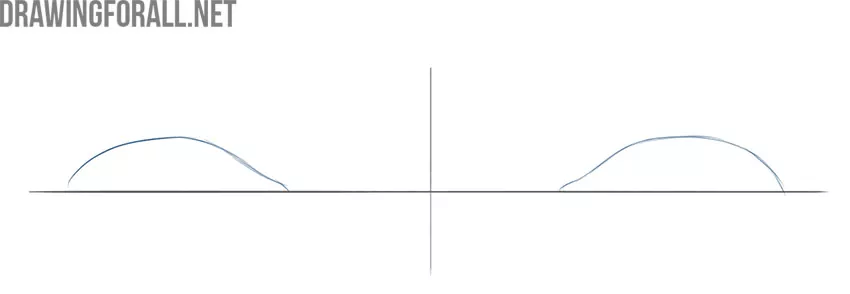
First, locate your drawing on a piece of paper. If you are drawing a portrait or practicing drawing eyes, place your drawing in the center of the paper. So, sketch a vertical line that will divide your sheet into two equal halves and indicate the symmetry of the future drawing. Then draw a long horizontal line that is slightly down from the center of the vertical line.

Step 2
Depict the outline of the upper eyelids for both eyes. In order to make the drawing more realistic, try to observe the natural curves of the eye. Avoid perfectly straight lines. In fact, it looks like two hills, which are located at approximately the same distance from the vertical line. Note, however, that the eyes should not be too close to each other.
Step 3
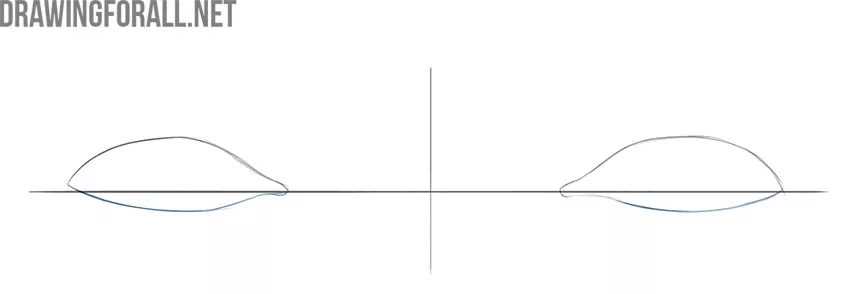
Draw the bottom border of the eye. As you can see, the bottom parts of the lower lines are closer to the horizontal guideline than the top ones. Now it looks like two stretched lemons. Depict the small protuberances at the medial corners of both eyes. Use light lines without pressing hard on the pencil. As in the previous step, avoid perfectly straight, symmetrical lines.
Step 4
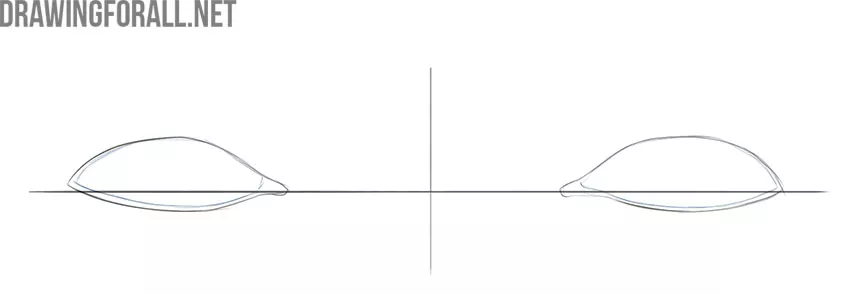
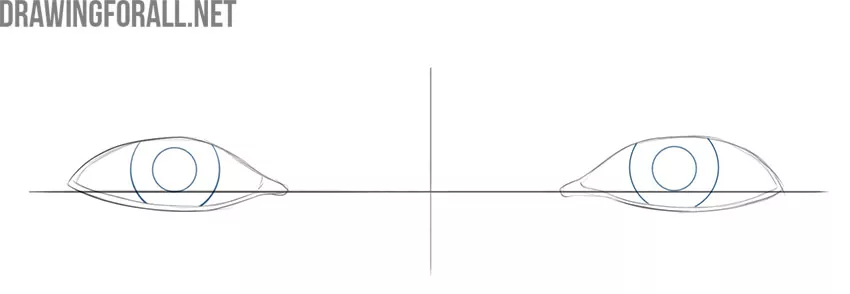
So, we continue the guide on how to draw eyes step-by-step. Start creating the inner parts of the eyes. If you look at the new bottom lines, you can see that they are parallel to the bottom eye lines from the previous step. Draw these lines. Repeat this action with the upper borders of the eyes. Pay attention to their position relative to the top lines from the previous step.
Step 5
Draw the pupils of the eyes. Remember, the placement of the pupils shapes the character and direction of the gaze. This is often the most important aspect of communicating emotions and mood. Note that the bottom edge of the small circle is aligned with the horizontal guidelines from the first step.
Step 6
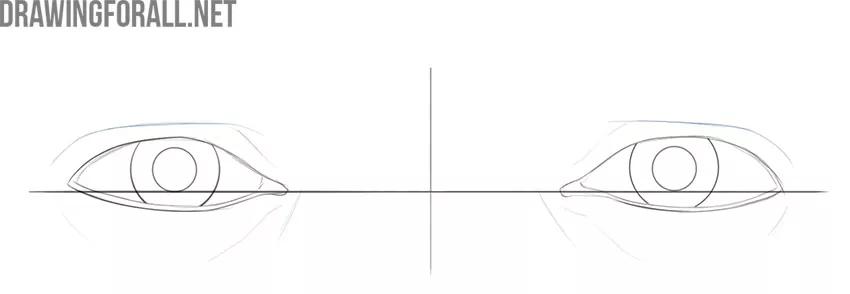
So you’ve done a great job. We hope you are not too tired. Draw the outlines of the eyelids, which appear as several long, flowing lines around the eyes. Don’t forget the skin folds. They are just two short lines near the medial corners of the eyes.
Step 7
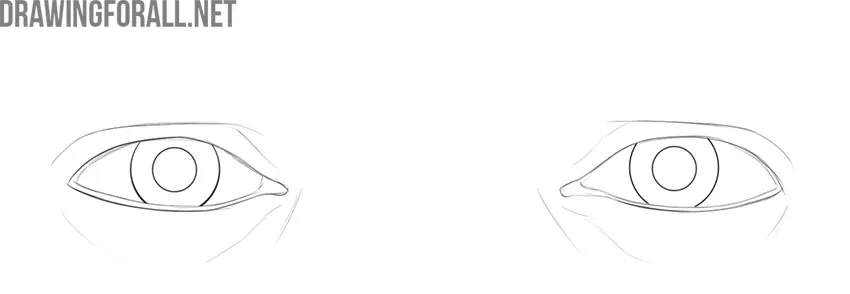
We are nearing the end of this guide on how to draw eyes step by step. Check the correctness of details, drawn earlier. After that, delete the guidelines and draw sharper outlines for every detail of your drawing. Pay close attention to the placement of the pupils.
Step 8
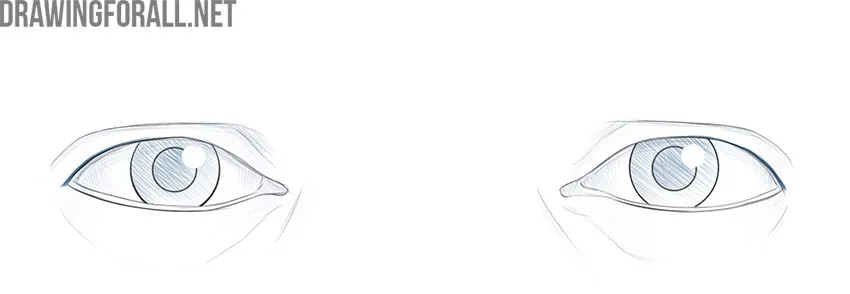
Add shadows. Use a single layer of hatching to fill the pupils. Don’t forget to draw a large white highlight inside each pupil. Use light cross-hatching to mark the shadows on the sclera. Also, paint some small shadows on the eyelids.
Step 9
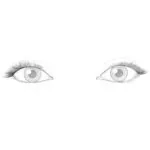
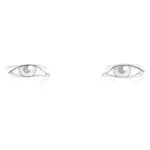
If you followed the sequence of actions, you should get a fairly realistic drawing. And if you notice any shortcomings, try to find the stage in which you made a mistake and fix it.


do buggatti
thanks
how do u erase the lines without erasing the eyes?