How to Draw a Candle
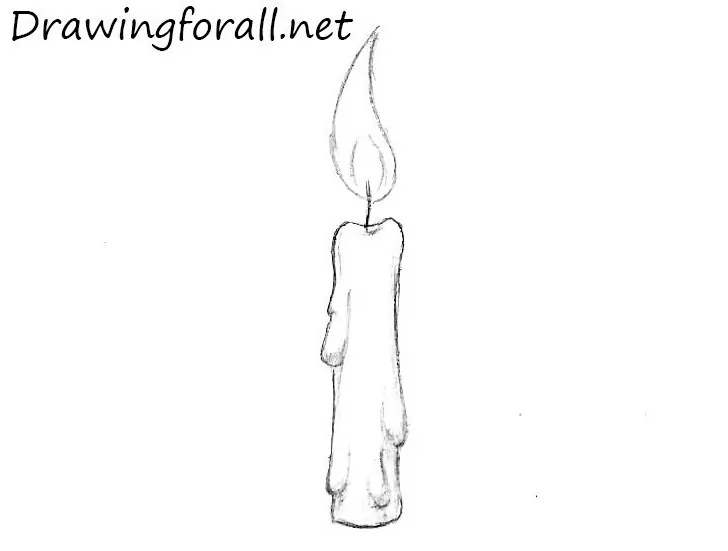
In this drawing lesson, we will show you how to draw a candle – one of the most ancient objects that helped illuminate human dwellings.
And according to our tradition, we made the lesson as simple and clear as possible. But despite all its simplicity, the candle drawing will be quite realistic.
So, let’s start this tutorial and find out how to draw a candle!
Step 1
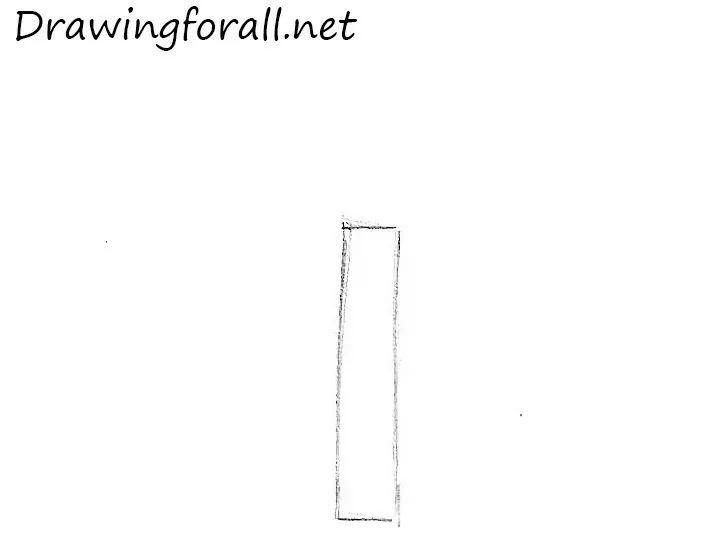
We begin drawing a candle with the contours of the object. Actually, at this stage, it looks like a tall and elongated rectangle. In order not to create problems for yourself in the future when making changes to the candle drawing, use very light lines.
Step 2
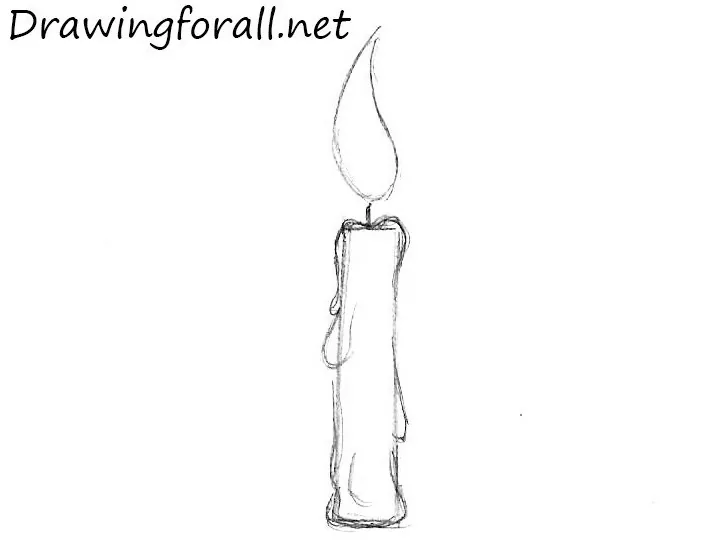
Draw the contours of the candle using smooth long lines, as in our sample. These lines should literally flow down the rectangle drawn earlier. Draw the wick. With a couple of smooth lines, draw the outlines of the flame that is somewhat similar to a drop.
Step 3
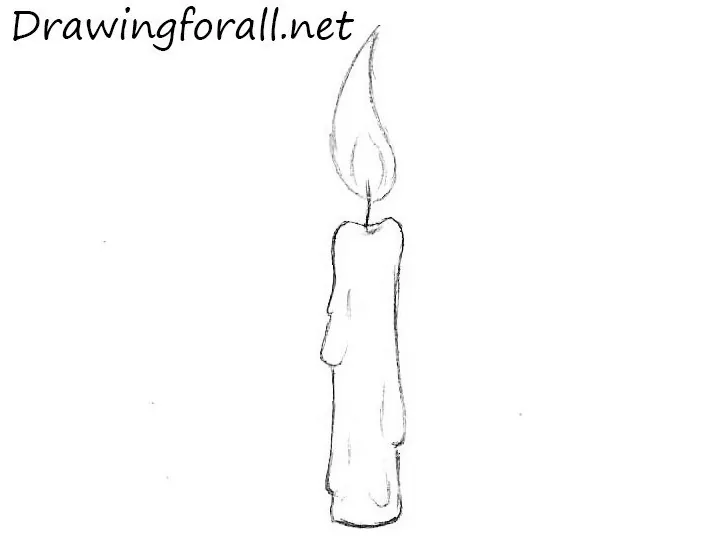
Great, this already looks like a real candle. Now remove the unnecessary guidelines and finish with the contours. Draw a couple of drops of melted wax on the bottom of the candle and create the center of the flame.
Step 4
Now you need to add shadows so that your candle drawing takes on a truly voluminous look. Since the light comes from above, the bottom of the drops should be darkened. Also, you can draw a cast shadow to give the drawing a more lively look. By the way, you can draw a candlestick under the candle, or put the candle on a plate.

So, the candle drawing lesson is complete. We hope you enjoyed this tutorial. If you love easy tutorials, we recommend tutorials on how to draw an iPhone and how to draw a book. And if you want to draw something more complicated, we suggest you our lesson on how to draw Wolverine. And we also invite you to follow us on Facebook and Pinterest to keep up to date with all the new instructions on Drawingforall.net.


This was an amazing website
It IS an amazing website! I use it ALL THE TIME, like, literally.
what do you mean its not step by step like???? show me the image your drawing bud