How to Draw John Constantine
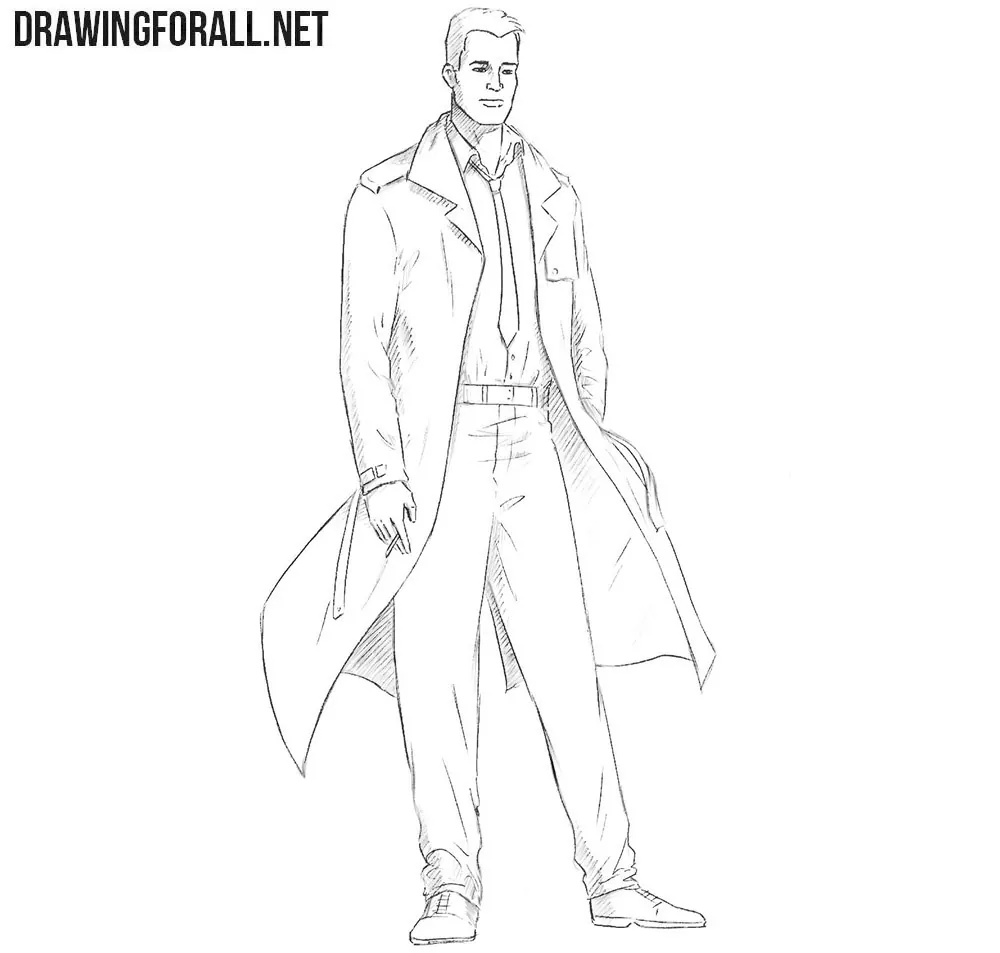
Most popular comic-book characters wear colorful costumes with logos and capes, but there are some notable exceptions. In this step-by-step tutorial, we will show you how to draw John Constantine wearing his classic suit and trench coat and looking more like a tired office worker.
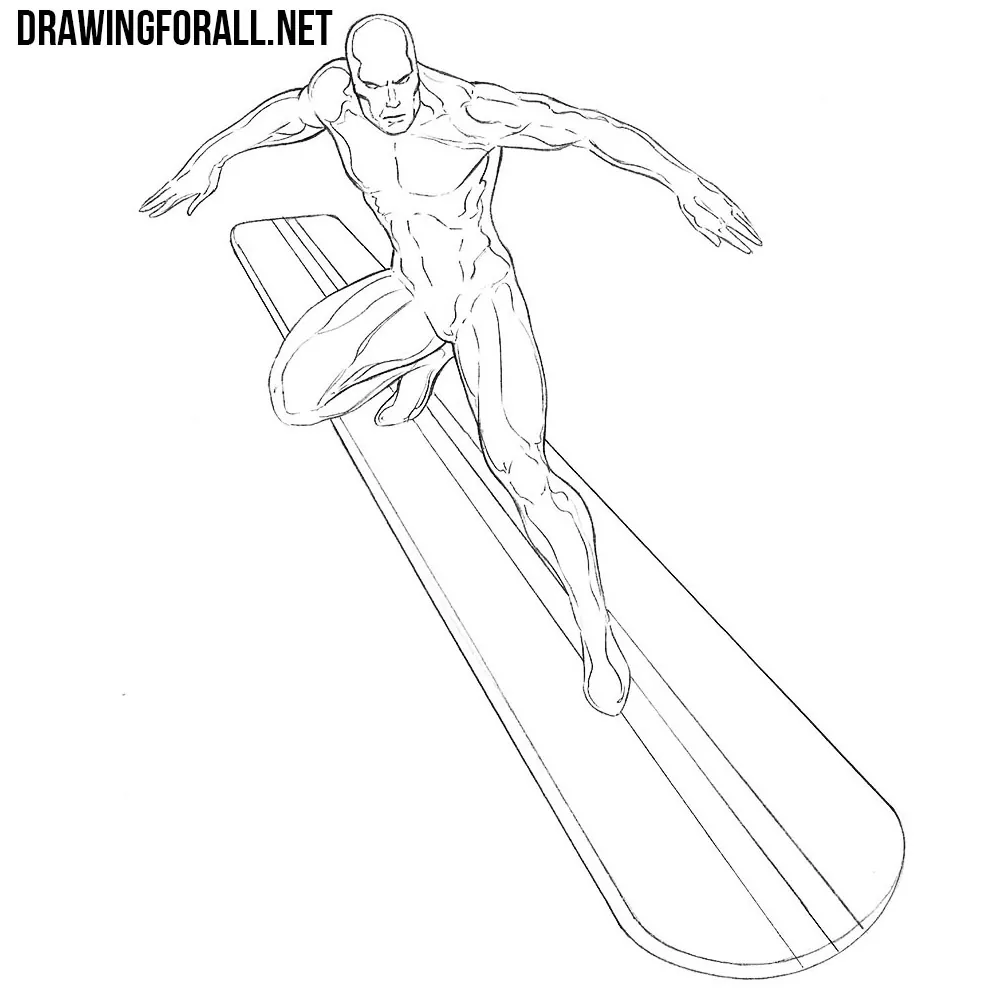
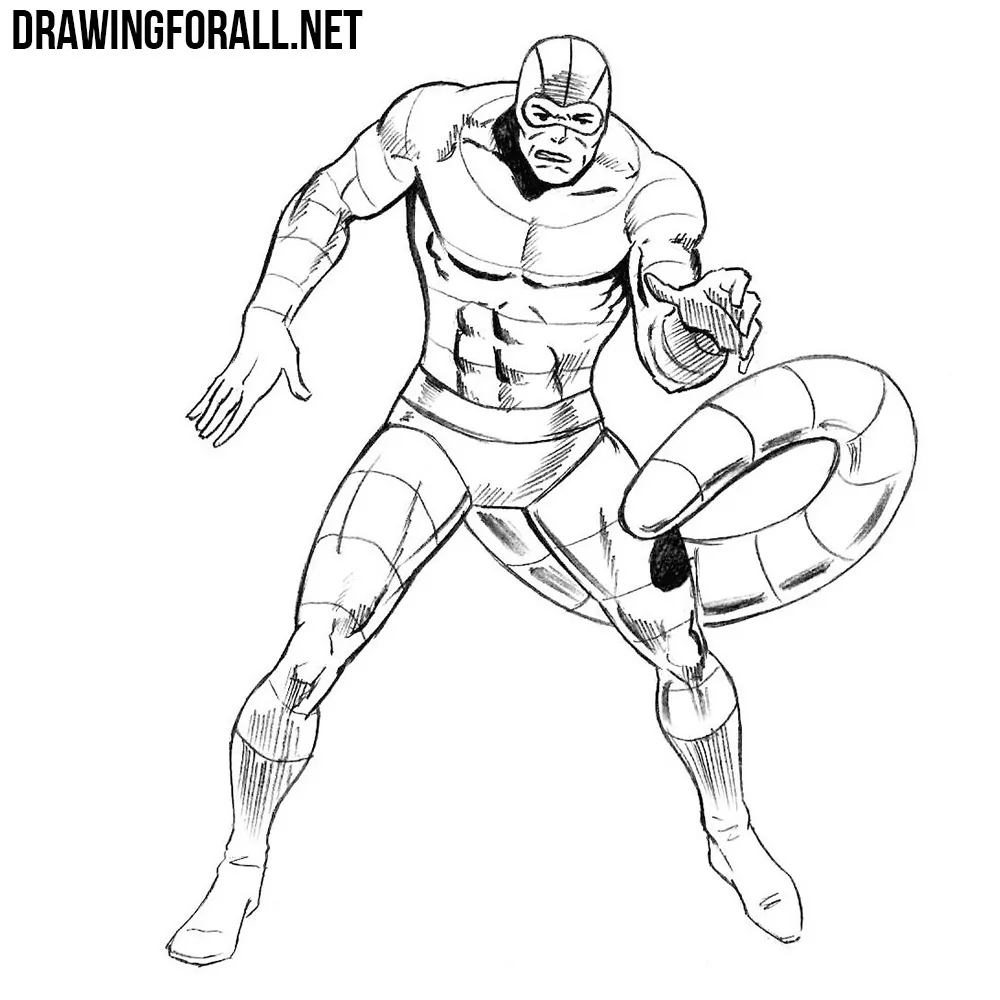
As with the character we drew in our Jesse Custer tutorial, here we will construct proportions and a build that are as close to realistic as possible, unlike, for example, in our Omega Red drawing tutorial and other characters with a more exaggerated comic-book appearance.
How to draw John Constantine step by step
Step 1: Sketch Constantine’s head and skeleton
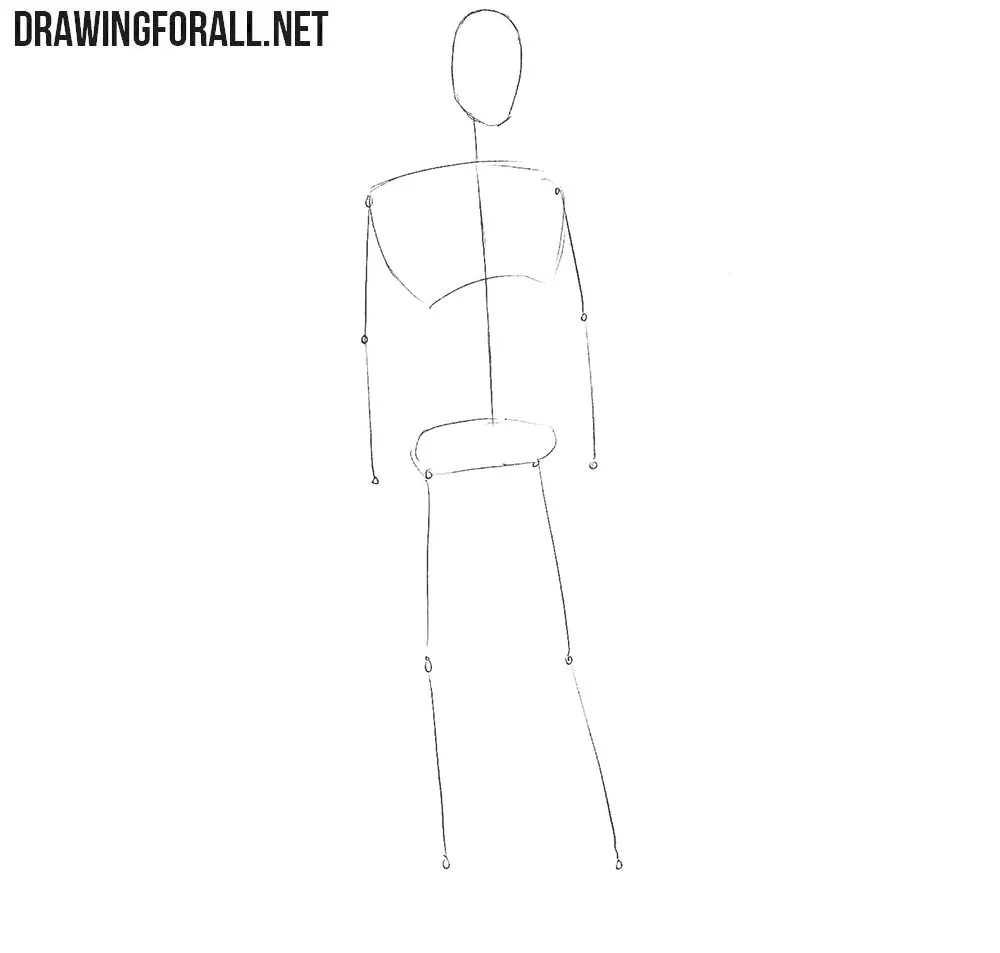
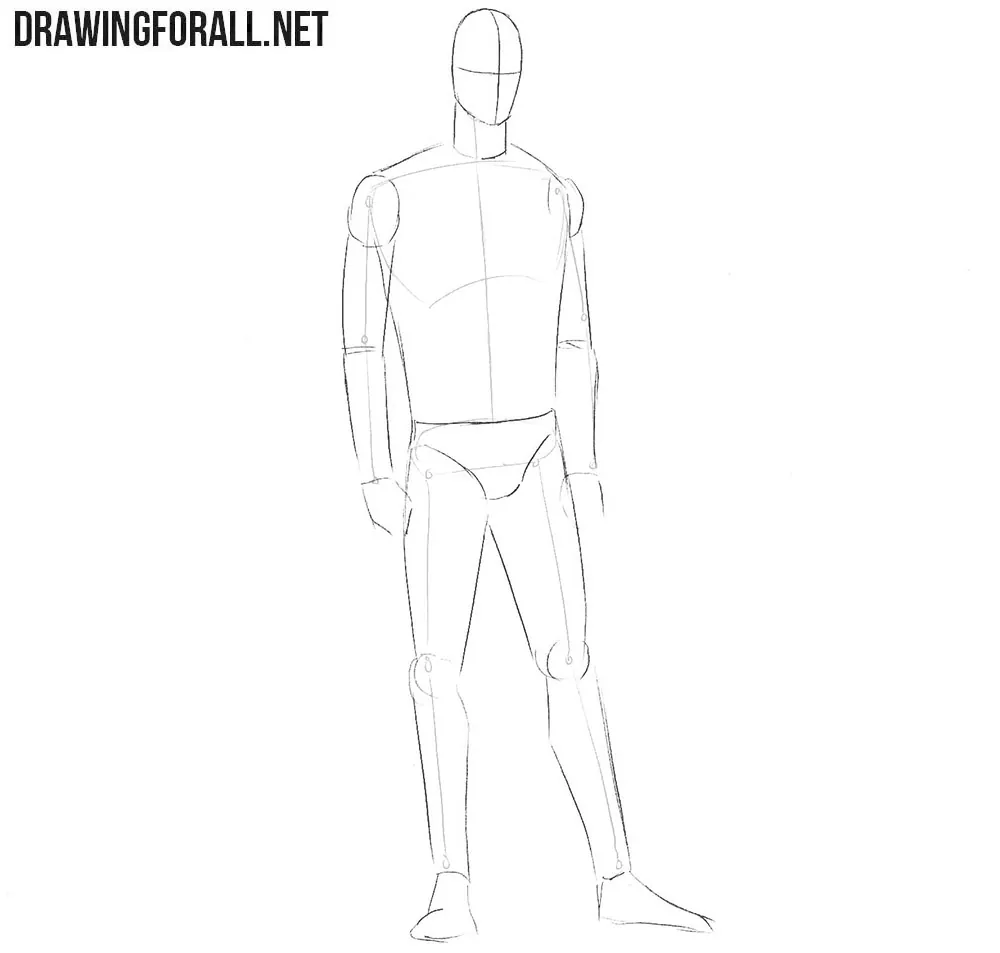
Start with the skeleton. Outline an oval for the head and a long line for the spine. Next, sketch the chest and pelvis. Draw the chest wider than the pelvis. Use simple lines to mark the arms and legs. Mark the elbows near waist level and the wrists below the pelvis. Draw these initial shapes and guidelines with very light pencil strokes.
Step 2: Ad volume to Constantine’s figure
Sketch two intersecting lines on the head to guide the placement of the facial features. Place the vertical guideline to the right of the oval’s center to indicate the slight turn of the face. Next, outline the neck and torso. Sketch out the arms and legs with simple geometric shapes. Use cylindrical forms for the limbs and small circles at the knees. Continue to use light lines.
Step 3: Sketch Constantine’s features and clothing
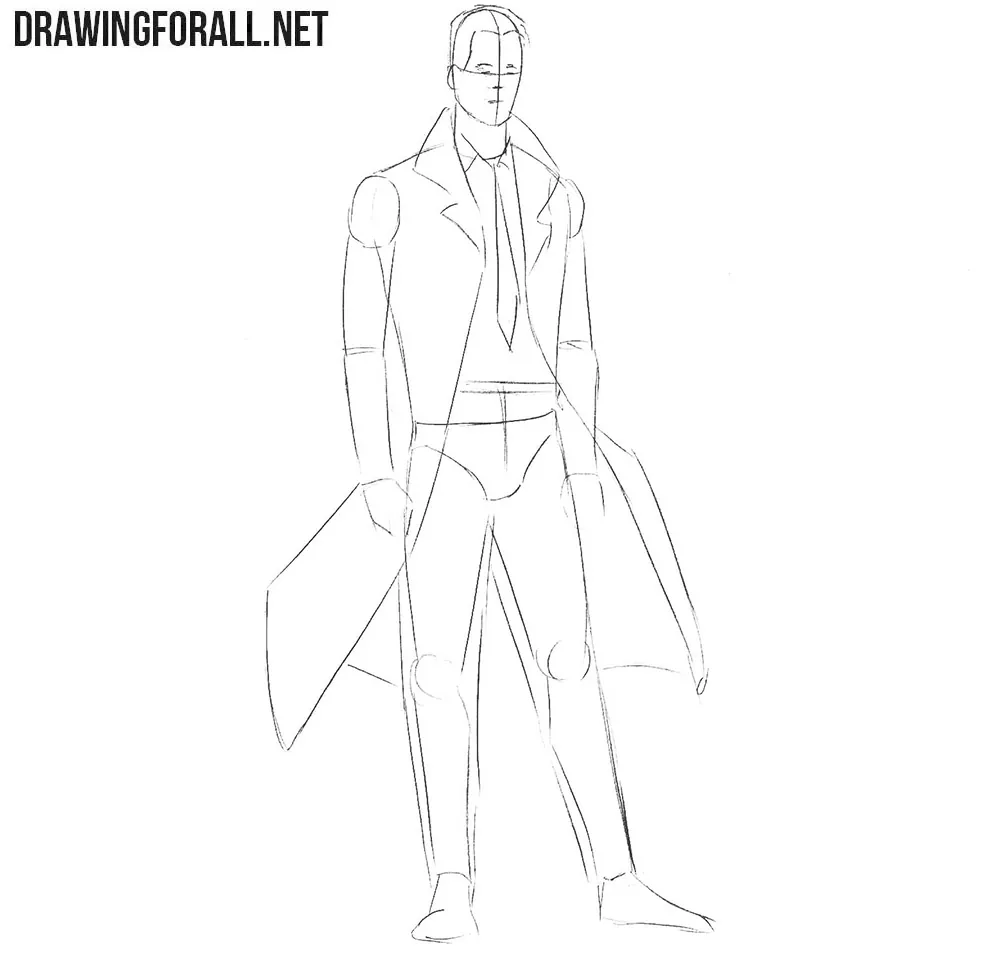
Sketch the facial features and hair. Use the intersecting guidelines to position the features. Next, outline the clothing. Sketch the raised coat collar beside the neck and the angular lapels across the chest. Draw the long tie between them. Extend the coat below the knees, with its open lower panels spreading to either side of the legs.
Step 4: Refine the face and hair
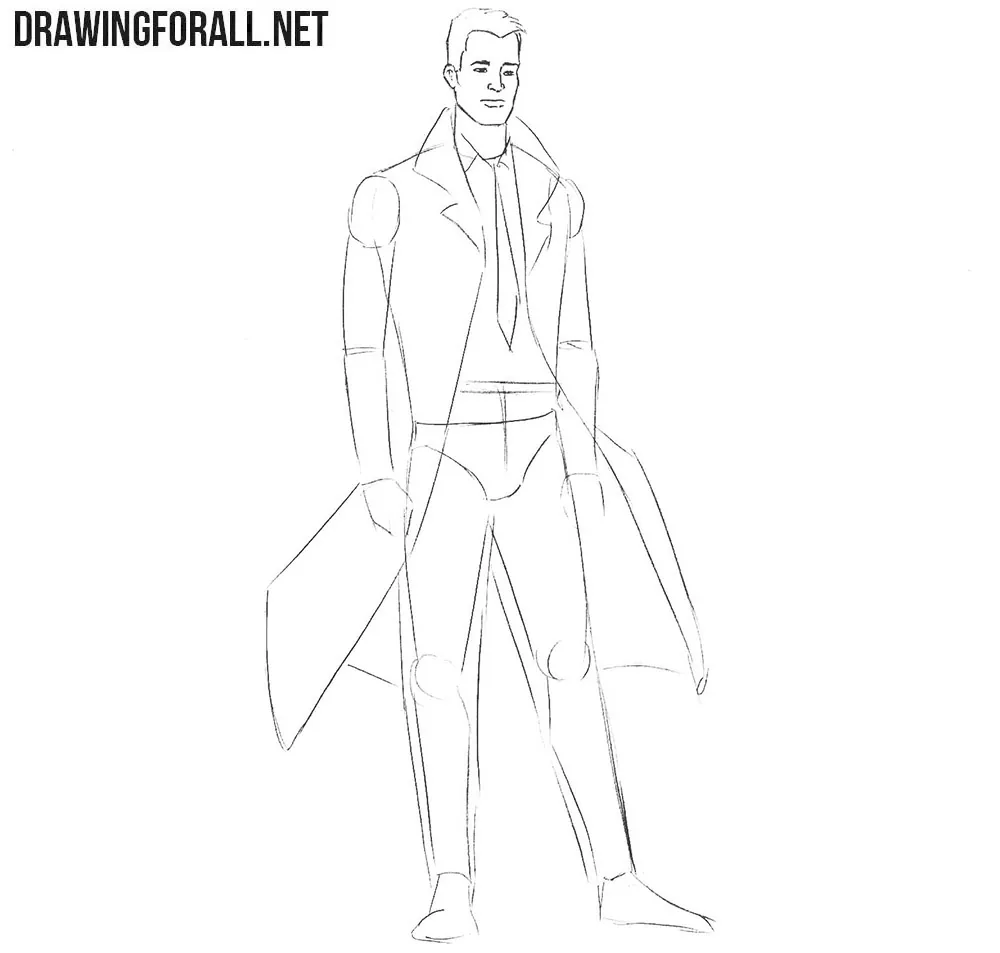
From here onward, use clear, dark lines. Begin with the head and carefully draw the eyes, nose, and mouth. Draw Constantine’s eyebrows above the narrow eyes and add short lines beneath the lower eyelids. Indicate the closed mouth with a nearly horizontal line and a shorter mark beneath it. Next, draw the disheveled hair, visible ear, and facial contours. Outline the angular jaw and separate a few short locks along the top of the hairstyle.
Step 5: Draw the collars and tie
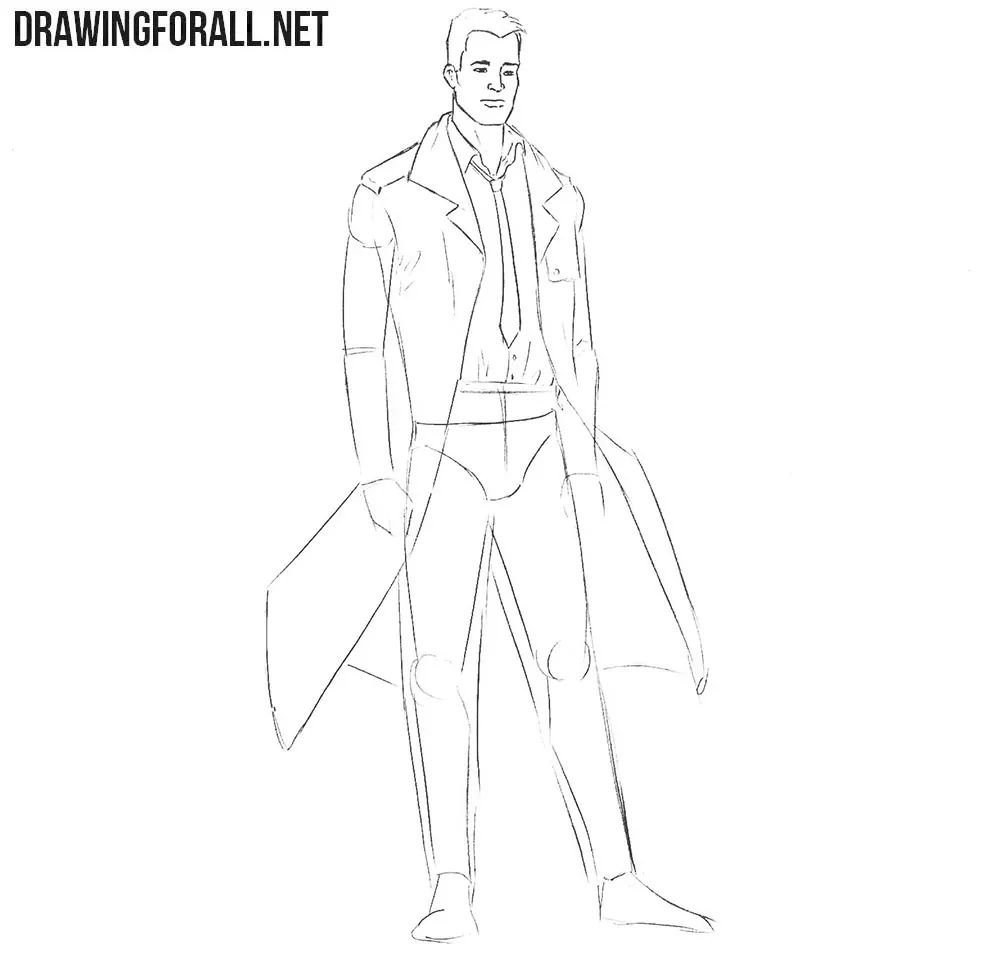
Now move on to the torso. Carefully draw the shirt collar, then outline the coat collar. Next, draw the tie and the upper part of the coat using darker lines. Place the loose knot below the open shirt collar. Add the notched lapels and the buttoned flap on the right side of the drawing. Add folds to the shirt and coat, then erase unnecessary guidelines from the torso.
Step 6: Detail the sleeves and hand
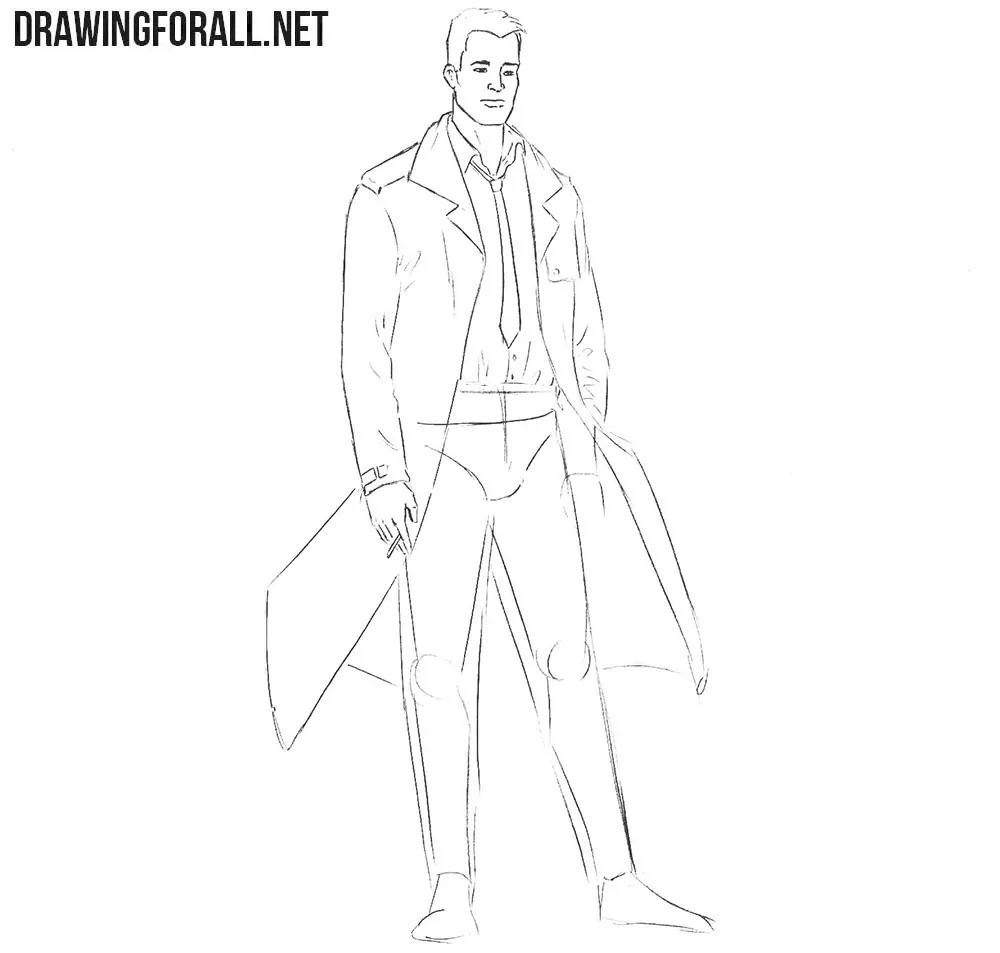
Continue the shoulder lines into the sleeves and carefully trace their outlines. Add the fabric folds and draw the only visible hand. Sketch the sleeve creases near the elbows and a narrow buckled strap around the cuff on the left. Below it, outline the fingers. The other hand is hidden, so draw only the sleeve down to the coat opening. Erase unnecessary guidelines from the arms before moving on to the legs.
Step 7: Finish the pants and coat
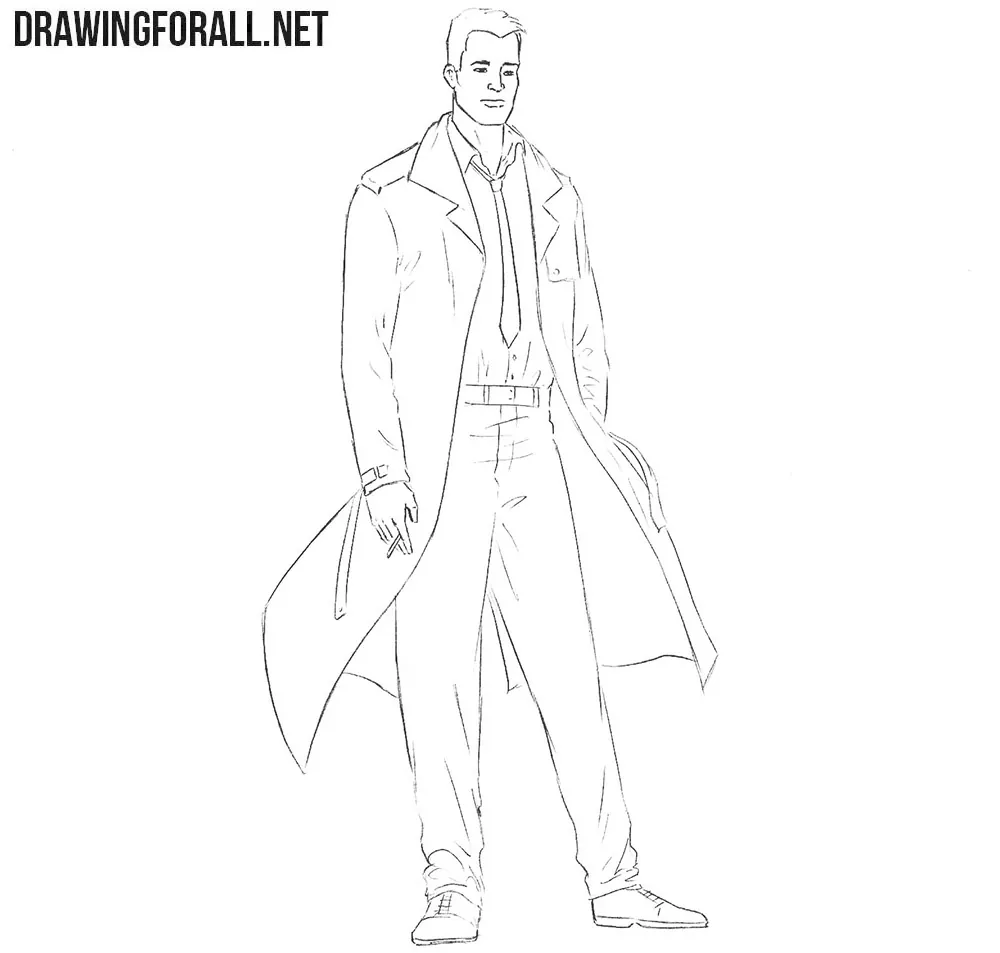
Draw the outlines of the pants with long, smooth lines. Add folds where the fabric bunches or stretches. Draw the belt and the seams on the pants. Refine the fly beneath the buckle and the gathered fabric above the shoes. Outline the shoe soles and add short lines for the laces. Complete the lower coat panels with curved hems and long folds near the sides. Draw the hanging coat belt behind the visible hand, then erase the remaining construction lines.
Step 8: Add hatched shadows to Constantine
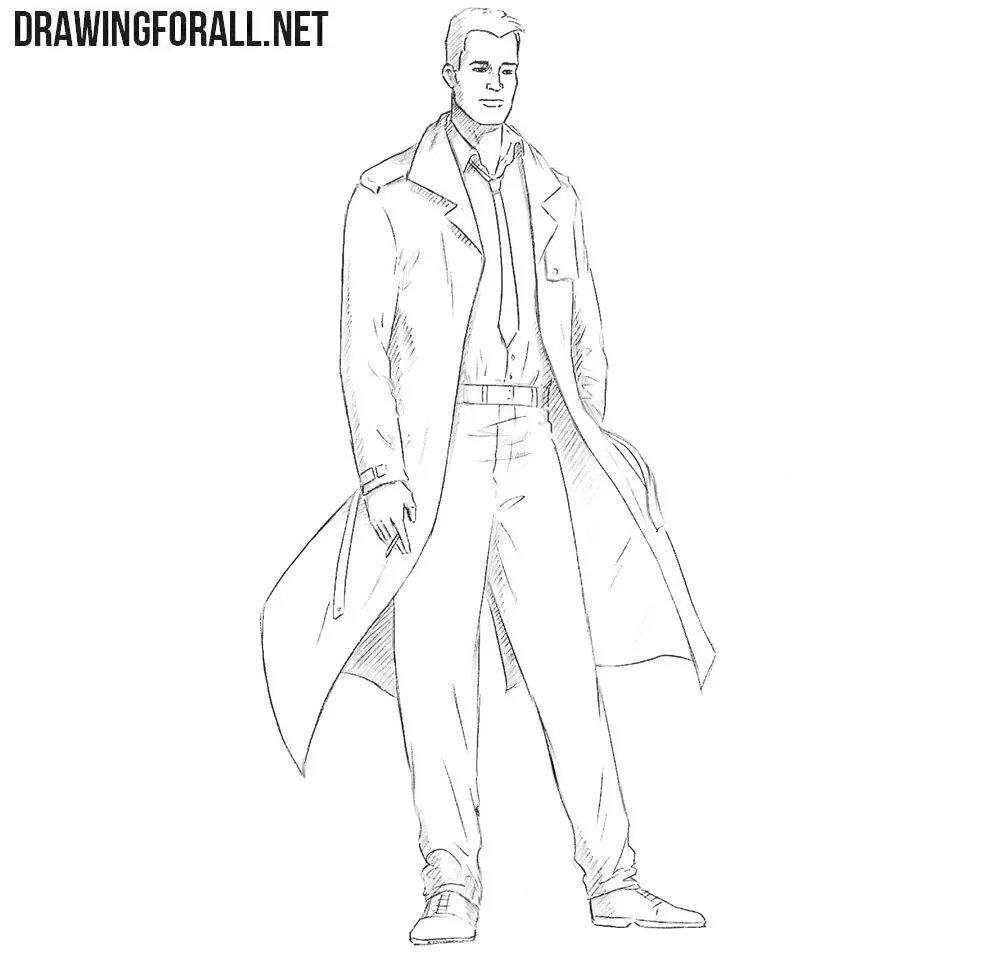
First, determine the light source, then add hatching to the areas that receive the least light. You can first indicate the boundary between light and shadow with light lines, and then begin filling in the shaded areas. For darker areas, use denser hatching. To depict slightly less shaded areas, use lighter pencil pressure when hatching.
To make a comic look more impressive, its characters are often drawn with slightly exaggerated body proportions.
Large muscles that often go beyond realistic limits, idealized outlines, and exaggerated movements can make a comic much more spectacular and dynamic.
But in some cases, the opposite is required: the characters and the entire comic need to look as convincing as possible, which means bringing the proportions of the main character closer to realistic ones.
Of course, even an exaggerated human figure is drawn according to the principles of constructing the human body. But in this tutorial, we depicted the character as if we were drawing an ordinary man.