How to Draw a Belt
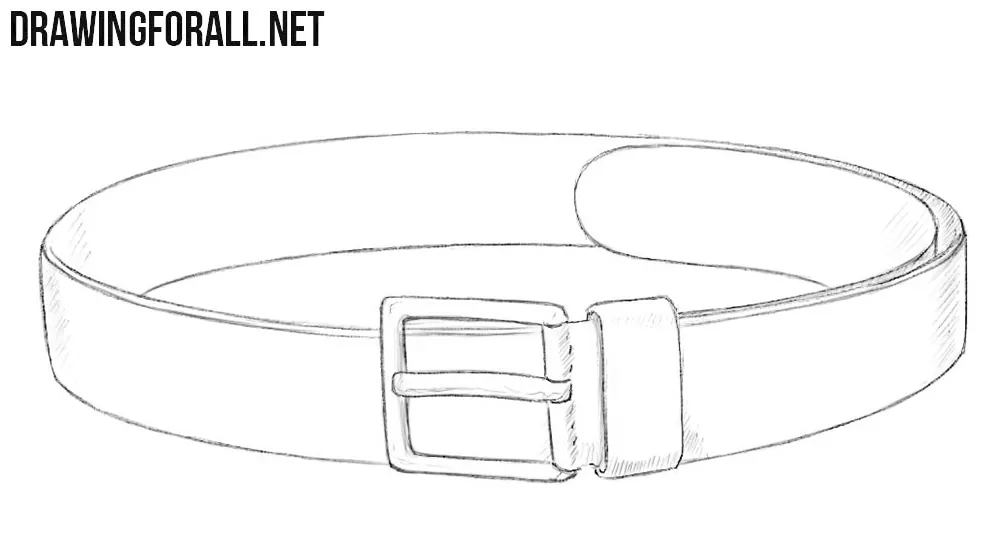
In one of the previous tutorials we showed how to draw pants, and as a continuation of that tutorial, here we will show you how to draw a belt.
There are a huge number of different types of belts in the world. They come in different materials and shapes. In this tutorial, we will draw a classic belt with a rectangular buckle.
Using these same steps, you can draw any other belt by changing the buckle, making the belt thicker or thinner, or adding some kind of pattern.
How to draw a belt step by step
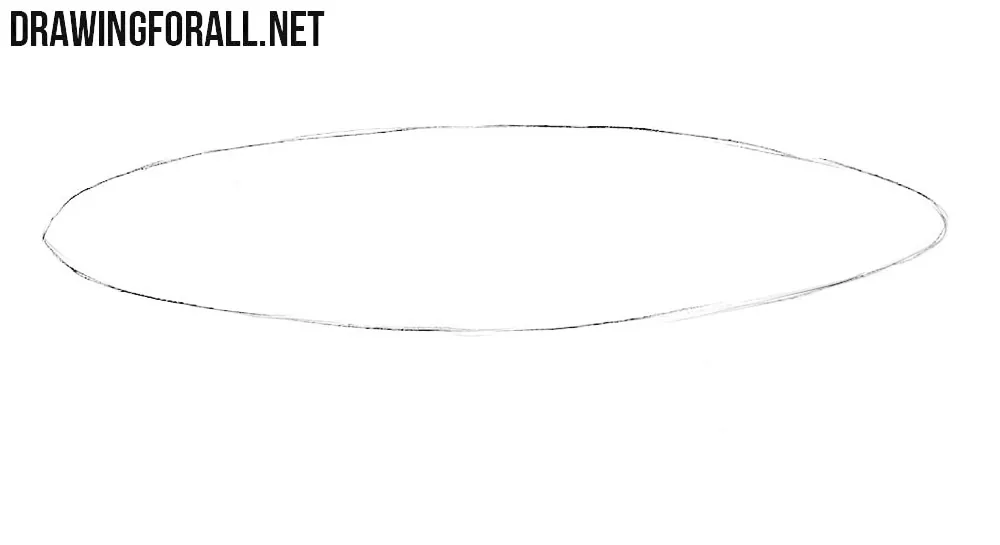
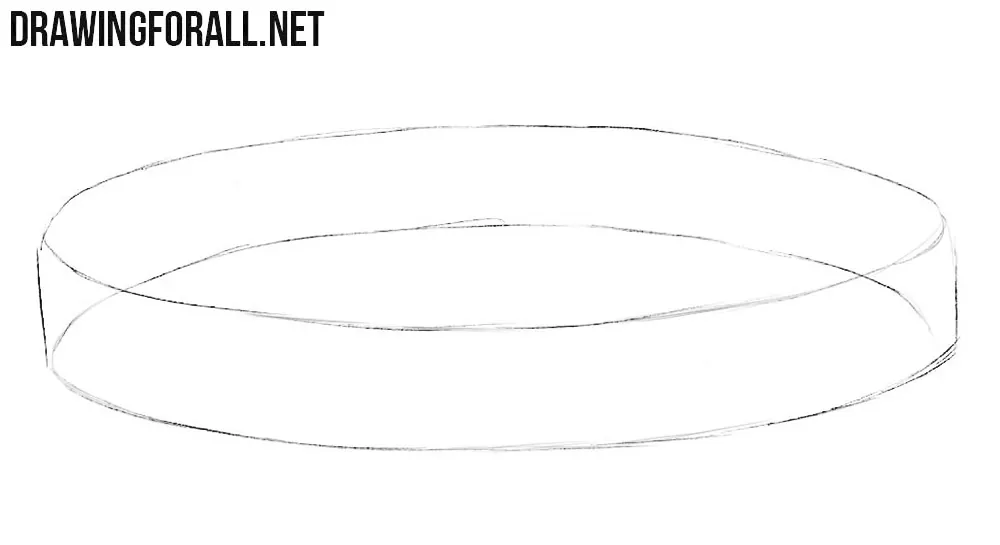
Step 1: Sketch the upper edge
Let’s start our belt drawing with a simple flattened oval. Sketch it with a very light line. This oval will serve as a guide for the entire shape of the belt.
Step 2: Complete the shape of the strap
Now, using a few simple, slightly curved lines, add the lower edge of the belt strap and connect the contours at the sides. In this way, the simple oval from the previous step turns into a wide strap bent into a loop. Keep the upper and lower edges related to each other.
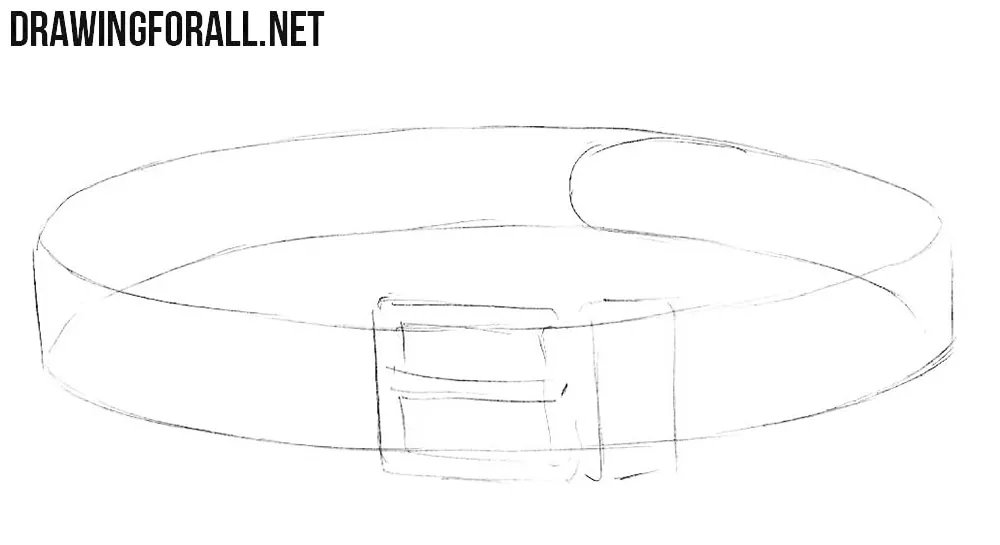
Step 3: Sketch the buckle and loose end
With several very light lines, sketch the belt buckle at the front. Mark it as a rectangular frame placed against the front part of the curved strap. Mark the inner opening of the buckle and the horizontal tongue inside it. Next, use a curved line to mark the loose end of the belt strap inside the loop. This end bends away from the viewer and passes behind the front part of the belt.
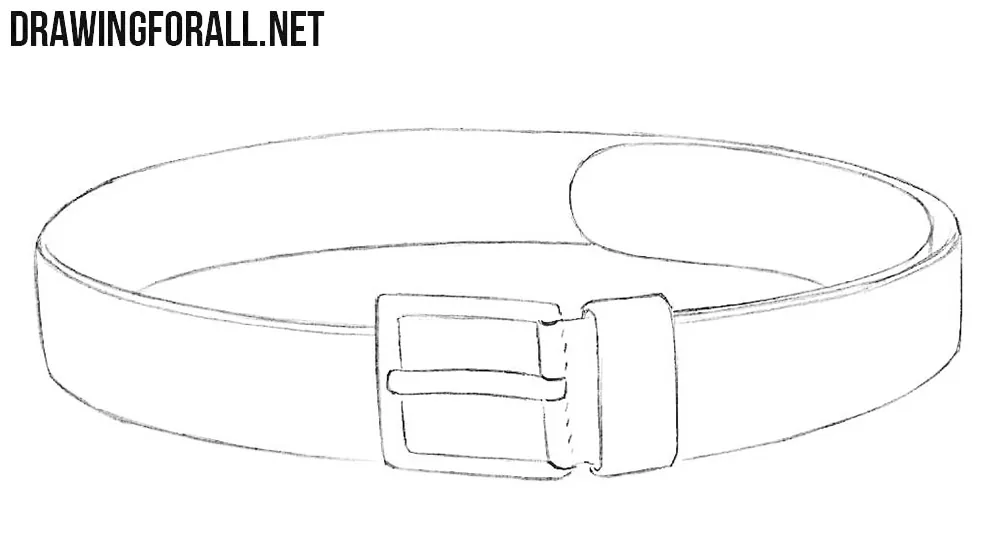
Step 4: Refine the buckle, keeper, and strap
Now, with dark, smooth lines, carefully trace all the belt contours, including the buckle. First, carefully trace the outline of the buckle to give it a cleaner and clearer appearance. Next, use long, smooth lines to trace the outline of the belt. Add stitching near the end of the belt where the buckle is attached. Remove the unwanted guidelines from the belt drawing.
Step 5: Shade the strap and buckle
Apply light hatching to the shaded parts of the belt strap and buckle. Add most of the shadows along the bends of the surfaces. This will make the belt drawing look more three-dimensional. Put more tone near the left and right turns of the strap, where the wide strip curves away from the front. For darker shadows, add another layer of hatching.
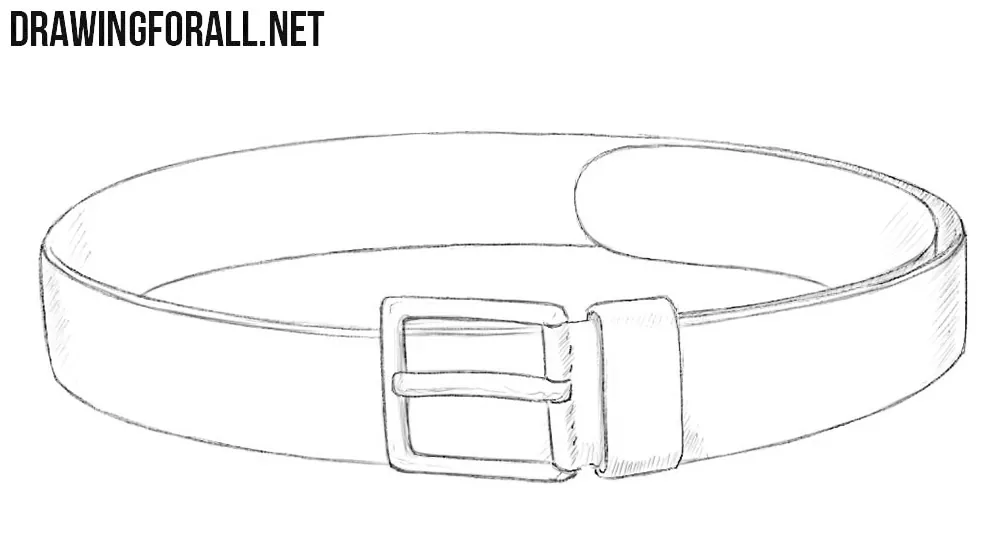
So, let’s summarize the main important aspects of drawing a belt. The most important thing to remember is that a belt consists of two main parts: the strap and the buckle.
The strap can be thicker or thinner than in our example, while the buckle can be rectangular, rounded, or have a more complex shape. The belt can also have a stitched pattern or some kind of texture.
It all depends on what kind of belt you want to draw, but the steps remain roughly the same as in our tutorial: first indicate the overall form, then refine and add the details, and finally create volume with simple shadows.
Next, to continue reinforcing the skill, try creating a complete character. Draw a person and dress them in clothing of your choice, with a belt around the waist. Draw a shirt on the torso and sketch a hat on the head, or any other element you like.
You can draw dresses of different styles and add different types of belts to them. Remember that a thin, elegant belt is usually more suitable for a classic dress.