

How to Draw a Man
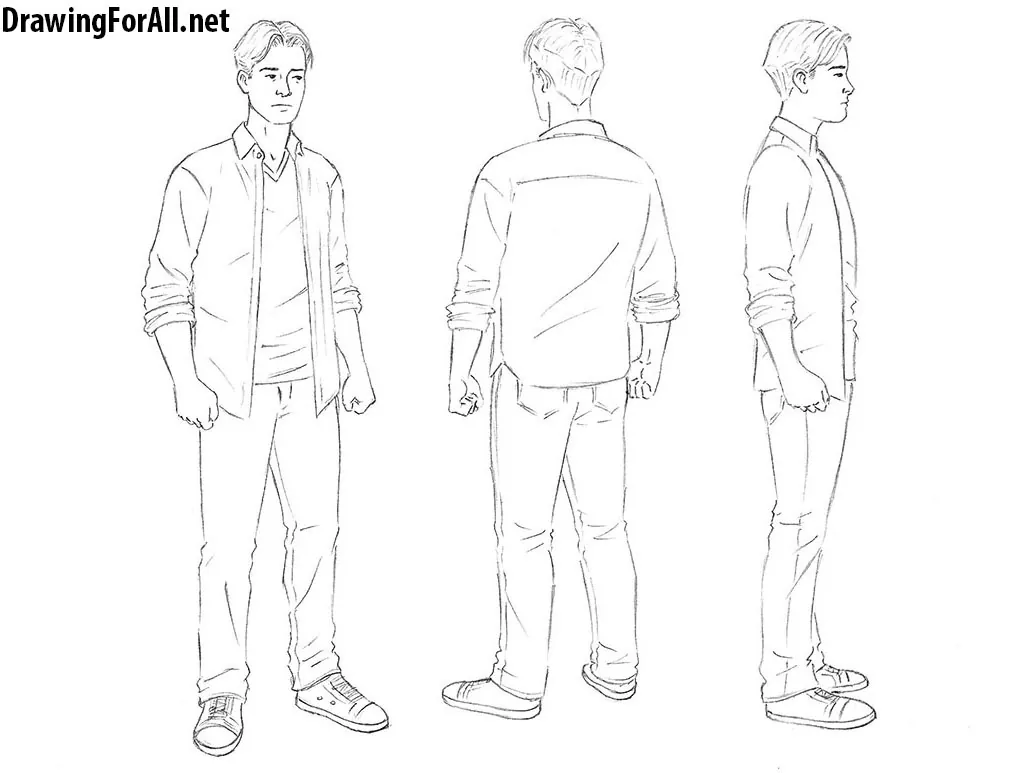
In this drawing tutorial, we are going to draw a man.
This drawing tutorial is simpler than the previous tutorials because it is very basic, contains no complicated details or shadows, and was created to help you understand the basic structure of the human body.
To make the tutorial more informative, we decided to draw a man from three different angles. Let’s begin the tutorial on how to draw a man for beginners.
How to draw a man step by step
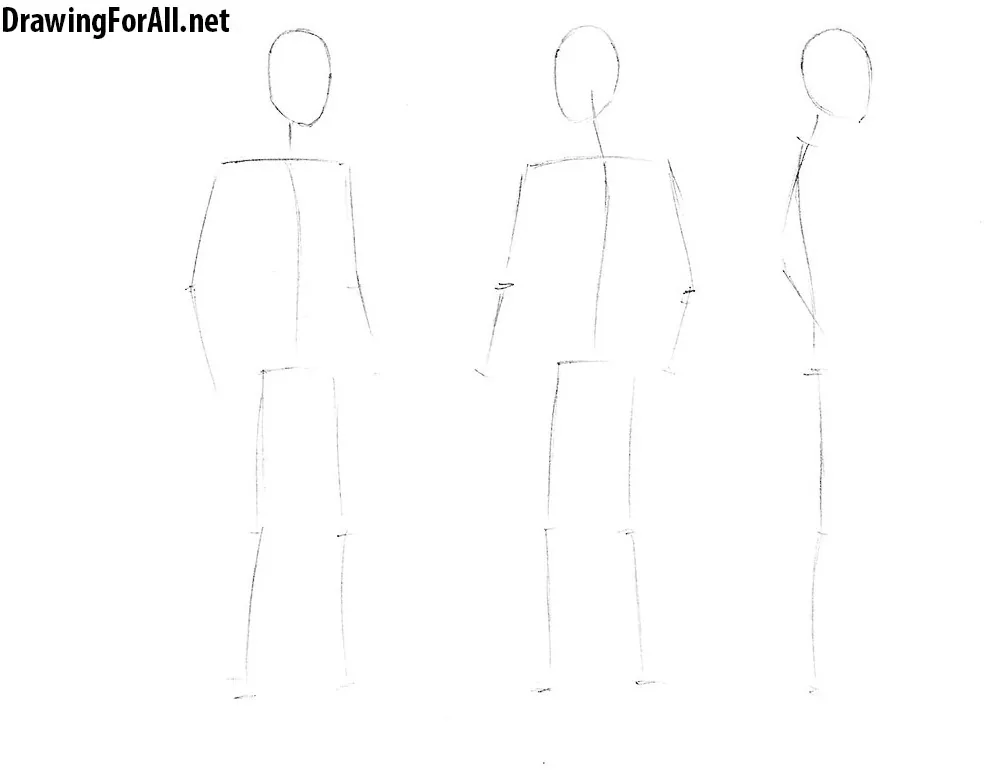
Step 1: Sketch three basic figures
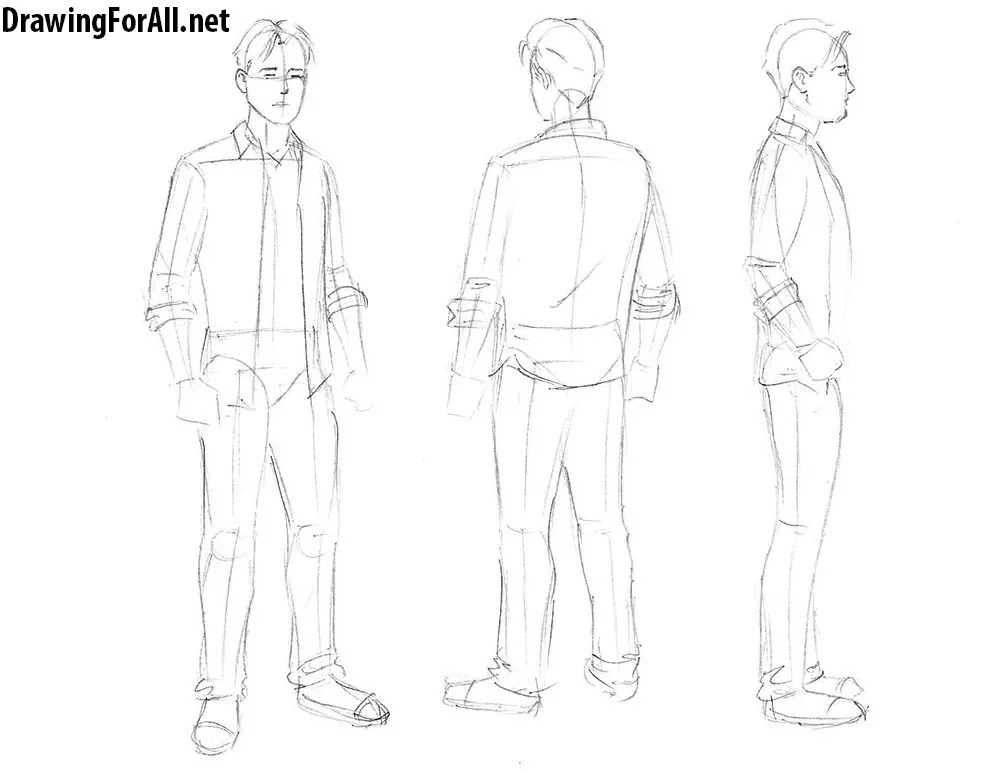
First, consider the height of the man, which will be the same from all three angles. Recall that an adult man is about seven heads tall. As we have said, we are drawing a man from three different angles. First, draw the head. As you can see, it has the shape of an oval or an inverted egg. Next, draw the neck as a simple line, followed by the spine. In the same way, sketch the shoulders, arms, and legs. Remember that all the lines at this stage should be very light.
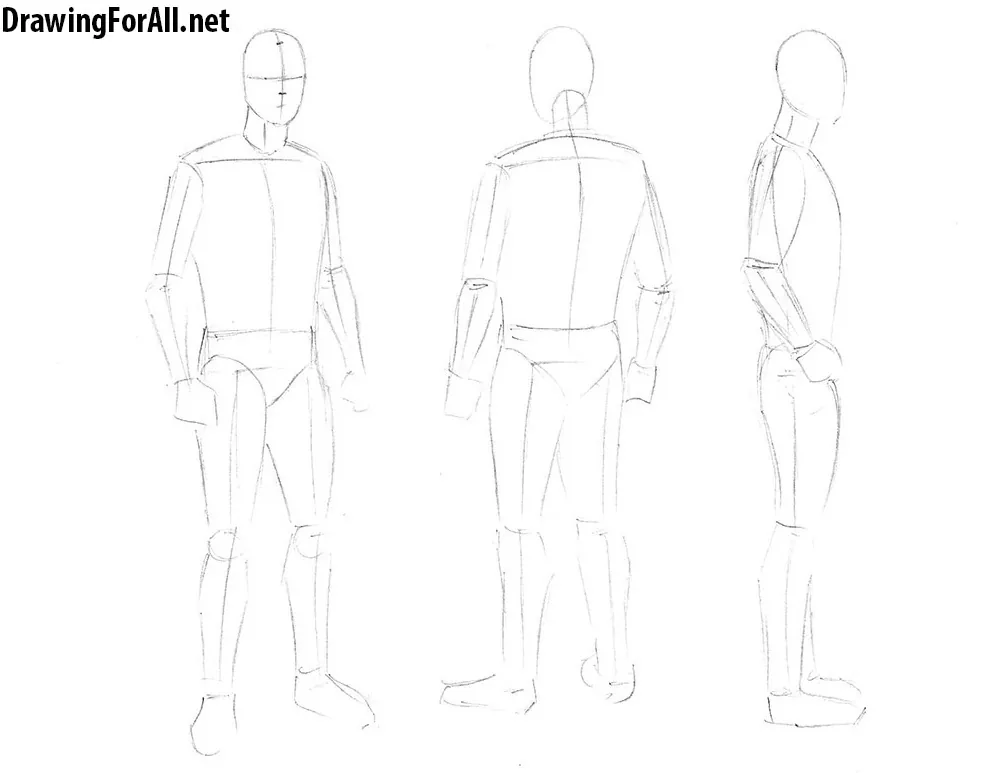
Step 2: Build the body shapes
Now add volume to the stick figures to create the silhouettes. From every angle, the neck resembles a short cylinder attached to the head. Then draw the torso, which resembles a modified cylinder. Emphasize the curves of the back, waist, and chest. The arms look like elongated cylinders. The groin area resembles a triangle. Like the arms, the legs also look like cylinders. Notice that they taper around the knees and shins.
Do not forget to mark the facial guidelines on the front view: the horizontal eye line and the vertical line of symmetry. Also sketch the hairline, nose, and mouth.
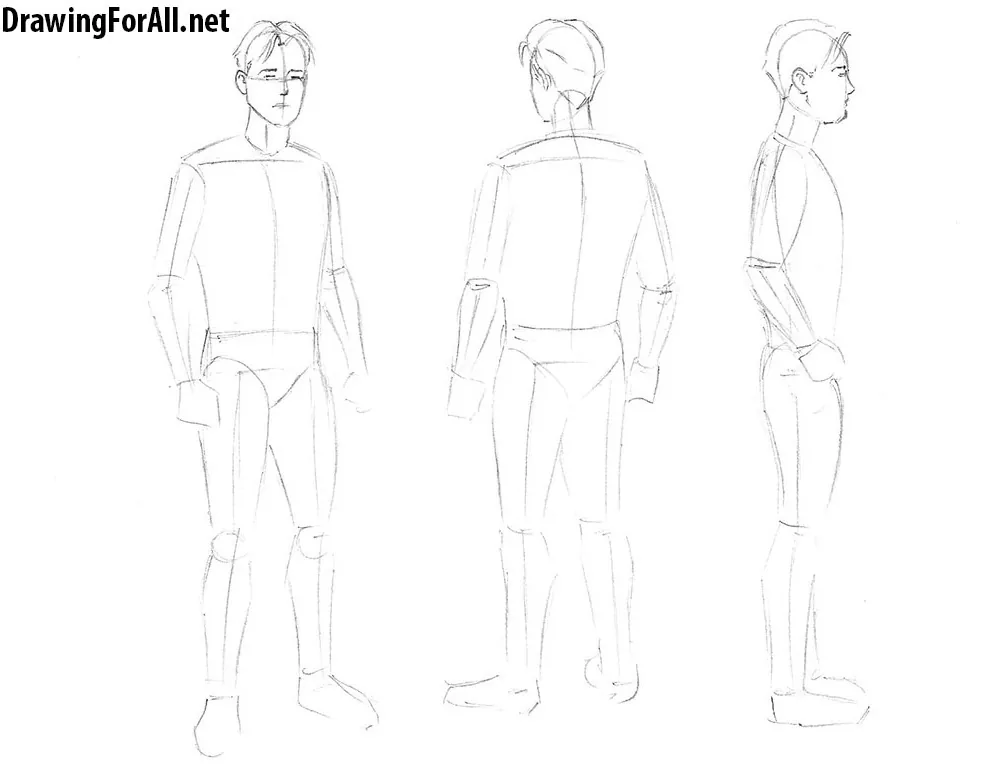
Step 3: Add the facial features
Sketch the hairstyle and draw the eyes, then add the eyebrows, mouth, and outline the nose. Note that the hairstyle looks different from each angle. Here you can also see several rules for positioning the facial features: the upper edge of the ear aligns with the eyebrows, while the lower edge aligns with the tip of the nose. Use the third view to understand their placement.
Step 4: Outline the shirt and jeans
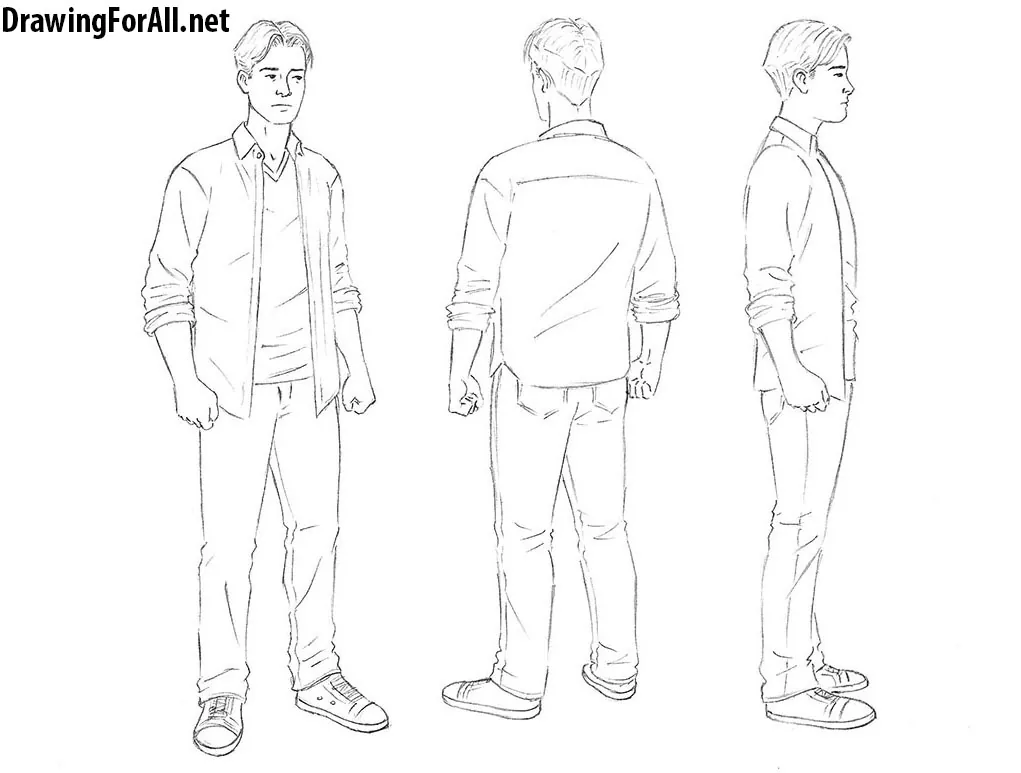
Draw the man’s shirt wide open at the front. Note that the shirt fits loosely. The jeans gently follow the contours of the legs, narrowing around the knees and widening around the lower legs. Do not forget to add folds to the shirt and jeans.
Step 5: Refine the complete drawing
Now refine the facial features and clothing across the entire figure. Erase all the guidelines drawn in the first steps. The drawing should be clear and crisp. After removing all unnecessary lines, add a few details, such as fabric folds, shoelaces, and stitching on the clothing.
If you enjoyed this tutorial on how to draw a man for beginners, visit our other drawing tutorials and subscribe to us on Facebook and Pinterest. Also, do not forget to leave your comments and suggestions below the post. We will read and answer all your questions.
This tutorial showed you how to draw a man from the front, side, and back. After practicing these three views, try drawing a woman to compare the differences in body structure.




These are really good to draw from
Hii
I’m amazed
You are great!
Worked great followed directions exactly. turned out with a masterpiece
Your tutorials are really so helpful my drawing ability is improving But I have problem with body parts proportions for example I draw the head bigger in proportion to body is there any tutorial of you about that? I will really grateful to you
You have to use the size of the head to measure the other parts of the body. The body has a height of 8/7 heads.
very helpfull..tq
Easy
it was awsome
waw it’s nice but hard for me