How to Draw Baba Yaga
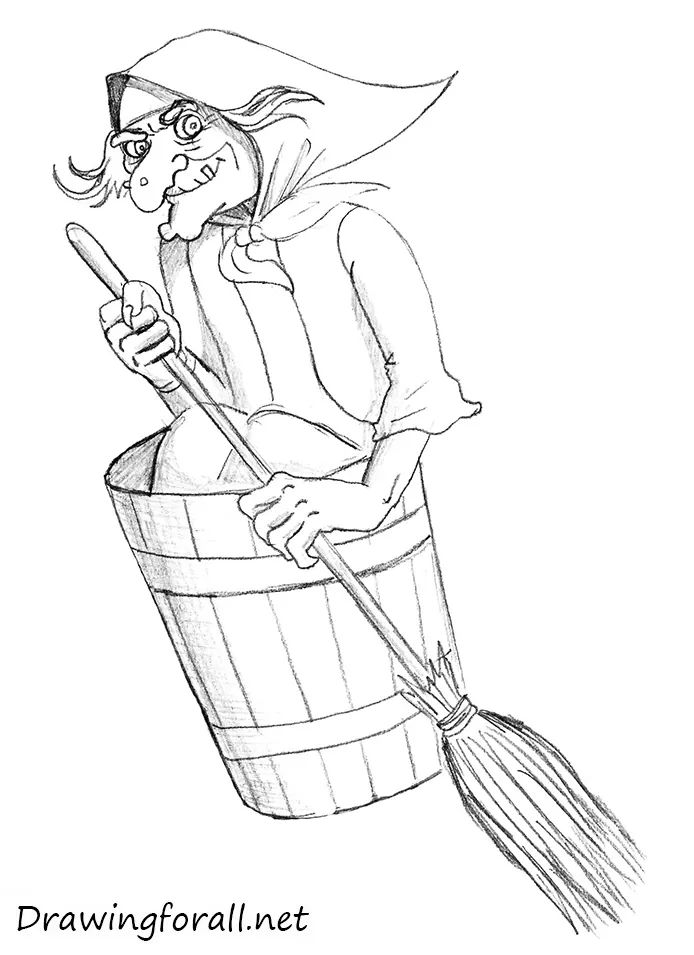
In this really simple drawing tutorial, we will teach you how to draw Baba Yaga – an ancient character of Slavic mythology. Originally it was a deity of death: a woman with a snake tail, who was watching over the entrance to the underworld and accompanied the deceased soul into the realm of the dead.
She lives on the border of the worlds of the living and the dead, somewhere in the kingdom of Far Far Away. In some tales, she acts as a positive character and in other tales as a negative.
In the tales she lives in the hut on chicken legs and flies in a mortar and a broomstick. It is a quarrelsome, terrifying, but nevertheless a good old woman, who is the mistress of forests and often comes to the aid of the main hero of the tales, helping to destroy Koshchey, Dragon, or Lex Luthor. In our previous lessons, we drew characters from Russia – Cheburashka and Matryoshka.
So, let’s start this tutorial and learn how to draw Baba Yaga!
Step 1
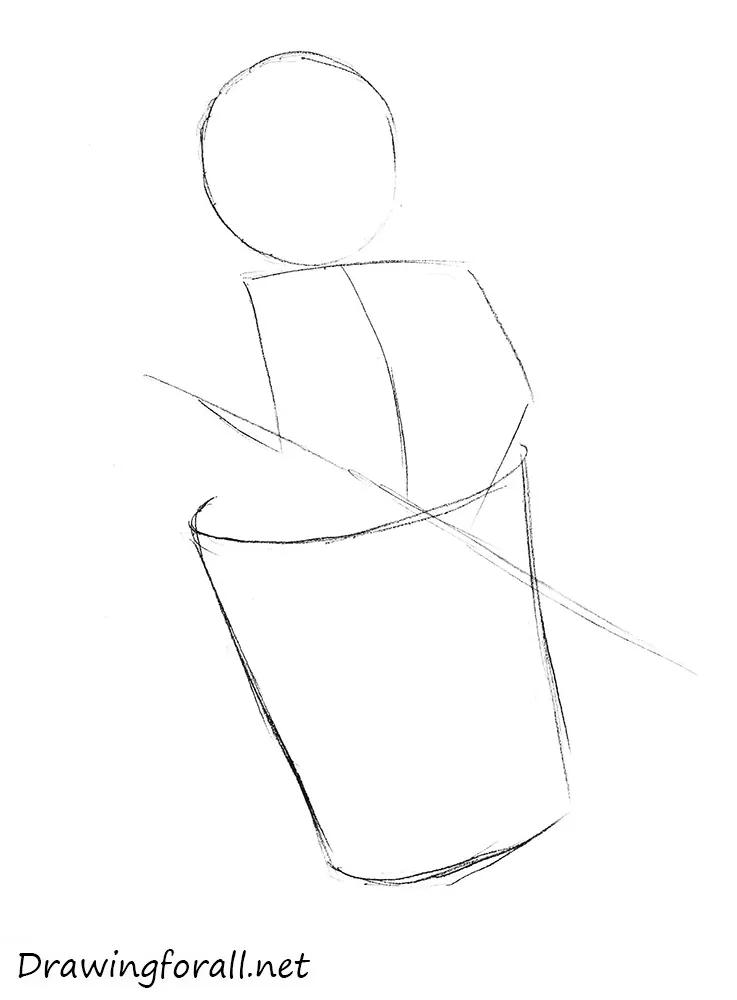
First sketch out the position of Baba Yaga and the outlines of her mortar and broom using circles and simple lines. And as in our previous drawing lessons we want to note, that in the first steps you should not press down too hard on the pencil.
Step 2
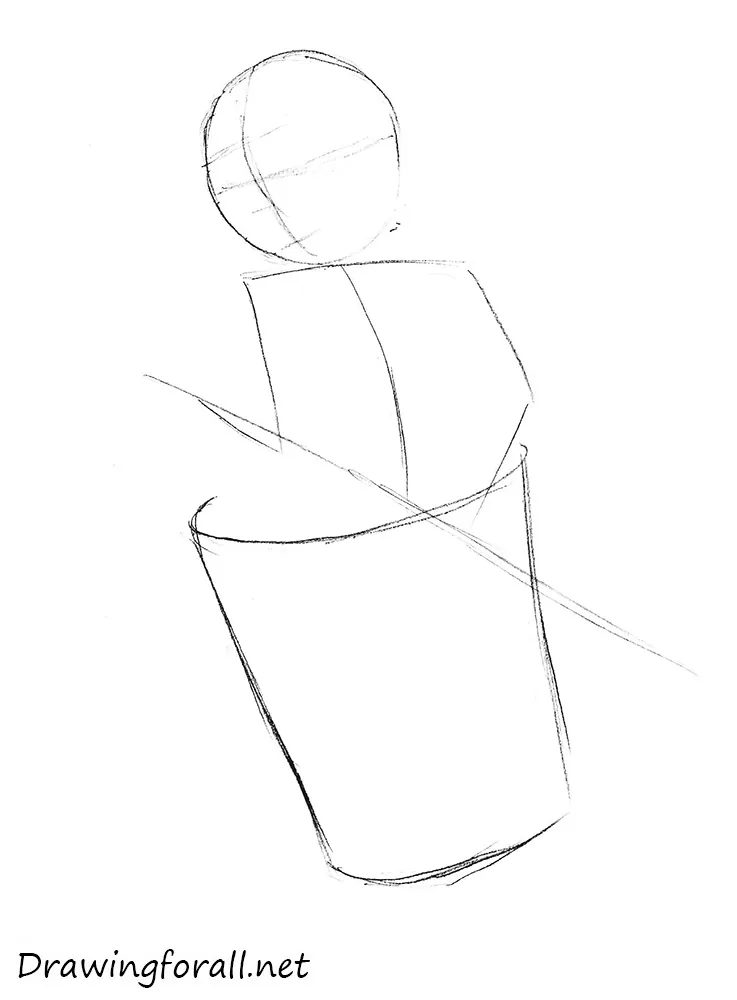
Draw the lines of facial symmetry of Baba Yaga. As always, first, we draw a vertical line of symmetry, which will help to find the center of the face. Then draw a horizontal line which will help us to draw the eyes. Under the line of the eyes sketch out the lines of nose and mouth.
Step 3
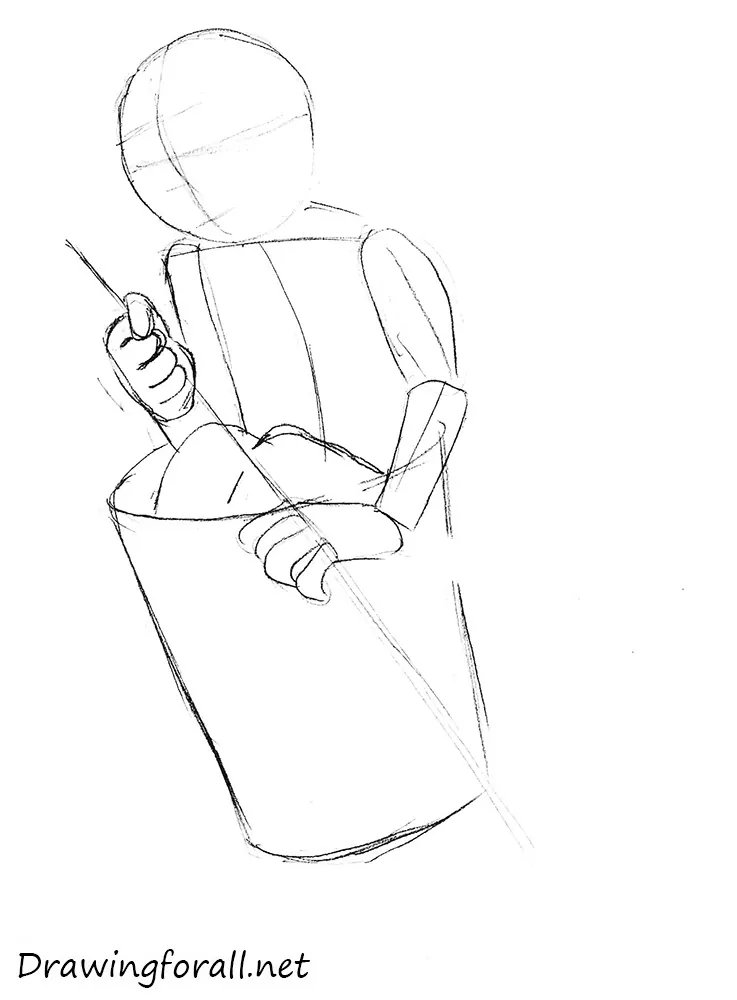
Now add some volume to Baba Yaga. First, add volume to the torso. After that, using cylinders draw the arms. Sketch out the hands and fingers. Further, draw the shapes of knees and move to the next step.
Step 4
Now draw the head scarf of Baba Yaga. Please note that the fabric should evolve in the direction of the wind. By the way, if you like to draw another fairy tale character, we recommend you tutorial about how to draw Karlsson – the character of Swedish fairy tale.
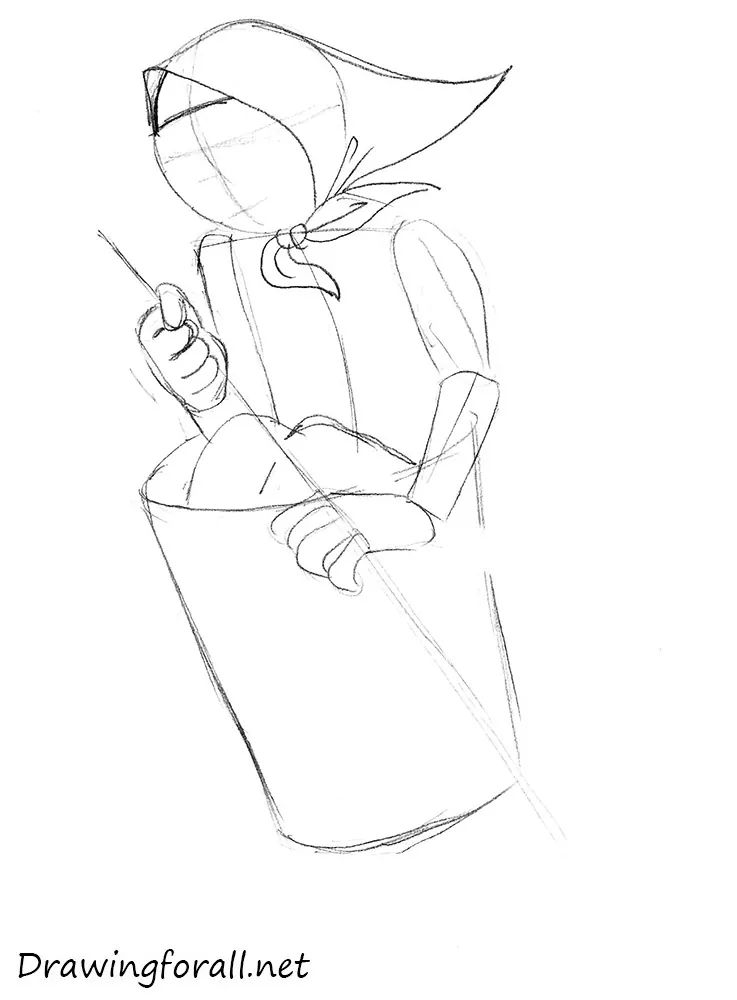
Step 5
Add some facial features to the head of Baba Yaga. With help of the vertical line of the facial symmetry from the second step, draw the eyes using circles. Using curved lines draw the hooked nose and smiling mouth.
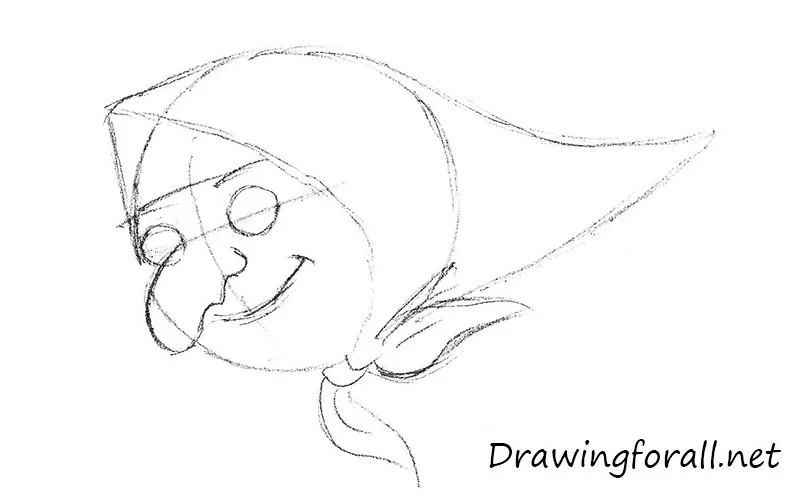
Step 6
At this step of tutorial about how to draw Baba Yaga we finish with the face. First, draw thick eyebrows. Using circles draw the pupils. After that draw the cheek and chin which is very similar to a bone.
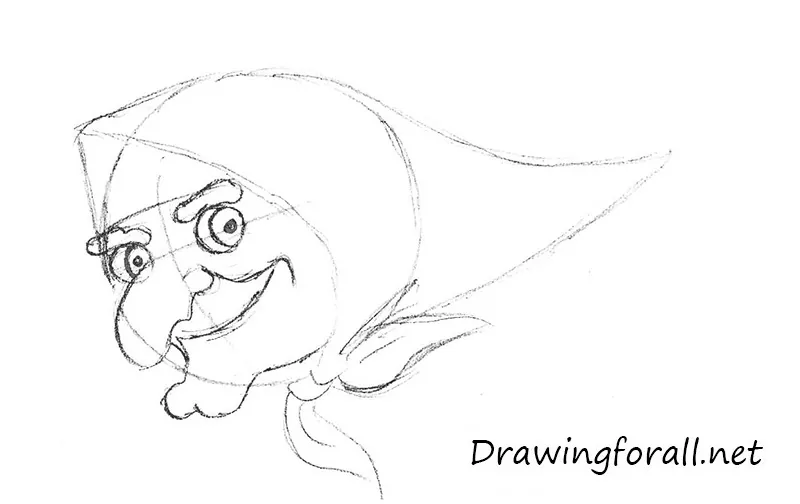
Erase all unnecessary guidelines and darken the lines of the head.
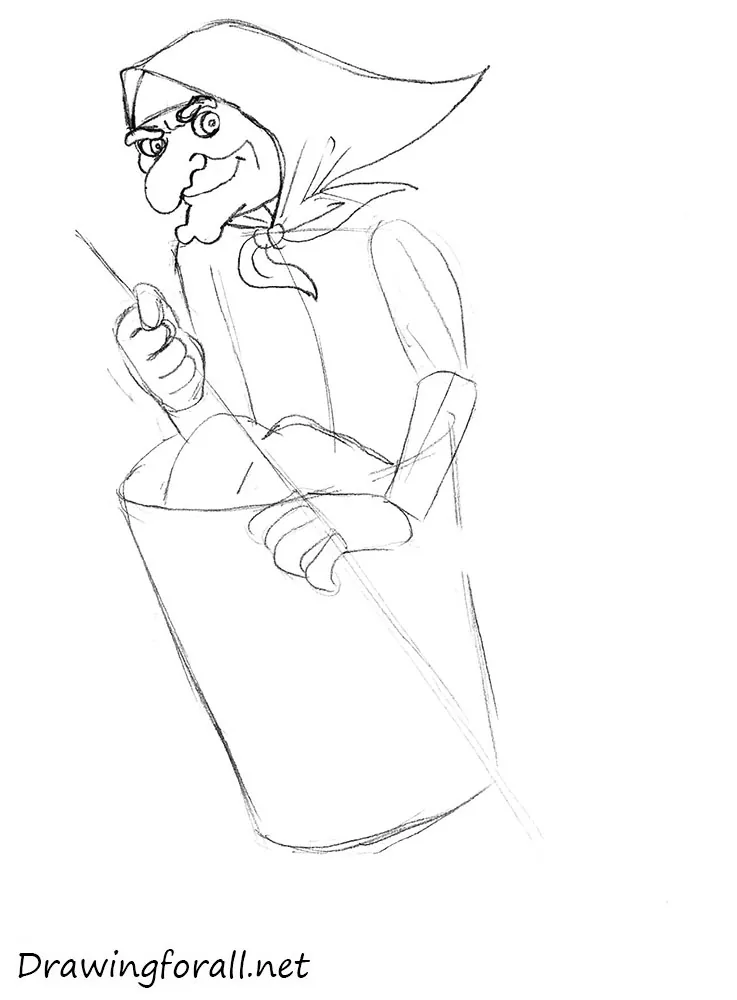
Step 7
Add some characteristic details. Add some wrinkles around the eyes and in the area of the nasal bridge. After that using curved lines draw the flowing hair. Then draw a couple of warts on the nose, mouth wrinkles and protruding teeth.
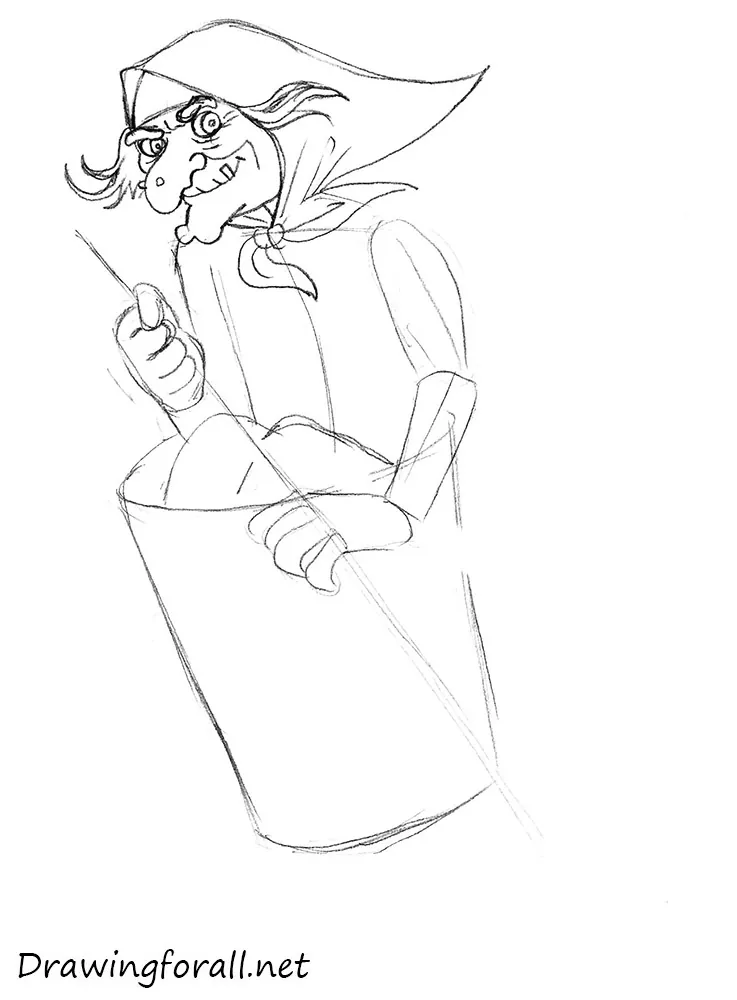
Step 8
Add details to the torso of Baba Yaga. With the help of a pair of curved lines draw the vest. Next, draw the sleeves and erase the guidelines from the arms. After that draw the knuckles and bony fingers. Draw the stalk of the broom and move to the next step.
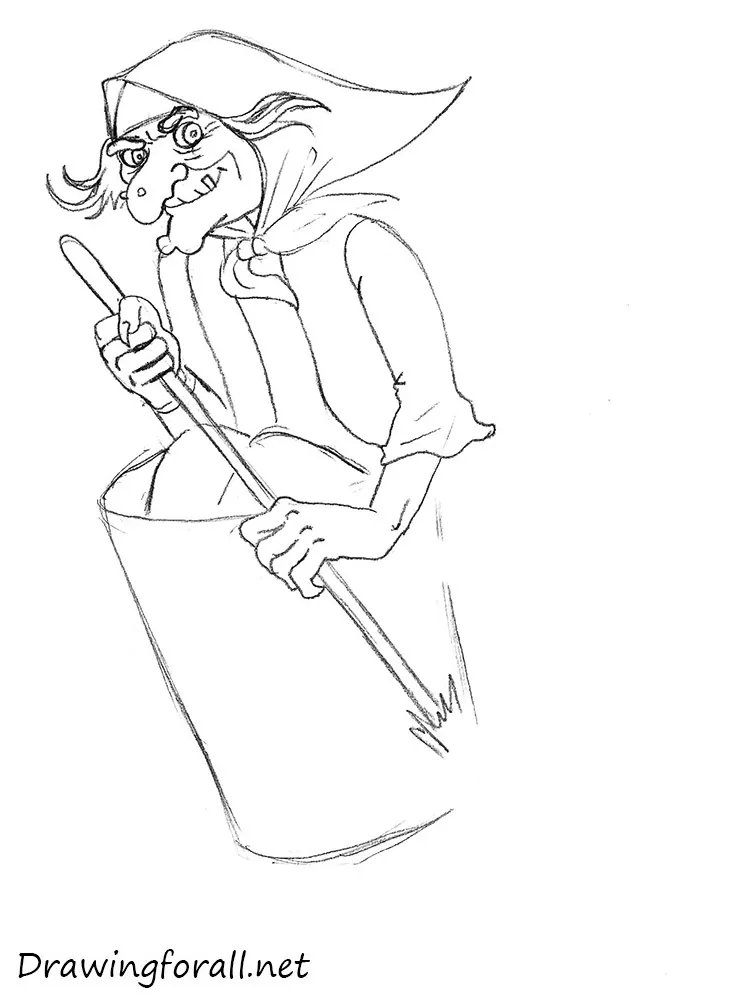
Step 9
This is quite a simple step. Daw the branches of the broom which are attached to the stalk. Draw it using long and dark strokes.
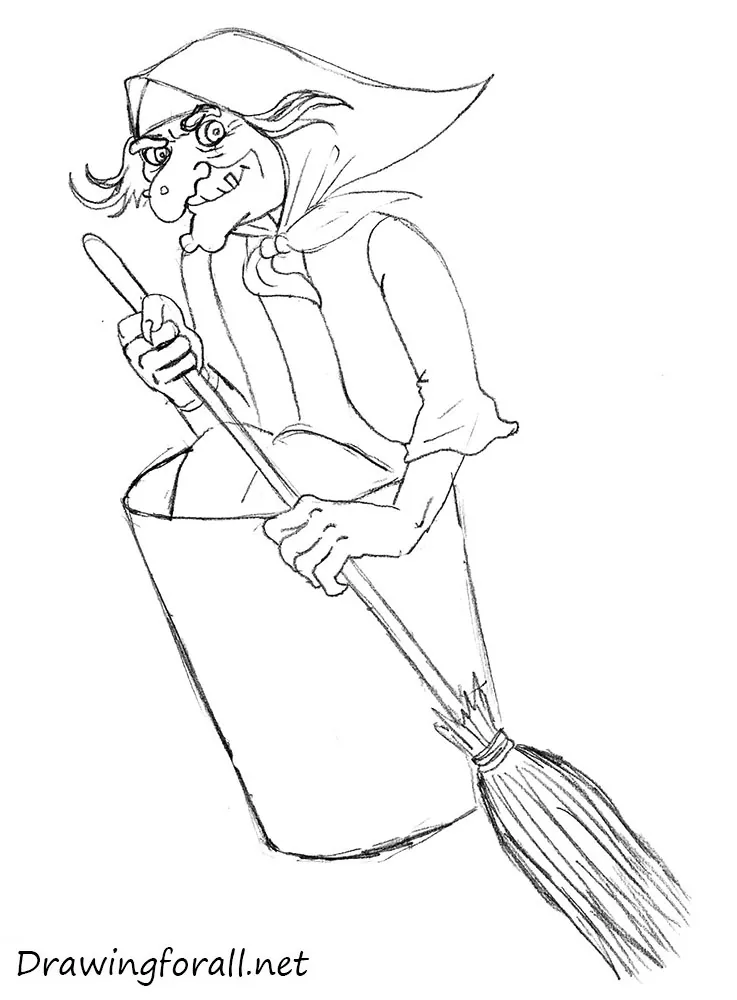
Step 10
Draw Baba Yaga’s vehicle – a wooden mortar. Using vertical lines sketch out the boards, and using curved horizontal lines draw the iron hoops.
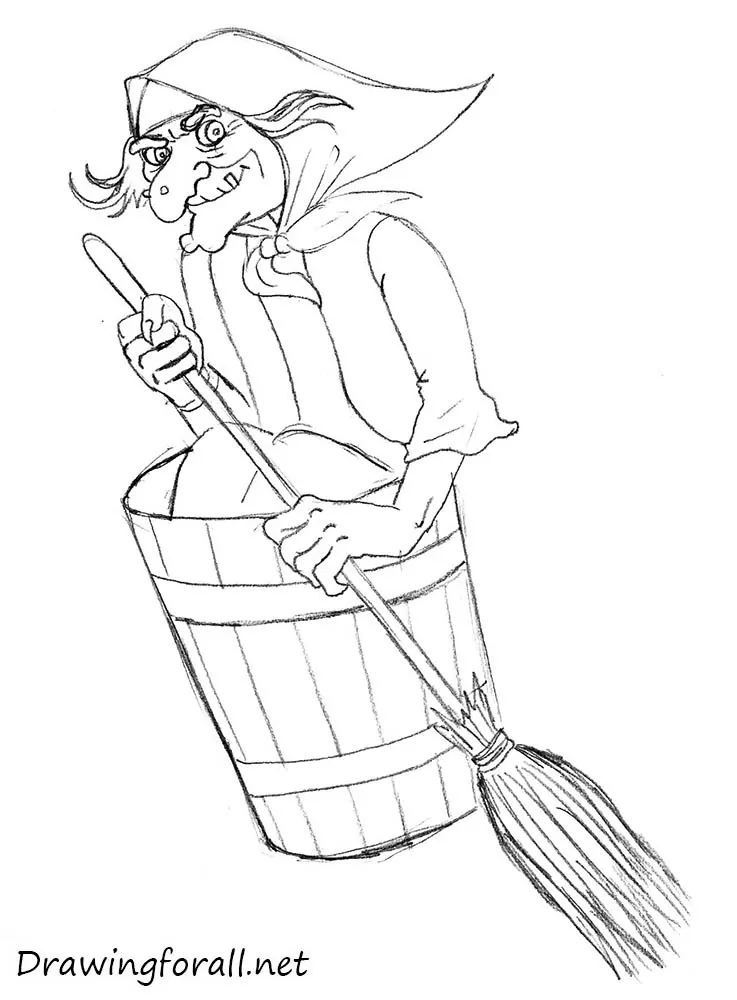
Step 11
At the final step of the tutorial about how to draw Baba Yaga, we add shadows. First, you should determine the place of the light source. In this drawing, the light falls from the upper right side. So, you should add shadows to the areas where the light does not fall. In order to get shadows as in our example, we recommend you to use hatching and crosshatching.

So, it was a tutorial about how to draw Baba Yaga step by step. We hope you enjoyed this tutorial. Share this lesson with your friends and subscribe on us in social networks.


Thats great tutorial!