How to Draw a Computer
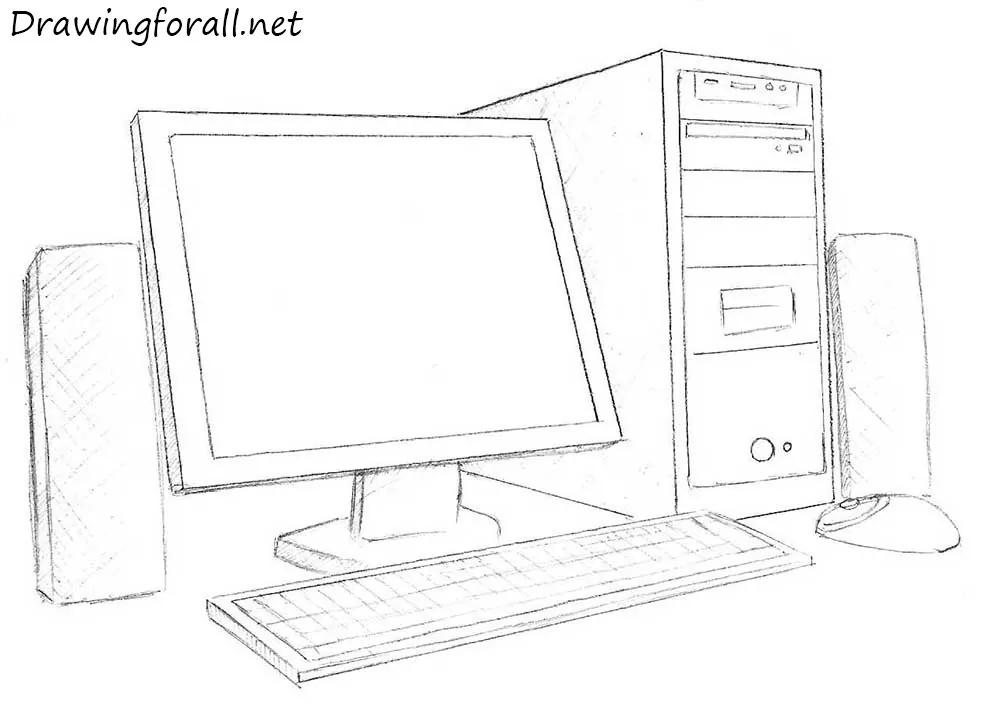
In this really simple drawing tutorial, the team of Drawingforall.net will teach you how to draw a computer. It’s funny, but this miracle of the digital revolution, as our artists portrayed it, is slowly becoming archaic. At least, in terms of home use.
People increasingly prefer tablet computers and smartphones. But we are confident that the time of good old personal computer has not passed yet.
So, let’s start this tutorial and learn how to draw a computer easily!
Step 1
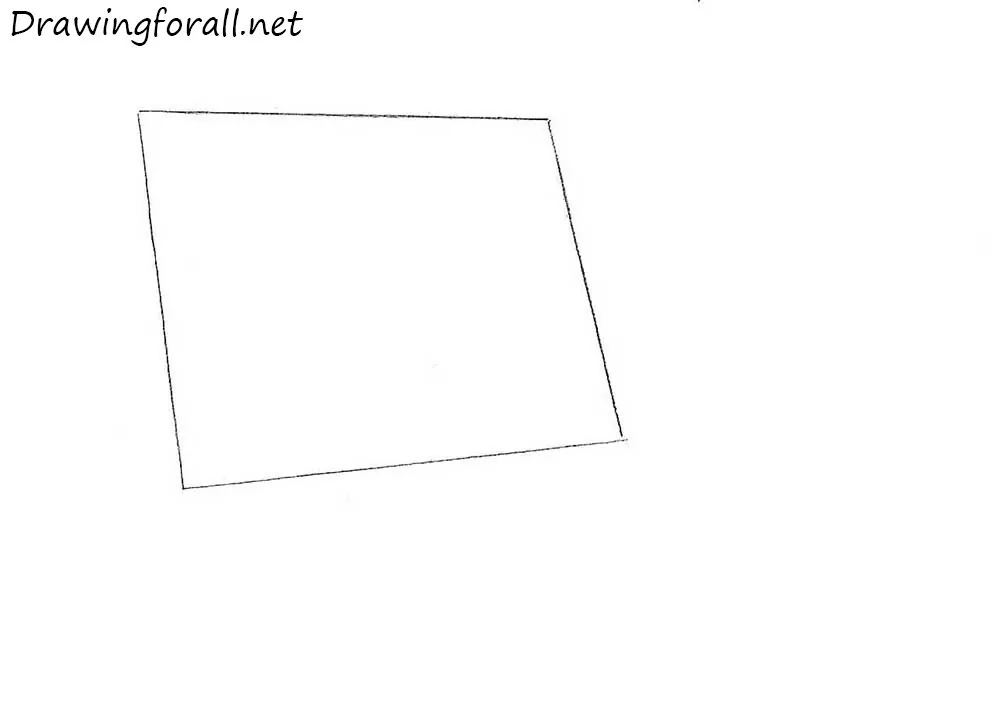
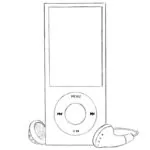
First outline the rectangular, as the guide for the monitor. By the way, if you like such easy instructions, we recommend you our drawing tutorials on how to draw a donut or how to draw an iPod.
Step 2
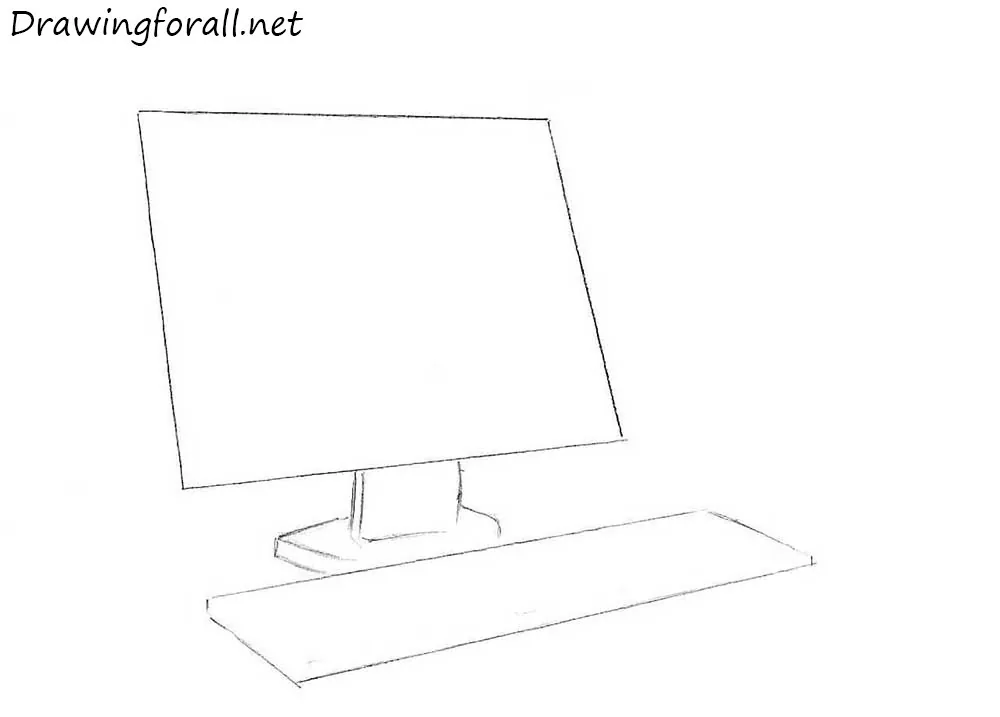
Sketch out the contours of the keyboard. The remote parts of the keyboard have to look smaller in comparison with the closer parts. After that sketch out the contours of the monitor stand. The monitor, of course, will be flat if you want to draw a modern computer.
Step 3
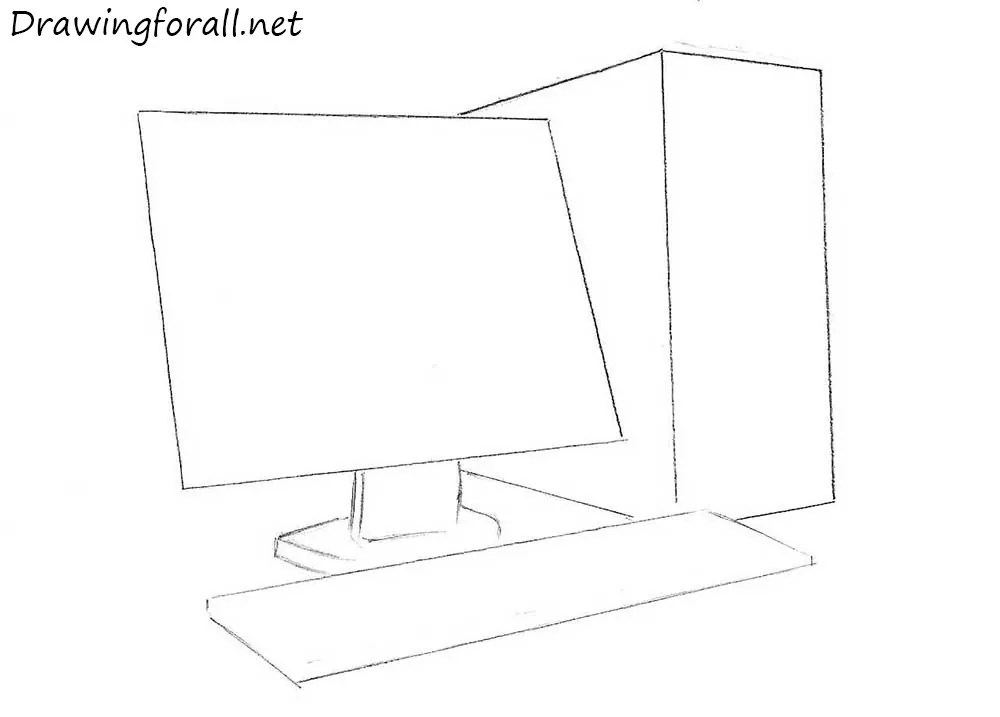
Now outline the contours of the system unit. First, depict the front part of the system unit using a vertical rectangle. Then sketch out the side part. All lines of this part of the computer should be clear and straight as an arrow.
Step 4
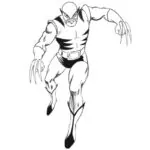
Using elongated rectangles sketch out the speakers (and don’t forget about the side parts of the speakers). Under the right speaker, draw the computer mouse. Its upper surface should be rounded, and the bottom part should be flat. By the way, if this tutorial seems too easy for you, visit our guide on how to draw Sub-Zero or how to draw Wolverine.
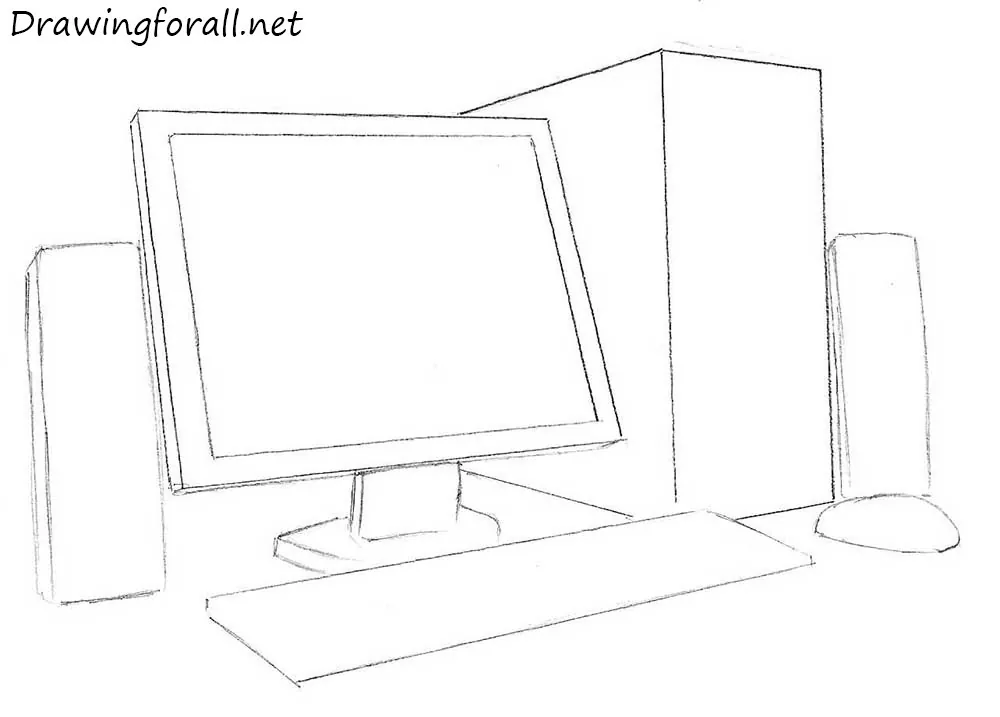
Step 5
Draw keys using vertical and horizontal lines. Draw the sides of the keyboard. A little advice – we recommend you to draw all lines without a ruler. Every artist should be able to draw straight and smooth lines.
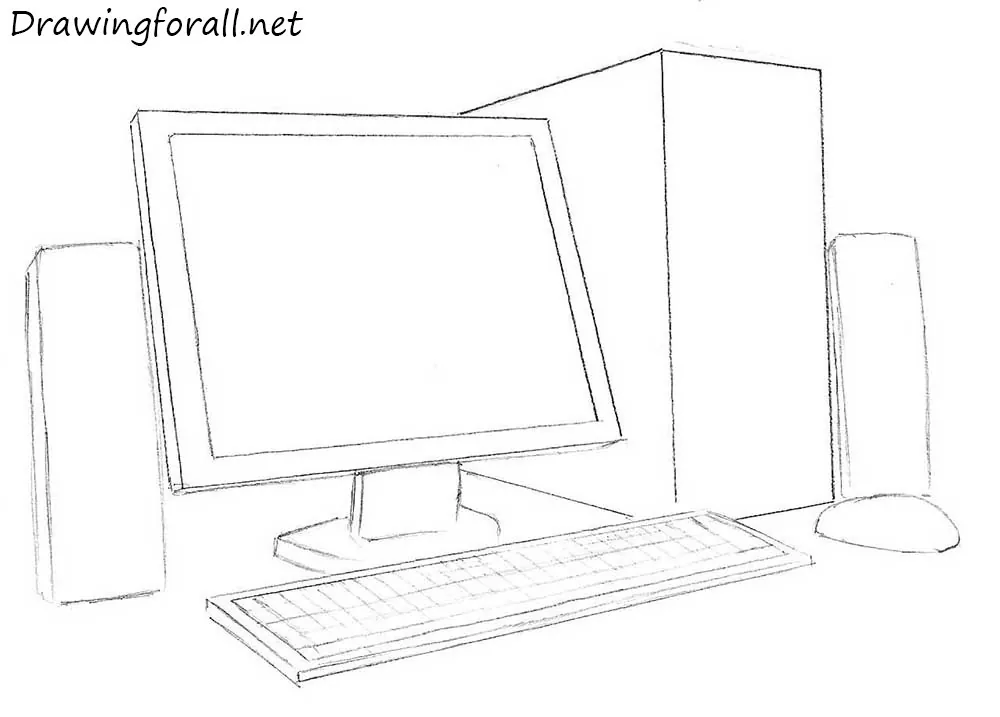
Step 6
Actually, the lesson on how to draw a computer is completed. It remains only to trace the details and add shadows. Draw the buttons on the computer mouse and details of the front part of the system unit. After that start adding shadows. We recommend you add shadows using hatching and crosshatching. First, add texture to the speakers using cross-hatching. Then add shadows to the monitor stand, side part of the monitor, keyboard, and system unit. Computer drawing is ready! If you are not satisfied with the result, just erase the failed lines and draw again.
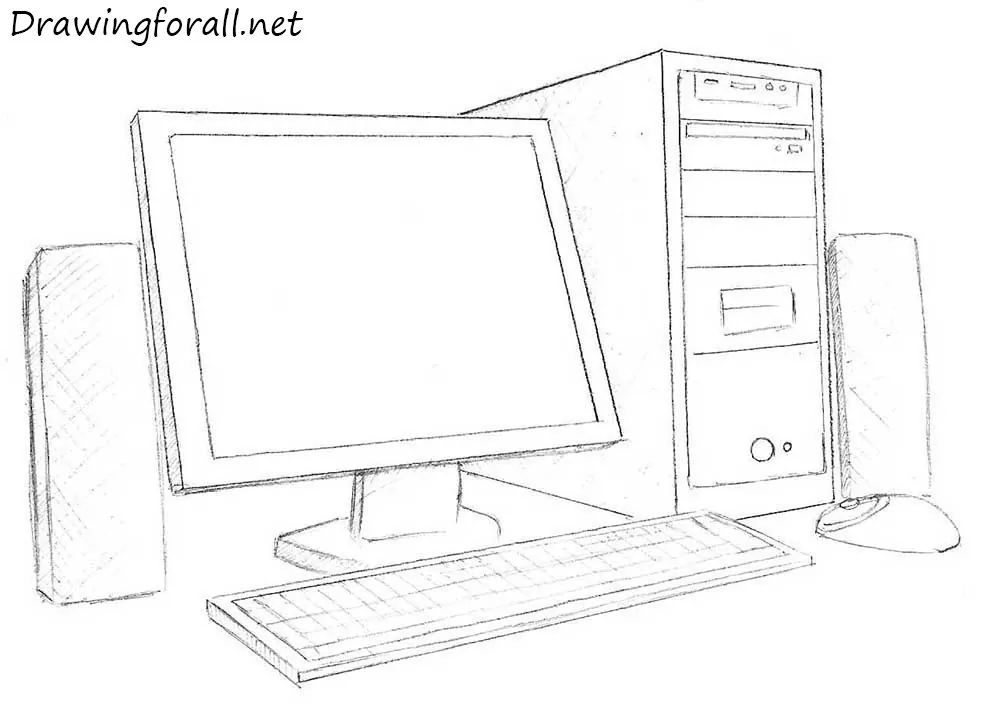
It was a tutorial on how to draw a computer. We hope you enjoyed the tutorial. Don’t forget to share our tutorials with your friends and subscribe to us on Facebook, Pinterest, and other social networks.



Assingment
Sathish
Great
nice. really helped with my homework i had to do for science.
this was horable you wasnt showing use how to make it
YOUR HORRID! It’s great, helps with my ICT homework.
are you dumb there is literally a tutorial under it
thanks for the help to draw a computer the picture was really useful
to all thanks it really help me with my home work for science
THANK YOU……..
It helped in my homework
This is great hadn’t drew for years but this helped
It has been awheel that I have been searching how to draw a computer but it help me
It is very very satisfy for me to do my assignment.
Nice it helped with my project
Nice it helped in my homework
that was the most stupid image i ever sow if i ever did in my homework i would get f9
super nice idea, my drawing looks great