How to Draw the Original Wolverine
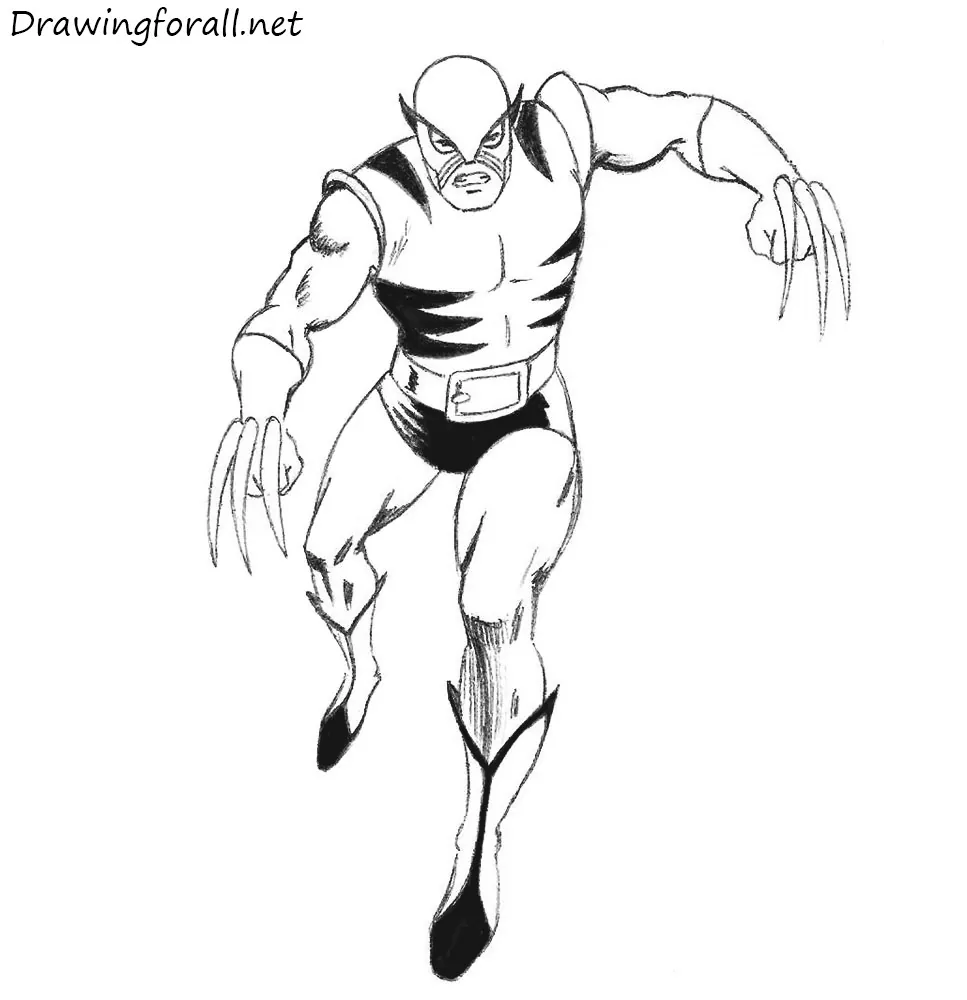
In this drawing tutorial, the team of Drawingforall.net will show you how to draw the original Wolverine.
In one of the previous lessons we already drew him (visit the tutorial on how to draw Wolverine). It was a lesson in which we drew the classic Wolverine in his classic yellow and blue suit.
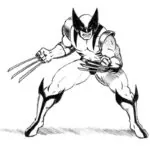
This is the most famous costume he wore in most editions of the classic comic books. But perhaps not everyone knows that this is not Wolverine’s first costume. In this guide we will draw Wolverine in the original costume he wore in The Incredible Hulk #180 1974.
So, let’s start this lesson and learn how to draw the original Wolverine!
Step 1
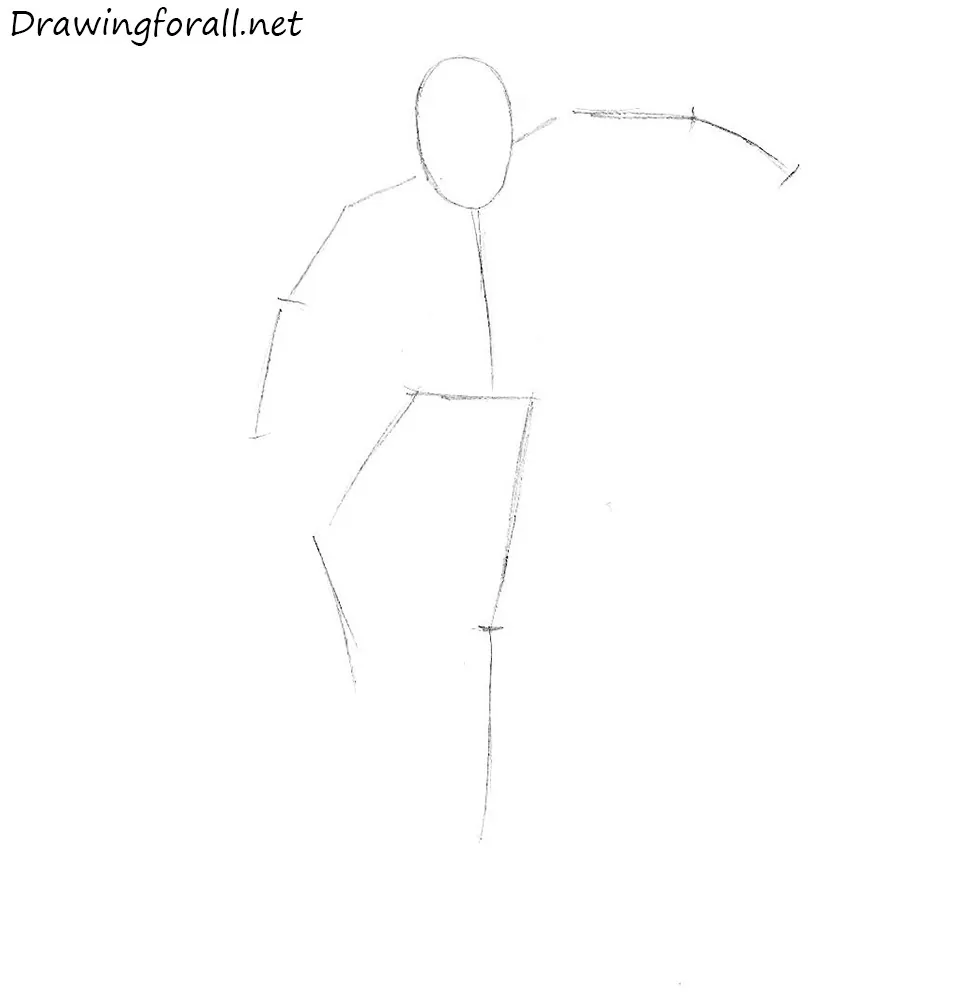
Sketch out the posture of Wolverine and his position on the paper. To do this, use simple circles and lines. At first draw an oval. Then draw a line of the spine, arms, and legs. Note that the neck is not visible due to the fact that the head is tilted downward. This is the first step, and in the next steps, we will erase all these guidelines.
Step 2
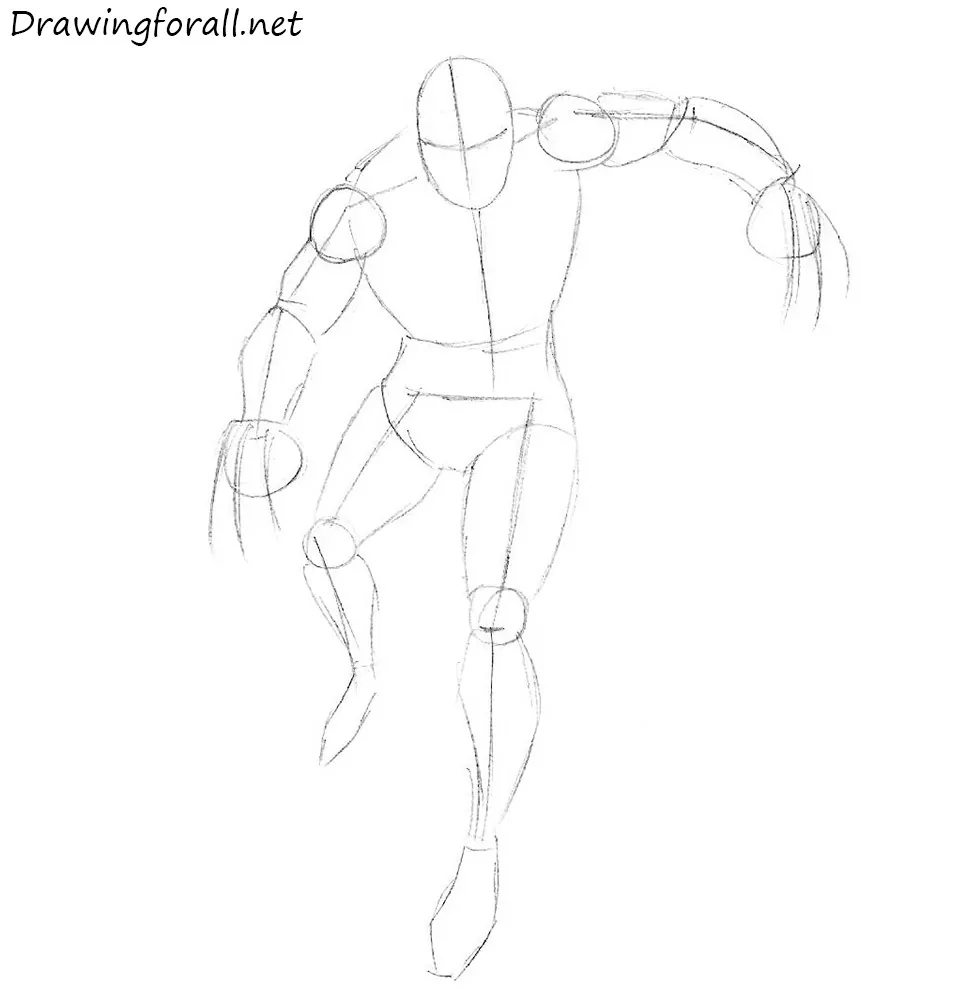
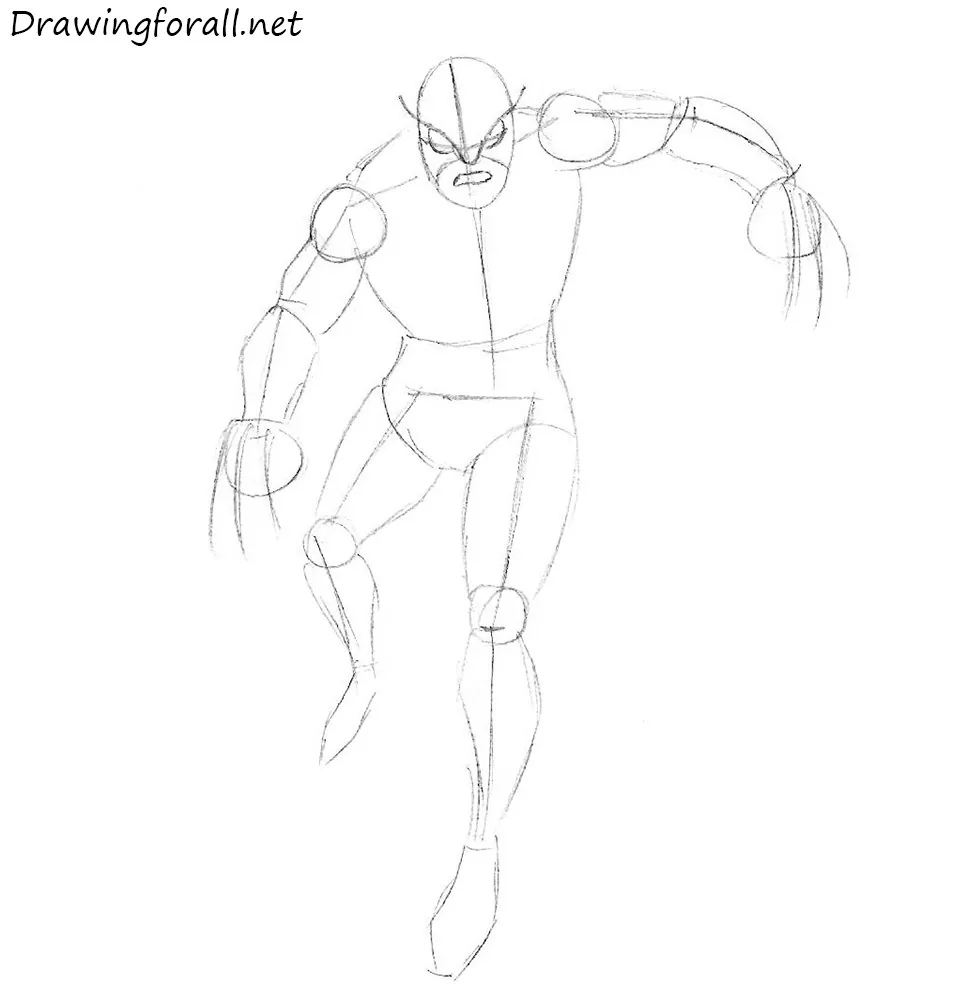
Now add some “flesh” to the “bones”, that is, add the volume to the figure. First, draw the lines of the facial symmetry. The vertical line divides the face into two parts and will help you to find the center of the face. The horizontal line also divides the face into two parts and will help you to draw the eyes. Then, using the lines from the previous step sketch out the parts of the body. Using cylindrical shapes draw the torso, arms, and legs. Draw shoulders and knees using circles. At this step, you also do not need to press down on the pencil too hard.
Step 3
Using curved lines outline the “ears” of the mask. Then using the horizontal facial line from the previous step draw the opening for the eyes. Using the horizontal facial line from the previous step draw the opening for the eyes. Slightly below draw the opening and sketch the mouth.
Step 4
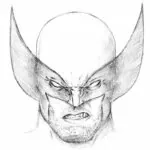
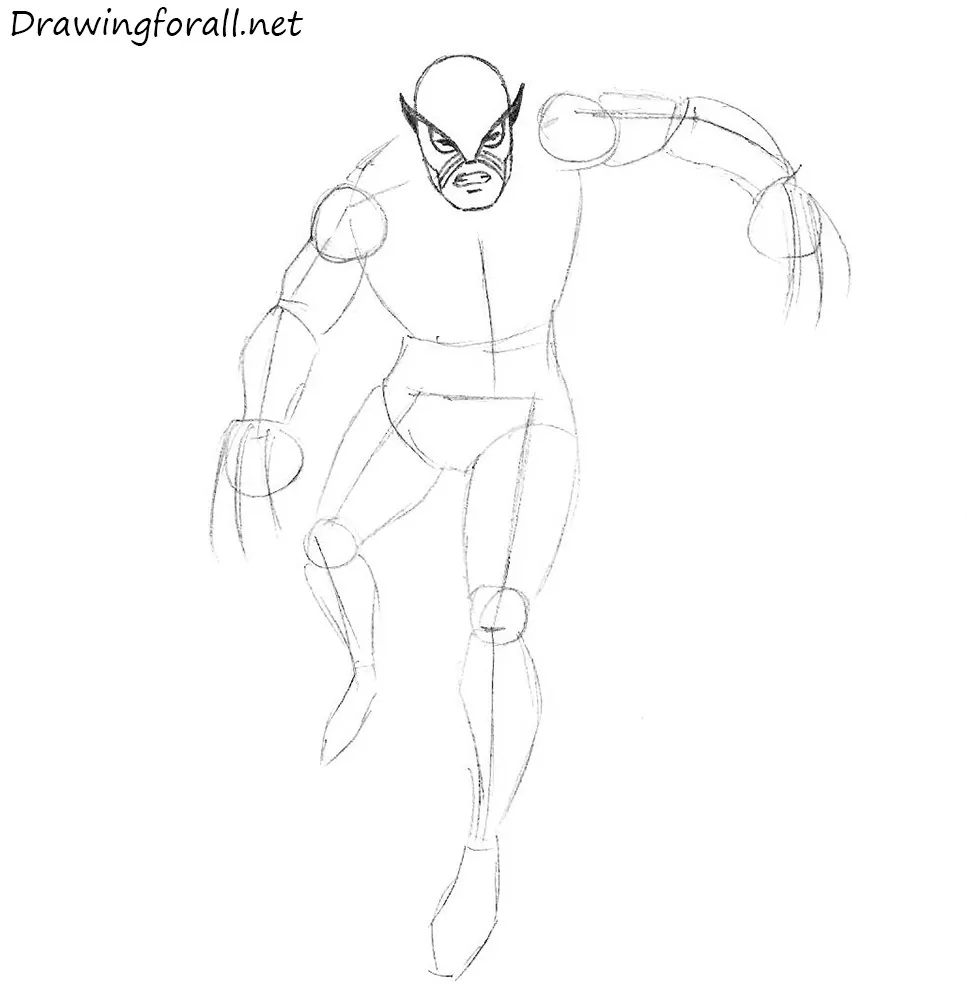
At this step, we will finish drawing the face. First, draw the line of the jaw. Darken the “ears” and draw eyes in the openings. Trace the lines of the mouth and draw strips around the opening. To learn how to draw the face perfectly, we recommend you to visit our tutorial on how to draw Wolverine’s head.
Step 5
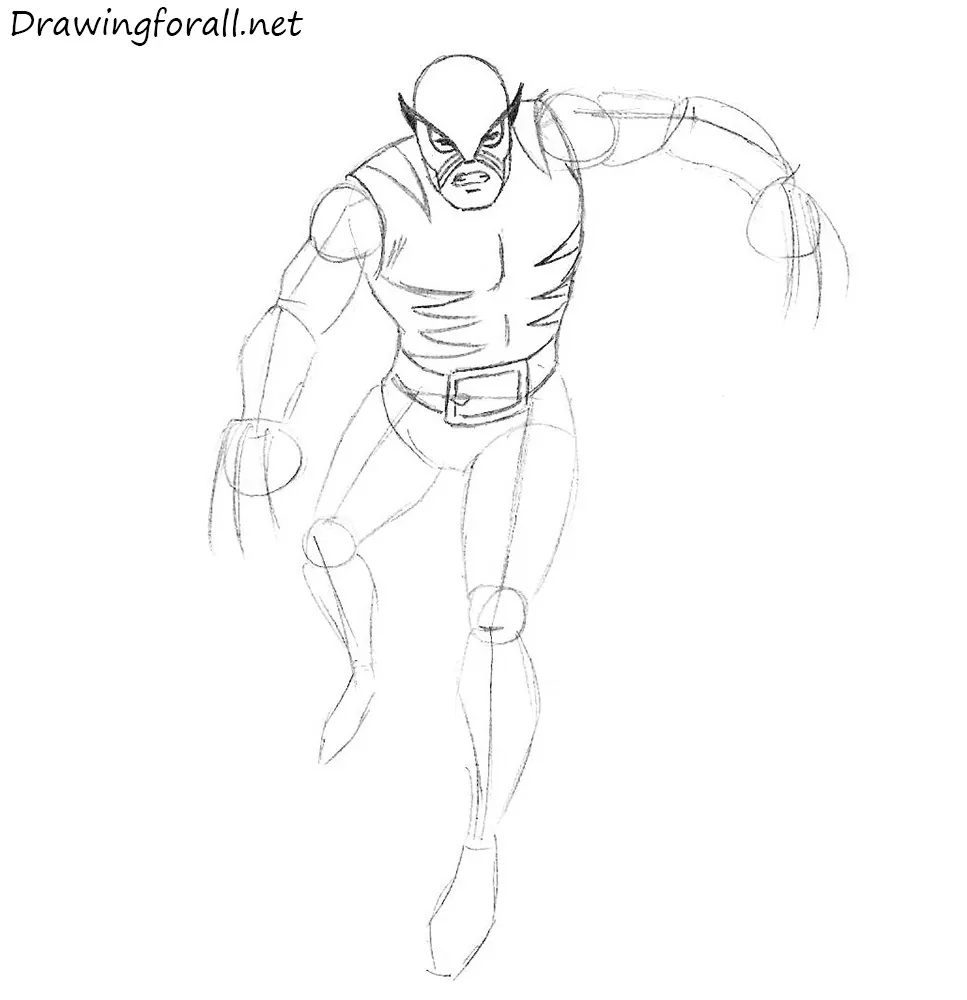
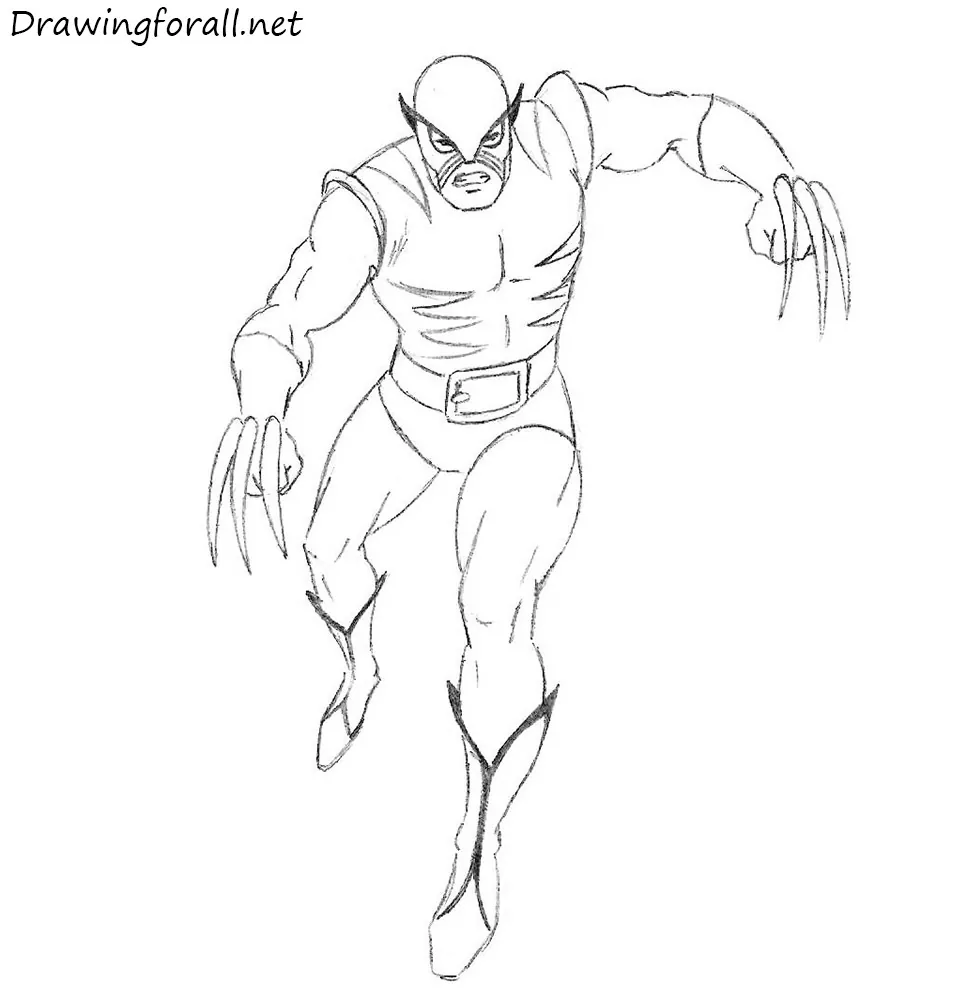
Start to add details to the torso. First, erase all guidelines and trace the shapes of the torso. Draw the belt and strips on the suit. In the final step of this Wolverine drawing tutorial, we will paint these strips in black.
Step 6
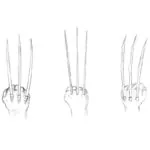
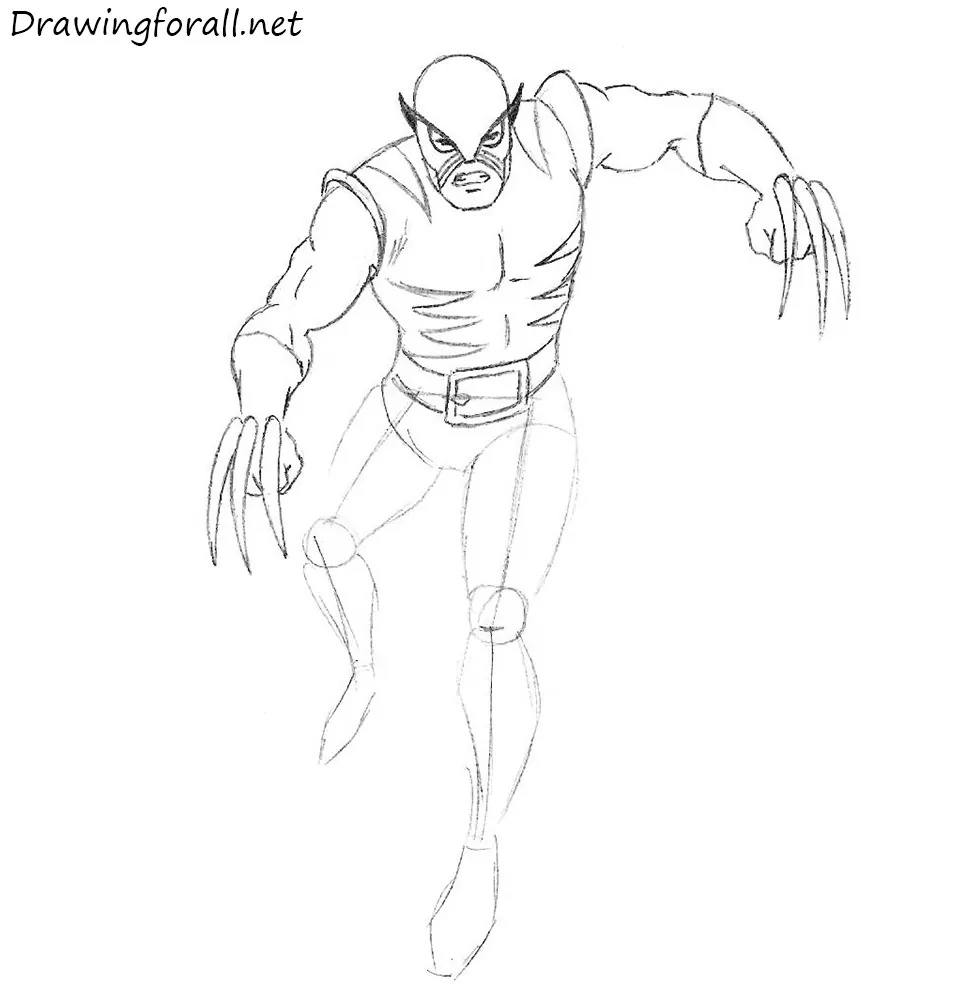
Erase the guidelines of arms. Add muscles to the arms. First, draw the deltoids. Slightly below the deltoids draw the biceps and triceps. Draw the muscles of the forearm that taper to the wrist. Draw the claws. In this version of Wolverine’s suit claws are very thick, unlike the classic version. By the way, you can visit our tutorial on how to draw Wolverine’s claws if you want to learn to draw them perfectly.
Step 7
This step seems complicated, but actually, it is not. First, draw the pelvis and sketch the lines of the shorts. After that, draw the lines of the leg muscles – the hamstrings, quadriceps, and calf muscles. Notice how the legs are expanded in the middle of the thigh, then taper in the knees, then expanded in the area of the calf muscles, and again narrowed in the ankles. Then draw the lines of shoes. If you did everything correctly, you will have the same drawing as we have. If the picture does not seem too good, do not worry. Just train, until you reach perfection.
Step 8
At the final step of the tutorial on how to draw Wolverine, we are going to add shadows. As you can see, we decided to draw shadows in the style of classic comics. Similar shadows you could see in our lesson on how to draw the Scarlet Spider. Do not forget to paint the strips on the suit.

So, in this tutorial, we showed you how to draw Wolverine step by step. We hope this drawing lesson was interesting and informative for you. Share this lesson with your friends and subscribe to us on social networks!


