How to Draw an iPad
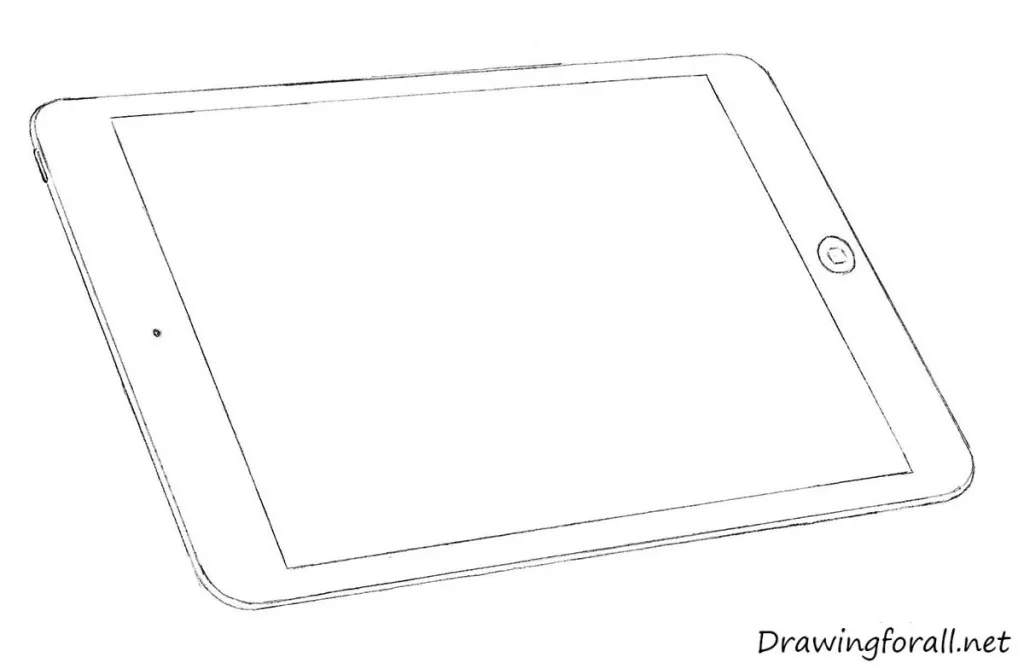
In this drawing tutorial, we are going to show you how to draw an iPad. Now, these devices have become very familiar to us.
Many people cannot imagine their day without a tablet computer, although at the beginning of this century, few could have imagined such a device. Note, however, that screenwriters and directors predicted the possibility of creating tablet computers at least half a century before the era of mobile devices.
So let’s start the tutorial and learn how to draw an iPad!
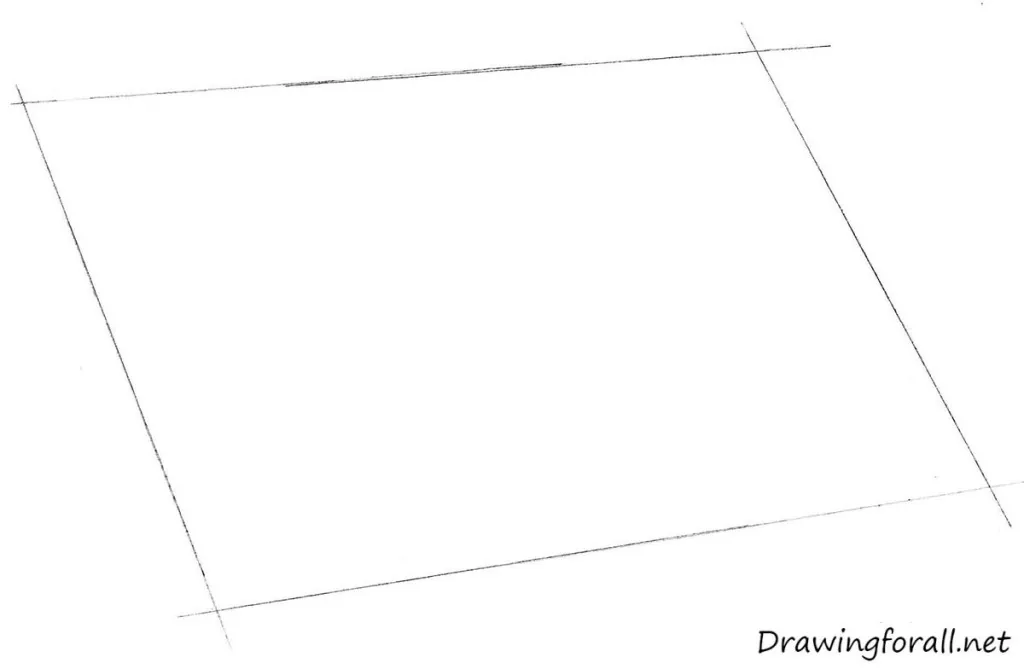
Step 1
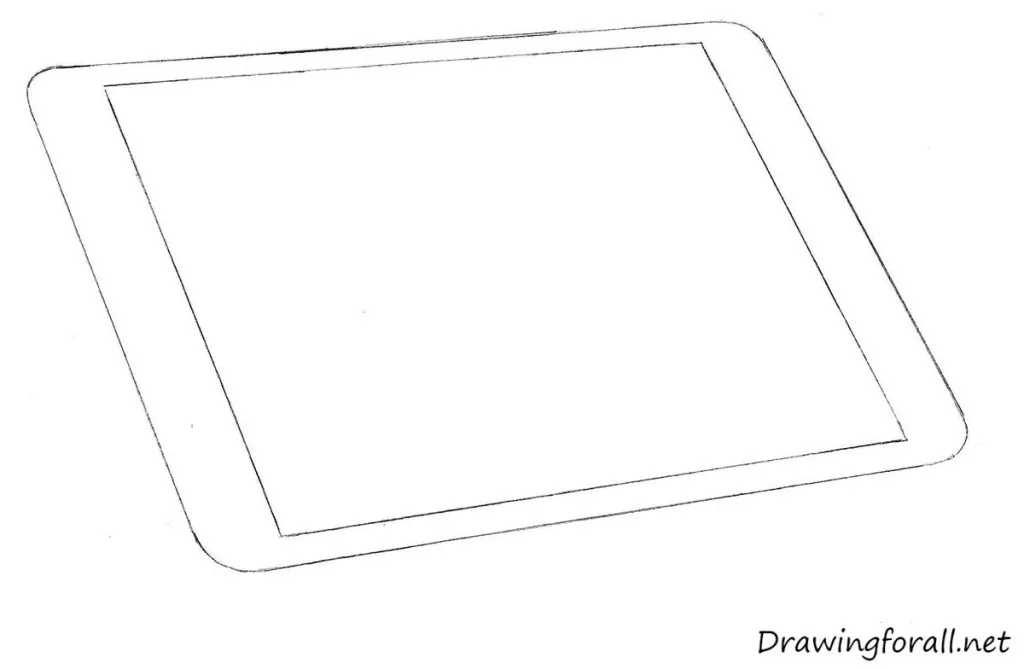
At first, sketch out the rectangular shape of the iPad. Use straight and crisp lines. Do not forget that in accordance with the rules of linear perspective, the lines of the drawing should move slightly closer to each other as they move away from us. Please note that our tablet is slightly tilted.
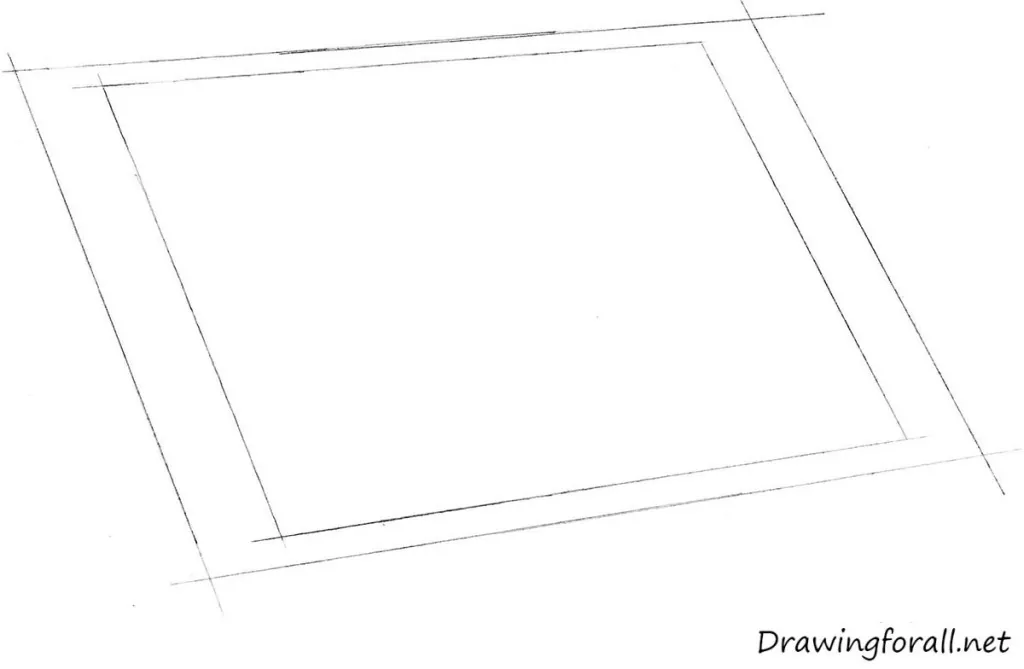
Step 2
Draw another rectangle inside the figure drawn earlier, just a smaller one. As you can imagine, this is the outline of the iPad screen. Please note that the frames at the top and bottom are noticeably narrower than on the sides.
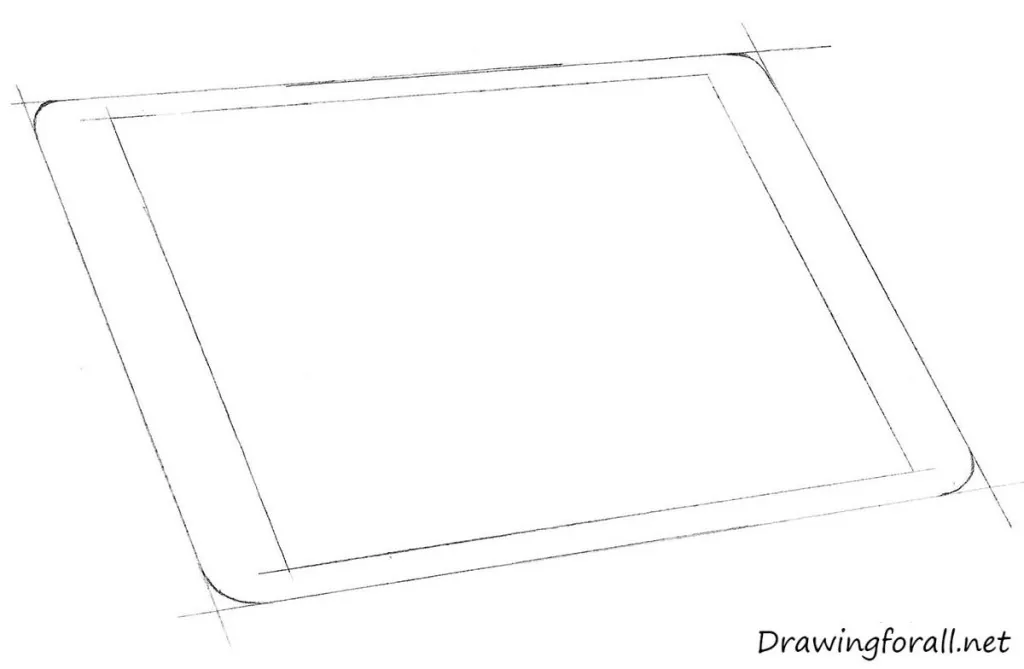
Step 3
One of the most distinctive and recognizable features in the design of Apple devices – is rounded corners. So, make the corners rounded, like in our example.
Step 4
Now take an eraser and remove all unnecessary guidelines from your iPad drawing. When erasing these lines, try not to touch the important lines. Try making the lines darker and sharper to give your iPad a more complete look and not look like a draft.
Step 5
So, it’s time to make the iPad drawing more voluminous and realistic. To do this, first, draw the side edges that follow the outlines drawn earlier. Next, draw the power button, camera, and home button. Add highlights and shadows to make your iPad drawing more three-dimensional.

As you can imagine, in this tutorial we drew an old version of the iPad. The current models of this device do not have a home button, the frames are almost invisible.
That was an easy job, is not it? We hope you enjoyed this iPad drawing tutorial. If you like the products of Apple then you will also like our tutorials on how to draw an iPhone and how to draw an iPod.





Thatb was sooo hard
EZ
The only thing I could have got right was the square and the circle on the top of the iMac.