How to Draw an Interior
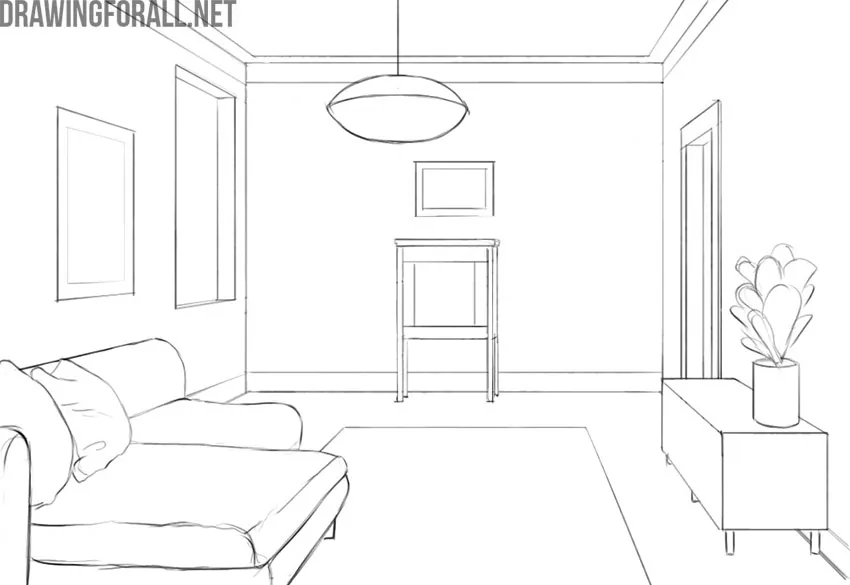
There is a range of knowledge and skills that are basic for any artist, and knowing how to draw an interior is one of them.
In order to draw an interior correctly, we strongly advise you to read the articles on linear perspective and aerial perspective created by the team of Drawingforall.net.
If you are already familiar with these principles, scroll down and start drawing the interior.
How to draw an interior step by step
Step 1: Mark the room corners
First of all, depict the lines by drawing the corners of the room so that, according to the laws of perspective, they converge at one point. The lines should be very light to make them easier to correct later.

Step 2: Draw the front wall
Now depict the front wall of the room using four straight lines. To learn how to draw straight lines correctly, try to depict the entire interior without a ruler.

Step 3: Add perspective guidelines
Now depict several more straight lines that also converge at one point. These lines will help us in the next stages when we draw the doors and windows.

Step 4: Draw doors and windows
Now, using vertical lines, depict the doors and windows. Do not forget that according to the rules of aerial perspective, the nearest lines should be darker than the distant ones.
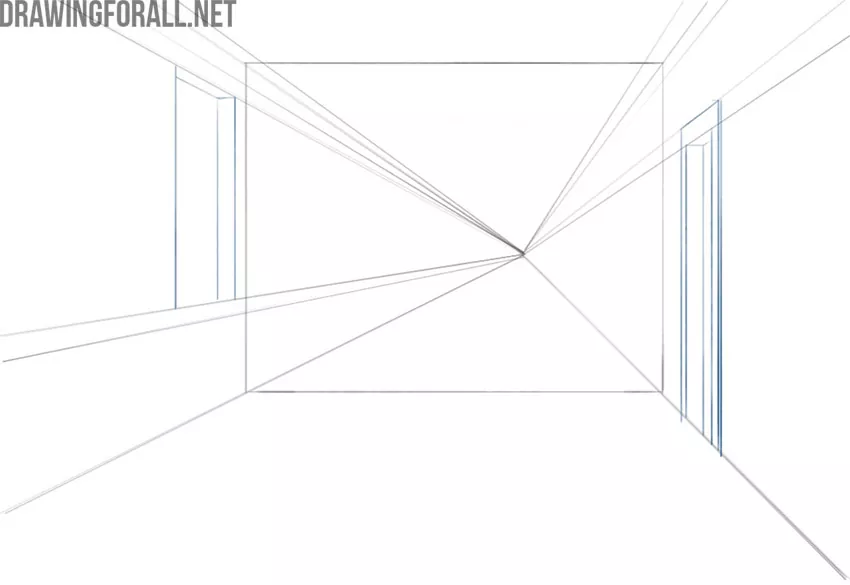
Step 5: Mark the furniture guides
Let’s add a few more lines that converge at the same vanishing point. These lines will help us with drawing the sofa on the left and the cabinet on the right.
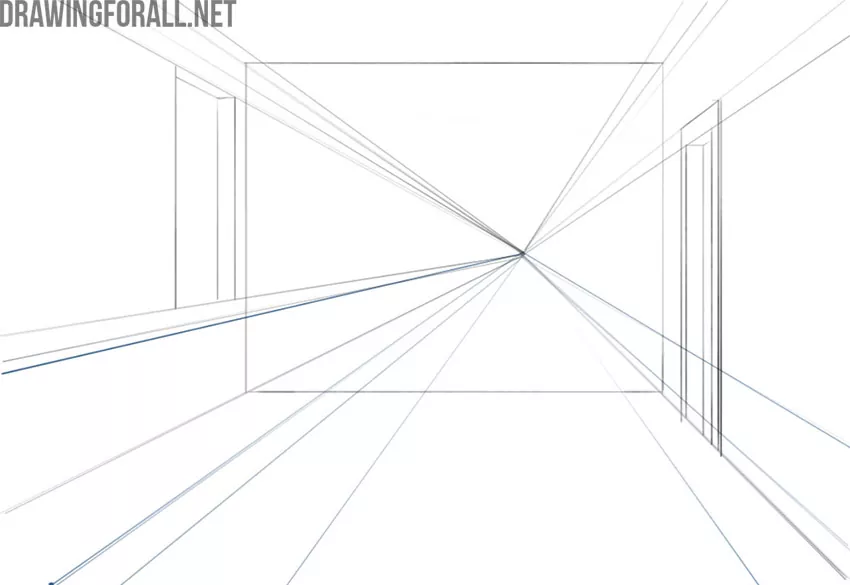
Step 6: Draw the main furniture
Using the lines from the previous stage, carefully depict the soft sofa on the left side. Then, using the lines on the right, depict a cabinet standing against the wall.
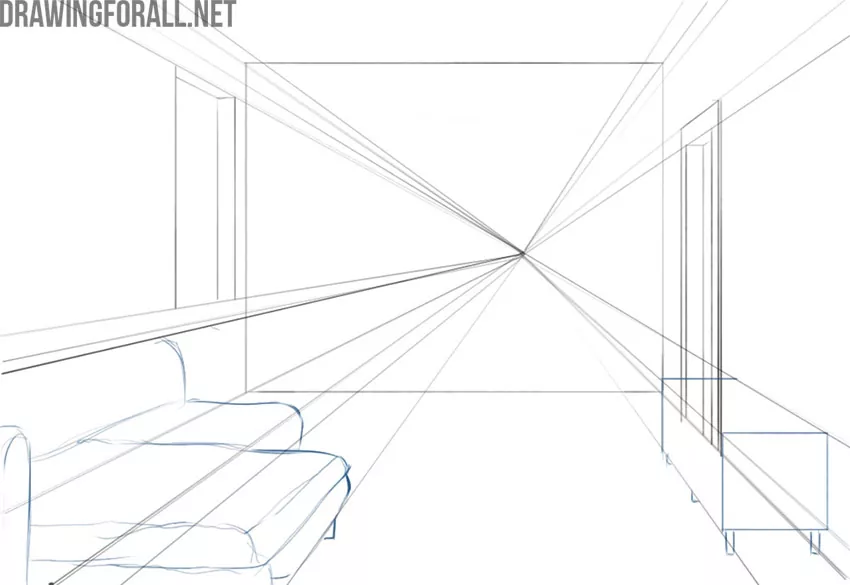
Step 7: Add the room details
Now let’s add some details to the room. Depict a cabinet against the front wall and a picture hanging on the wall. Don’t forget to depict the cornice in the upper corner.
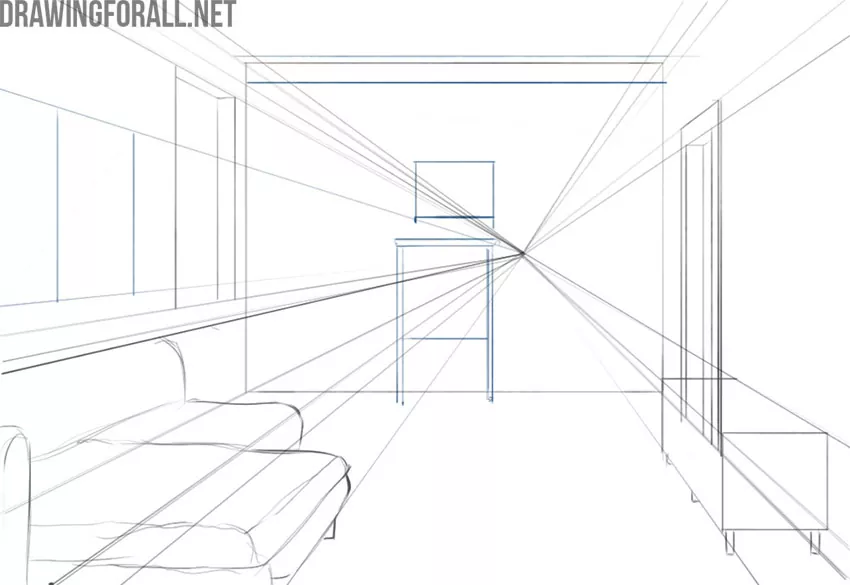
Step 8: Clean up the drawing
Erase all construction perspective lines and give the interior drawing a clean and complete look. Add details as needed.
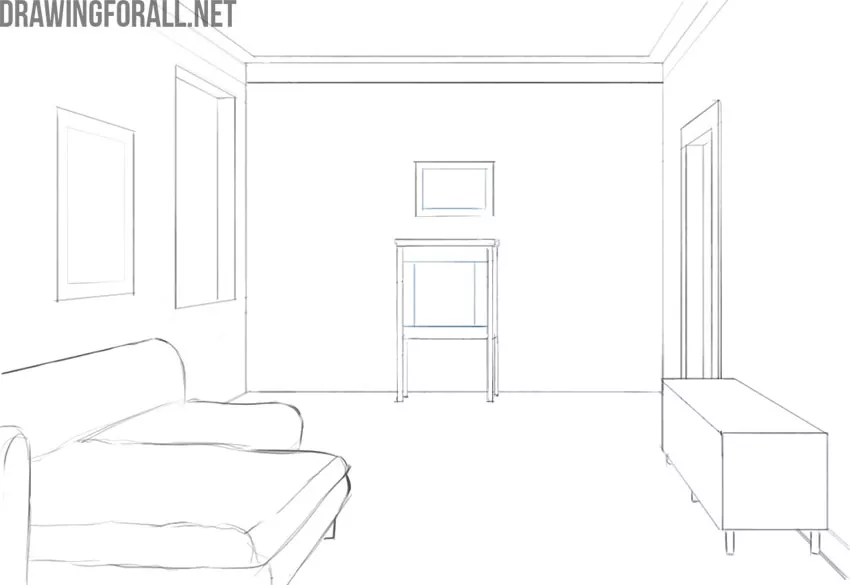
Step 9: Add decorative interior details
To make the room look more believable, draw a chandelier hanging from the ceiling, draw pillows on the sofa, and draw a vase with a plant on the cabinet. Finish the stage by depicting a long rug on the floor.
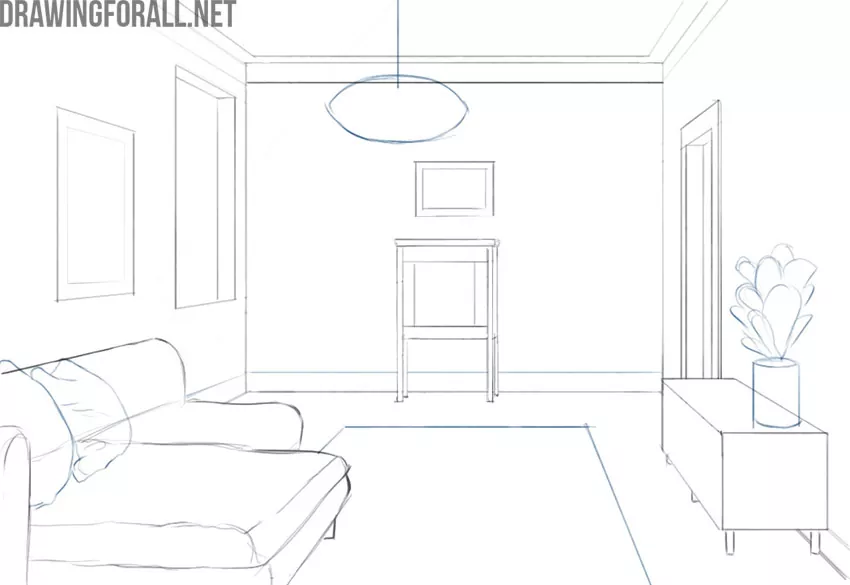
Step 10: Finish the interior drawing
Erase any remaining construction lines and give the interior drawing a complete and clean look. If you did everything correctly, then the tutorial on how to draw an interior is complete.
If you did everything correctly, then the tutorial on how to draw an interior is complete. Compare your artwork with our example. If you find any errors, go back to the stage where the mistake was made and try to fix it.
With the help of the knowledge gained, try to depict your room. Try to depict different interiors using the principles of linear and aerial perspective and practice drawing simple geometric shapes.
For example you can sketch rectangles or draw cubes to train your hand in creating straight lines.