How to Draw a Cube
In this tutorial, the team of Drawingforall.net will show you how to draw a cube. With this tutorial, you can also learn how to practice drawing perspective and straight lines.
In order to correctly and accurately draw a cube, it is necessary to understand and imagine its volume. That is, when creating this geometric figure, you must clearly understand where and at what angle its sides are located and how they are reduced in perspective.
In fact, there are a huge number of different ways to how to draw a 3d cube, and in this article, we will show you one of them. In the future, we will show you some other ways of drawing this geometric body.
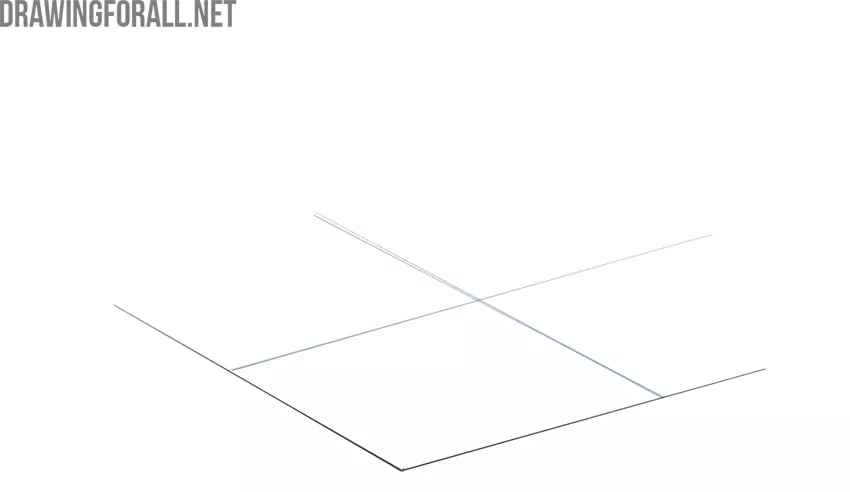
Step 1
So, first, sketch the bottom edges of the cube. In order not to make a mistake in the angles of inclination, use the method of sighting, which we told you about in the article on linear perspective. Try to use very light lines, and not use a ruler.

Step 2
Now, using very light lines, sketch two more edges of the cube that are not visible to us. We depict these lines so as not to err in the proportions and fidelity of the angles in the figure. Recall that in accordance with the rules of linear perspective, the receding lines should be slightly closer to each other.
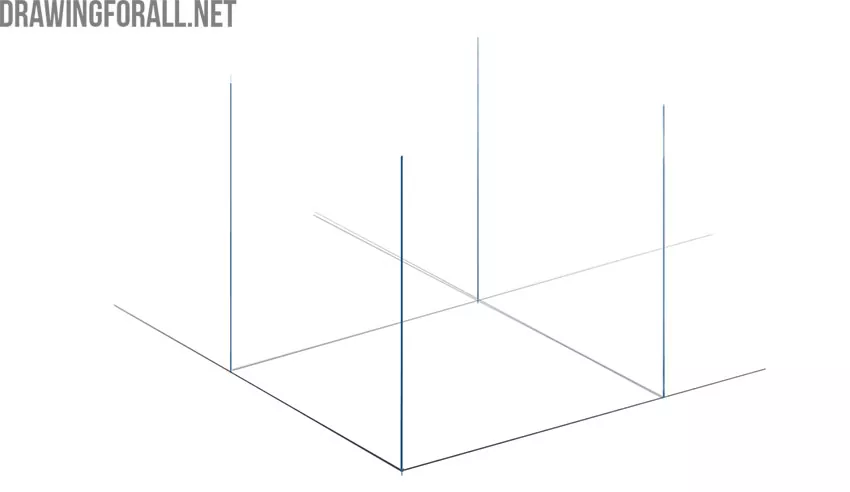
Step 3
Now, using four straight vertical lines, sketch the vertical edges of the cube. Recall that, in accordance with the rules of aerial perspective, the lines located closer to us should be darker and more contrast than the lines located further from us.
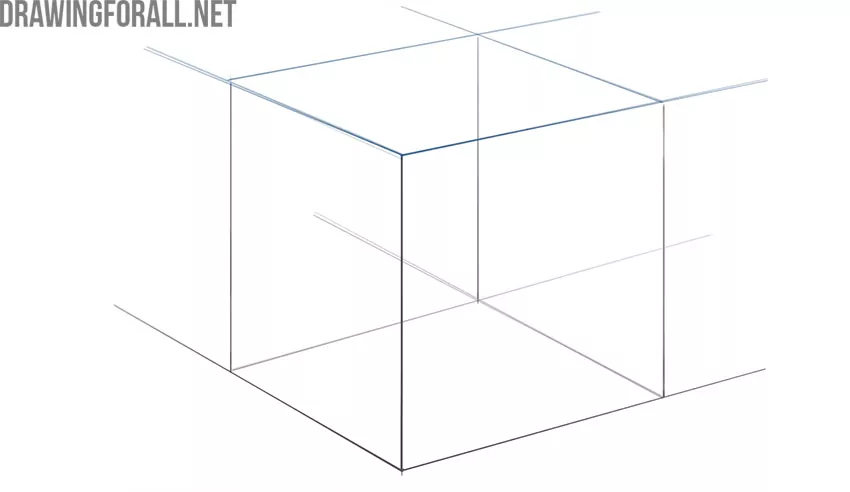
Step 4
Now, using four straight lines, depict the top edges of the cube. Note that the top face should be flatter than the bottom one. Recall again that the receding lines should become closer to each other and lose in contrast. This will help your cube drawing look more voluminous and realistic.
Step 5
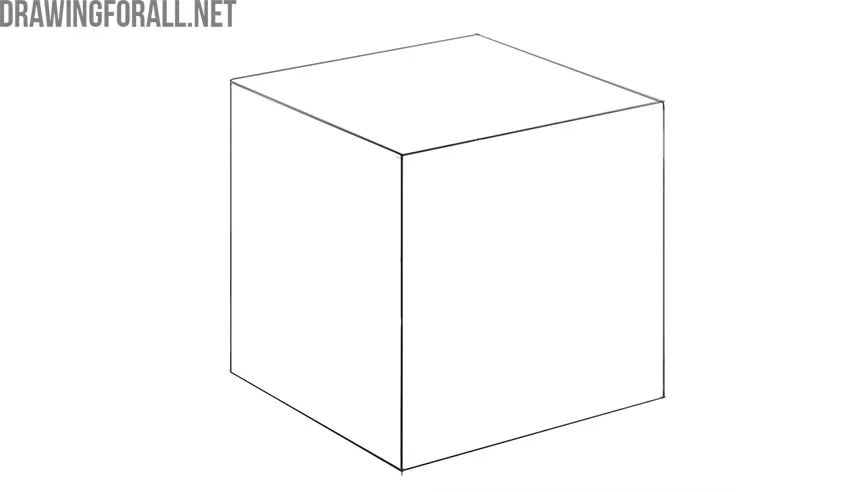
Now is the time to start giving the cube drawing a more finished look. To do this, get rid of unnecessary construction lines and give the lines a clear and correct look. Do not forget to correct the errors in the lines and perspective, because in the future it will be more difficult to do.
Step 6
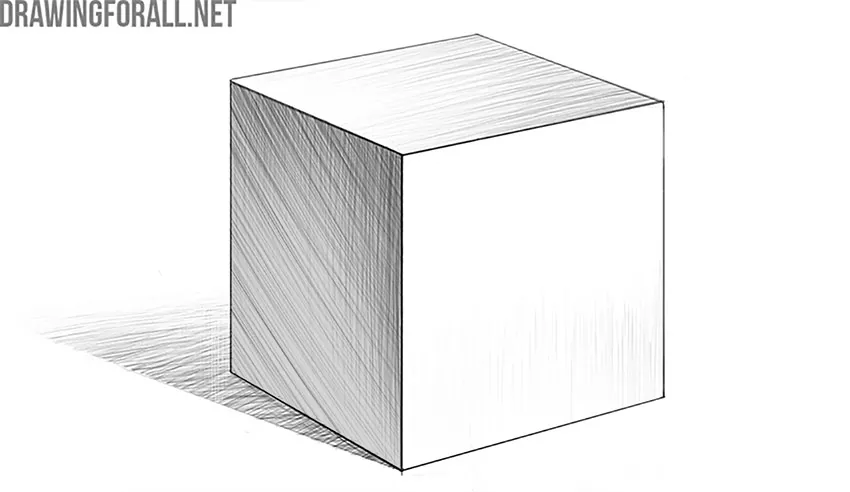
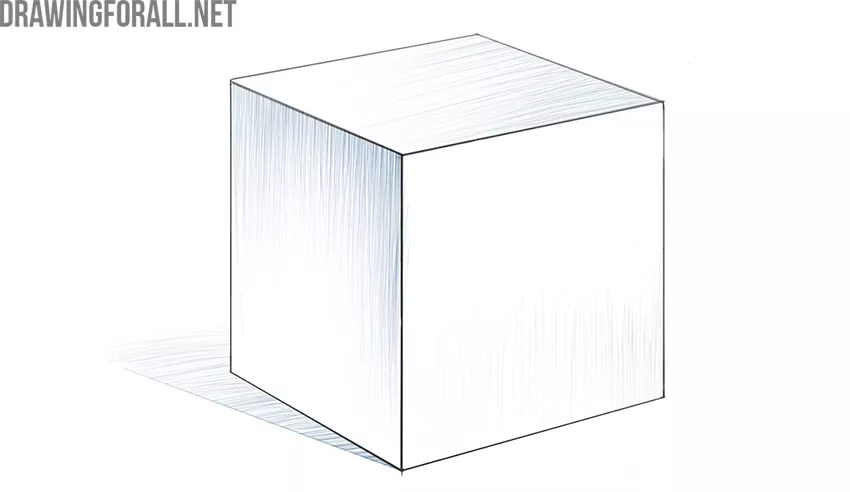
Now it’s time to start giving volume to the cube drawing and make it truly three-dimensional. To do this, begin to apply shadows, as shown in the example from the artists of Drawingforall.net. We described in detail how to draw shadows in our article about light and shadow.
Step 7
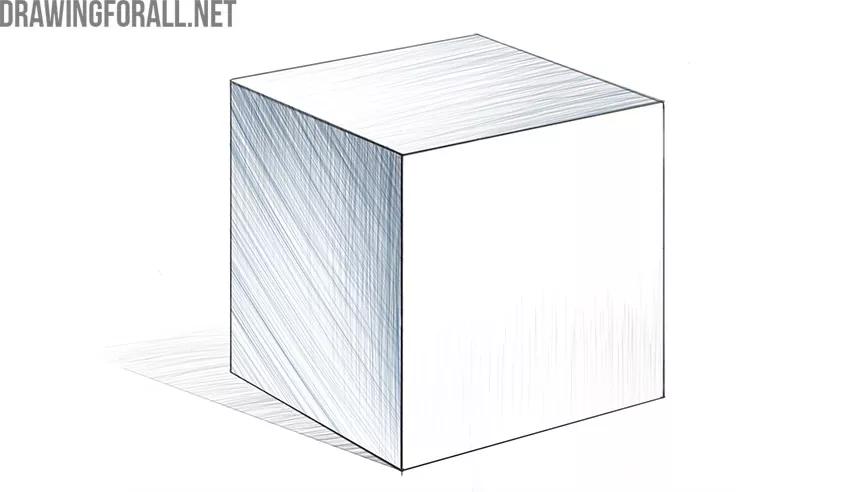
Continue to add hatching layers, darkening it where it is needed. Increase the contrast at the junction of light and shadow and in those places that are closest to us. We drew enough schematic hatching to make it the most noticeable, but you can make it neater and smoother.
Step 8
So, the last stage of the tutorial on how to draw a cube. Here you have to look at your artwork, find all the errors, and correct them if possible. Make all the necessary finishing touches and your cube drawing is done!
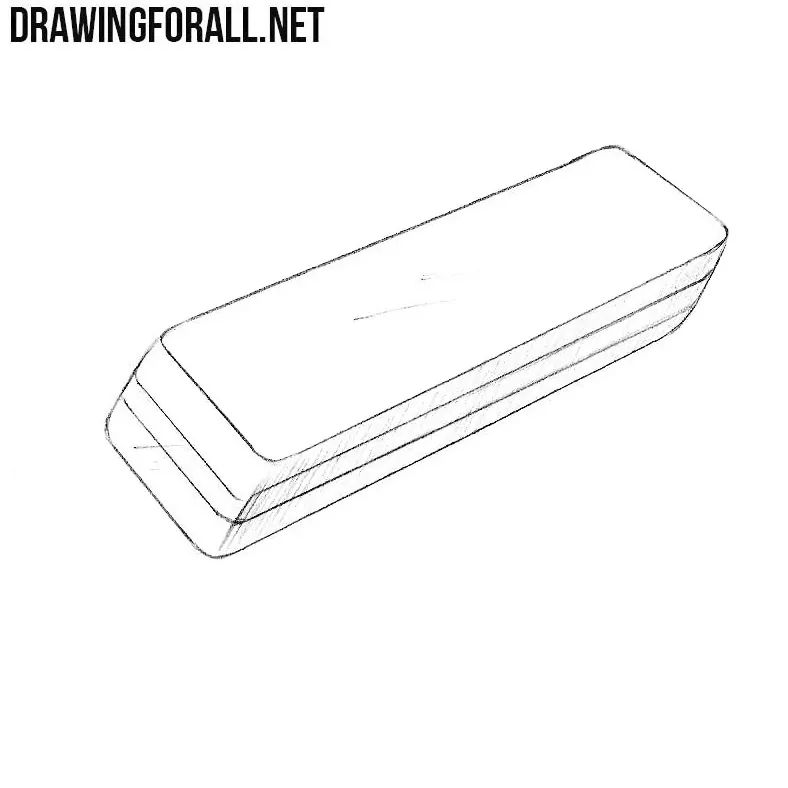
Recall that this article is useful not only for those who want to learn how to draw a cube but also in order to learn how to correctly understand the perspective and create cubic objects. Recall that all complex objects surrounding us are based on simple geometric shapes, one of which is a cube. By learning to perfectly depict this simple geometric figure, you will greatly improve your artist skills.


I like this