How to Draw a Chandelier
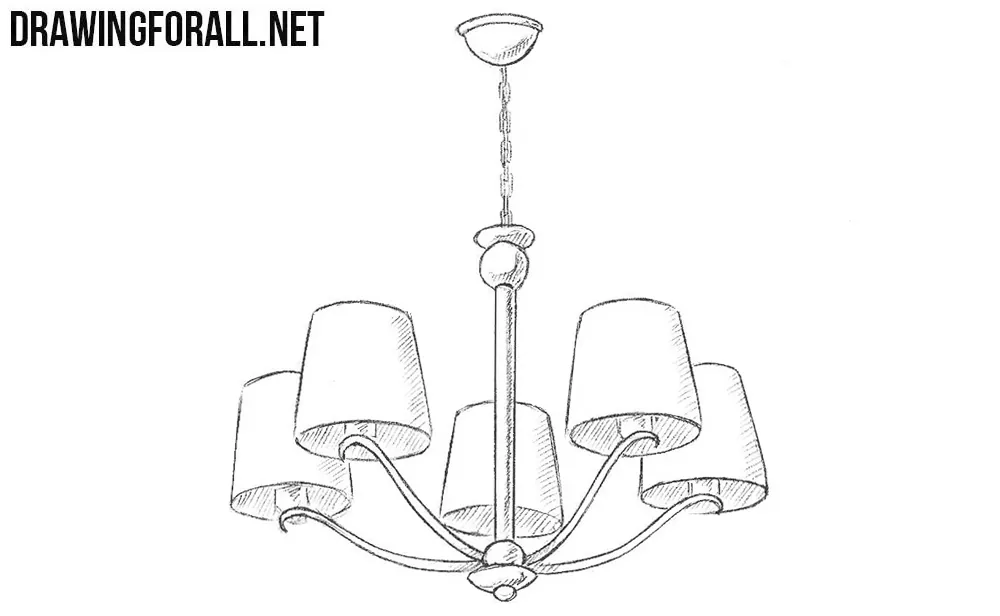
Hello dear artists and welcome to Drawing For All. Today we want to continue the theme of items that you can see in everyday life. So, scroll down the page and find out how to draw a chandelier.
Step 1
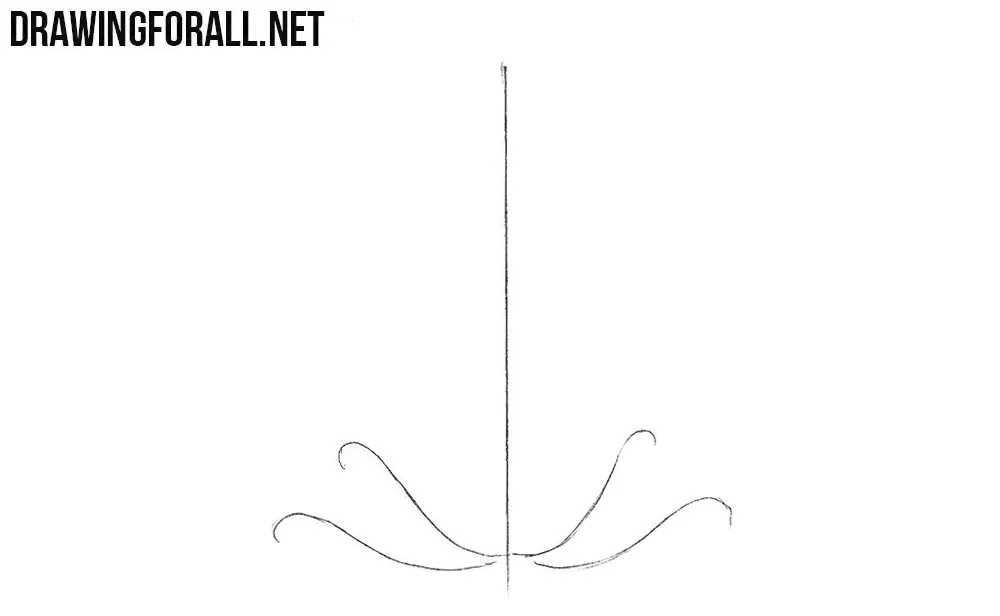
First, draw a straight vertical line. In the lower part draw the arms of the chandelier with the help of curved lines
Step 2
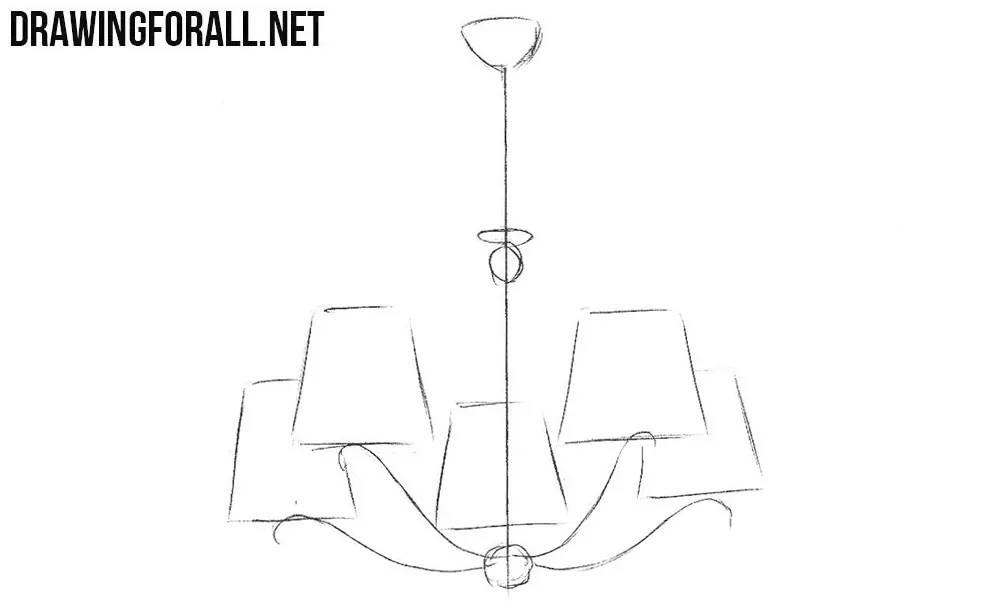
Draw details on the central line as in our example. At the tips of the arms draw so-called “shades” of the chandelier.
Step 3
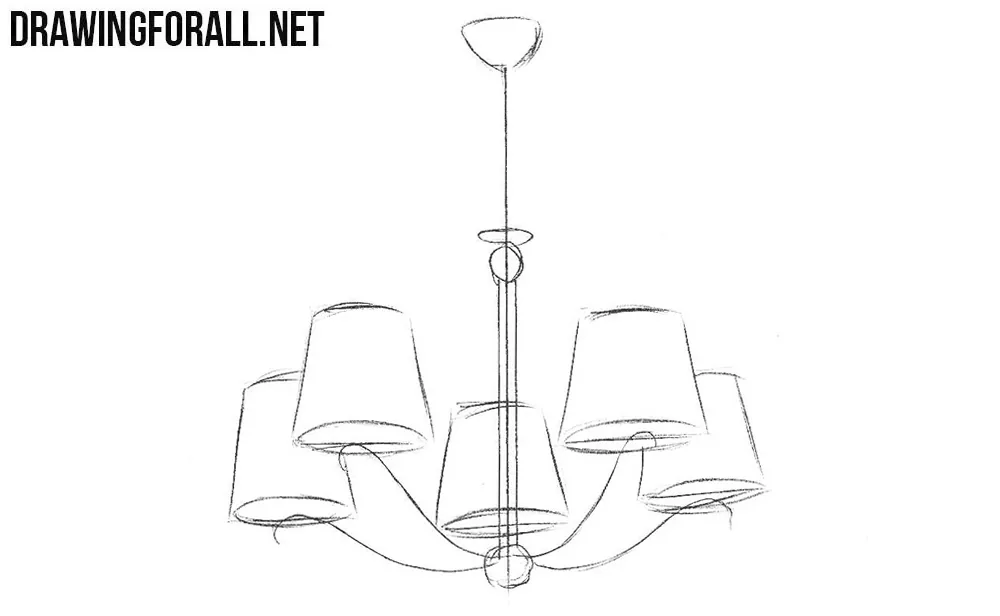
Thicken the central line turning it into a column. With the help of curved lines make chandelier shades more voluminous.
Step 4
Using clear and dark lines draw out a chain and a central column with all the details. Do not forget to erase unnecessary guidelines from the central part of the chandelier.
Step 5
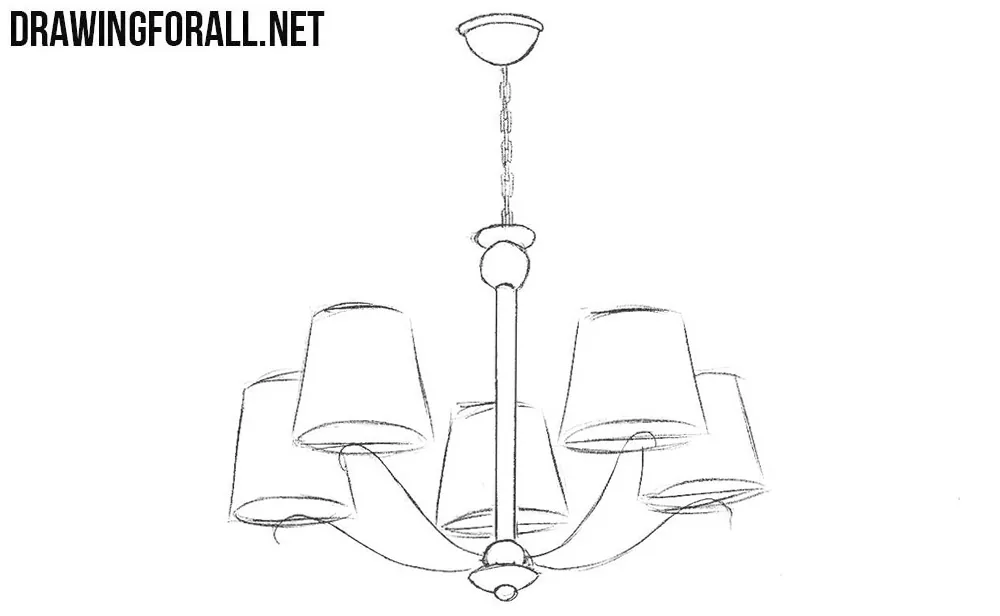
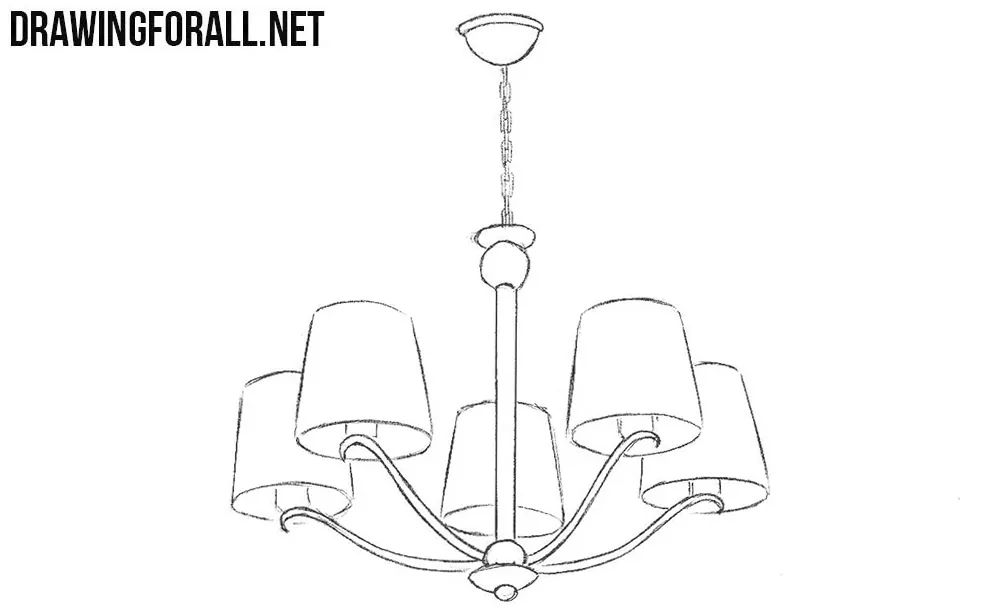
Also using smooth and dark lines draw out the arms, shades and visible parts of bulbs our chandelier. Do not forget to erase all the remaining unnecessary guidelines from our chandelier drawing.
Step 6
Let’s draw shadows. If we imagine that the light falls from the left side of the drawing, then the shadows will lie on the right sides of the parts of the drawing. If the light comes from the bulbs of the chandelier, the shadows will fall on the upper sides of the parts that are hidden from the light source.

It was a lesson about how to draw a chandelier step by step. We want to remind you that we have a lot of different drawing tutorial, among which you are sure to find everything that you want to learn to draw. And if you want to learn to draw quickly, and you absolutely do not need text descriptions for drawings, then you can use our shortened versions of lessons on the Pinterest.




Blablabla
Yay