

How to Draw a Dog House

Throughout this tutorial, you will learn how to draw a dog house in a realistic style and give it exactly the look you want.
Previously, we showed you how to draw a dog in a realistic style using classical construction techniques and volumetric shadows.
Now, we will show you how to draw a dog house using the same style and techniques to create volume and realism in the drawing.
Dog houses can have many different designs, just like houses for people. Here, we chose the most classic and recognizable form, which almost anyone can repeat and adapt when drawing another type of house.
To make your dog house drawing realistic, it is helpful to know the rules of perspective and be able to draw a cube. We have already covered these topics in earlier tutorials.
How to Draw a Dog House Step by Step
Step 1: Mark the bottom edges
As when drawing any cube, begin with one of the faces. You can start with the side or bottom face, as shown here. First draw the front bottom edge, then add the side edge at an angle, keeping perspective in mind and making the lines as straight as possible.

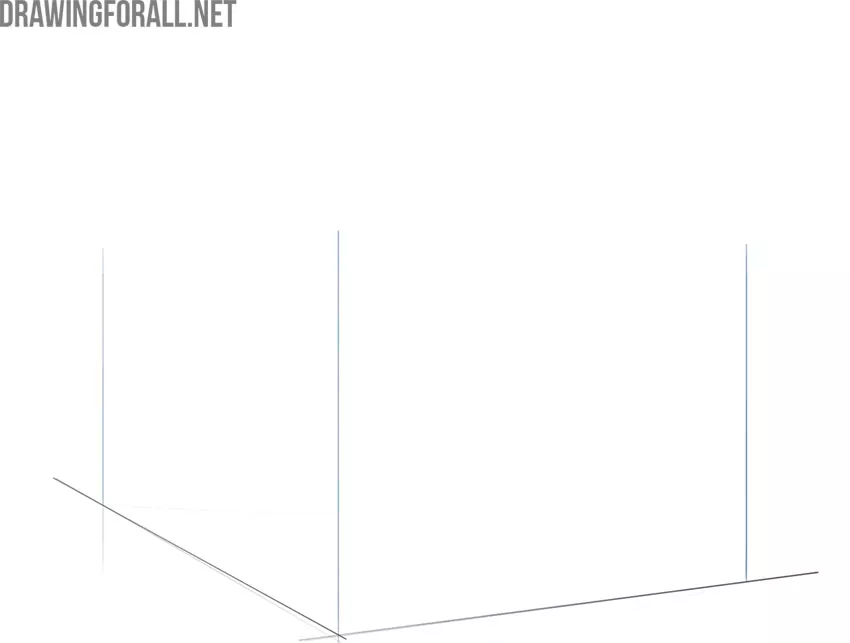
Step 2: Draw the corners of the dog house
Once the bottom face is ready, begin building the walls. From the corner and sides, draw three upward lines of approximately equal height. These will form the three visible corners of the dog house. Then connect the lines, making sure they follow the perspective.
Step 3: Begin forming the roof
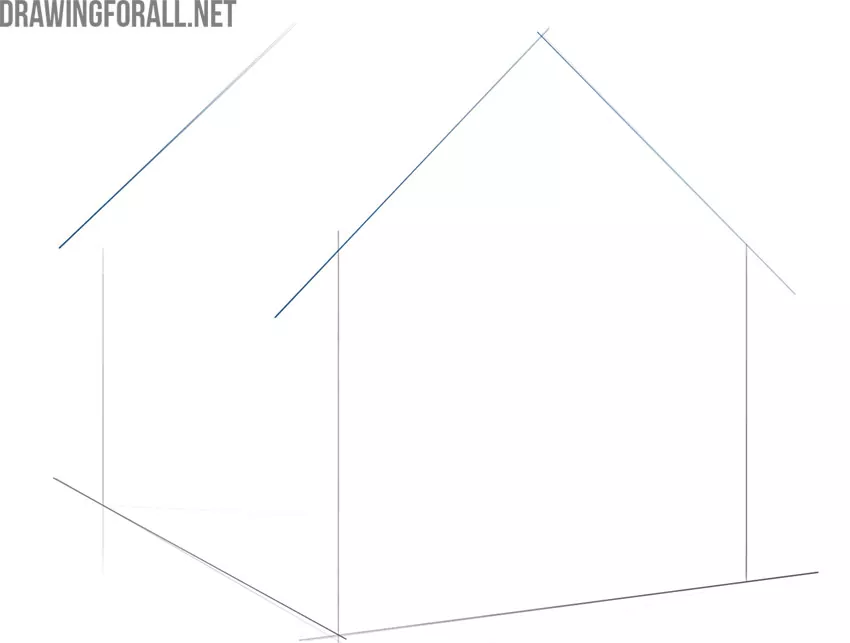
Begin forming the roof with the front section. From the two nearest corners, draw two lines extending upward. Then draw the rear edge of the dog house roof with another diagonal line that follows the angle of the front section.
Step 4: Complete the roof shape
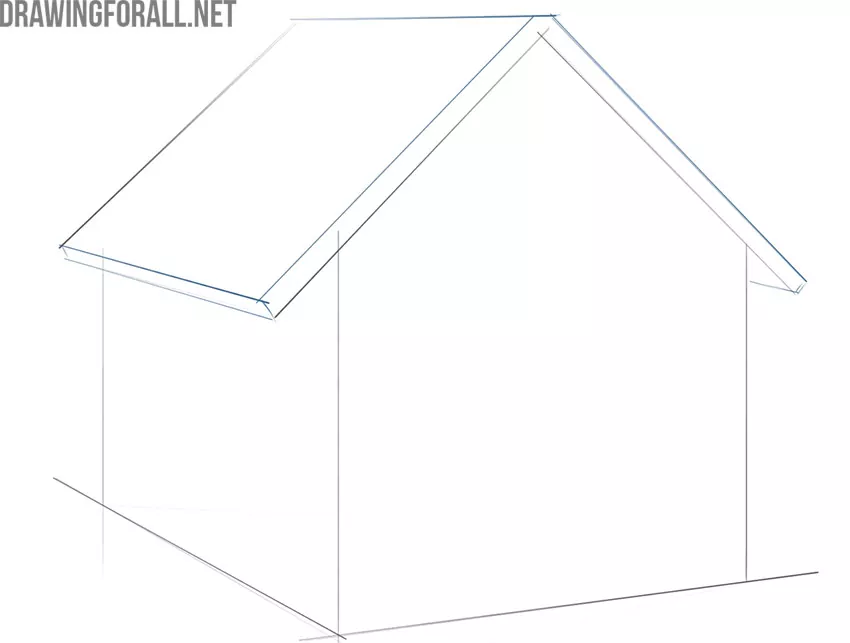
Draw the upper and lower edges of the dog house roof, making sure these lines move slightly closer together with distance because of perspective. Give the front section of the roof volume with additional construction lines. Also keep aerial perspective in mind, making the farther lines slightly lighter than those closer to the viewer.
Step 5: Draw the door of the dog house
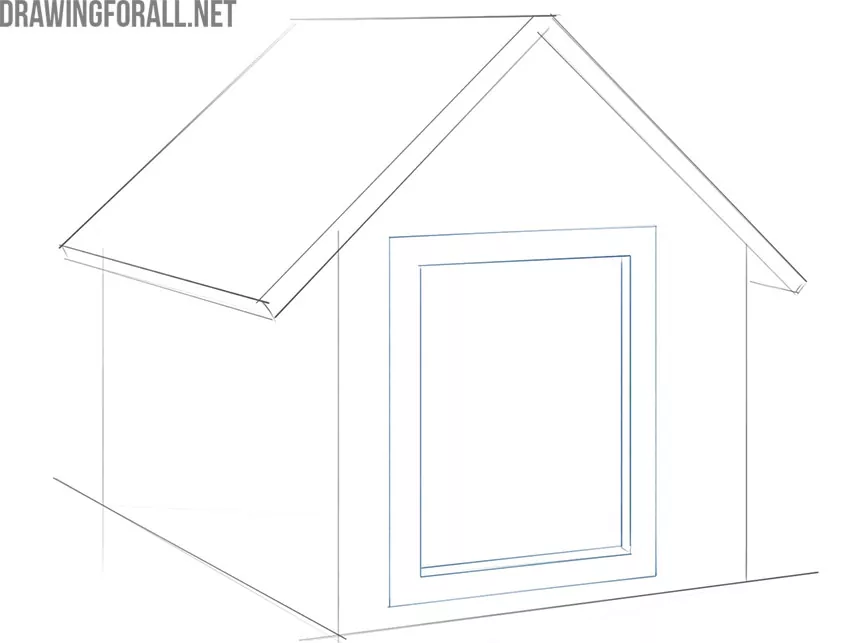
Move on to the details and draw the door on the front wall of the dog house. First draw the side edges of the door, then the top crossbar. Make sure the door lies in the same plane as the front wall. Give the doorway thickness by drawing part of the inner frame.
Step 6: Add the decorative corner boards
Continue detailing the dog house by adding decorative corner boards. Draw vertical lines along the previously established corners. Like the actual corners of the structure, these boards should lie in the same planes.
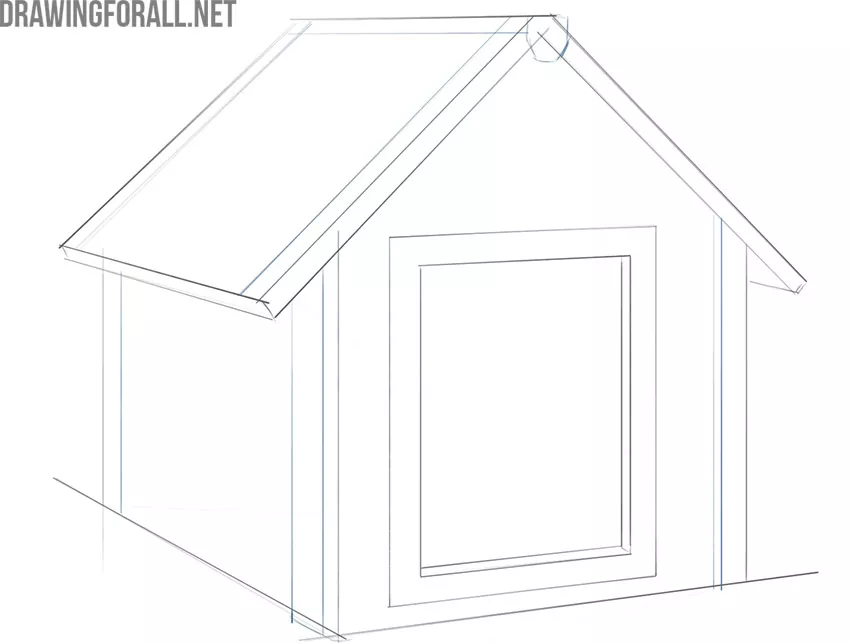
Step 7: Draw the wooden planks of the dog house
Finish adding details by drawing the wooden planks on the front wall, side wall, and roof of the dog house. Each plank should follow the plane it is attached to, and the lines should match the direction of the surface edges.
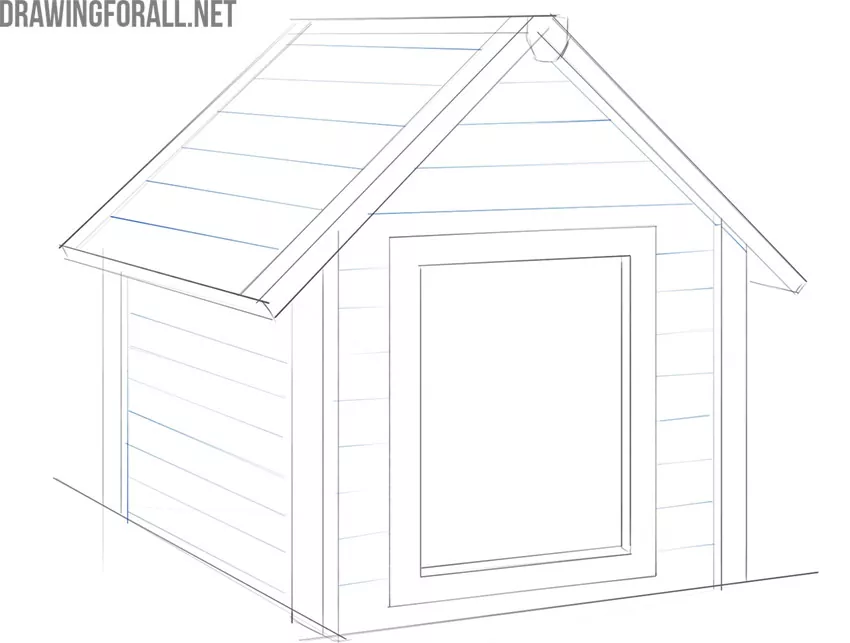
Step 8: Erase the construction lines
Erase the construction lines that are no longer needed, leaving only the main outlines of the dog house. Check the perspective, ensuring that the lines gradually converge into the distance. Also keep aerial perspective in mind so that distant lines appear slightly lighter.
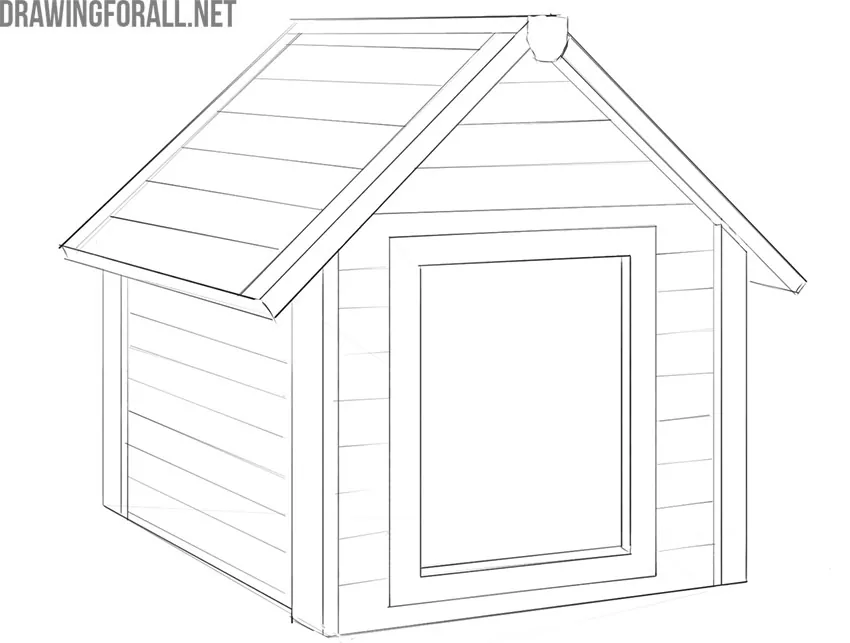
Step 9: Shade the planes of the house
Shade the dog house using the same principles you would use when drawing a cube. After determining the light source, apply even, consistent hatching to the shaded planes. Make the darkest areas those that receive the least light. To better understand shading, review our article on light and shadow.
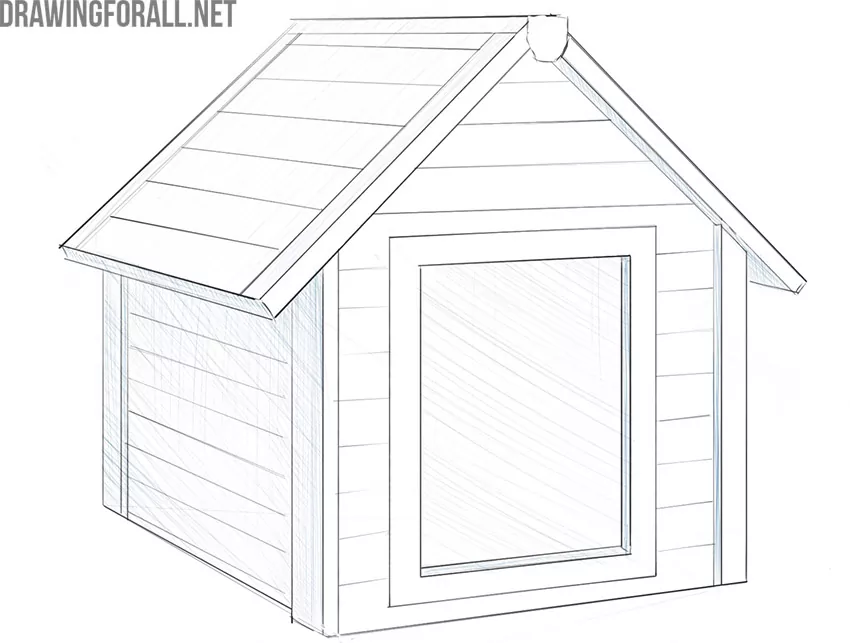
Step 10: Add additional halftones
Finalize the dog house drawing by checking for inaccuracies and correcting them where needed. Review the tonal relationships throughout the drawing and add additional halftones and shadows if necessary.

In our example, the dog house has the classic appearance most people imagine – a simple structure with wooden walls, a gable roof, and a front entrance.
This shape, essentially a cube with a triangular roof, is easy to construct and gives you a great opportunity to practice creating convincing three-dimensional forms.
For additional practice, try drawing a dog house from different viewpoints. You can also create a more complex composition by drawing a lying dog inside or next to the house. All of this is excellent practice for improving your drawing skills.
We hope this dog house drawing tutorial was helpful. Be sure to explore our other tutorials to continue developing your drawing skills, and follow us on social media so you don’t miss new guides.




I like draw
Billy, I like draw too!
I give this a one star because my dog jerry can go in the house
ok
OK
sssshiiiiiiiiiiiiiiiiyuu i love yo draw w
wurf
Great Tutprial
Thank you! Glad you enjoyed the tutorial.