

How to Draw Loki
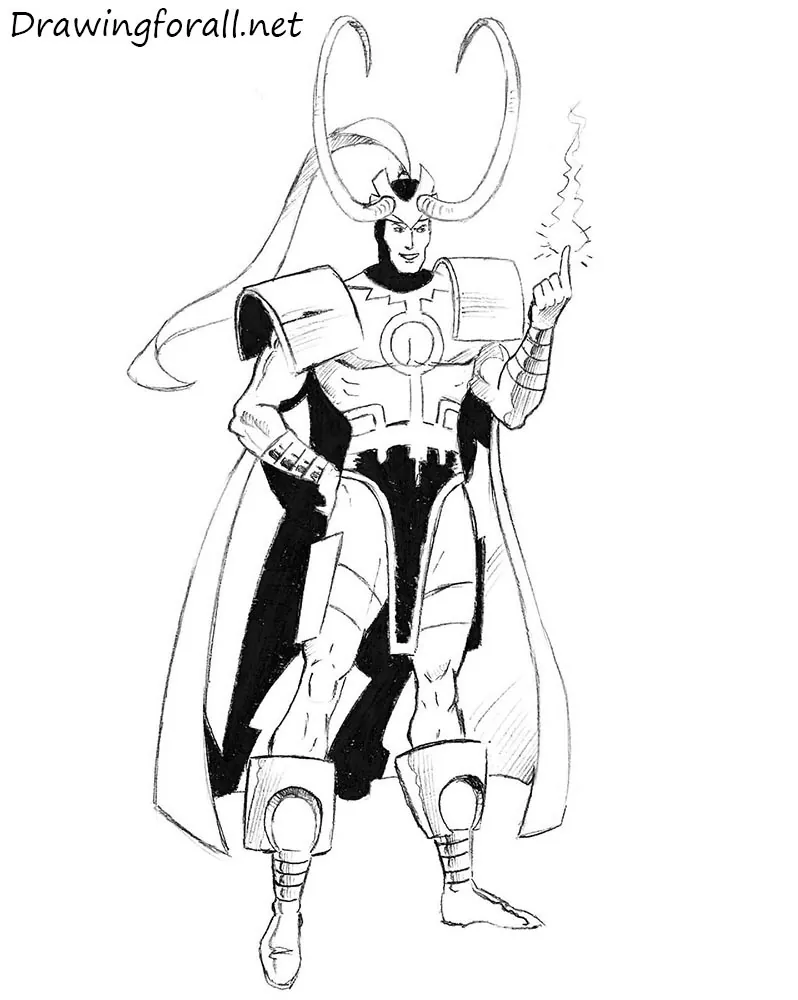
This step-by-step tutorial will show you how to draw Loki – one of the central characters in comics and movies about Thor, a superhero who is also the god of thunder.
Formally, the first comic book about Thor was published in 1962, the same year the world saw Loki, his half-brother.
In this tutorial, we’ll show you how to draw Loki in his classic comic book costume, but the guide is also applicable to the movie version.
How to draw Loki step by step
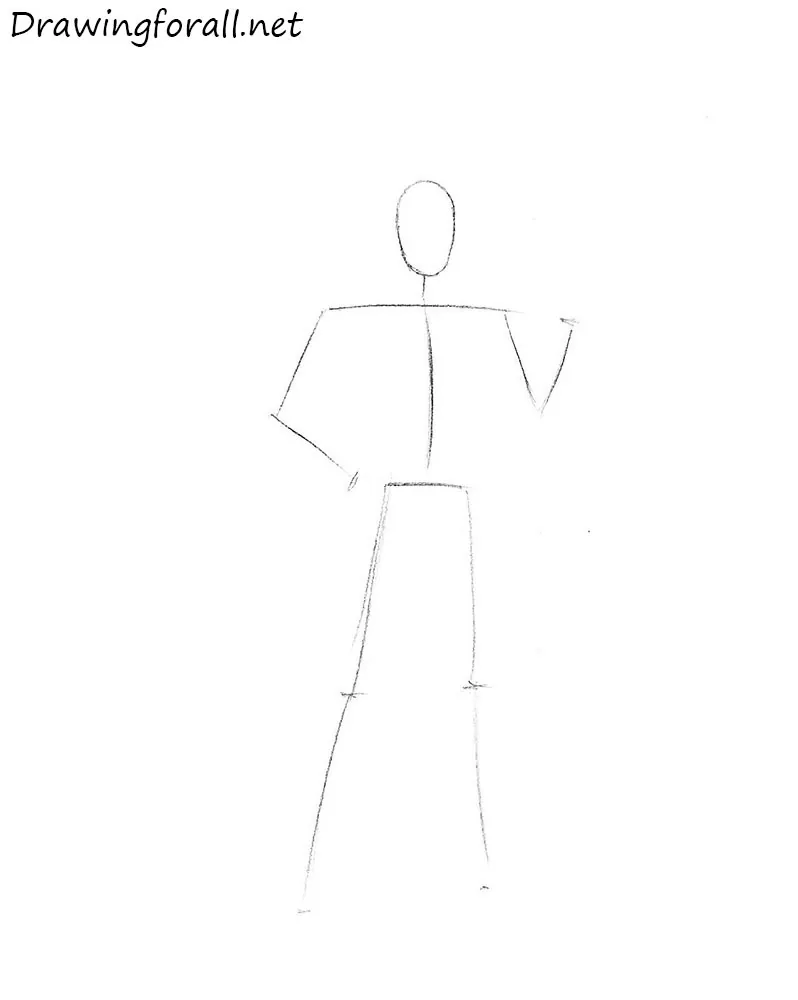
Step 1: Sketch Loki’s basic figure guidelines
First, sketch the stick figure using lines and circles to establish Loki’s basic body structure, posture, and position on the sheet of paper. Here are the main features of the male figure: the height equals approximately 7.5 head lengths, the shoulders are much wider than the pelvis, and the arms reach about halfway between the belt and the knee joints.
Draw the head as an oval and construct the rest of the body with simple lines.
Our regular readers may have noticed that every drawing tutorial about a human figure begins with a stick figure. Even tutorials with detailed subjects begin with a stick figure very similar to the early stages of superhero drawings.
Step 2: Build the body shapes
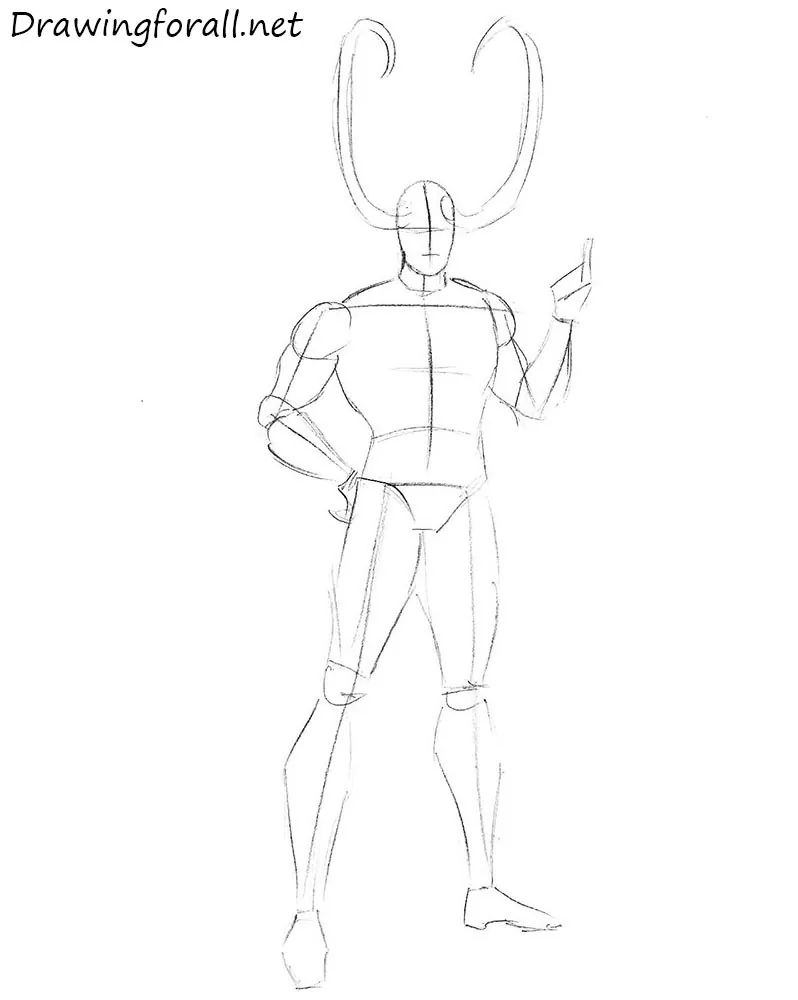
Mark Loki’s head with a vertical facial symmetry line and horizontal lines for the eyes and mouth. Using these guides, sketch the long, curved horns. Then move downward and draw the neck as a short cylinder. Below the neck, outline the torso. Add the arms, visually dividing them into the shoulders, upper arms, elbows, forearms, and hands.
The torso narrows sharply because of the broad chest and back muscles combined with the narrow waist. Sketch the pelvis as a triangle. Draw the legs as elongated, curved cylinders. The legs widen around the thighs and calf muscles and narrow around the knees and ankles.
Step 3: Add armor and cape
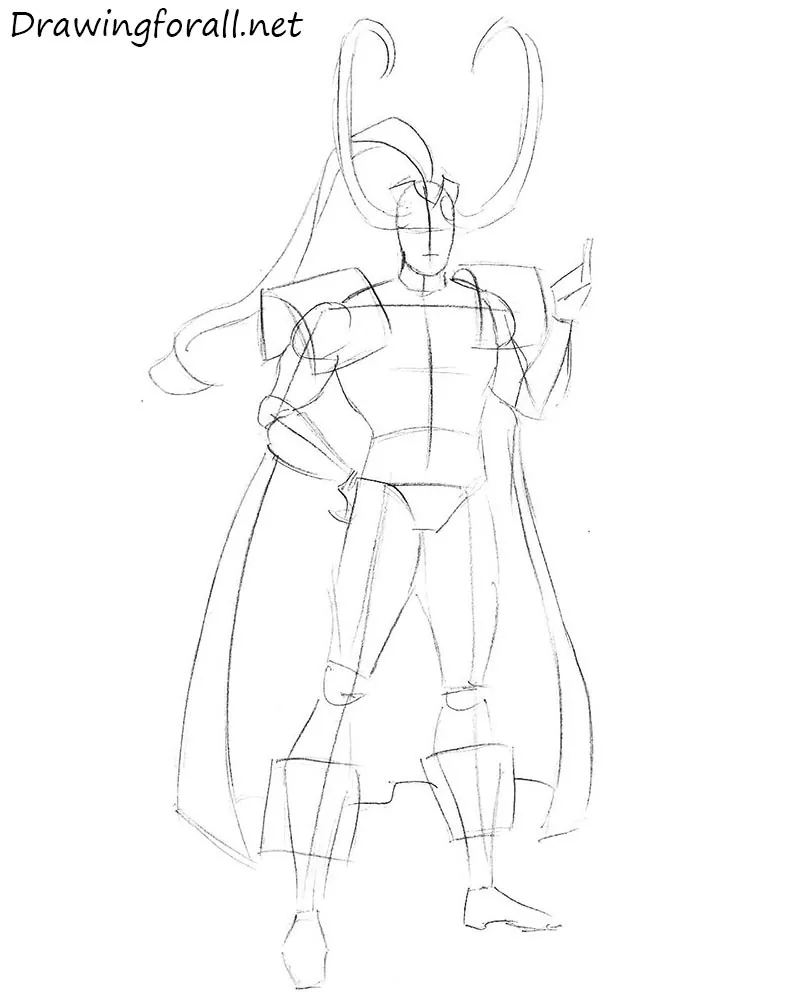
Outline a long, twisted band in three places on Loki’s helmet. Sketch the elements of the massive armor on the shoulders. Draw the boot cuffs just below the knees. Also outline Loki’s cape, adding a pair of folds along the edges as it gradually widens toward the bottom. Another well-known character who wears a cape is Darth Vader.
Step 4: Draw Loki’s facial features
Using the guidelines from the previous stages, draw Loki’s facial features. His face has the structure of a normal human face but includes a sly grin. Note that neither Marvel’s Loki nor the mythological Loki wore a beard, which is quite unusual for a Scandinavian character.
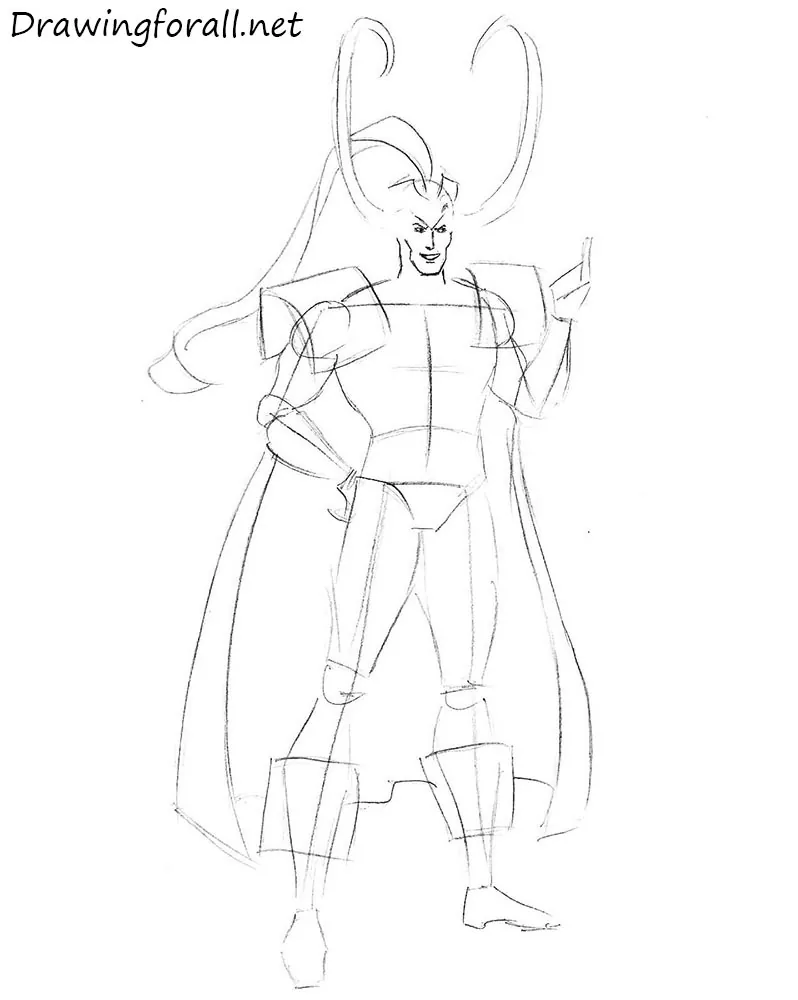
Step 5: Refine the horned helmet
Now draw Loki’s helmet. Note the V-shaped front plate from which the horns extend. Do not forget to erase the extra guidelines from Loki’s head and face.
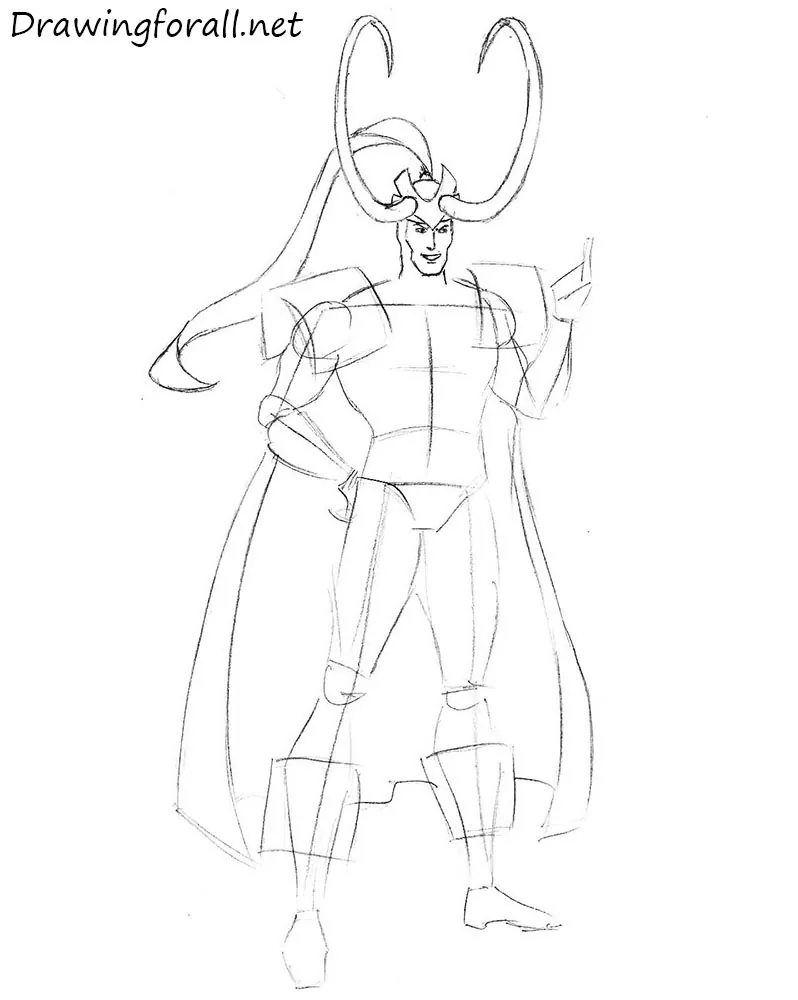
Step 6: Outline the neck armor
Using the preliminary lines, draw the neck and the jagged pattern around the collar. Erase the extra guidelines from the neck and spaulders, then refine the spaulders themselves. Loki’s armor should not look as heavy; it should appear light and flexible.
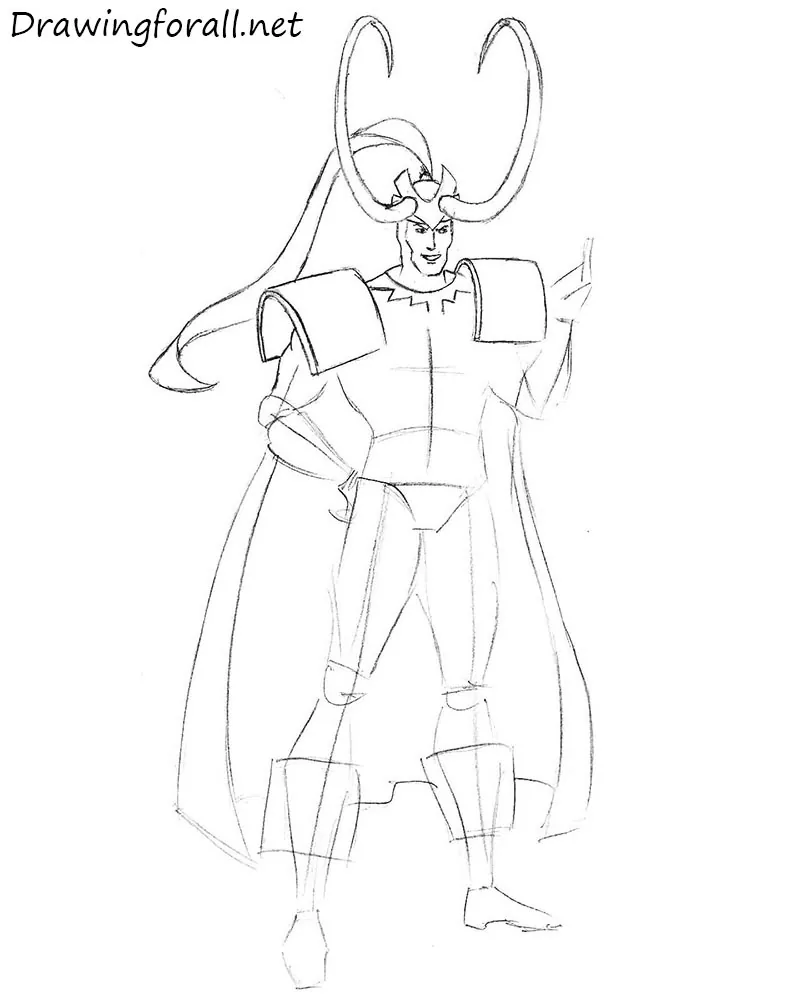
Step 7: Define Loki’s armored torso
Using the construction from the previous steps, outline the defined pectoral and oblique muscles, then draw the pattern extending along the entire torso. Erase the remaining guidelines and rough strokes, and refine Loki’s torso with clear, confident lines.
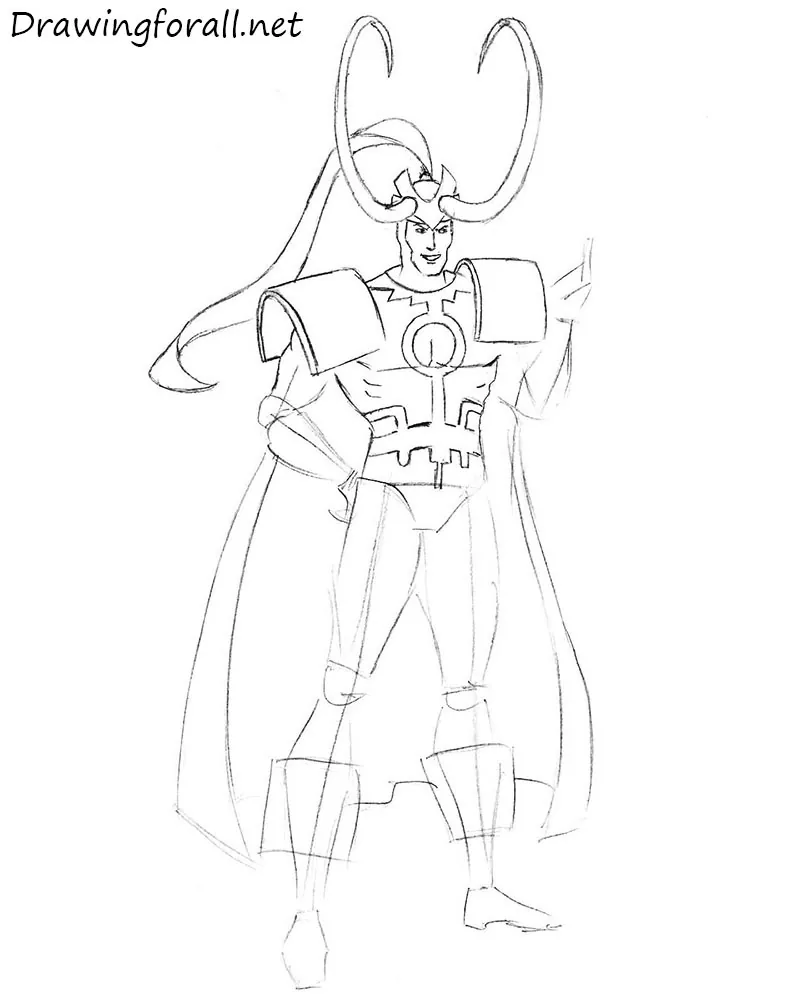
Step 8: Refine the arms
Draw Loki’s arms. Carefully erase the guidelines and refine the outlines of the muscles. Add the wrist bands with short lines. Finish this stage by drawing the hands.
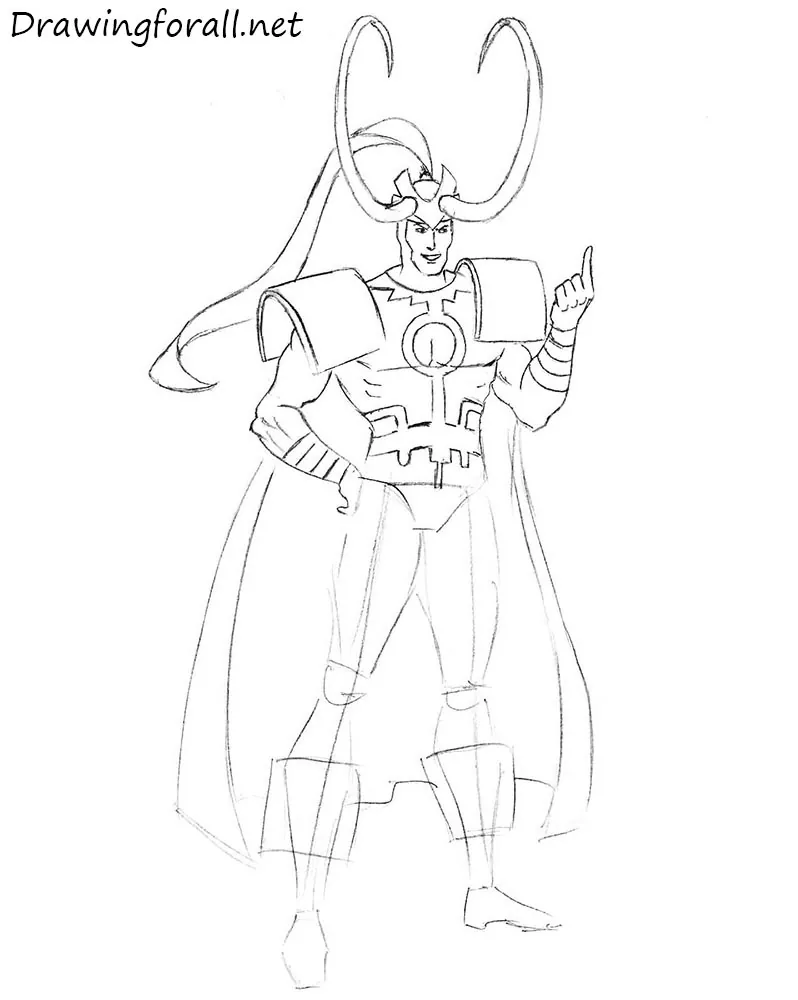
Step 9: Finish drawing the legs of Loki
Draw the smoke rising from the index finger of Loki’s left hand. Then sketch the long clothing element hanging beside the hip.
Next, work on the legs. The many short strokes may seem confusing, but the process is straightforward. First, outline the thighs and knees, then define the calf muscles with a few strokes. Erase the guidelines from the legs and sketch the muscle contours. Add the boot cuffs, the folds across the toes, and the horizontal bands around the lower legs.
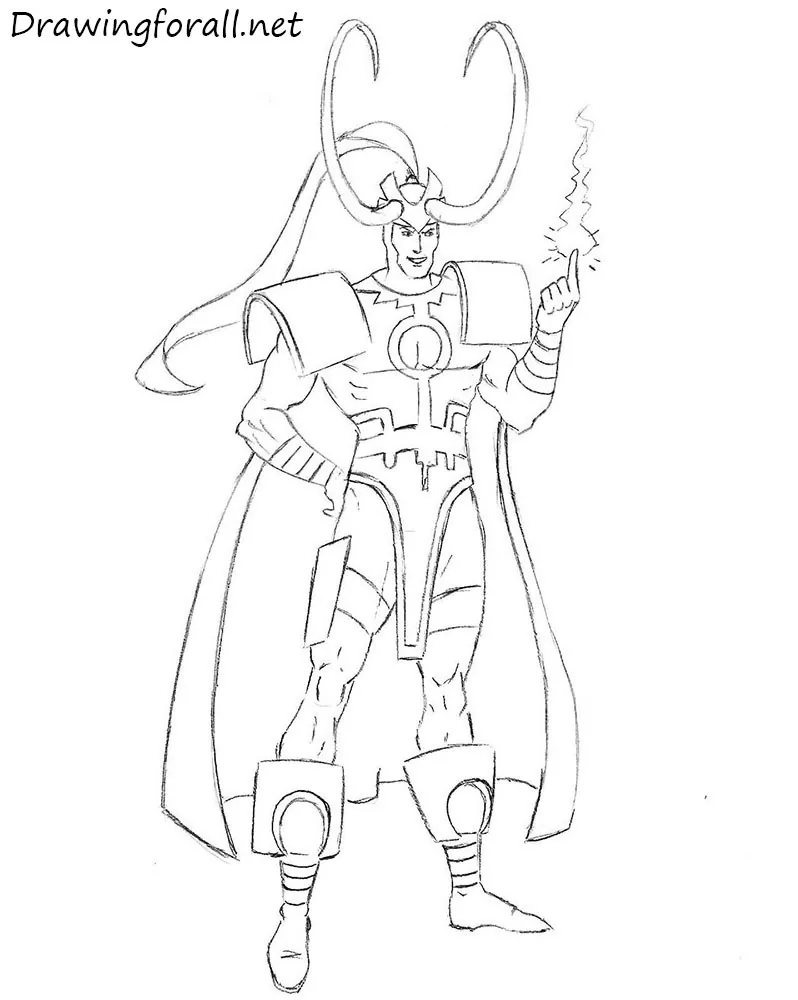
Step 10: Add comic-style shadows
Add shadows to Loki. This drawing uses a classic comic book style, so the shadows should be contrasting and solid black. It is best to create the shadows in two stages: first outline each shadow shape, then fill it in. Use hatching to add halftones.
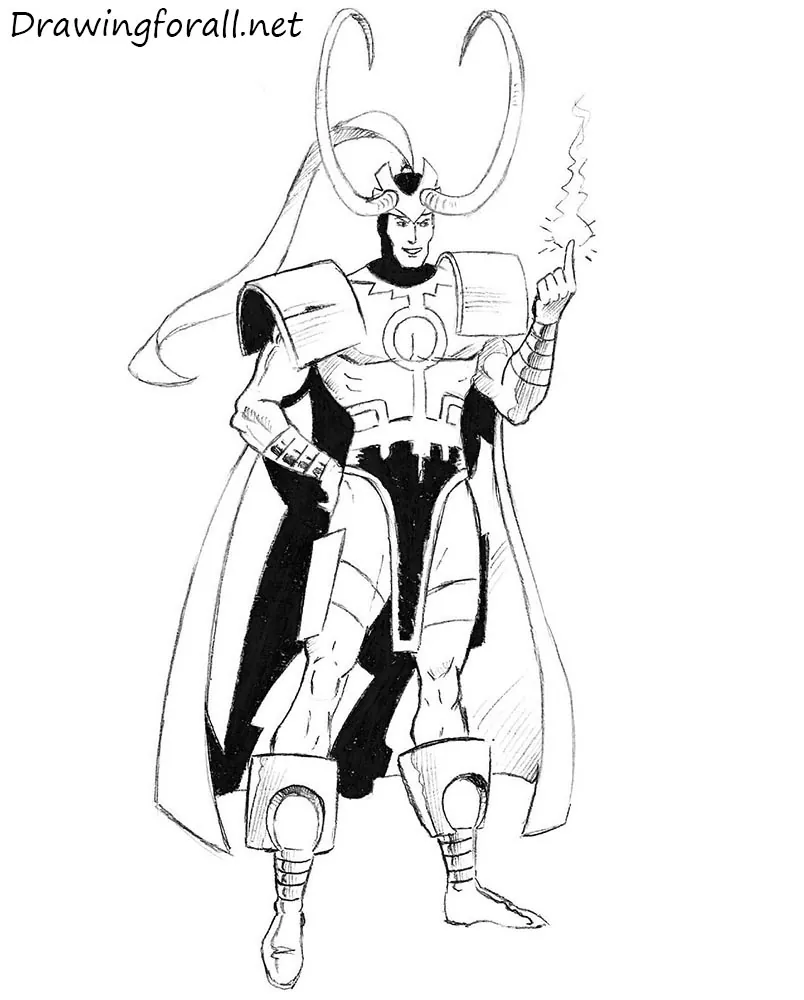
This tutorial showed you how to draw Loki from Marvel Comics. Continue with drawing Thor, Loki’s adoptive brother and greatest rival
You can also practice drawing Hulk, another powerful Avenger who has crossed paths with Loki many times.
Our Marvel collection includes many other comic book characters as well. Try drawing Captain America, one of the leaders of the Avengers, or continue with drawing Iron Man, whose battles with Loki became some of the most memorable moments in Marvel comics and movies.

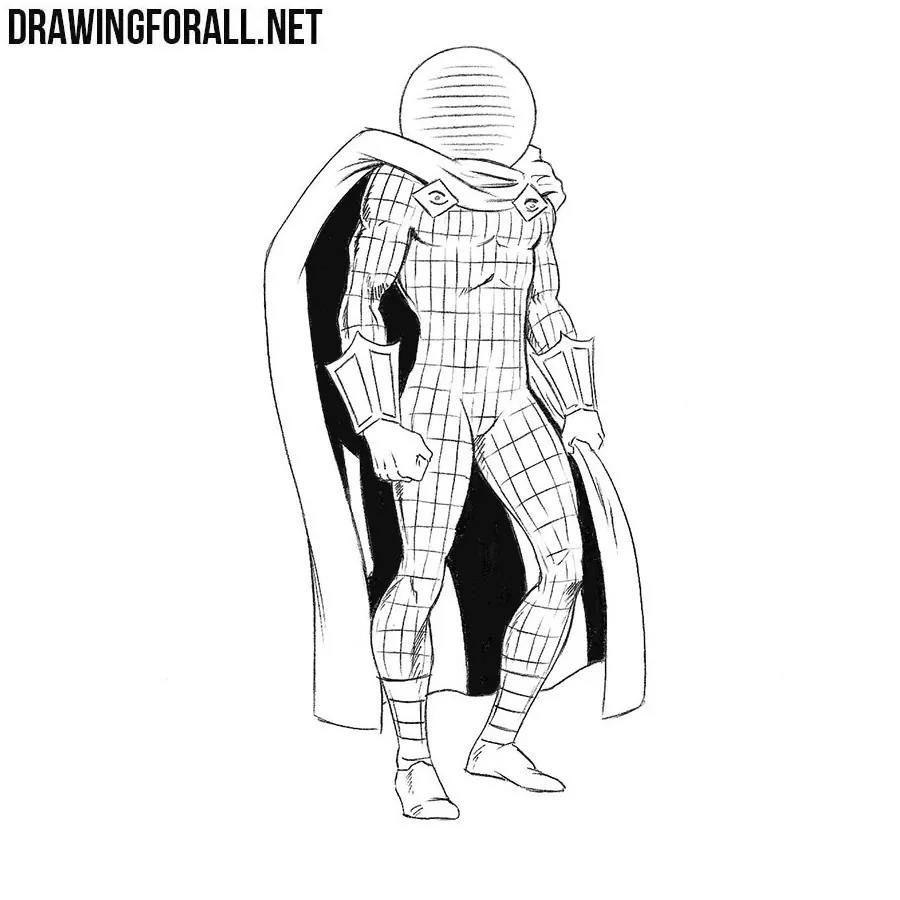
Isn’t this guy the Norse trickster god?
Yes of course. This is Loki, the Scandinavian trickster god. But in this drawing lesson, you can see Loki from the Marvel Universe, which is slightly different from the canon version from Norse mythology.