

How to Draw a Realistic Pyramid
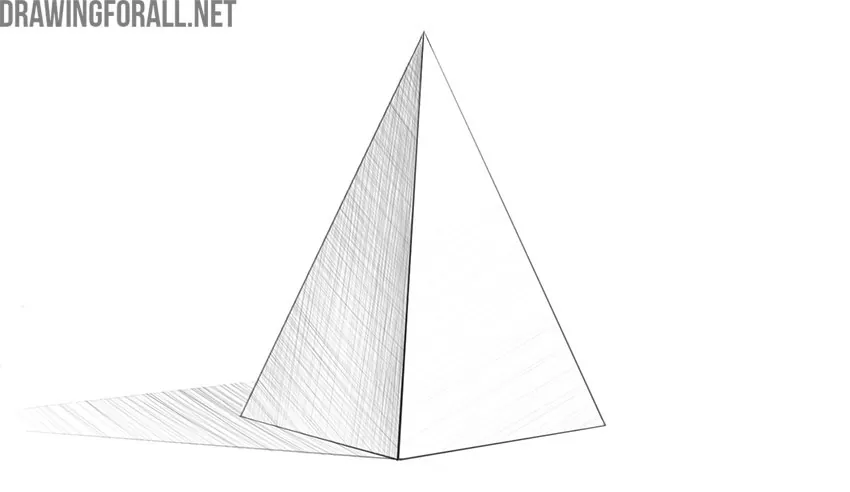
The ability to draw simple geometric shapes is a basic skill for any artist, so here the team of Drawingforall.net will show you how to draw a pyramid.
The pyramid has faces and edges, just like the forms you work with when drawing a cube or drawing a prism, so the methods of depicting these geometric shapes are very similar.
How to draw a pyramid step by step
Step 1: Draw the front base
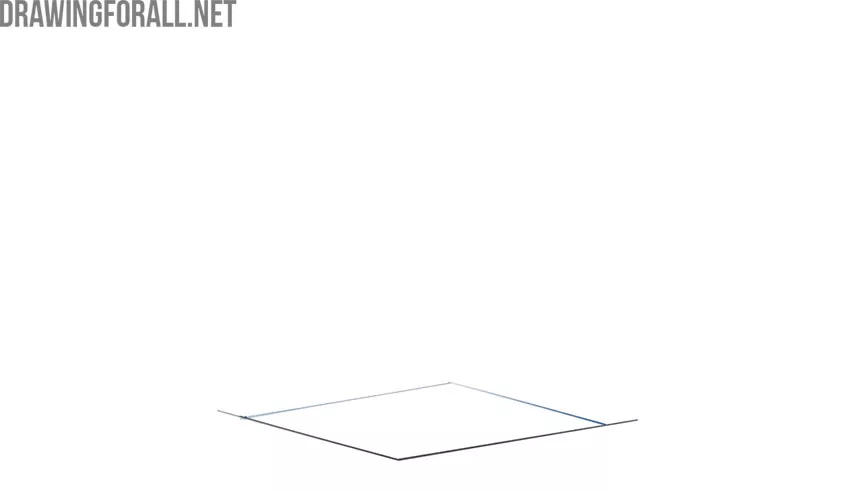
As in the cube drawing tutorial, start with the front bottom angle, depicting it using two straight lines. It is very important to keep in mind that we are depicting a three-dimensional object. With this in mind, it is much easier to build accurate three-dimensional geometric shapes.

Step 2: Complete the pyramid base
Now, following the same method, depict the far half of the bottom base of the pyramid. Keep in mind the principles of linear and aerial perspective so that the pyramid looks correct and natural.
Step 3: Find the base center
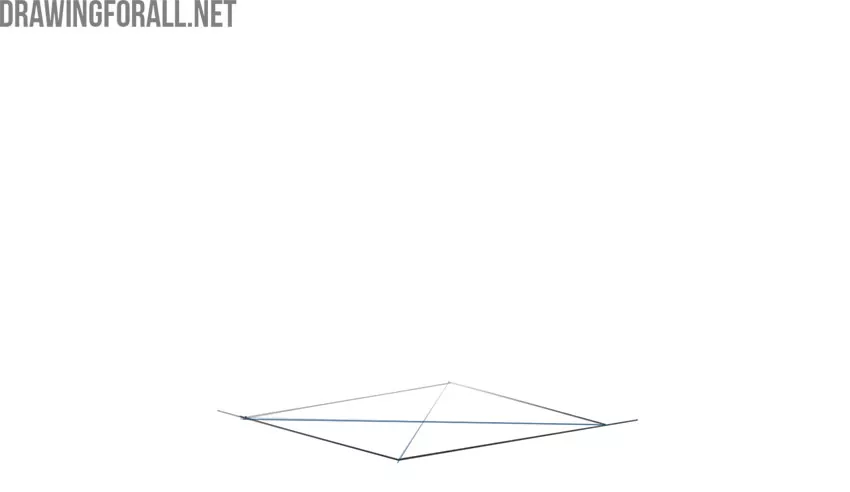
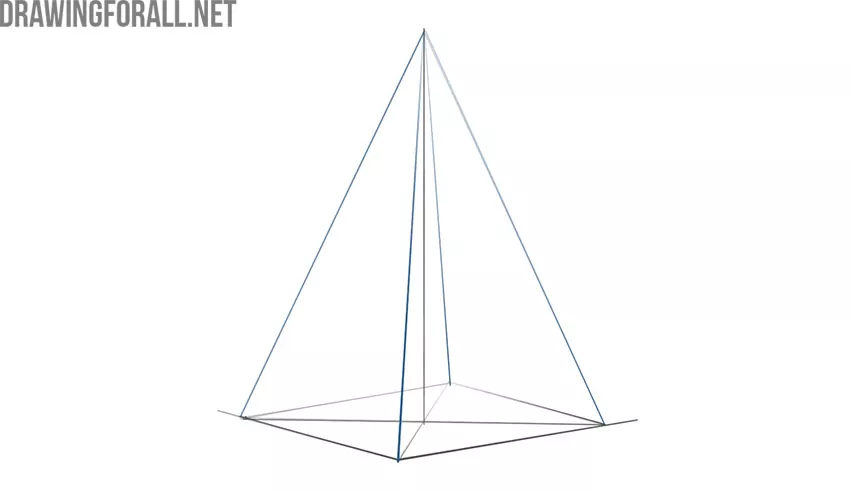
To make the pyramid even, we need to find the central vertical axis. For this purpose, depict two lines that come from the corners and intersect in the center of the base. Keep these construction lines very light because they will be erased later.
Step 4: Mark the vertical axis
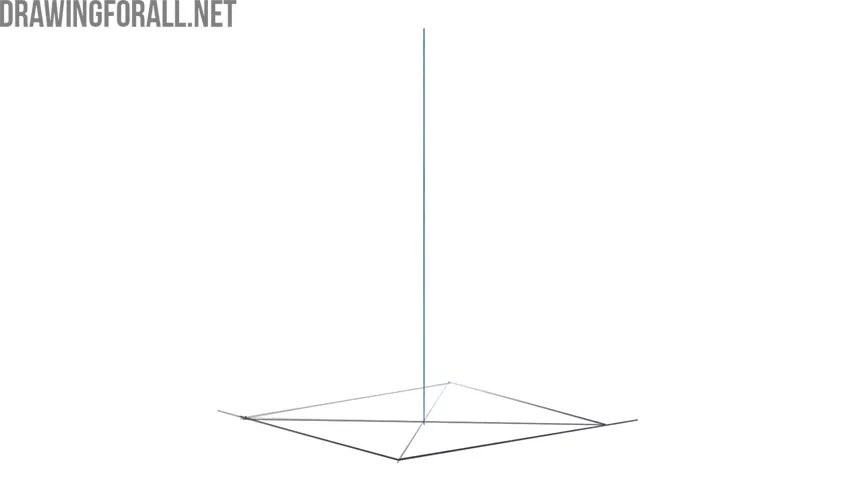
With a long, straight vertical line, depict the central axis beginning at the point marked in the previous stage. This line will also be erased later, so try to make it as light and barely visible as possible.
Step 5: Connect the pyramid edges
Now depict four lines that rise from the corners and connect at a single point at the top. Keep in mind that due to the laws of aerial perspective, the frontmost edge should be the darkest, while the lines in the distance should be much lighter.
Step 6: Erase the construction lines
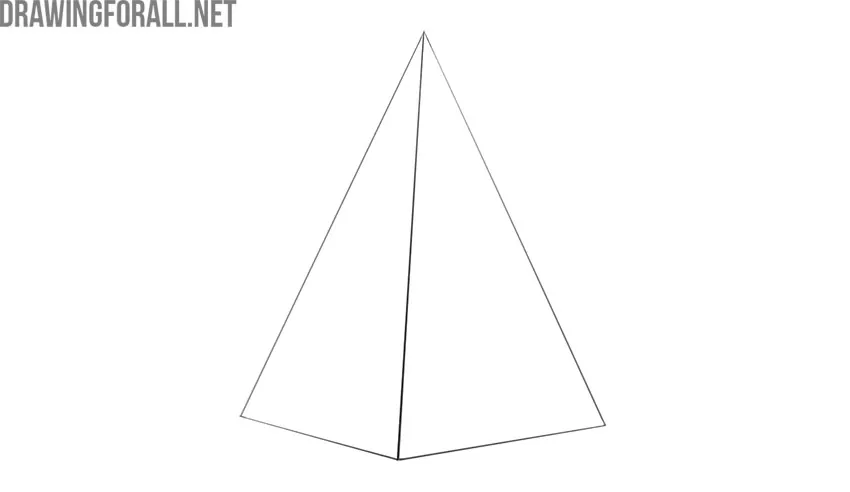
Now carefully erase all the construction lines we created in the first stages and give the drawing a cleaner, more finished look. To check the accuracy of your artwork, look at it through a mirror, which can make mistakes easier to notice.
Step 7: Shade the pyramid faces
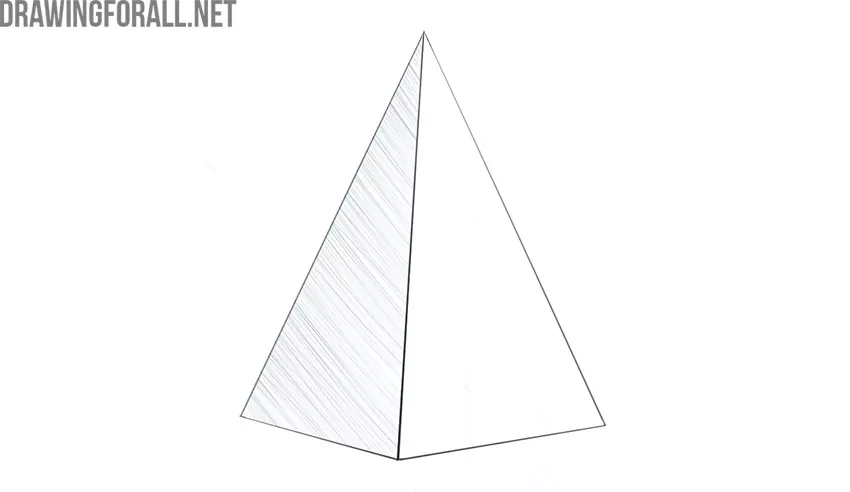
To give the pyramid a truly three-dimensional and realistic look, you need to add shadows. Using even hatching, begin shading the darker face. Make sure the strokes follow the form of the geometric figure.
Step 8: Add the cast shadow
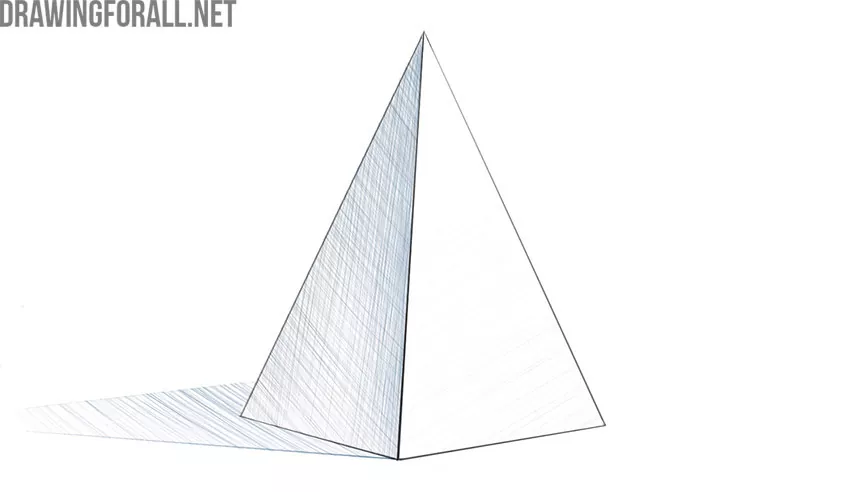
Continue adding shadows, making them darker and more contrasting where necessary. At the same stage, add some tone to the light side and depict the cast shadow so that the geometric figure appears to stand firmly on the surface rather than hang in the air.
Step 8: Complete the pyramid
Look at your artwork and compare it with our example. If you find any inaccuracies or mistakes, go back to the stage where you made the mistake and try to correct it.
If your artwork looks correct and you did not find any errors, do not stop practicing. We keeps reminding you that practice is the main teacher of any artist.
As we said earlier, if you draw for at least half an hour a day, you will gradually improve your drawing skills.


thank you for this tutorial , it helped a lot !!!!!!!!!!!!!
yeah