

How to Draw a Prism
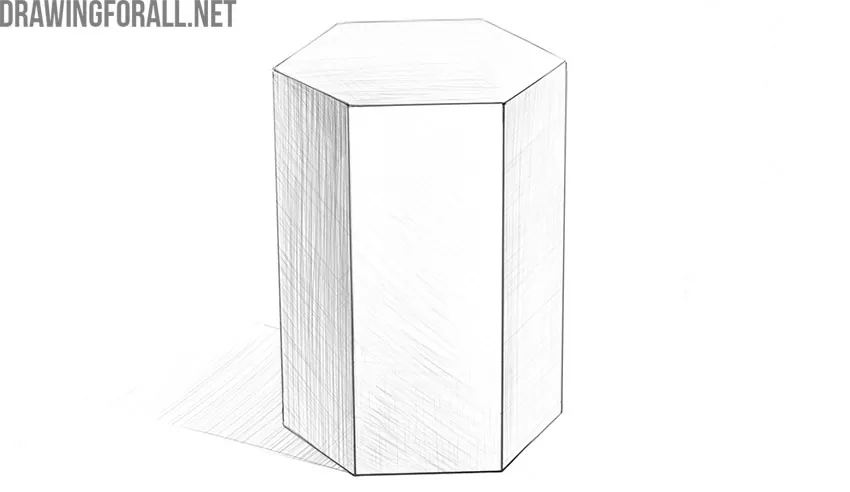
As you already know, to correctly depict complex objects, it is often necessary to represent them as simpler forms, such as a prism. In this guide, we will show you how to draw a prism to help you train this skill.
Sketching this geometric shape is more complex than drawing a cube or a ball, as it has many faces and edges, but with our instructions, you can learn how to draw a prism without any problems.
How to draw a prism step by step
Step 1: Sketch the prism outline
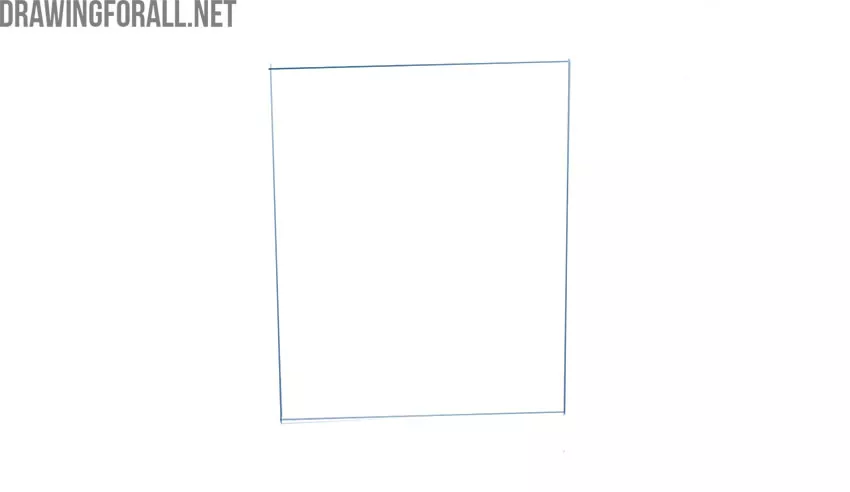
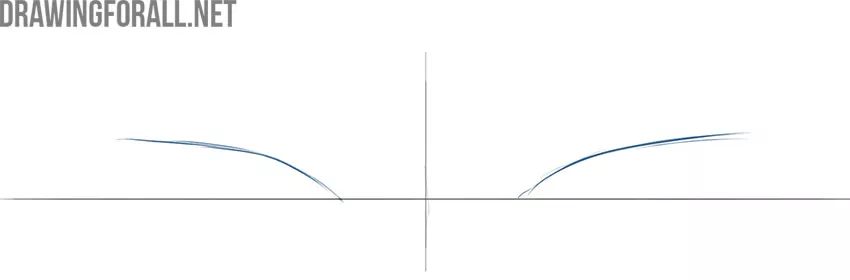
First, sketch the general outlines. Create two horizontal lines that will go through the centers of the top and bottom faces of the prism. Next, connect them using two vertical lines that form the side edges of this geometric shape.
Step 2: Add the guiding ellipses
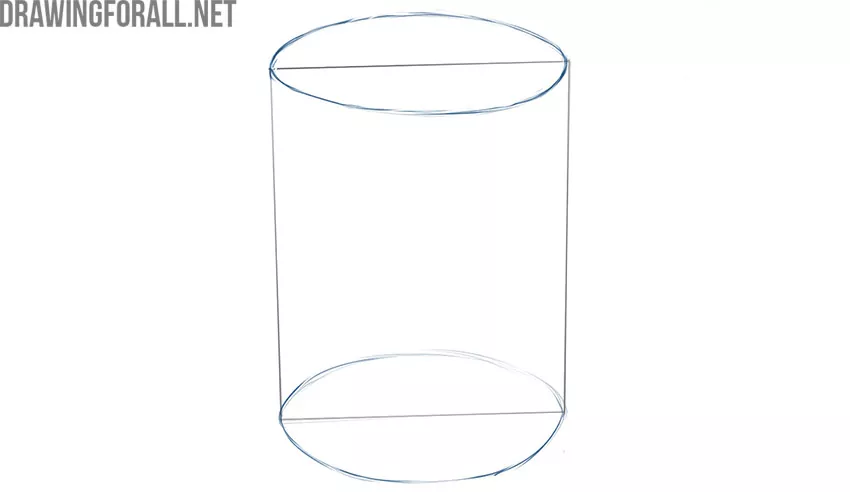
To make it easier to draw the top and bottom faces, depict them as ellipses. This will help you keep the numerous faces and corners organized within a single form and aligned along a common axis. Following the rules of perspective, the top ellipse should be flatter than the bottom one.
Step 3: Draw the prism faces
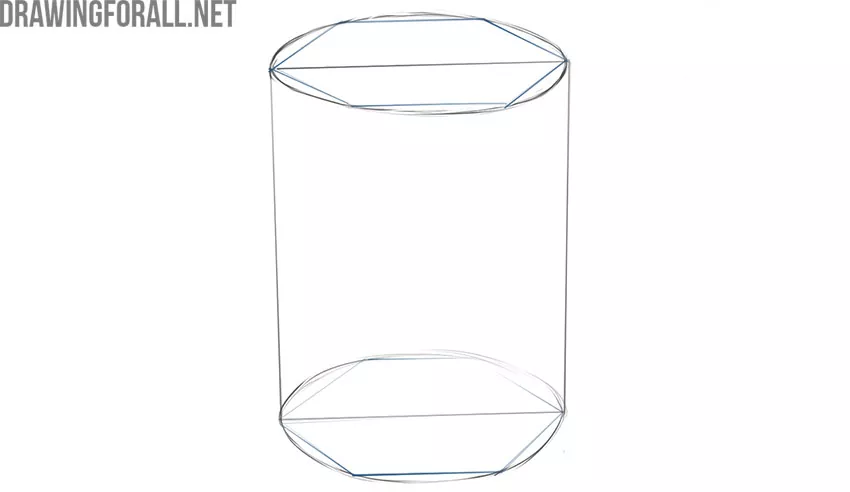
Now, using the ellipses from the previous stage, draw the upper and lower faces of the prism, making all the edges and corners as accurate and clear as possible. You can check the drawing by holding it up to a mirror.
Step 4: Connect the prism corners
Now draw the vertical edges of the geometric shapes by connecting the corners created in the previous stage. It is useful to draw the prism as transparent at first so you can check that the geometric figure is drawn correctly.
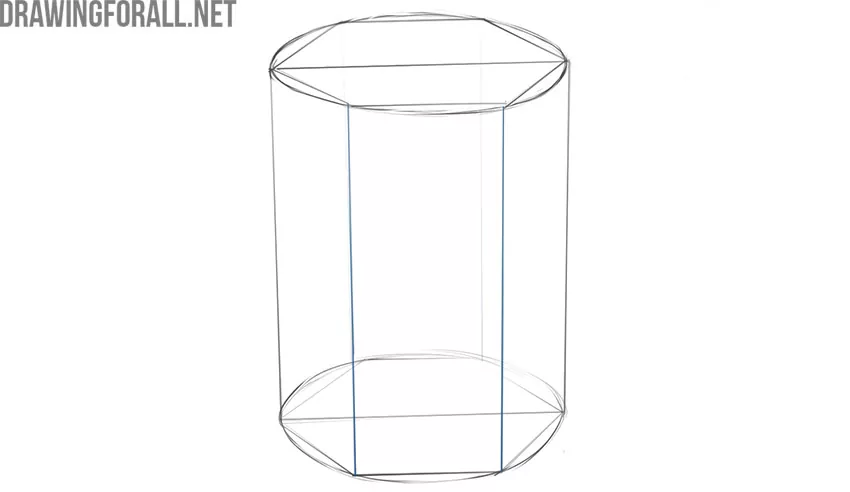
Step 5: Clean up the prism
Erase any unnecessary construction lines and give the prism drawing a clean, crisp look. Now check the construction again. You can hold it up to a mirror or turn it around to see any errors more clearly.
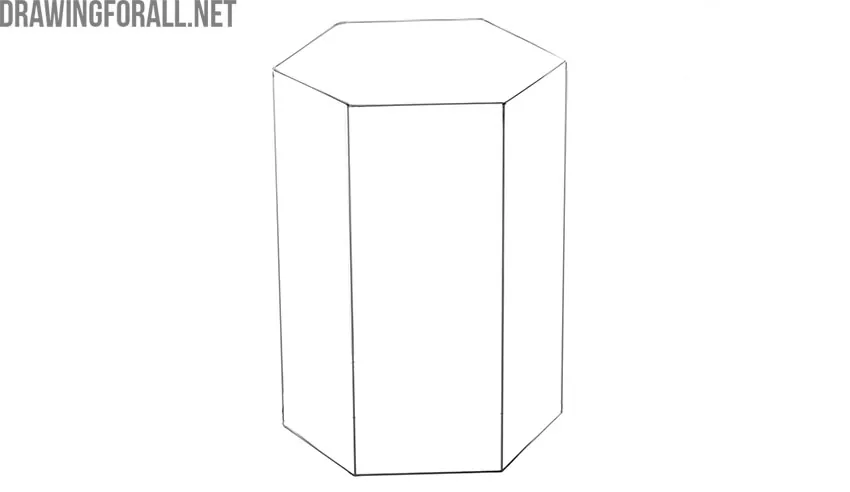
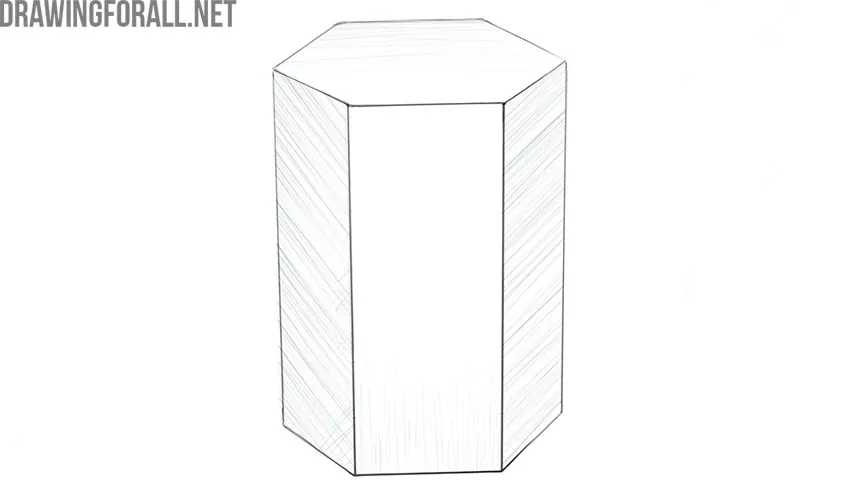
Step 6: Shade the prism faces
Keeping in mind that we are drawing a three-dimensional object, start adding shadows. Notice how we have shaded the different faces of the prism. This helps give the geometric figure a convincing sense of volume.
Step 7: Deepen the final shadows
Continue adding shadows, making them darker and more contrasting where needed. At the same time, draw the cast shadow on the surface where the prism rests.
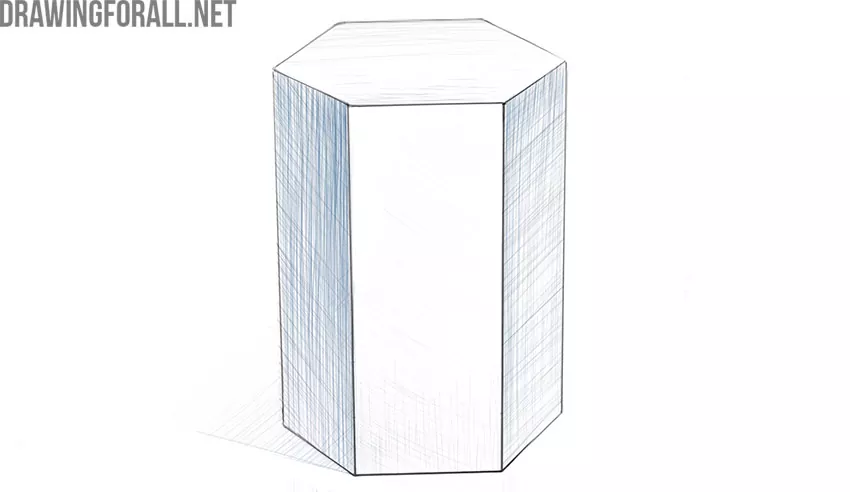
Step 8: Complete the prism drawing
Check your artwork carefully. If everything is in order, proceed to more difficult tasks or try drawing the prism again to improve your result. If not, go back to the stage where you made the mistake and fix it.
At the end of the article, we want to remind you once again that the most important teacher for any artist is practice.
The more you draw, the more you improve your drawing skills. Yes, it’s just like in Morrowind or other classic games – the more often you use a skill, the more refined it becomes.



It made drawing prism look easy 😃😃 and I liked the way this tutorial thought us how to shade the prism to add volume….❤️❤️❤️