

How to Draw a Still Life
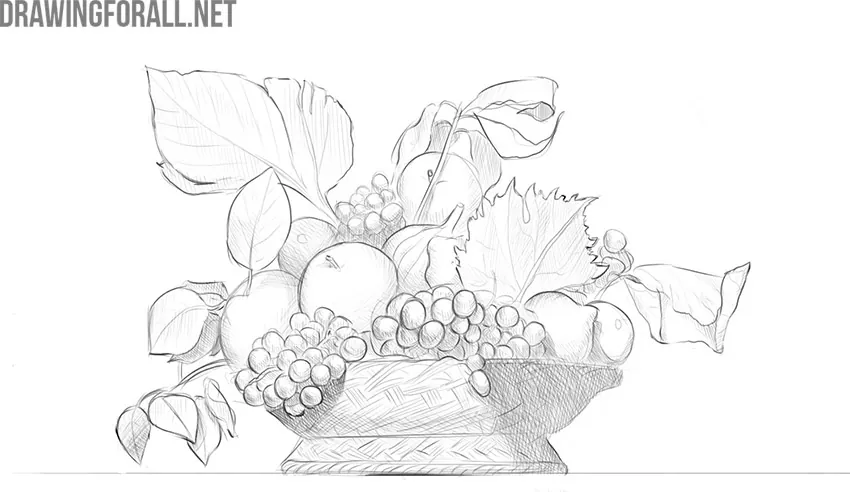
There are many different genres in the visual arts, and one of the most popular is still life. In this tutorial, we will will show you how to draw a still life.
Still lifes can actually be composed of a wide variety of objects. For example, you can draw a cube or sketch a pyramid in your composition and create a still life consisting only of simple geometric shapes.
Also, you can arrange more complex objects by drawing a skull and sketching a book in a scene. Also, you can drawi candles in the background.
But in this article, we decided to create the most classic version of still life, that is, a fruit basket.
How to draw a still life step by step
Step 1: Mark the composition boundaries
As we already said in the article about composition, first of all, it is necessary to mark the boundaries of the future still life on a sheet of paper. Use very light lines for this. Do not forget to also depict the surface on which the fruit basket will be located.

Step 2: Sketch the main shapes
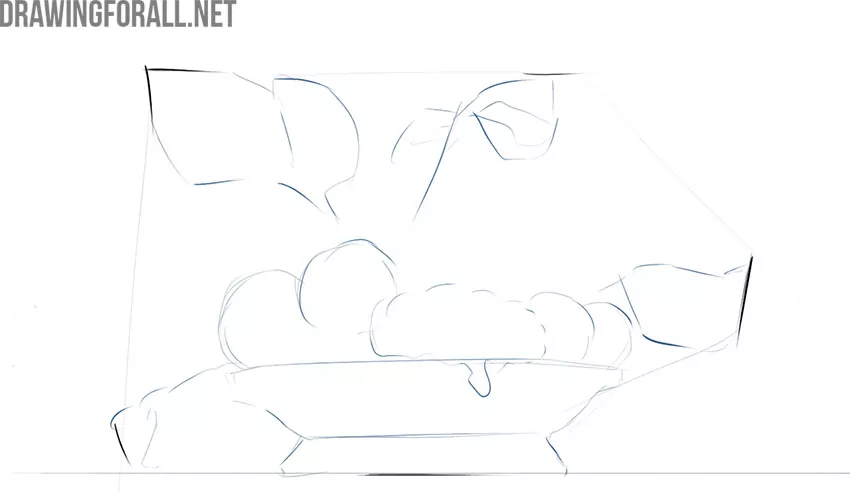
With very light and general lines, create the outlines of the basket and the fruit inside it. At this stage, try to make objects in the background lighter than those in the foreground.
Step 3: Add the smaller shapes
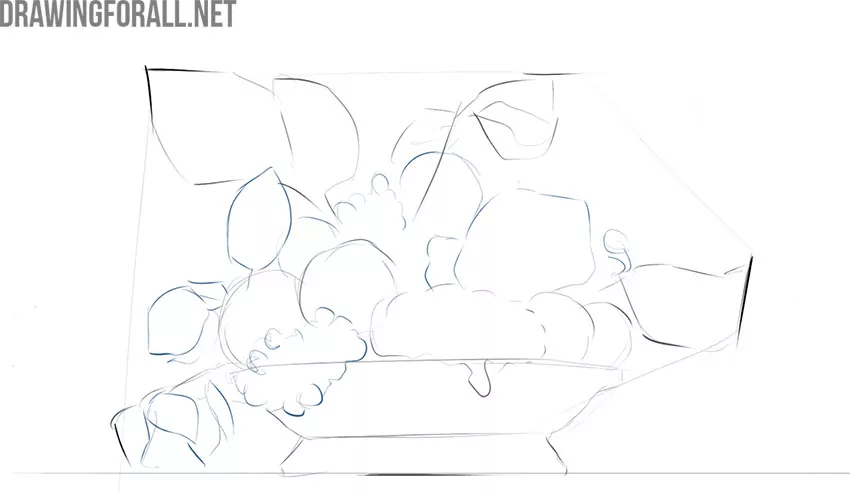
In the previous stage, we created the largest details; now it is time to depict the smaller ones. When depicting all these objects, keep in mind that they are three-dimensional, and try to convey this volume on a piece of paper.
Step 4: Refine the foreground details
Let’s start working with the details. Using darker and cleaner lines, draw the details in the foreground. If necessary, correct the contours drawn earlier.
Step 5: Refine the background details
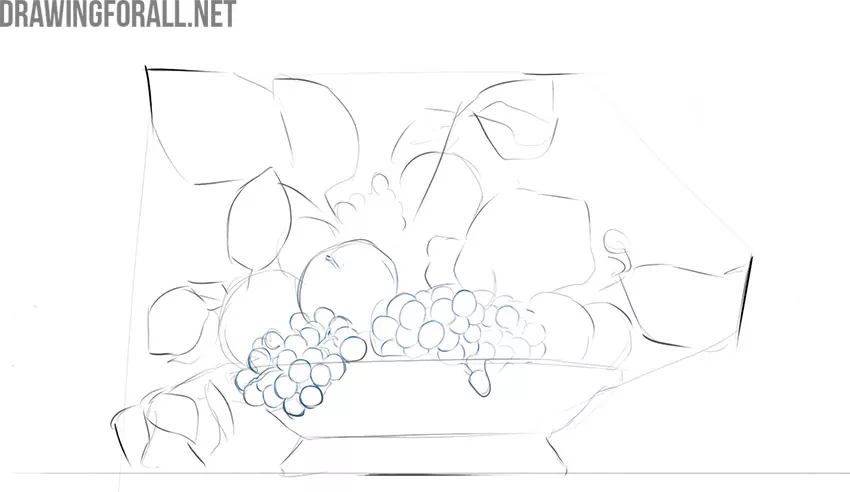
Continue drawing the details, but this time focus on those in the background. As mentioned earlier, use crisp, clean lines. Keep in mind that objects in the background should have lighter, less contrasting outlines.
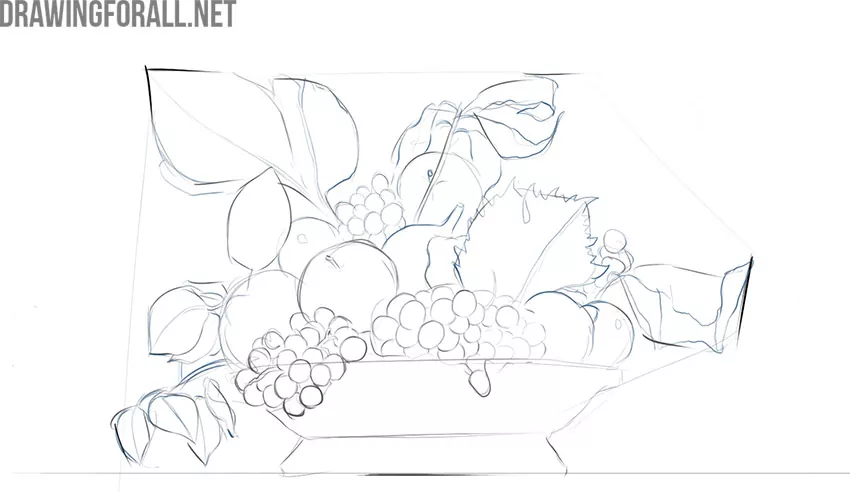
Step 6: Add texture and details
Add the necessary details, such as the lines of the leaves and the outlines of the fruit. At the same stage, depict the texture of the basket. As you add clean final lines, erase the old construction lines.
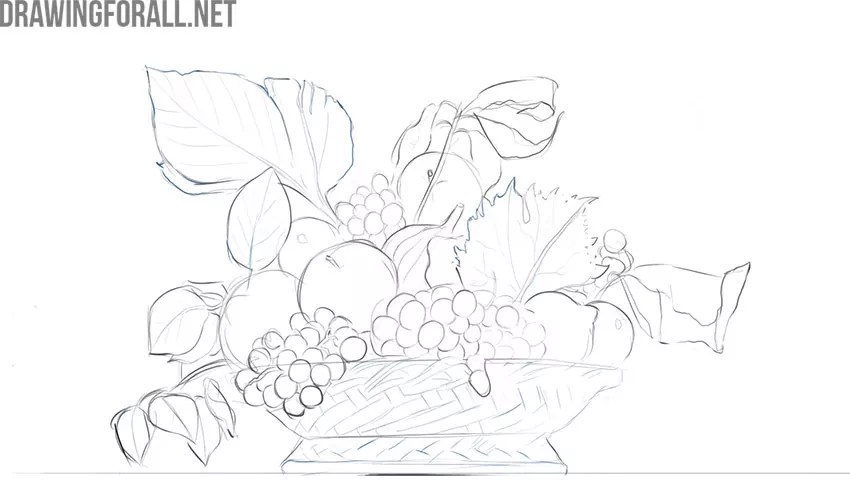
Step 7: Shade the darkest areas
To add volume to the still life drawing, add shadows. Start with the most visible and darkest shadows. First, use light lines to create the outlines of these shadows, then smoothly and evenly hatch the resulting areas.
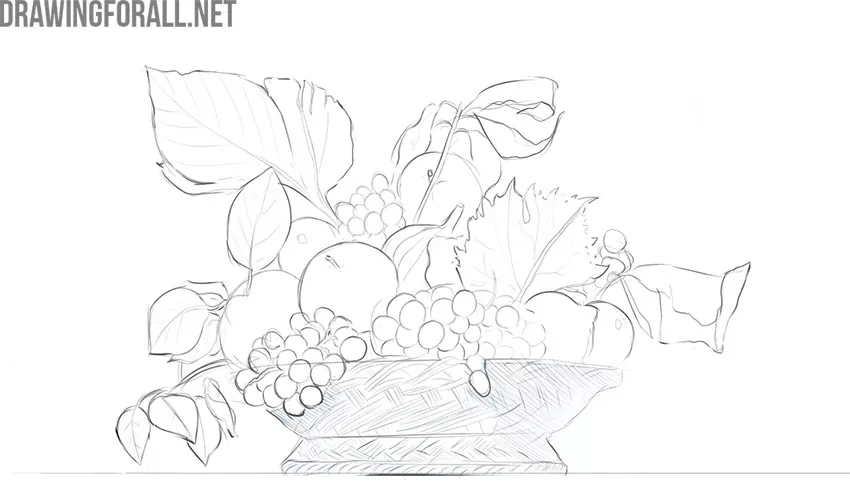
Step 8: Shade the foreground fruit
Add shadows to the fruit in the foreground. By the way, in our tutorial on drawing a ball, the team of Drawingforall.net explains in detail how to add shadows to spherical surfaces.
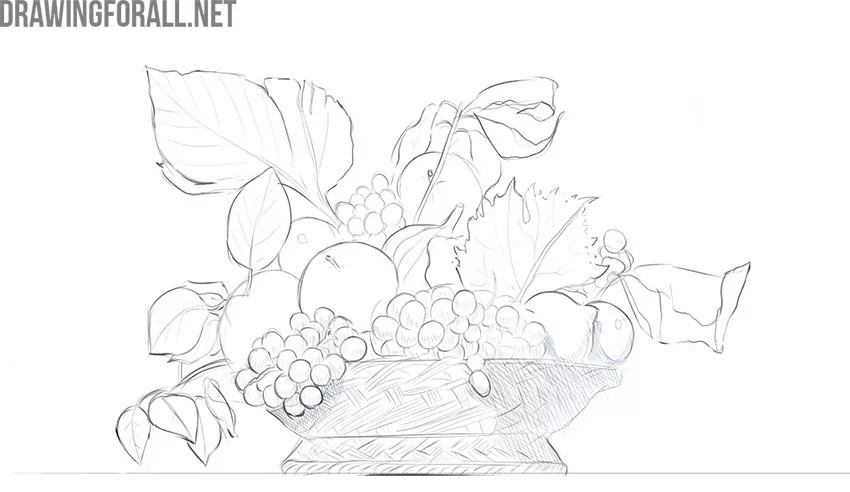
Step 9: Deepen the foreground shadows
Make the shadows in the foreground darker and more contrasting. Start adding shadows to the background. Remember that the shadows must follow the shape of the objects to make them appear more voluminous and convincing.
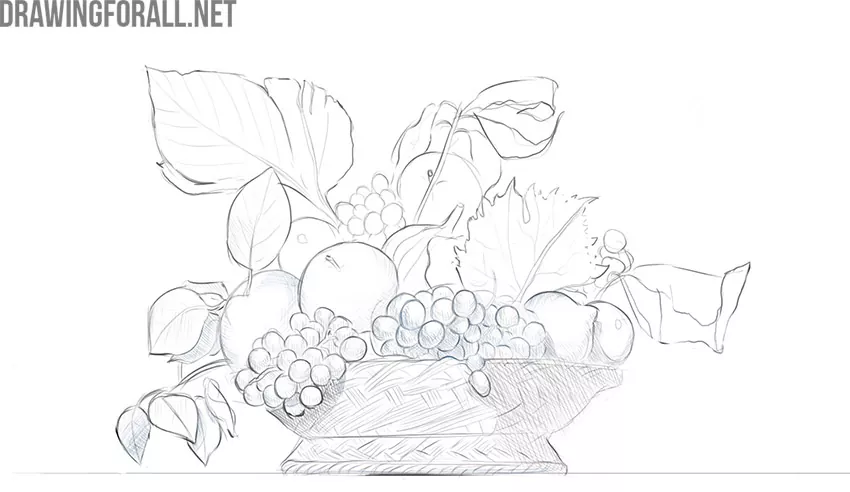
Step 10: Shade the background
Now move to the very back of the basket and add some shading. Here, the hatching should be more general and follow the shapes less closely, so that objects in the foreground appear more voluminous.
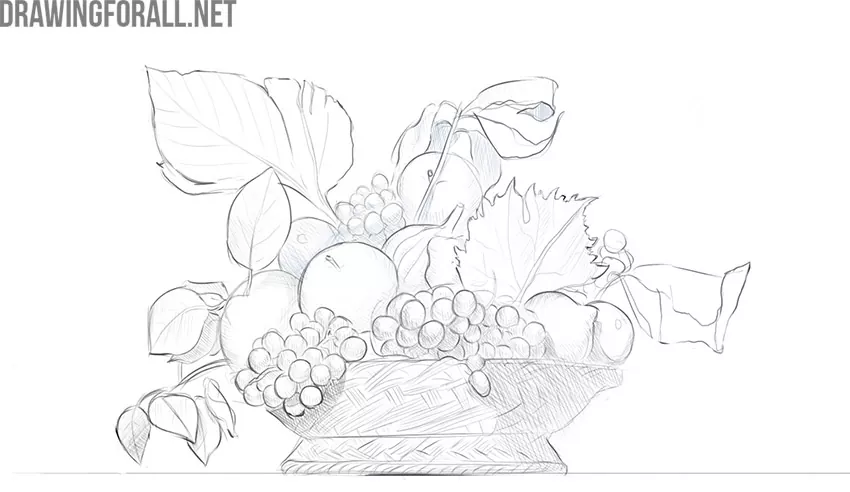
Step 11: Add the finishing touches
Add the finishing touches. Make the foreground more contrasting, add shadows where necessary, and get rid of the remaining construction lines.
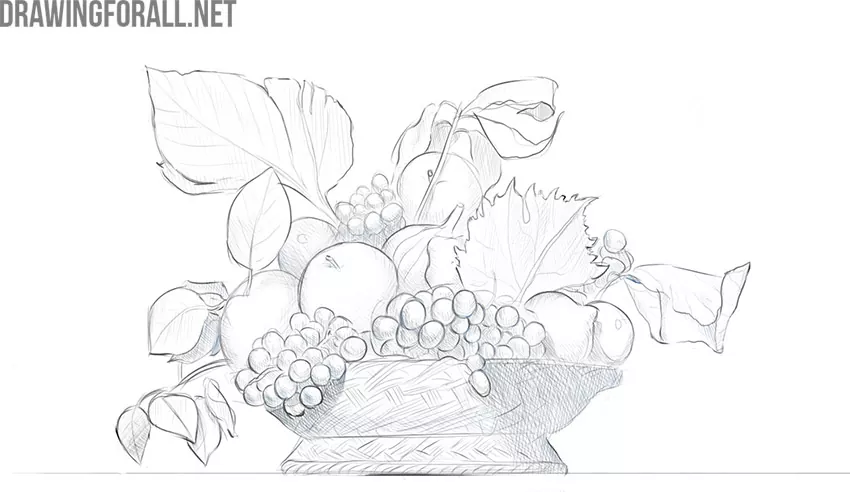
If you followed our instructions and your artwork is similar to ours, then the tutorial on how to draw a still life is complete. If you find any mistakes, go back to the stage where you made them and try to fix them.
If you have mastered drawing this still life, try arranging objects for your own still life on a table and depict them using the knowledge gained in this article.
Try drawing different still lifes from different angles and under different lighting. This regular practice will teach you how to draw different objects correctly and create beautiful compositions.


To easy