

How to Draw a Teenager’s Face
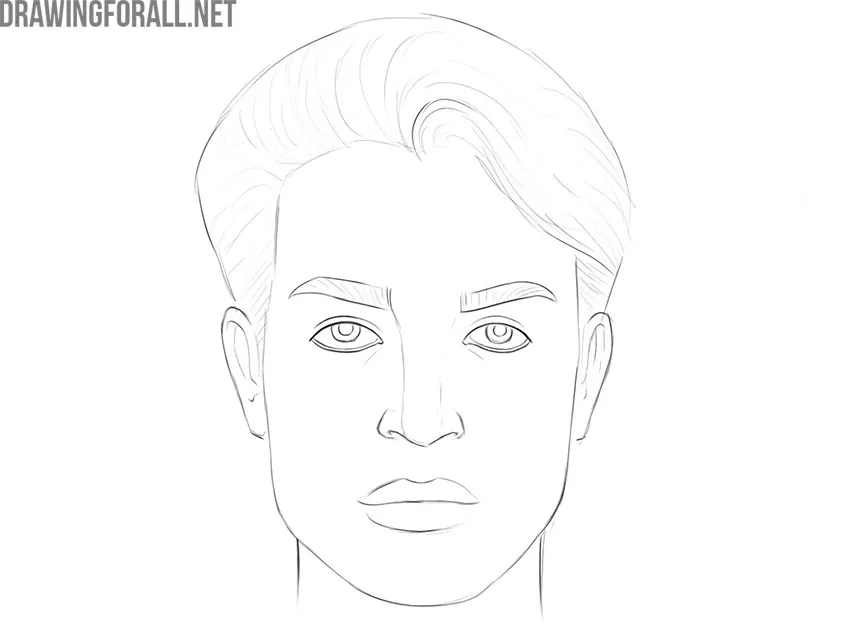
There are many features that can help convey a teenager’s age when drawing a face. In this tutorial, we will show you how to draw a teenager’s face and explain the most important characteristics that you can remember and use in your own portraits.
How to draw a teenager’s face step by step
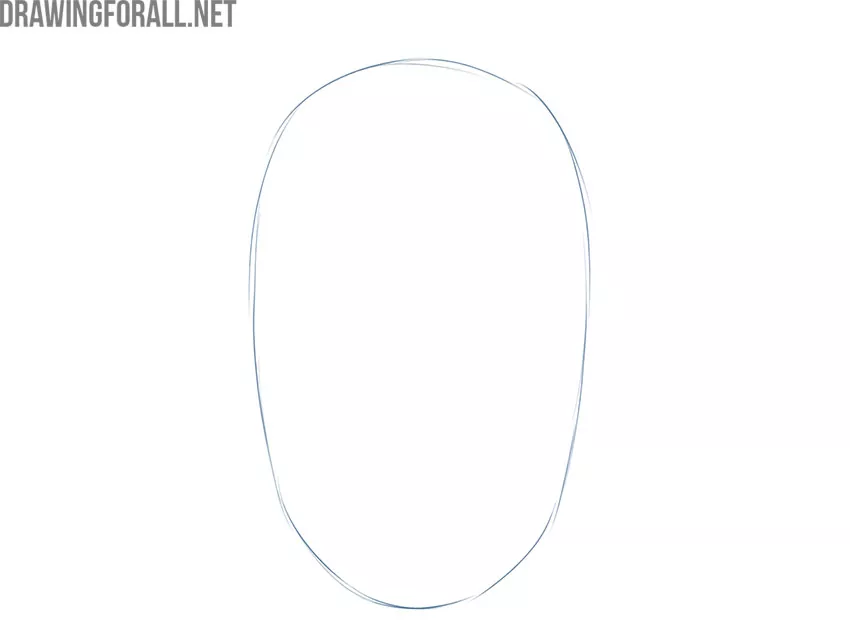
Step 1: Sketch the head shape
Start with a large, elongated shape that resembles an oval. This simple shape will form the basis of the teenager’s head. A teenager’s face is usually slightly more elongated than a child’s, but more rounded than an adult’s. If you are drawing a portrait of a teenager, place it near the center of the piece of paper.
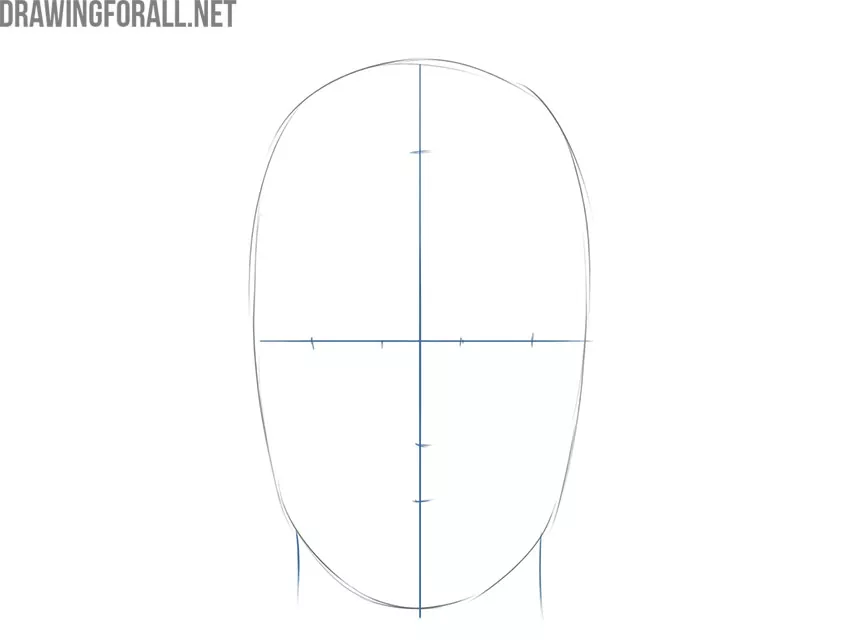
Step 2: Mark the facial guidelines
Now draw the construction lines inside the oval of the teenager’s face. The vertical line marks the center of the face, and the horizontal line helps place the drawn eyes and eyebrows. Use short strokes to mark the width of the eyes, along with the locations of the nose, mouth, and hairline. A teenager’s facial proportions are usually close to those of an adult, without the noticeably large forehead seen in young children.
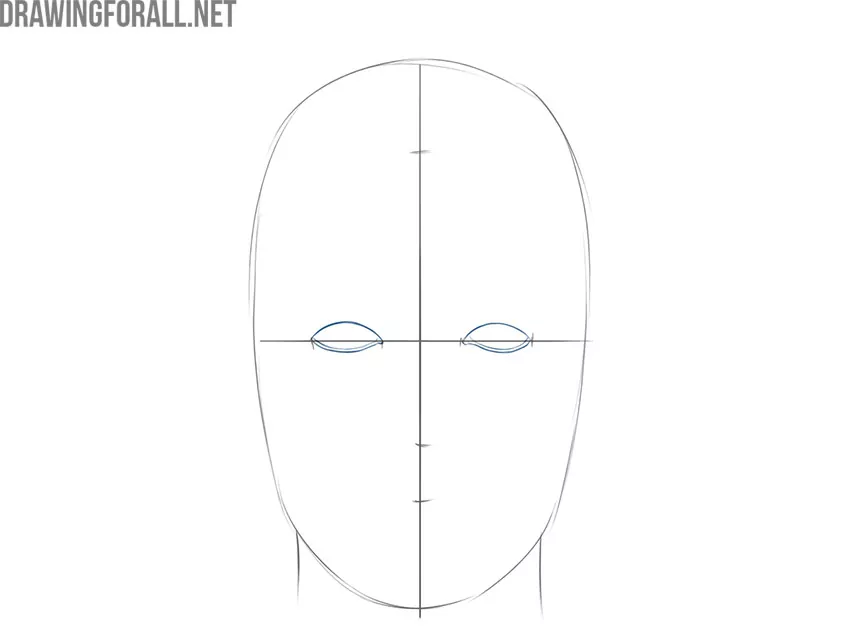
Step 3: Outline the teenager’s eyes
Using smooth, rounded lines, draw the approximate outlines of the teenager’s eyes. Each eye should have an elongated shape with gently curved upper and lower edges. Keep the lines light at this stage so they can be refined later. A teenager’s eyes look smaller in relation to the whole head than the eyes of a young child.
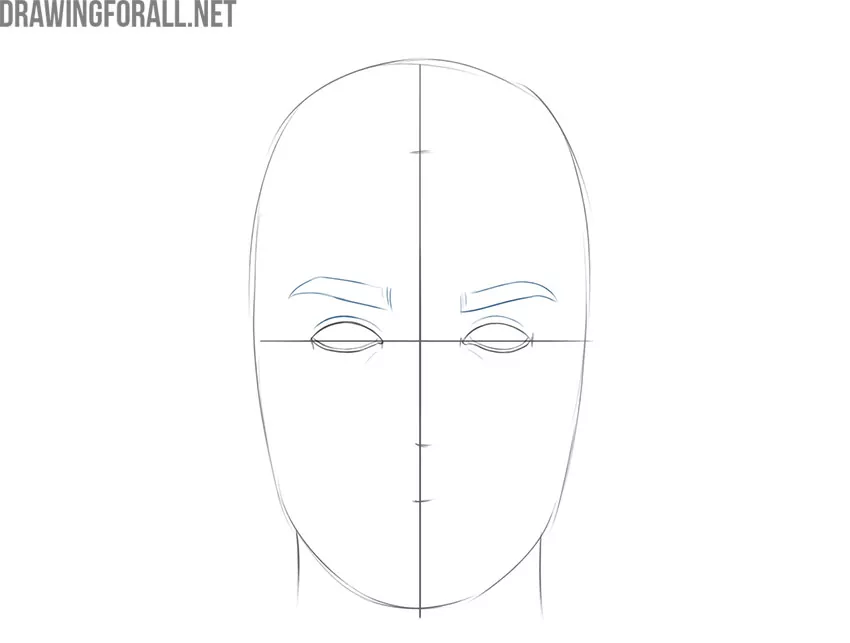
Step 4: Add the eyebrows
Draw the teenager’s eyebrows above the eyes. We chose fairly large, bushy eyebrows placed close to the eyes. Remember that the shape and placement of the eyebrows can change the expression of the teenager’s face. A teenager’s eyebrows are usually more developed than a child’s and are already close to adult eyebrows, although this feature varies greatly from person to person.
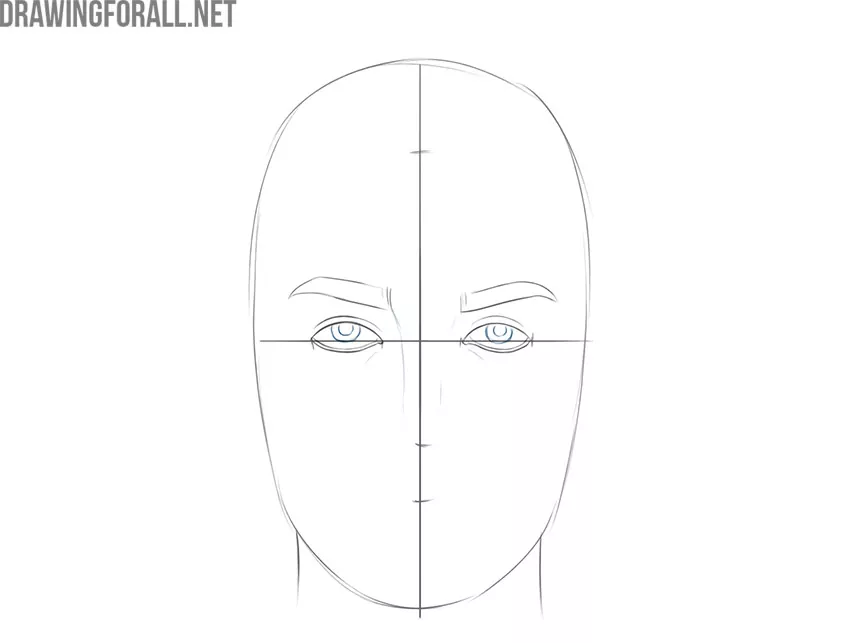
Step 5: Sketch the nose and pupils
Using light lines, outline the basic contours of the teenager’s nose. Then, complete drawing the eyes by sketching the irises and pupils. Their position affects the direction of the gaze, so place them carefully.
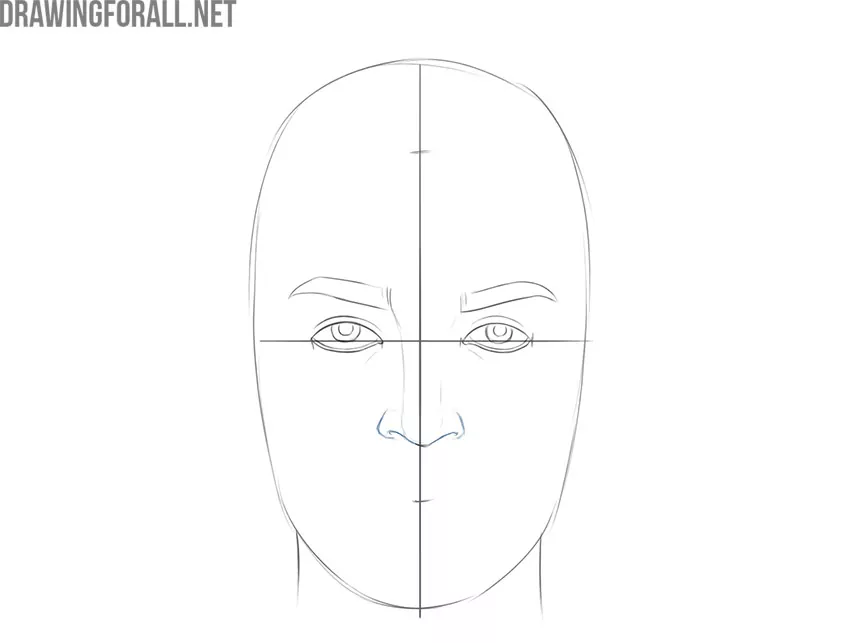
Step 6: Refine the teenager’s nose
Now refine the lower part of the teenager’s nose. Follow the auxiliary marks from the previous step and use a few short lines to indicate the tip and sides. The nose continues to change with age, so a teenager’s nose is usually slightly smaller than that of an older adult. For more detail on this feature, see our tutorial on drawing a nose.
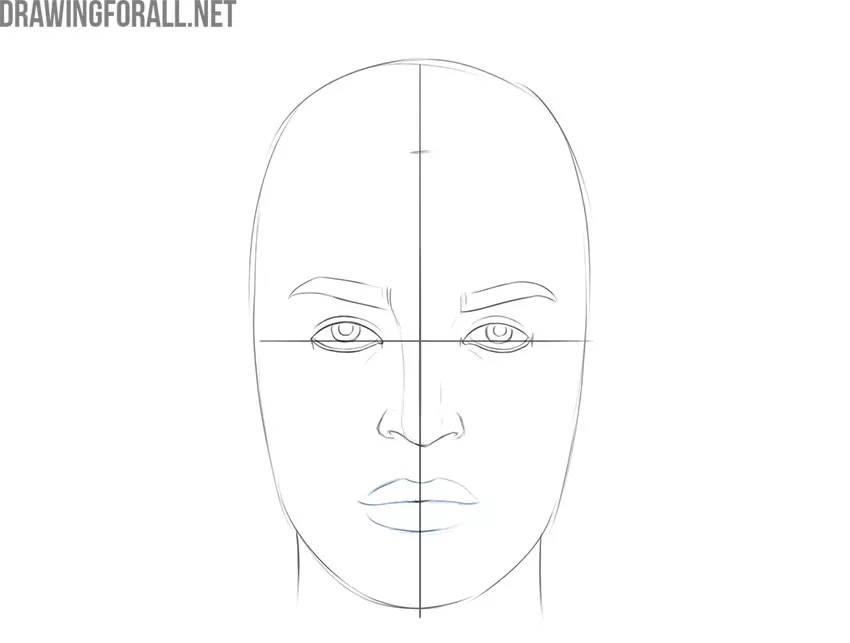
Step 7: Draw the lips
You can choose their shape and size, but here we have depicted fairly full lips. Because of the characteristics of the human body, the lips are usually slightly fuller in adolescence than in adulthood, and especially in old age. Use three smooth horizontal lines to outline the mouth and both lips.
Step 8: Outline the hairstyle
Draw the outer contours of the teenager’s hairstyle. The farther the hair extends from the head, the fuller the hairstyle will appear. Keep the overall shape simple for now, since individual strands will be added later. The hairstyle is another way to convey the character’s age. Teenagers often have more expressive hairstyles, so you can use your imagination here.
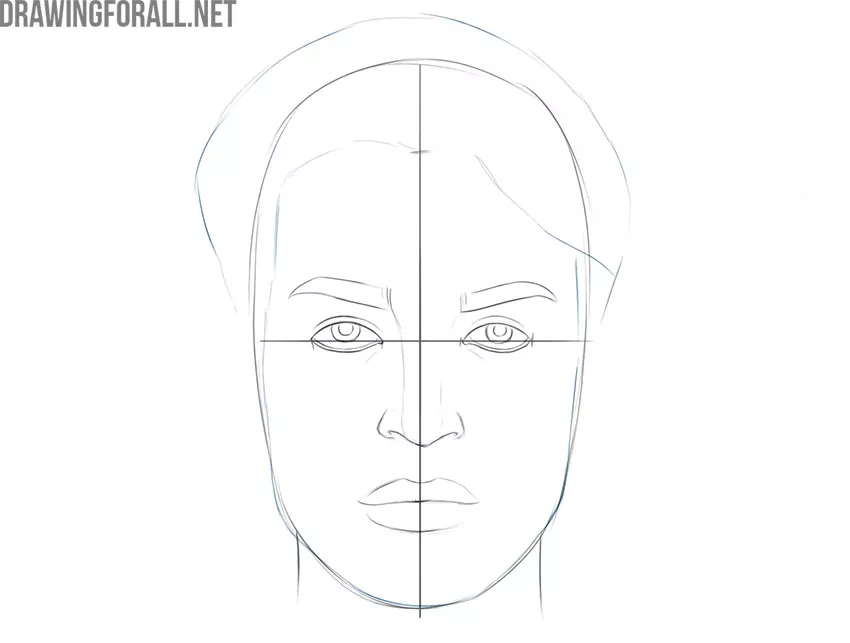
Step 9: Add the teenager’s ears
Now, draw the ears on both sides of the teenager’s head. Their upper edges line up approximately with the eyebrows, while their lower edges sit near the tip of the nose.
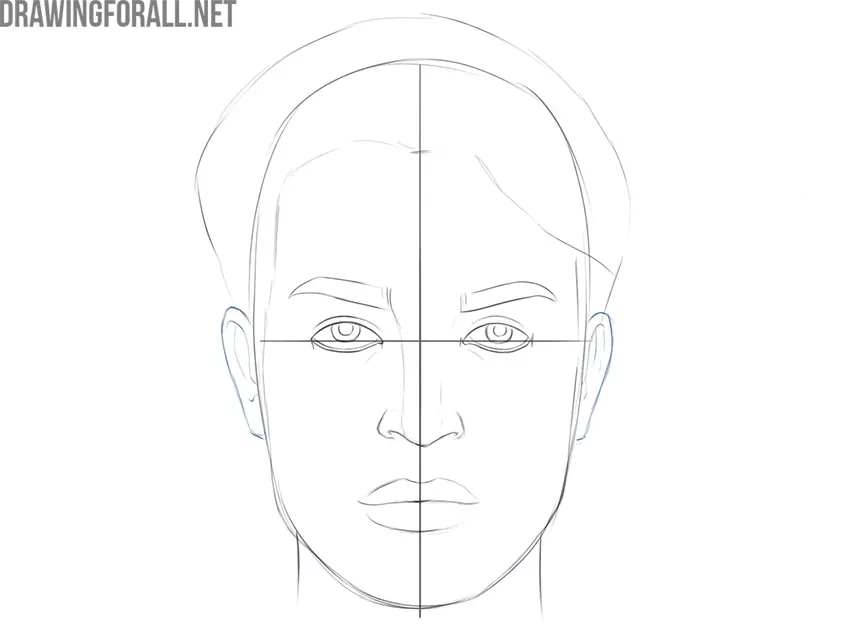
Step 10: Refine the hair
Erase the helper lines because they are no longer needed. Draw the teenager’s hair and eyebrows with short, smooth strokes. If you do not want a highly detailed drawing, avoid adding too many individual lines. Draw the hair strokes from the roots toward the ends.
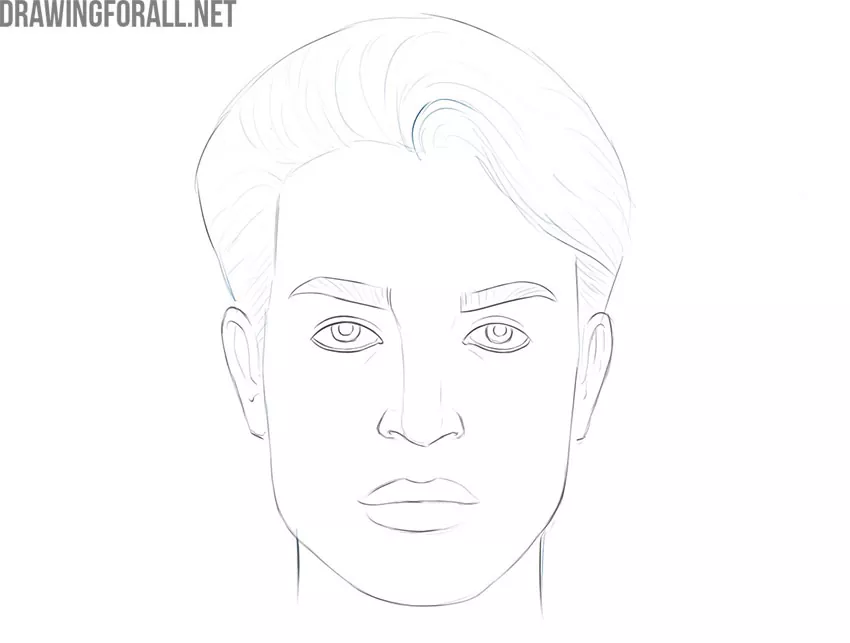
Step 11: Finish the teenager face drawing
Press a little harder on the pencil and refine the details you want to emphasize. Check the shapes and lines from the previous steps, then darken the final contours to complete the teenager’s face. A teenager’s face is noticeably smoother, without the pronounced age-related changes seen in older people. So, avoid adding wrinkles or unnecessary folds in the skin.
Now the teenager’s face drawing is complete. Practice the same steps again with different eye, eyebrow, lip, and hairstyle shapes to create a different-looking character.
Here, we tried to convey the character’s age using only specific facial features. You can now apply the basic principles from this tutorial to almost any teenager’s face.
Remember these key points and try drawing another portrait while capturing the person’s individual features.


Hey! I remember this Lesson from my days back in Art School, and I never was able to get it right! That is until I tried to do it with Your Instructions! This thing I just Drew actually looks like a Person! Good Job, Thanks!
ARLAN
Many thanks.
lol so funny best tutor
What’s so funny about it
Nice keep up the good work
IS SO COOL