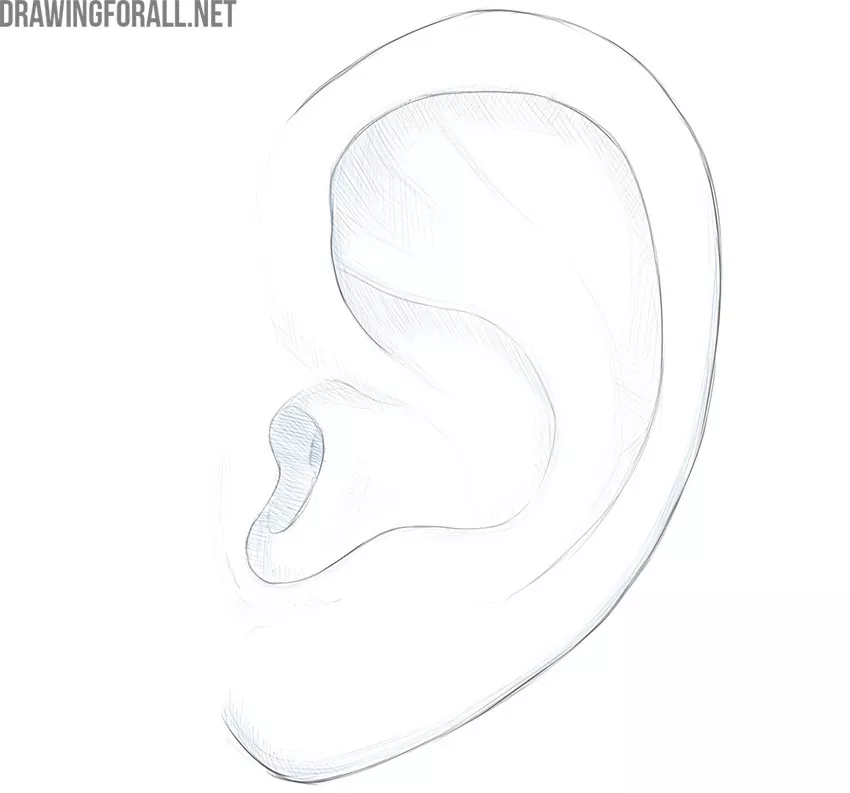
How to Draw an Ear
In this drawing tutorial, we will show and tell you how to draw an ear step by step. Like other drawing lessons about parts of the face, this lesson occupies a key place in the drawing teaching system.
First of all, the ability to draw an ear is important in order to be able to portray a face. You cannot draw a correct and realistic face if you do not know how to draw an ear.
In order to learn how to draw an ear, it will be useful to begin by studying the anatomy of the ear, at least in general terms. This is necessary in order to understand the structure of this organ and fully draw it, and not just transfer the contours to paper.
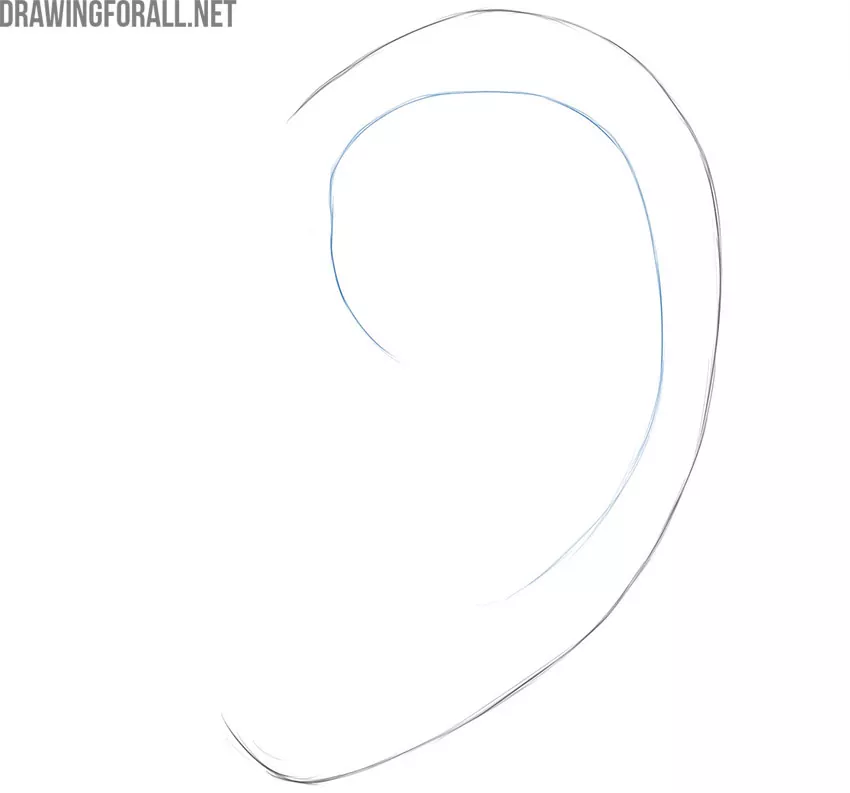
Step 1
First, sketch out the edges of the ear. In this step, we need to find the boundaries and roughly outline the volume of this organ on paper. As with all the first steps, very light pressure on the pencil should be used here.

Step 2
Now with a very smooth line draw the entire contour of the ear using the lines from the first step. Ears have different shapes, and in this lesson, we show a certain formula for drawing an ear, with which you can draw not only the shape of the ear that you see in our example but also the ear of any other shape.

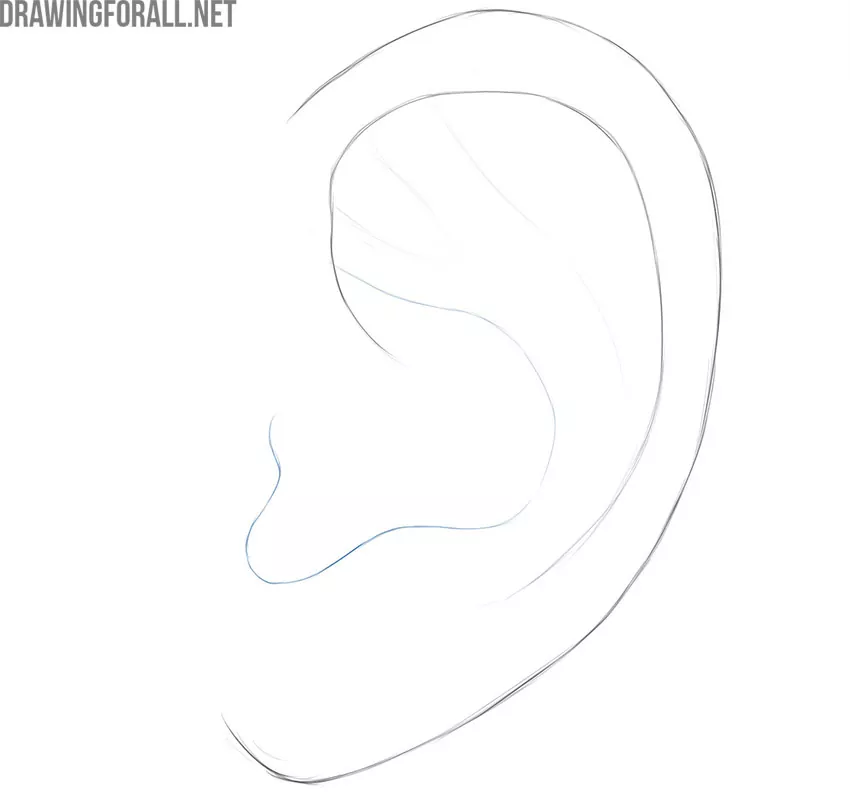
Step 3
Now using a long and smooth line draw out the outlines of the lower edge of the helix. Do not forget at the time of drawing ear constantly compare its parts, to find mistakes and correct them if they are.
Step 4
Now draw antihelix, tragus, and antitragus with long and smooth lines. Recall that we talked about all these parts of the ear in our article on the anatomy of this organ. Keep in mind that all of these parts and details can be very different from person to person.
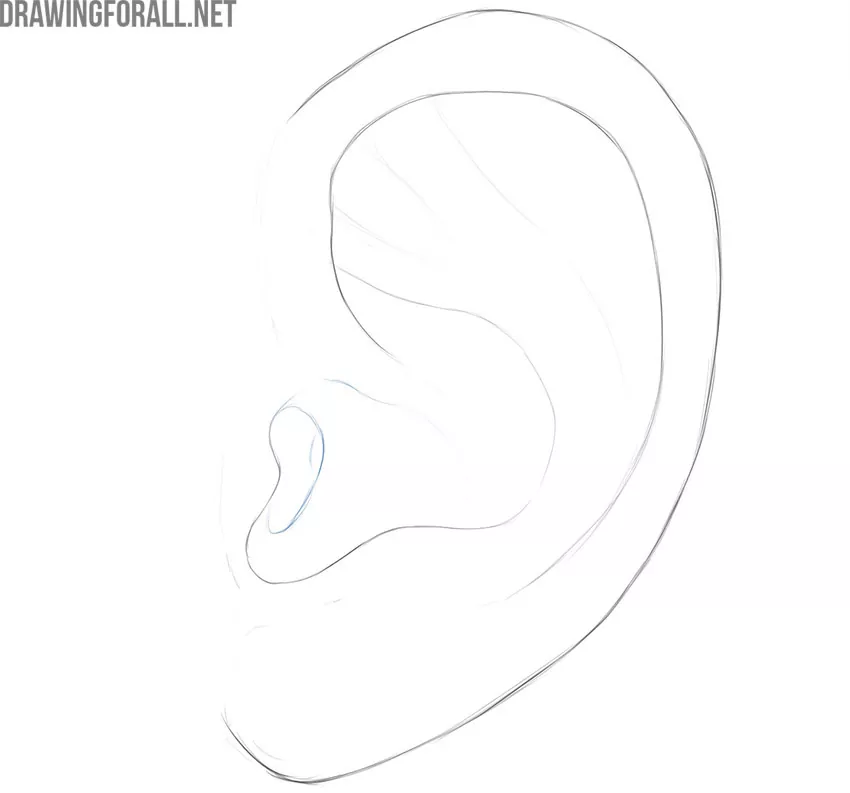
Step 5
Draw the opening of the ear canal and the rest of the ear cartilage. When drawing all these details, make sure that they are all the correct size and ratio. Always check the proportions and compare them with each other.
Step 6
Add shadows to give the ear drawing volume and make it more realistic. Use hatching of different densities and directions to achieve different degrees of the darkness of the shadows. We talked about the structure of shadows and how to draw them correctly in our article on light and shadow.
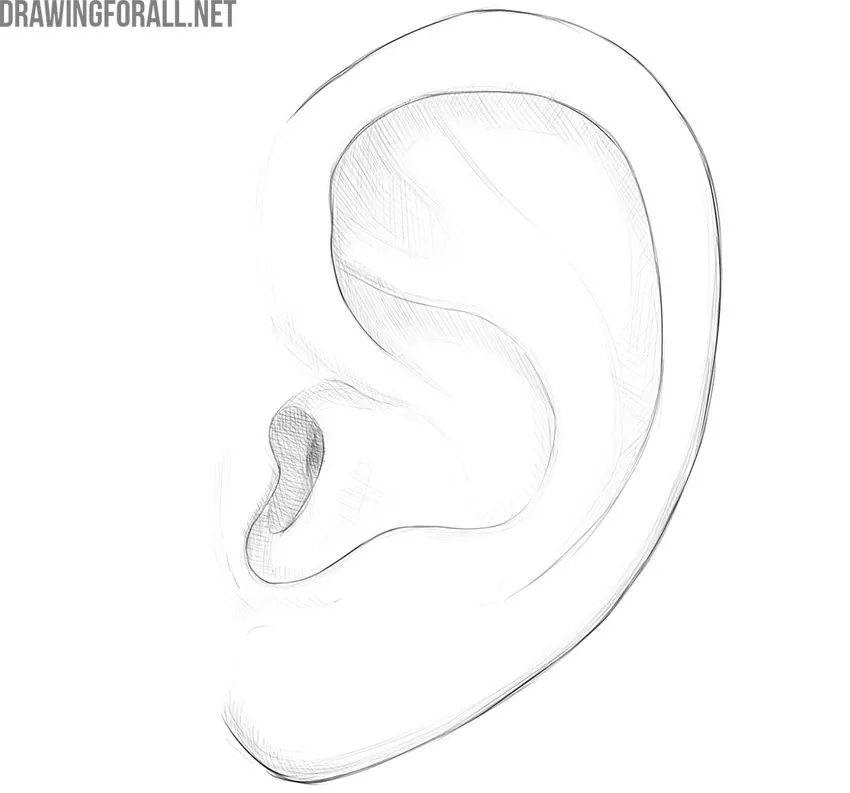
Step 7
Summarize the work done and check the general condition of the ear drawing, comprehensively comparing it with our example. Look for mistakes and fix them, if any.
We noticed that students very often make mistakes in proportions, as a result of which the ear drawing does not look convincing and realistic. To avoid this, you should try to maintain proportions from the very first steps, look at the drawing as a whole, move away from it, and bring it to the mirror. All these measures will help you not to get confused in proportions, find errors in the drawing in a timely manner, and correct them.
It is also very important to depict the shadows correctly. Start with the darkest areas, then gradually add mid-tones, cast shadows, and lights.
When drawing a cast shadow, one must keep in mind that the cast shadow reflects not only the shape of the object itself but also the shape of the surface on which the shadow falls.
It should also be remembered that for the most convincing shape, hatching should be applied according to the shape of the subject. This will help give the ear drawing the most correct voluminous appearance.


: )))))) I like the way you explain in your tutorials….
Nice one I really n honestly appreciate for helping me Tnx