How to Draw a Closed Book
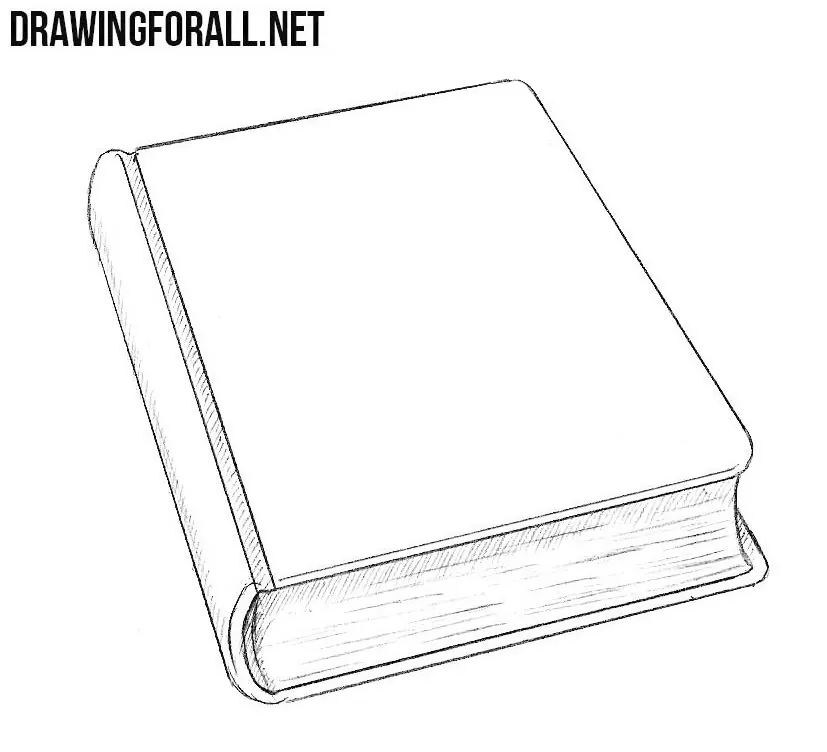
Hello dear readers. In one of the previous drawing tutorials we showed you how to draw a book. That tutorial became very popular and many of our readers asked us to make another tutorial and show how to draw a closed book.The tutorial is ready do let’s start drawing!
Step 1
At first let’s draw such a geometric figure as in our example. If you can draw this figure without a ruler it will be very cool.
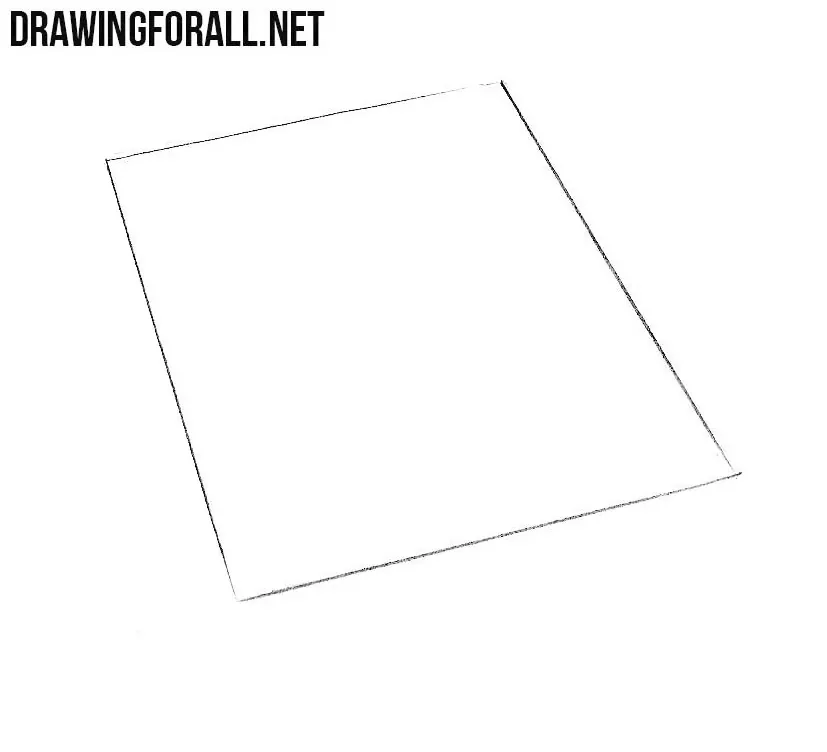
Step 2
Continue drawing the book. In this step we add edges to the figure from the previous step that give the book more three-dimensional view.
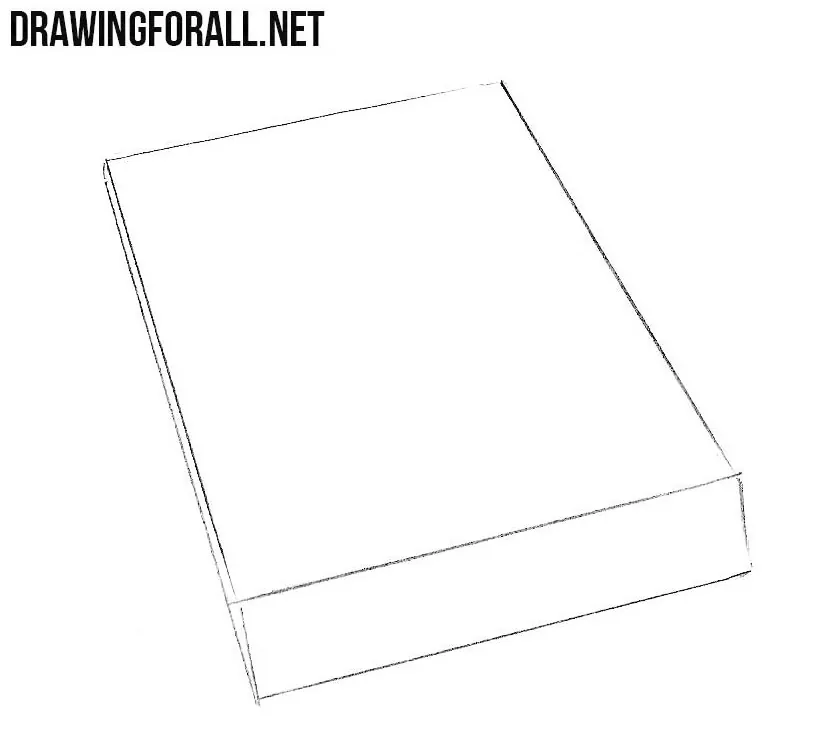
Step 3
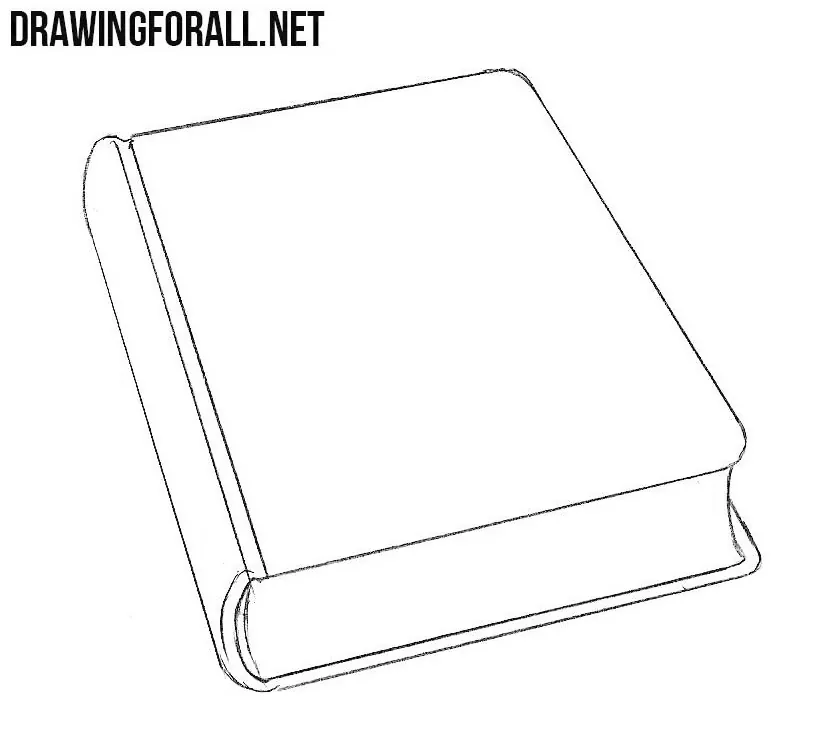
In this step the drawing will look more like a book. Draw out the spine of the book. At the top and bottom draw the cover with rounded corners.
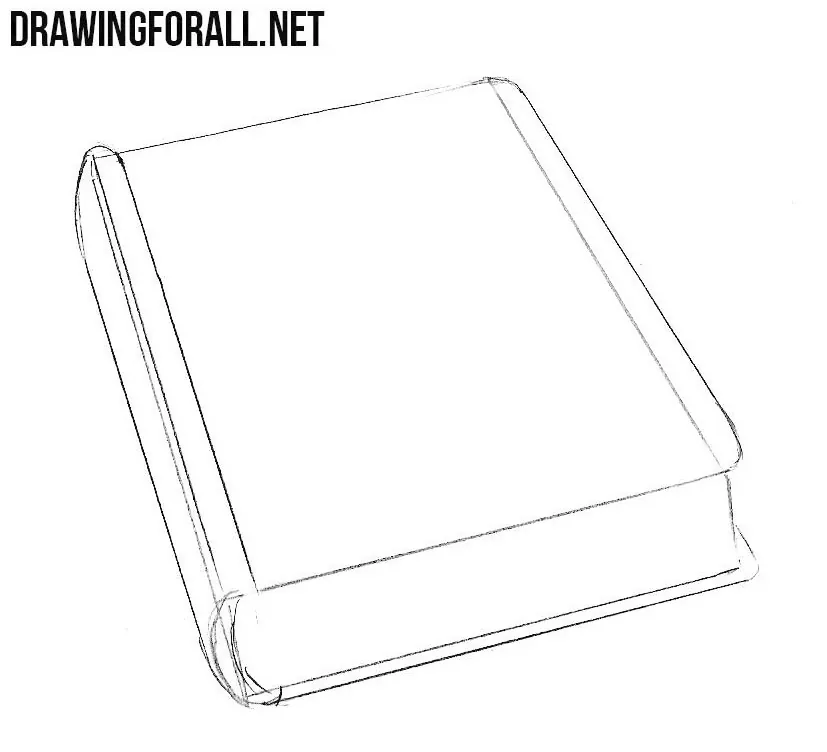
Step 4
Erase all unnecessary guidelines and the general outlines of the book is ready. Note that you can leave the covers clear or add your own title or drawing.
Step 5
Using short lines draw the sheets between the covers. And now let’s make our book more realistic and add shadows.

We hope that this lesson learned you how to draw a closed book. If you want more lessons about similar things visit our lessons about a candle or glasses. Also you can write what tutorial you want to see on our site and we will make it in a short time.


Great drawing tutorial.
cool
This was the BEST tutorial even 10000/1000
I rate ^
Beautiful and easy 😎
so cool
terrible
thats awesome
can you do better
Amazing…..oh no it is the worst drawing I have ever seen
hello
This is the easiest way to draw a book that I have ever seen! This is a great tutorial!
I like it!
I LOVE DRAWING AND READING BOOKS THIS IS SO GOOD FOR ME AAAAAAAAAAAAAH
Nice, this helped me a lot
thank you
It really was a great tutorial.But at the last part I was lucky to have a shading tool 🙂