How to Draw Glasses

In this simple yet realistic lesson, we will show you how to draw glasses – one of the most popular accessories in the world.
Using this tutorial, you can sketch any glasses. Actually, all glasses differ only in shape. In this guide we will show you how to illustrate this accessory using the example of the legendary Ray-Ban glasses.
So let’s start this tutorial and learn how to draw glasses step by step!
How to draw glasses step by step
Step 1: Sketch the front of the glasses
First, lightly outline the basic shape of the glasses using soft, barely visible lines. This will make it easier to adjust and refine the proportions in the following steps. Glasses can have many different frame shapes and styles, so you can either repeat the design shown in our example or use another reference. At this stage, sketch the front part of the glasses – the frame around the lenses.

Step 2: Lightly draw the glasses temples
Now continue outlining the glasses by sketching the temples as two long, smooth lines that gently slope downward toward the ends. When drawing these lines, keep the proportions consistent and make both sides symmetrical so the glasses look natural. Also, consider the basic rules of linear perspective from the very beginning – the parts closer to the viewer should appear slightly larger than those farther away.

Step 3: Add volume to the front frame
It’s time to start adding volume and mass to the glasses drawing using light, barely visible lines. Begin with the front outline by marking the frame around the lenses. Keep perspective in mind – the closer parts should appear a bit larger than the distant ones. Continue working with soft, light strokes to maintain flexibility for corrections later.

Step 4: Add volume to the temples
Next, add volume to the temples by redrawing their shapes with still light and smooth lines. Use the guides from step two to determine their placement. Make sure the farther temple is drawn slightly smaller than the one closer to the viewer. This will help create a natural sense of depth and make the glasses appear more three-dimensional.

Step 5: Detail the upper frame
Now start using darker, more defined lines to detail the glasses. Focus on the front section first, especially the upper half of the frame. Draw both sides alternately to maintain symmetry and accuracy. Outline the upper part of the frame with smooth, confident lines, and add small almond-shaped details or draw screws in the top corners on both the left and right sides.

Step 6: Draw the bottom rim of the glasses
Finish drawing the front part of the glasses by adding the lower frame. Continue the same clean, confident lines from the previous step, working alternately on each side to keep the drawing balanced and realistic. For a more natural and dimensional effect, apply the rule of atmospheric perspective – make the closer parts slightly darker and the farther ones a bit lighter.

Step 7: Detail the temples and hinges
Proceed to the temples, refining them with clear and continuous lines based on your earlier sketch. For added realism, make the lines thinner and lighter as they recede into the distance. At the junction where the temples connect to the frame, add small hinges to make the structure more believable and visually accurate. Also, erase all guidelines and rough sketches from the first steps.

Step 8: Create a three-dimensional effect
Finally, give the drawing of glasses a finished, three-dimensional appearance adding realistic shadows. Begin by sketching light reflections on the lenses using several soft strokes of varying length, all drawn in one direction. Then, shade the inner parts of the frame and the lower edges of the elements. Add a small cast shadow beneath the areas where the glasses touch the surface to enhance the sense of realism in your drawing.

So, the glasses drawing lesson has come to an end. We tried to make this guide as simple as possible so that even the most inexperienced artist could learn how to sketch glasses.
Glasses are not an item with one fixed design or standard form. Different manufacturers, as well as different eras in which they were produced, offer completely unique shapes and constructions.
This affects both how they look and how we draw them. However, the basic principles of drawing glasses remain the same regardless of the type or model you choose.
For instance, you can draw round frames like those worn by Ozzy Osbourne or Doctor Octavius by replacing straight lines with smooth curved outlines. You can also draw sporty glasses by making the frame more streamlined and aerodynamic.
Glasses may be either sunglasses or prescription glasses, and this also changes their appearance, though not the drawing approach.
To create the look of sunglasses, use even shading across the lenses to make them dark while leaving a few light lines to represent highlights.
Glasses are an interesting subject to draw, but they are rarely drawn alone. It’s a good idea to apply this lesson to a full face drawing, combining the skills learned here with portrait practice.
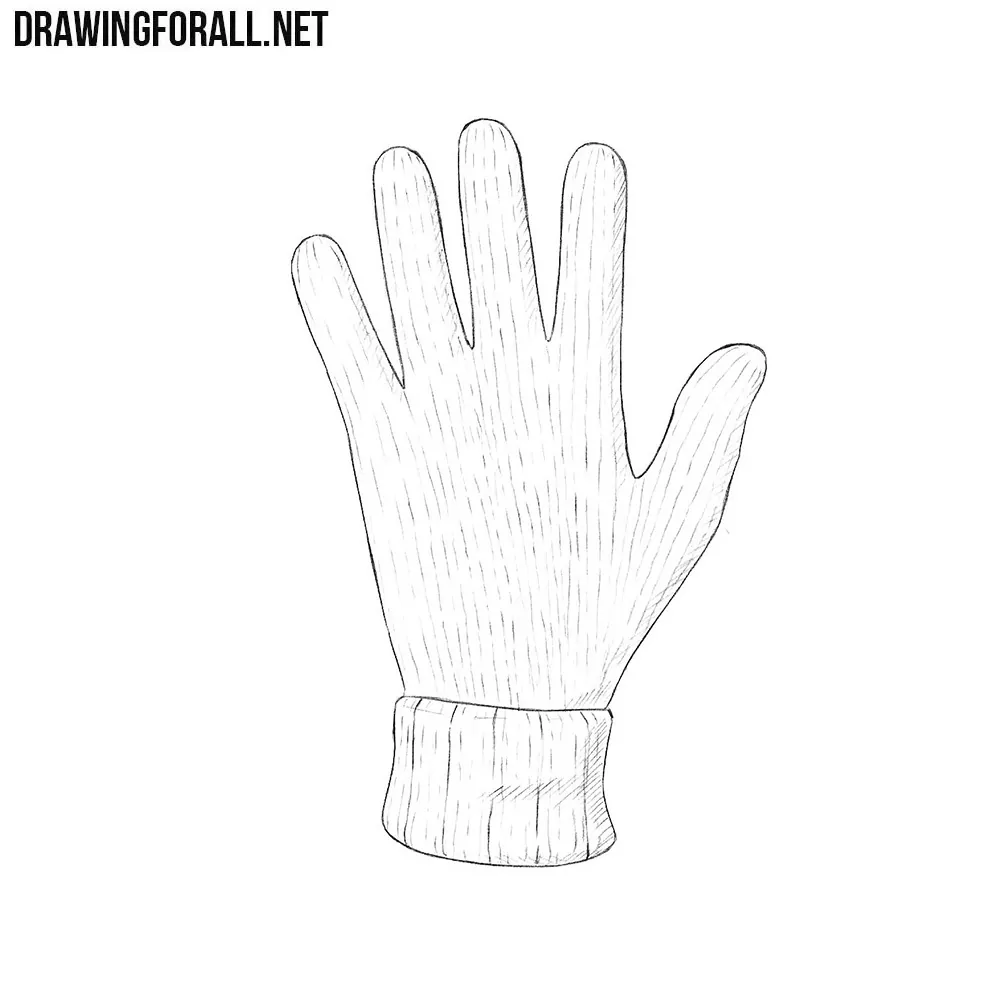
You can also study other items of clothing and accessories, for example drawing gloves, which are another common and visually interesting part of human attire.
And to complement the glasses, try our detailed academic tutorial on how to draw eyes, where we explain the process step by step using classic drawing methods.
Try to improve your glasses drawing skills. To do this, you should repeatedly draw this object, but at different angles, with different shading, and using different references that differ from the glasses from our example.
This was cool!
Thanks, glad you liked the drawing tutorial.
this way helpful. not really drawing a fox
Glad it was helpful. Even if it’s not fox glasses, the drawing practice is still useful.
Amazing!
Appreciate it!
ssssssssssssooooooooooooooo hhhhhaaaaaaaaarrrrrrrrrrrdddddddddd!!!!!!!!!!!!!!!!!!!!!!
bruh it was rlly easy
Thanks. Nice to see this guide was easy.
very nice!!!
Thanks! Glad you enjoyed the drawing lesson.
So helpful!
Happy to know the tutorial helped. Keep practicing your sketches.
bro that was so difficult mine definitely didn’t turn out as good as the actual drawing 😅😄
That’s fine, every drawing improves with practice. Try again, step by step.
a bit hard to draw those not typical glasses shape (1st step)
The first step may look unusual, but drawing from different angles helps improve accuracy.
pretty good
Thanks, appreciate the feedback on the drawing guide.
Some drawings can be tricky at first, just keep practicing and it’ll get easier.