How to Draw Dr. Manhattan
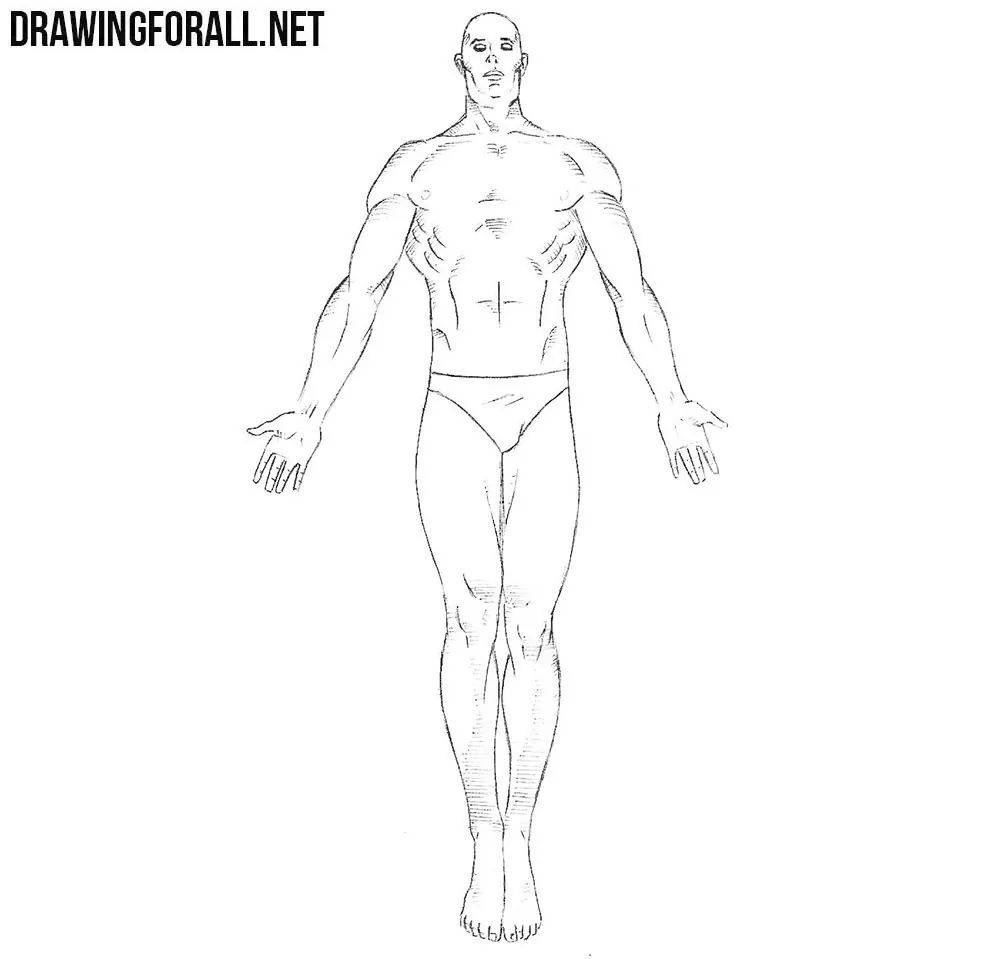
Hello dear artists. One of the most extensive categories on our site is the category “Comics”, where we add superheroes from different comics. There are already such famous characters as a Spider-Man, Batman and Superman. And today we decided to draw probably the most famous hero from the Watchmen team. So, meet the lesson on how to draw Dr. Manhattan.
Step 1
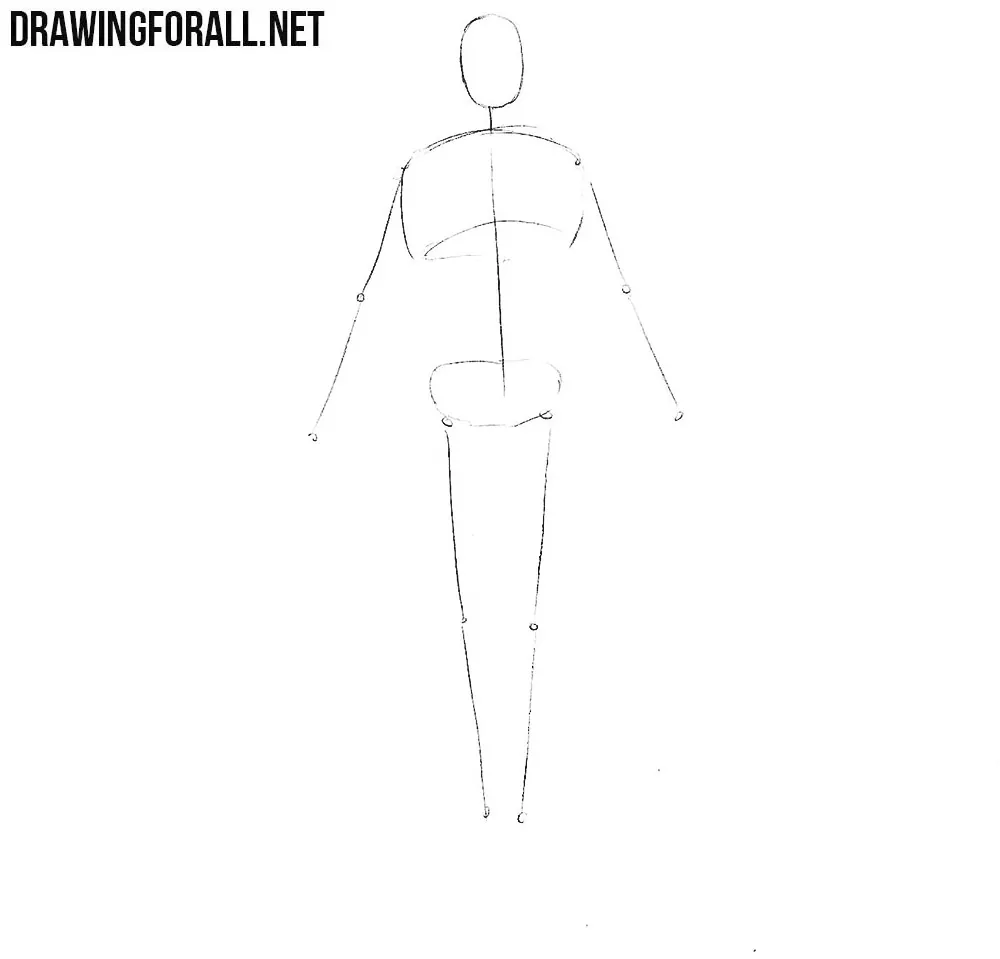
In order to draw a man correctly, we need to first draw his skeleton. First of all sketch out the head in the form of an oval. Next outline the neck with a short line. Continuing the neck line we draw the spine, length of which is equal to the height of the three heads. On the line of the spine sketch out a wide thorax and a narrow pelvis. Note that the thorax in width is equal to the width of two heads. Now sketch out the arms (which are equal in length to the height of the three heads) and the legs (in length they are equal to the height of the four heads). Thus, we can see that the body of our superhero is about the height of eight heads.
Step 2
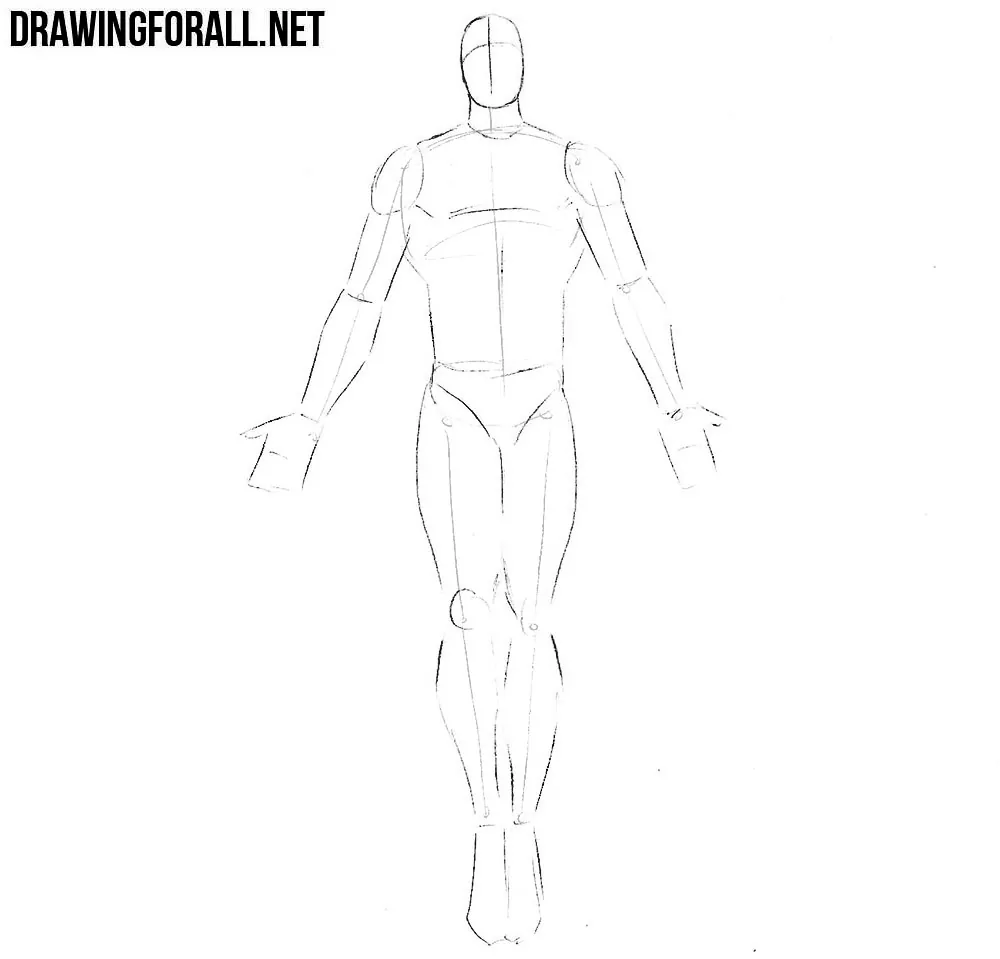
Now let’s outline intersecting lines on the head that will help us draw facial features. Draw a vertical line that runs exactly in the center of the face. Next, draw a horizontal line that will help us draw eyes. These two lines must intersect in the region of the bridge of the nose. Next sketch out the neck in the form of a cylinder. Using curved lines connect the thorax and pelvis, forming a torso, which strongly narrows in the waist region. With the help of ovals sketch out the shoulders. Next, outline the arms with the help of simple geometric figures. Note that the forearms should strongly narrow in the wrist area. Draw the hands. Sketch out a triangular pelvis and legs using simple geometric figures. Note that the legs should narrow in the region of the knees and ankles.
Step 3
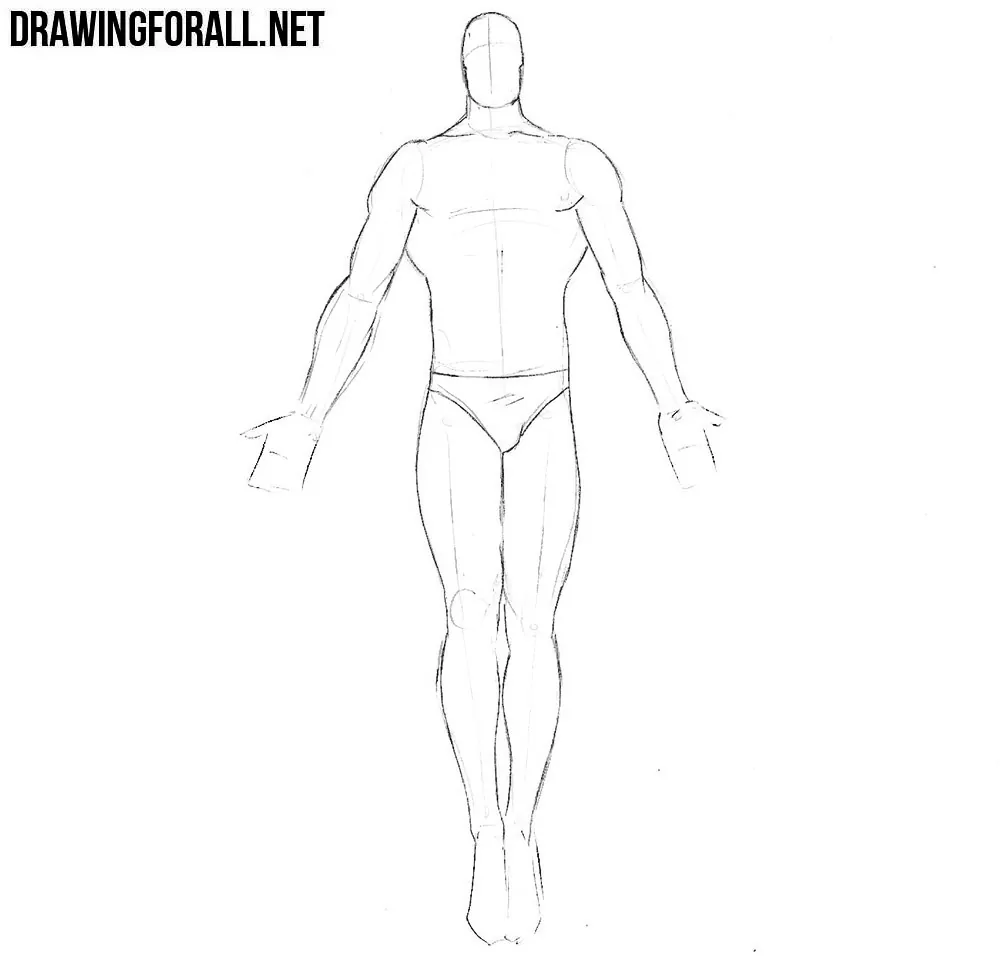
If you did everything right, then you should get a dummy, as in the previous step. First of all, we draw the outlines of the cheekbones and jaw. Next draw the clavicles and the outlines of the pectoral muscles. Then, using smooth lines connect the geometric figures from the previous steps to form the outlines of the muscles. Draw out the outlines of wide deltoid muscles, round biceps and forearm muscles. Further in the same way, connecting the geometric figures from the previous step with the help of smooth lines draw out the muscles of the legs.
Step 4
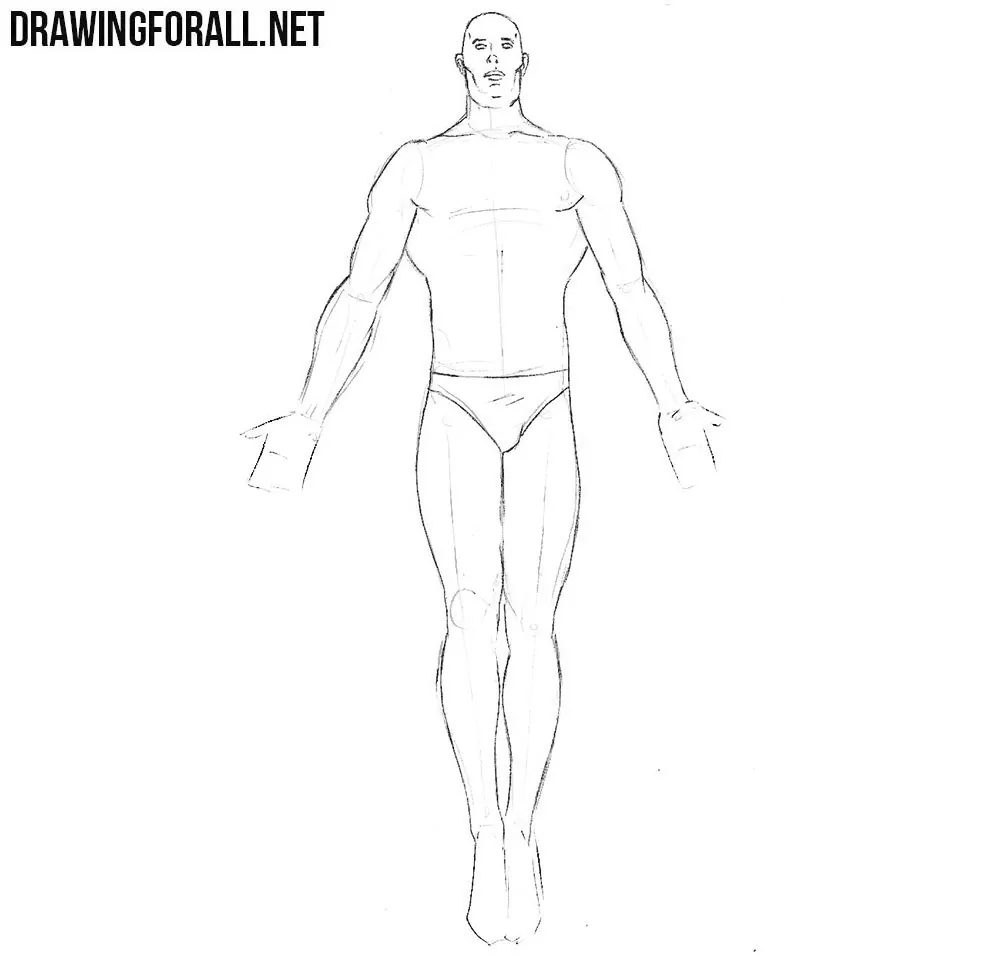
Starting with this step we will work with the final details of Dr. Manhattan. On the horizontal line from the past steps draw out the eyes. A little above the eyes draw eyebrows with simple and dark lines. A little lower, on a vertical line, draw out the nose and mouth. Pay attention, that in this lesson we look at the head of our superhero a little bit from the bottom up. At the end of the step carefully draw out the powerful cheekbones and chin of our superhero.
Step 5
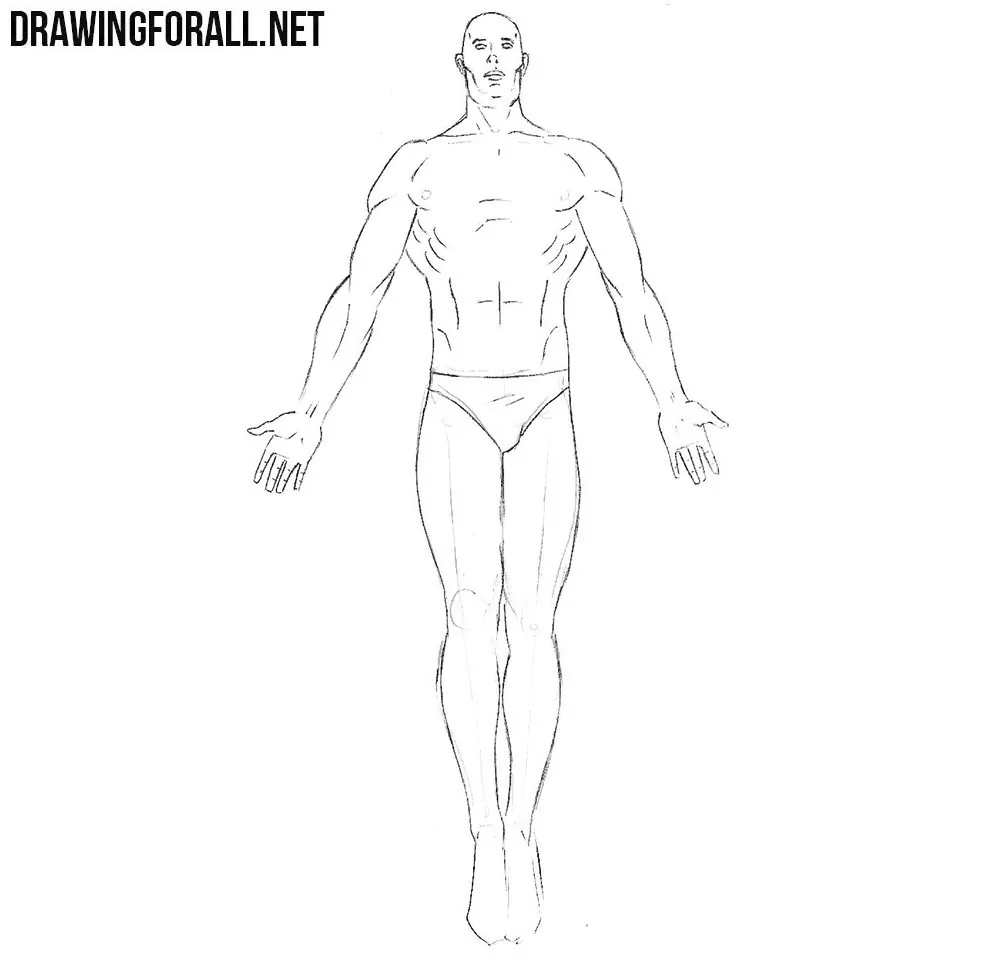
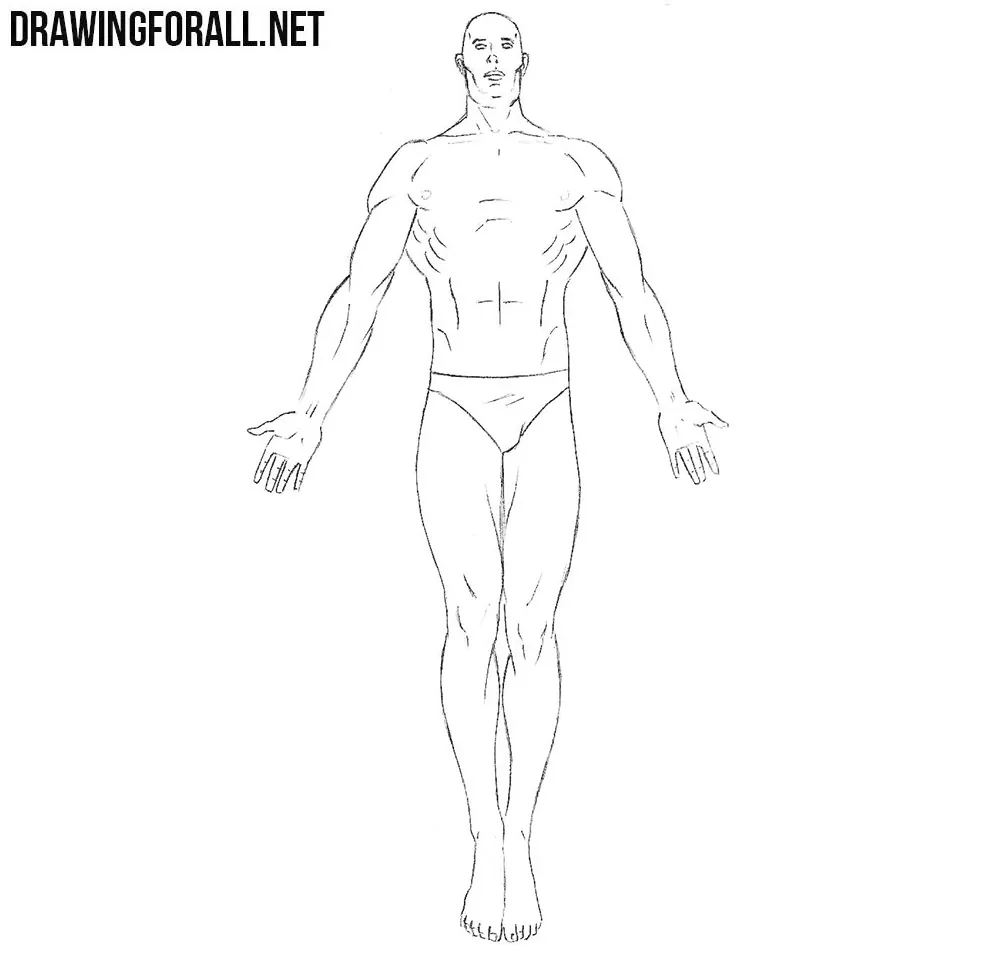
Draw lines of neck muscles. Next draw outlines of powerful shoulders and large pectoral muscles. With the help of short curved lines draw out the abdominal muscles and the oblique muscles. Pass to the arms and draw out the outlines of the biceps and muscles of the forearm. Carefully draw out the fingers (to learn more about this visit the tutorial on how to draw hands).
Step 6
Now let’s move on to the lower part of the body of Dr. Manhattan. Carefully draw out the quadriceps, outlines of the knees and calf muscles. Pay special attention to where the lines of the leg muscles are located. Most of all they are noticeable in the region of the knees. In the same step draw out the feet and toes. And at the end of the step erase all the unnecessary guidelines from the Dr. Manhattan drawing.
Step 7
So, the draw lesson on how to draw Dr. Manhattan is almost complete and we only need to add shadows. Usually, when we draw comic characters, we draw black and contrast shadows as in the lessons about Apocalypse and Psylocke. But in this lesson we use a slightly different technique of shading. So, first of all, let’s determine where the light comes from. Next add a fairly dense but short hatching in those areas where the light does not fall.

It was quite a voluminous, but cognitive drawing lesson. Here we tried to describe in more detail the principles of drawing a human figure. If you liked this lesson, then share it with your friends and subscribe to us on social networks.


