How to Draw the Amazing Spider-Man
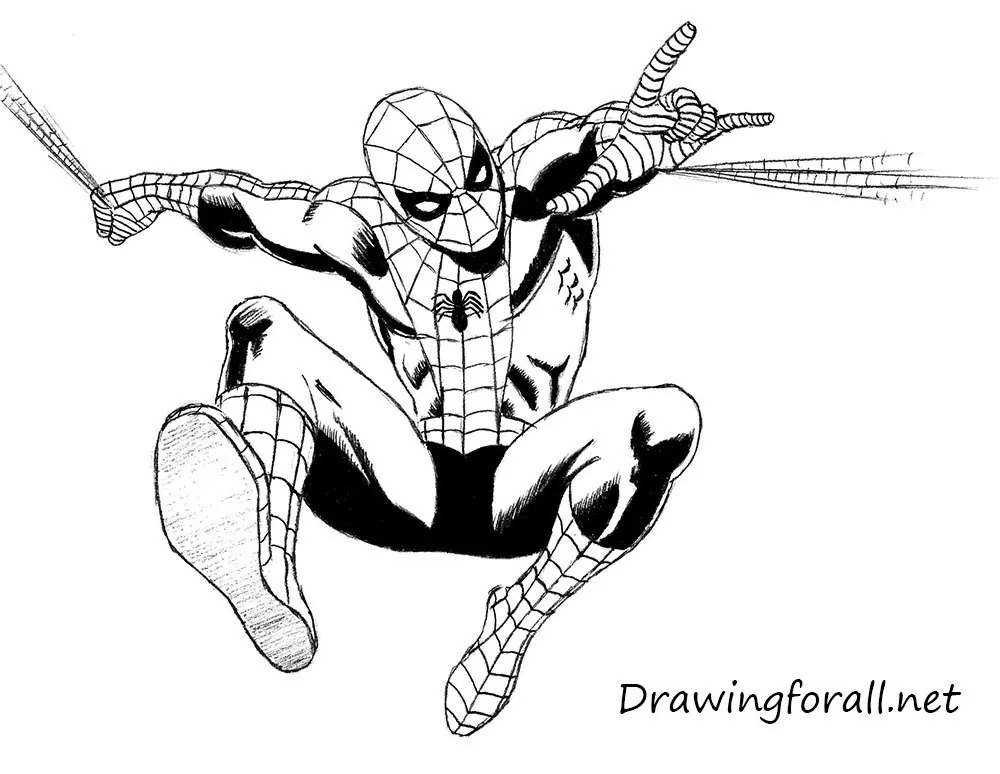
Hello, dear artists and true believers! Today we have prepared for you a new drawing lesson in which we will show you how to draw one of the most popular comic book characters – the amazing Spider-Man. So, let’s start the tutorial, and learn how to draw the amazing Spider-Man.
Step 1
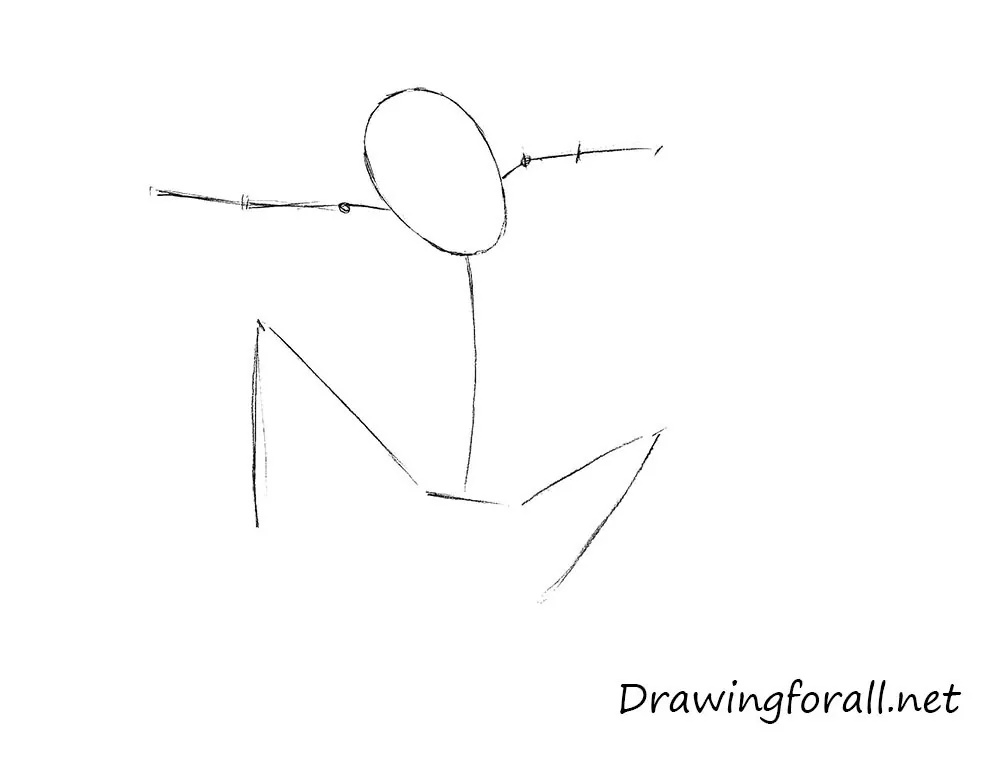
As always, we start with a stickman – man made of sticks and circles, which is required in order to indicate the proportions of the character and position on the paper. Due to the dynamic pose of Spider-Man his proportions seem wrong – we don’t see his neck, hands and legs look shorter than they are.
At first draw an oval to form the head. Using simple lines sketch out the hands, spine and legs.
Step 2
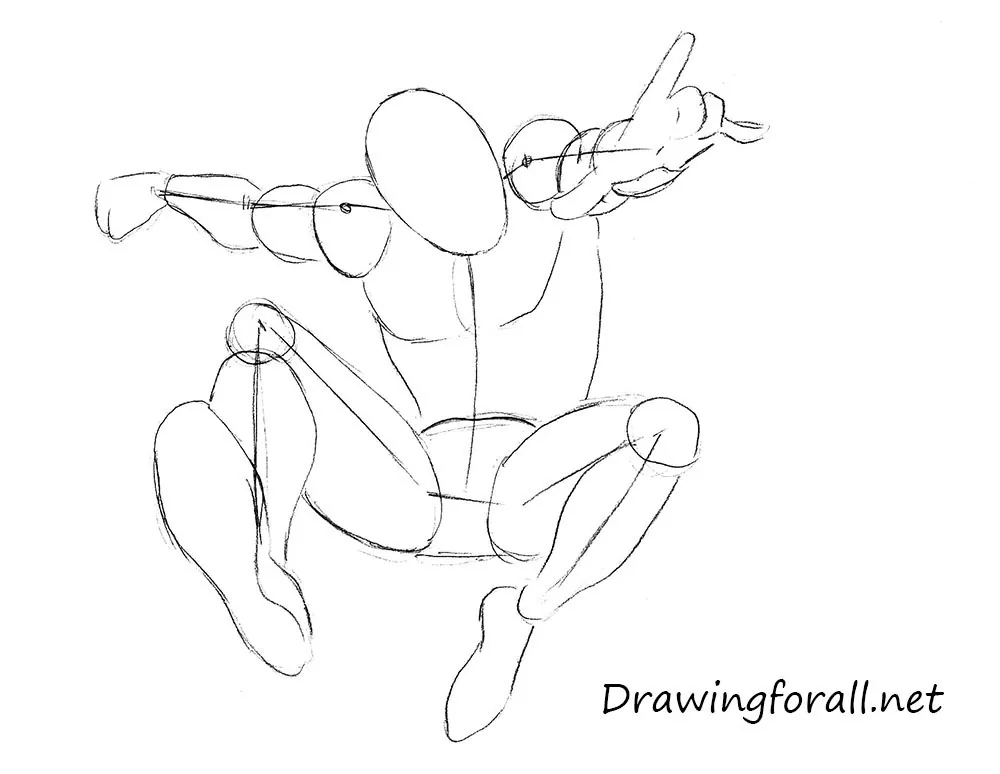
At this step we will add some “flesh” to Spider-Man. Using circles draw the shoulders. Using cylinders outline the hands. Sketch out the fingers as in the example below. Draw a slightly curved torso. Draw legs using cylinders. Outline the knees with circles. Don’t press down too hard on a pencil. Use light and smooth lines for the first steps.
Step 3
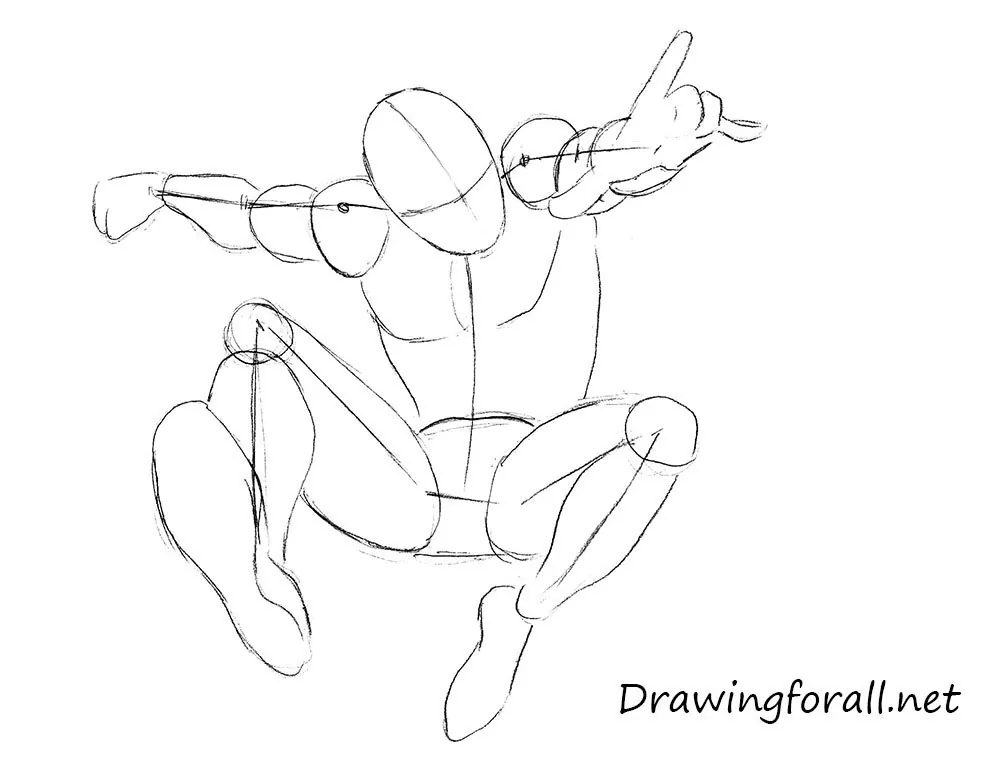
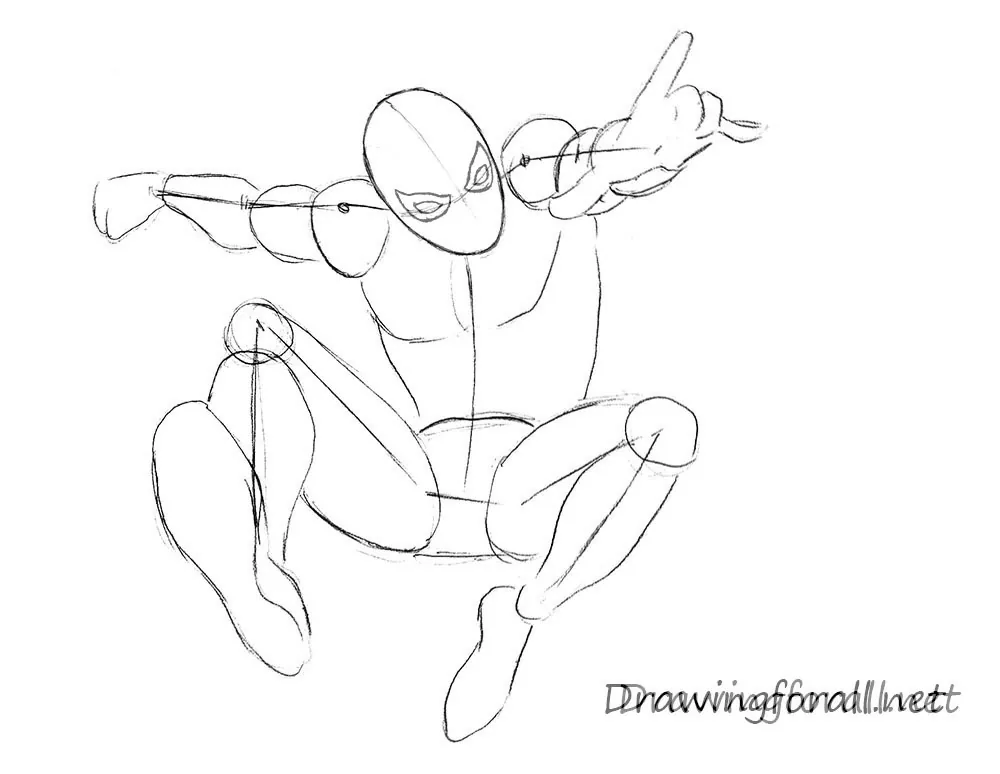
And we continue to draw the amazing Spider-Man. Draw the lines of facial symmetry. The vertical line will help us to find the center of the face. And the horizontal line will help us to draw eyes. The horizontal line passes through the center of the face. But in this case, Spiderman looks down a bit, so the line will be slightly lower.
Step 4
It’s very simple step. Using the horizontal line from the previous step draw the eyes.
Step 5
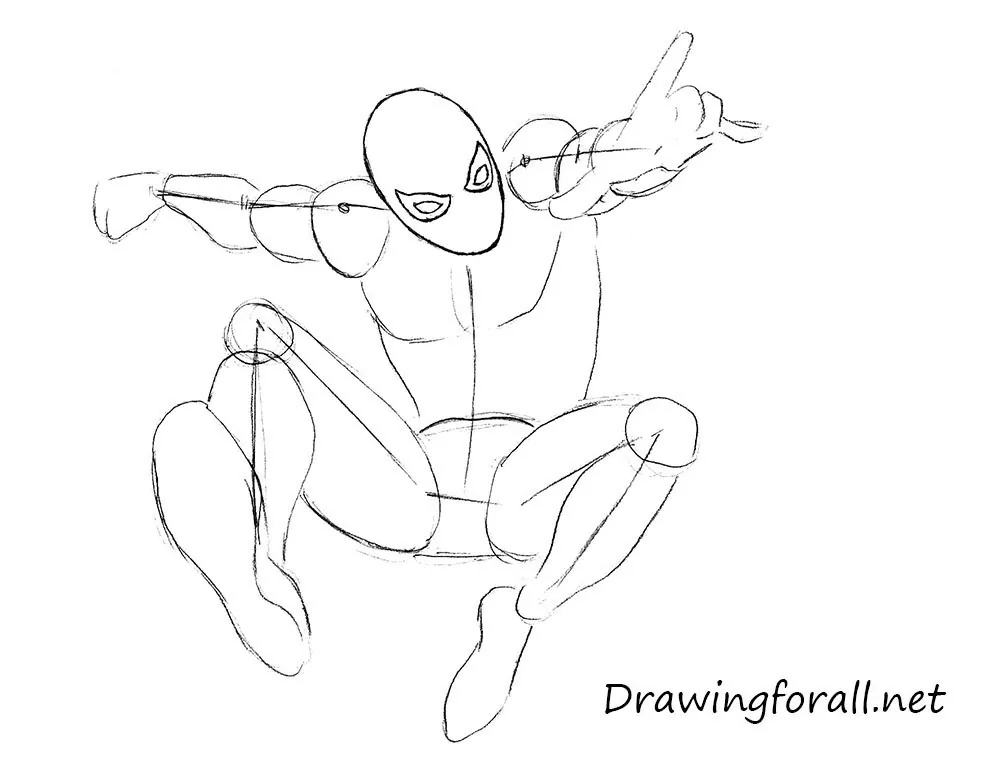
Erase the guideline from the head. Make the lines smooth and clean. Visit the tutorial about how to draw Spider-Man’s head to learn more.
Step 6
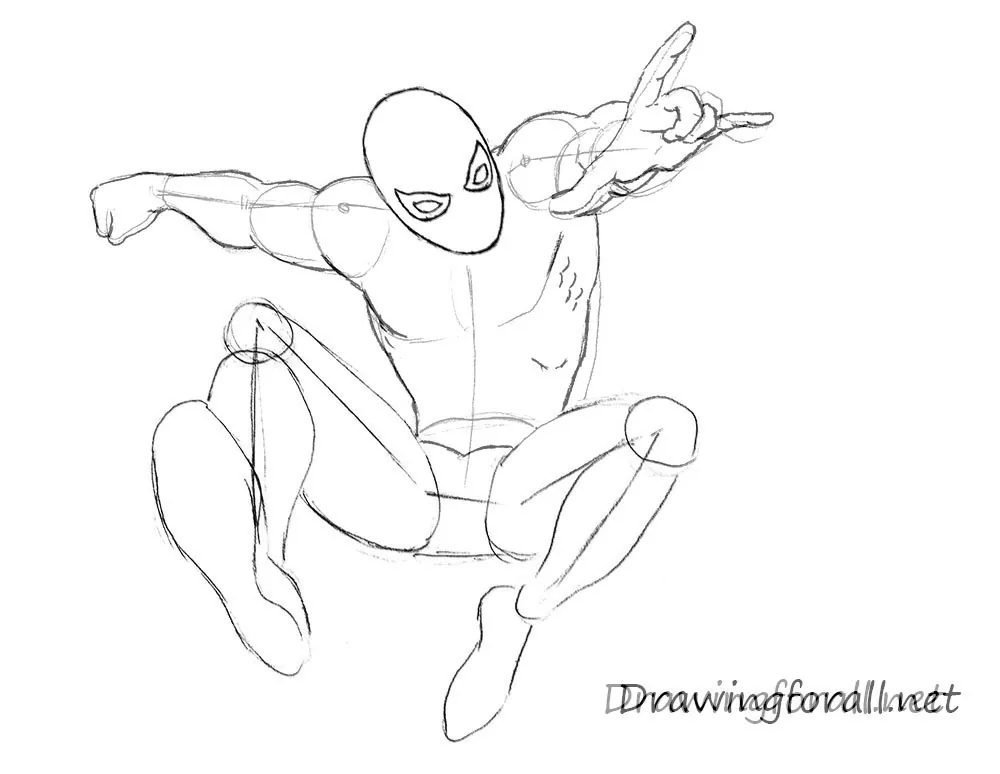
From this step we will start to add muscles and details. First draw the deltoids – they should look round and massive. Then draw biceps and forearms. Sketch out the pectoral muscle and obliques. Draw fingers as in the example below.
Step 7
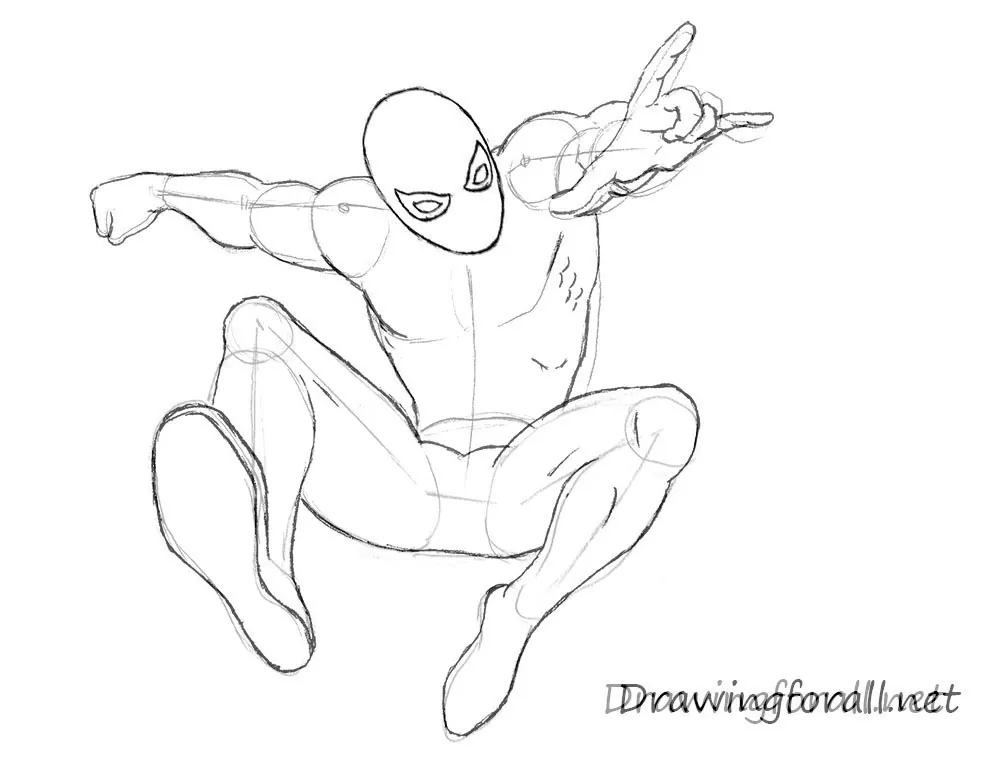
Now add muscles and details to the legs of Spider-Man. Note, that the right foot of spider-man looks bigger due to perspective.
Step 8
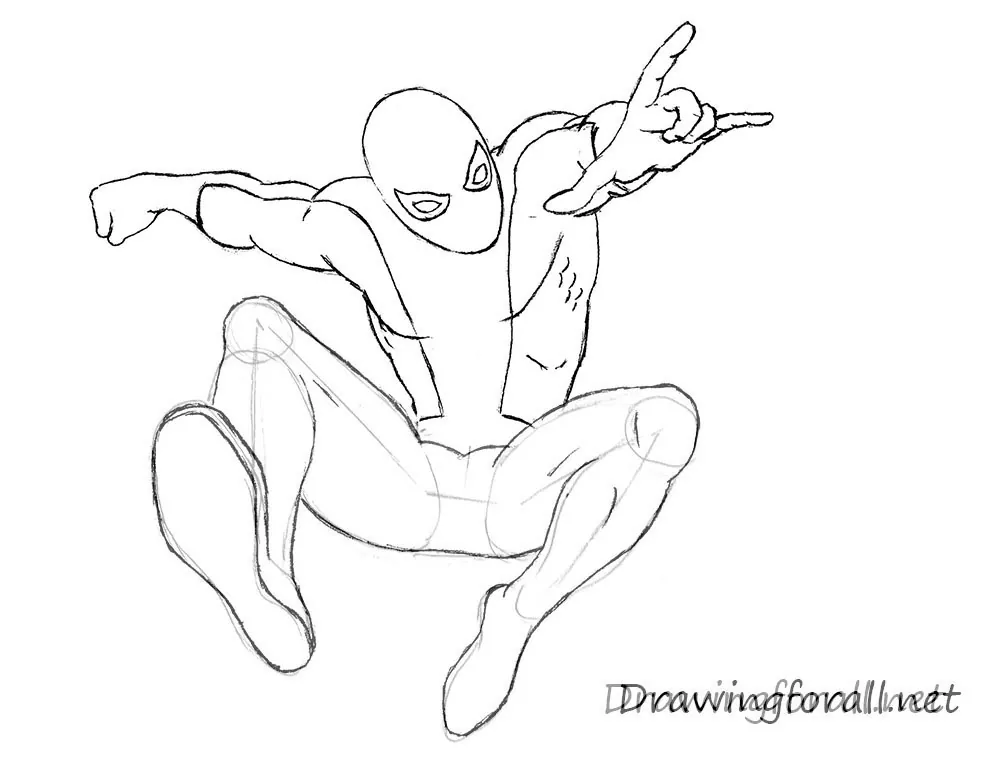
Erase the guidelines from the hands and torso. Darken and smoothen the lines. Draw the famous lines of the suit.
Step 9
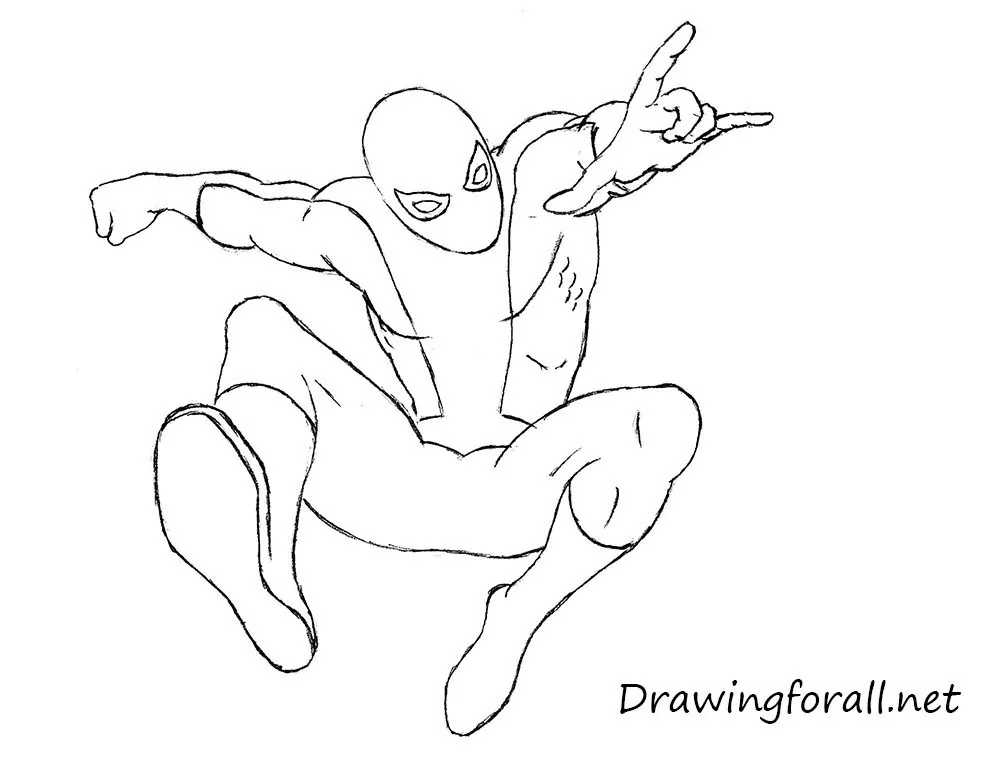
Now erase the guidelines and unnecessary strokes from the legs. Draw the lines of the shoes.
Step 10
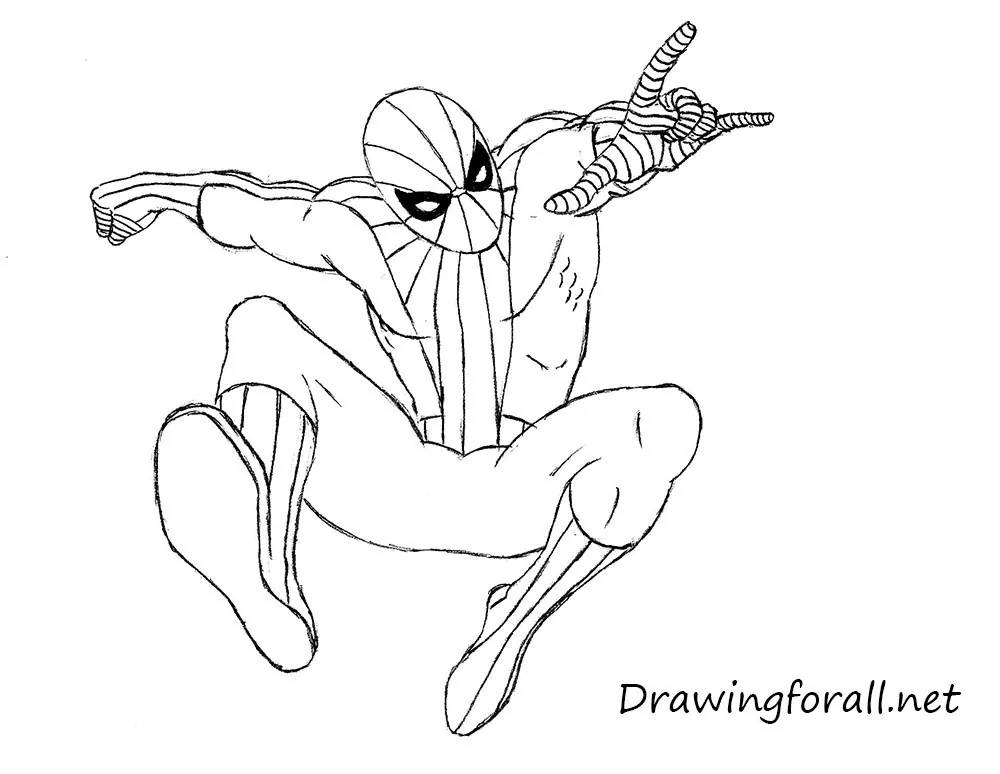
Start adding the lines of the web. At first we draw the vertical lines. Start from the head. Draw the lines considering the bumps and muscles.
Step 11
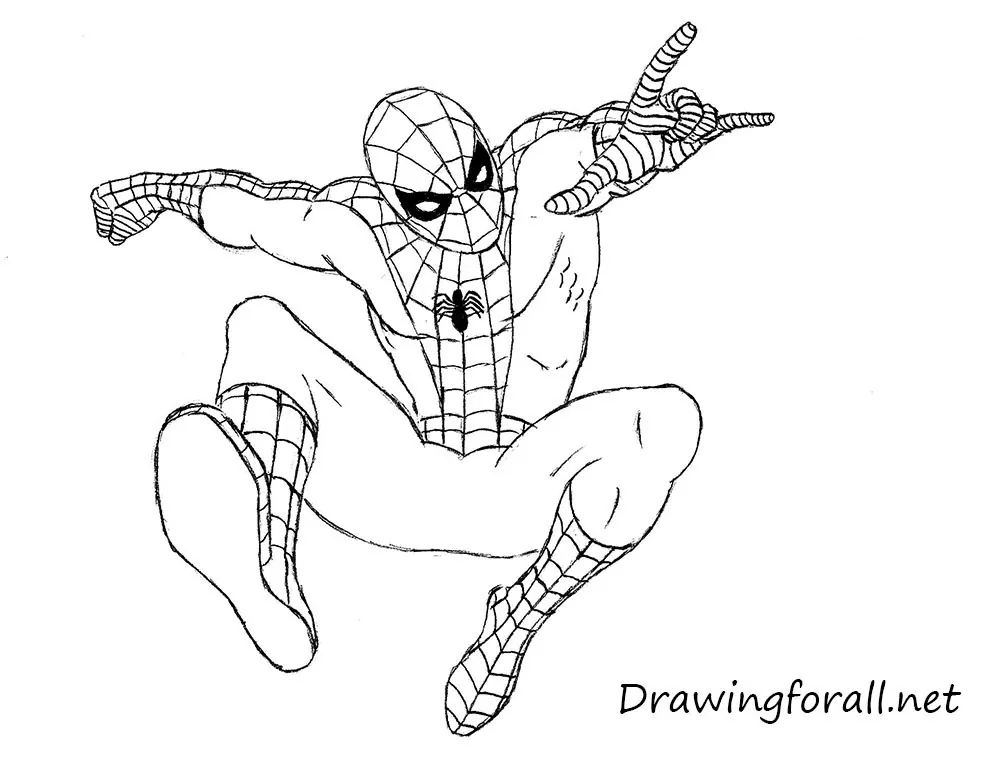
Draw the horizontal lines of the Spider-Man suit. Draw it using short and curved strokes. Draw the Spider-Man logo on the chest.
Step 12
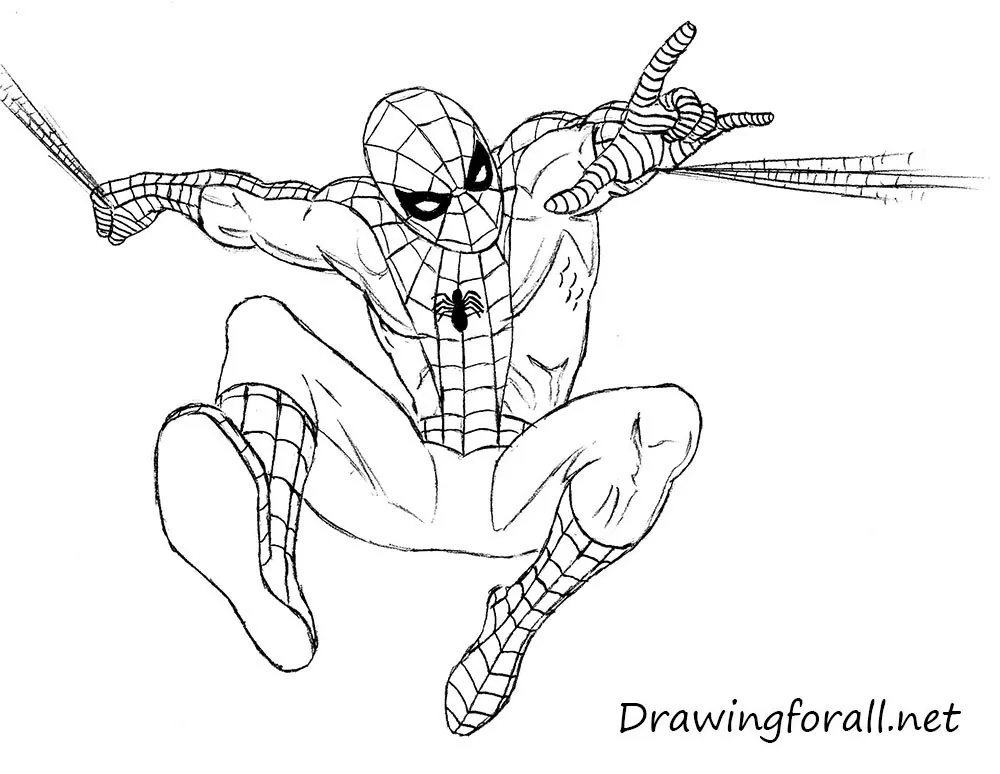
Start adding shadows. In order to get classic comics shadows at first, you need to draw the outlines of the shadows. So, draw the contours as in the example and move to the next step.
Step 13
Using a dark pencil paint the shadows as in our example. Shadows should be dark and contrasting. In order to get halftones use hatching.

It was drawing lesson about how to draw the amazing Spider-Man. We hope you enjoyed this tutorial. Visit our other tutorial about how to draw Spider-Man to learn more about how to draw comics. Goodbye!





Xd
Super but please draw a very simple
Very super thank you and congratulations
😃awesome, this technique is very very nice, to draw. Its very helpful. I like this
Thanks this help me alot
you make drawing feel so easy. thank you for your simple pictures and explanations for steps… so excited to draw this for my grandson… looking forward to checking out your other sketches… hulk will be my next one