How to Draw Frankie from Monster High
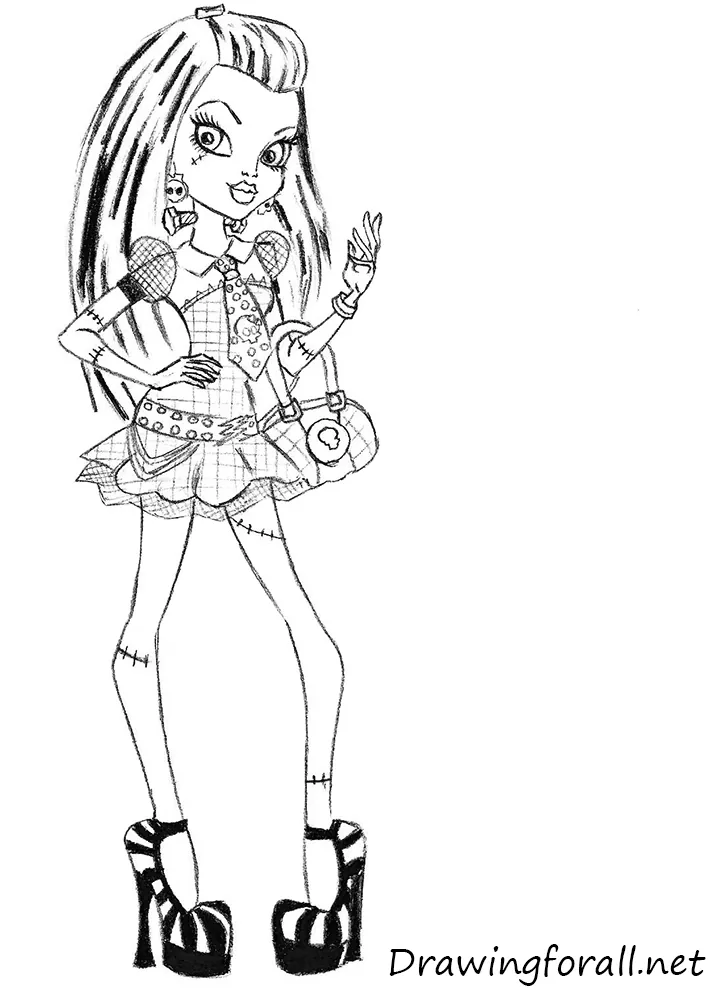
In this tutorial, we will draw one of the main students from the popular Monster High universe. Let’s begin and learn how to draw Frankie Stein!
How to draw Frankie Stein step by step
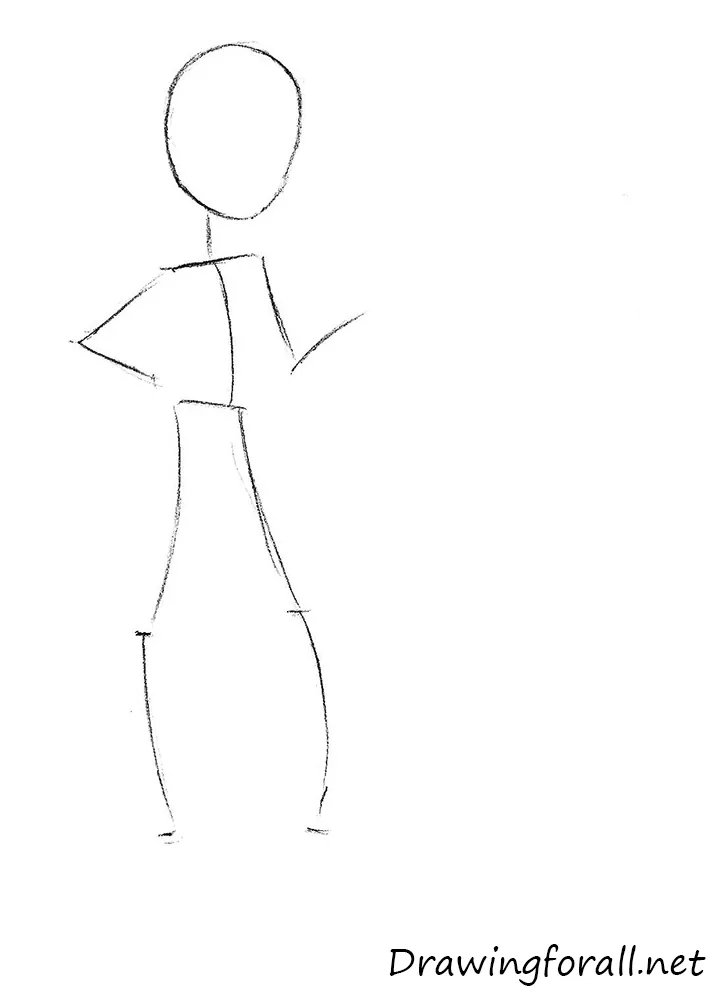
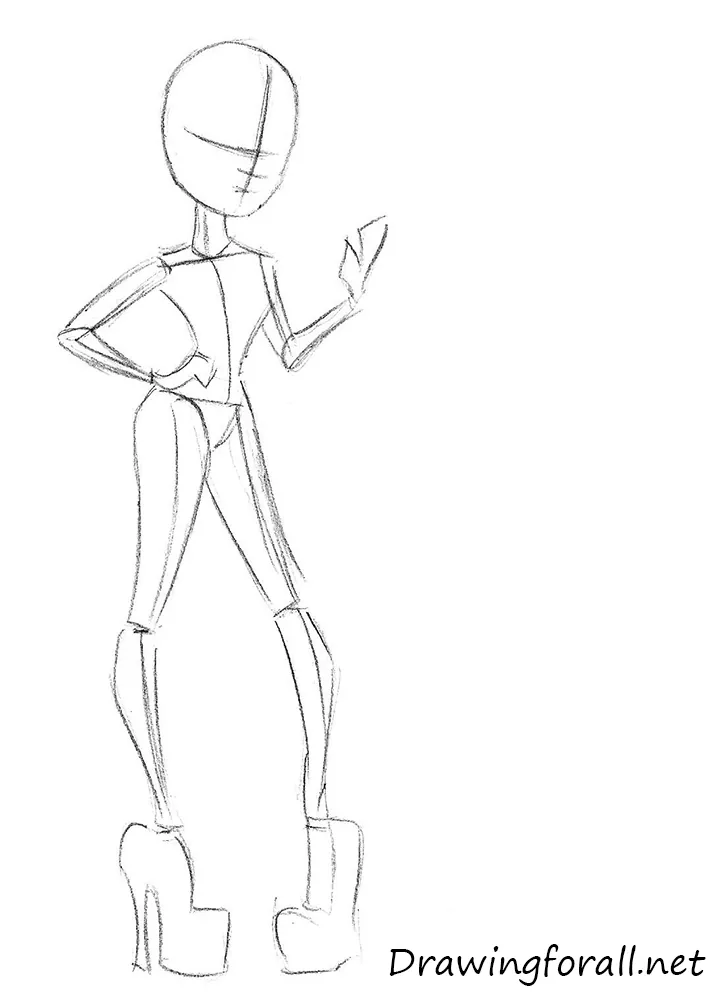
Step 1: Sketch the basic figure guidelines
Draw a stick figure made of lines and circles to establish the main proportions and position on the paper. The proportions of our character are unusual and differ greatly from those of an ordinary girl. First, the head is much larger than a real human head. Frankie’s torso is also about one head length tall, while her legs are very long compared to normal human proportions. Outline the head as a circle and sketch the body with simple, very light lines.
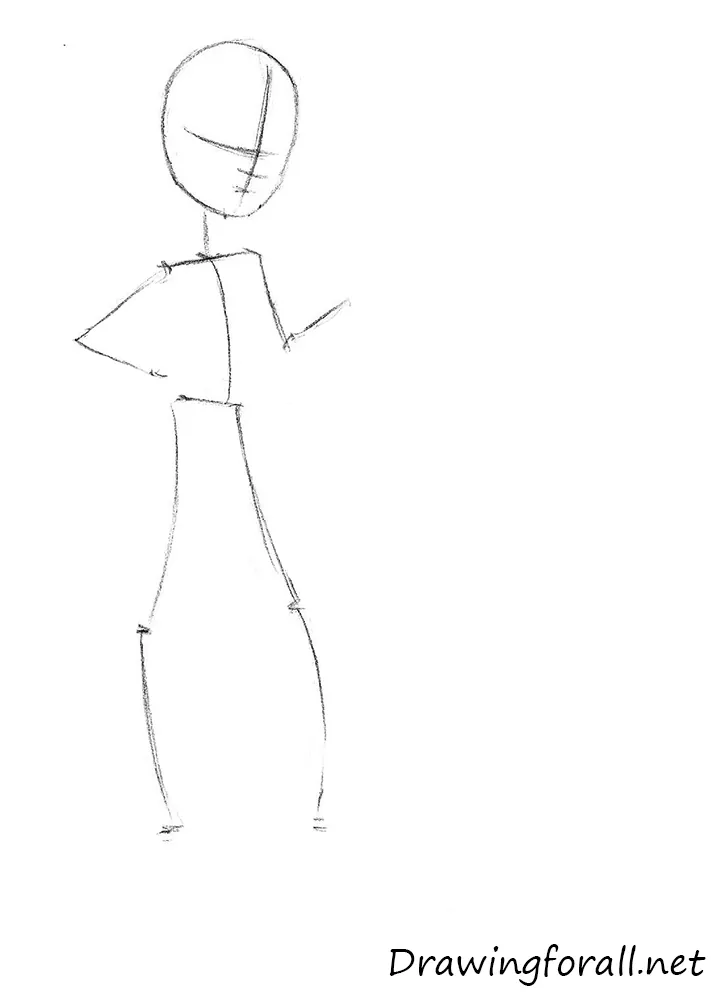
Step 2: Draw Frankie’s facial guidelines
Mark the face with a vertical line of symmetry. Cross it with several horizontal guidelines. The highest and longest line marks the position of the eyes, while the shorter lines below indicate the nose and mouth.
Step 3: Add volume to the upper body
Add volume to the upper body of the charming monster. Form the neck as an elongated oval. Give the torso an hourglass shape, with its narrowest part at the waist. Construct the arms as narrow, elongated cylinders. Finish by sketching the hands.
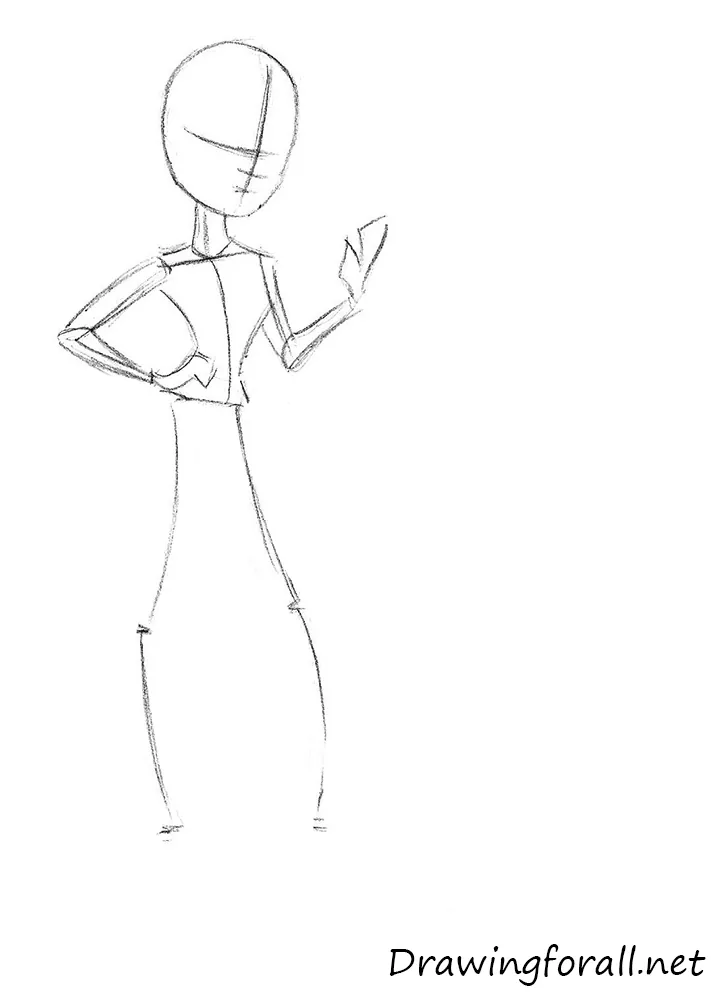
Step 4: Construct the legs and shoes
Repeat this process with the lower torso and legs. Construct the legs from elongated, modified cylinders that taper around the knees and ankles. Note that the widest areas are at the hips. Then outline Frankie’s shoes. They are so tall that they are nearly the same length as her shins.
Step 5: Draw Frankie Stein’s face and hair
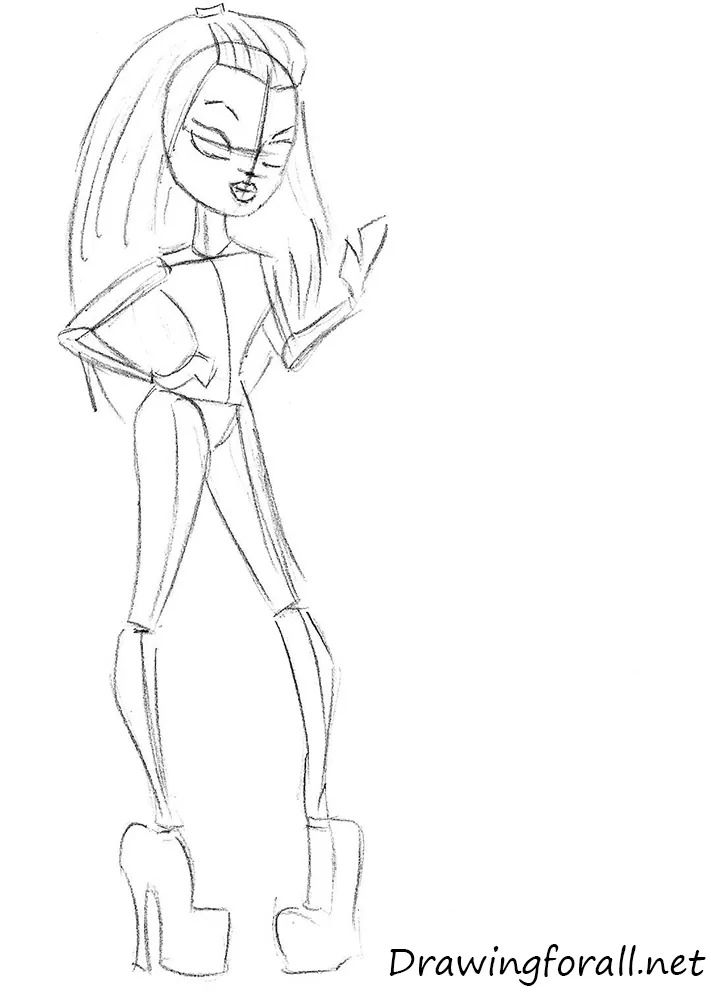
The silhouette is ready, so begin adding Frankie Stein’s details. Use long lines to outline the hair. Sketch the bangs swept back and secured near the top of the head, then add the hanging sections of hair.
Using the guidelines from the previous steps, continue by drawing the large cartoon eyes and full lips. Add the eyebrows above the eyes as inverted check marks.
Step 6: Refine the facial details
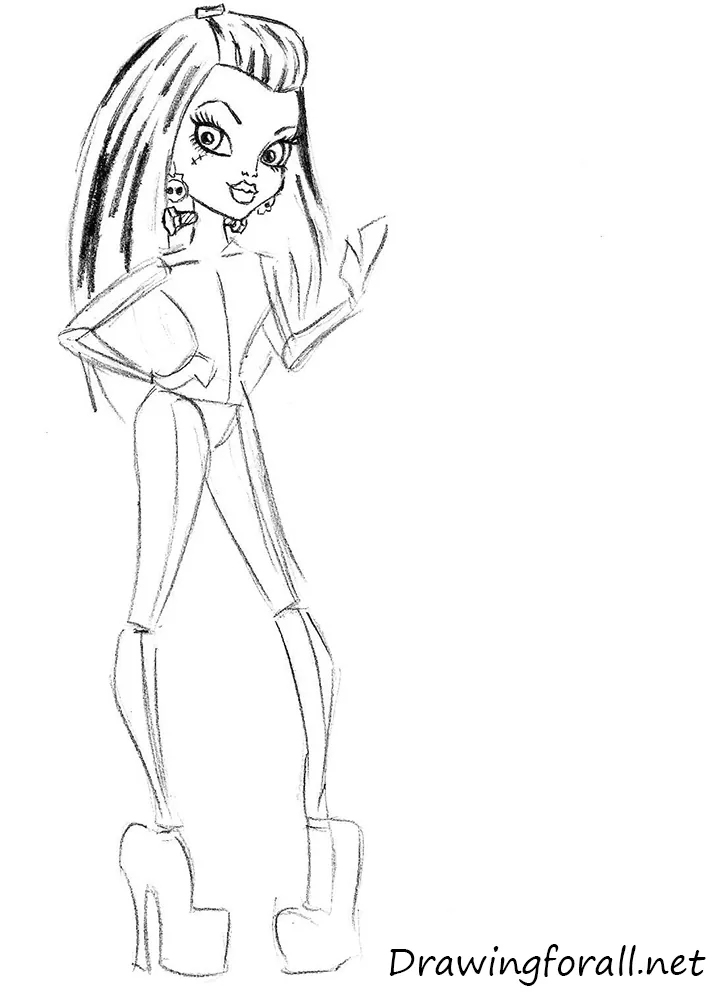
Erase the extra facial guidelines and refine the contours of the face. Add the pupils, leaving small highlights. Use short, curved lines for the eyelashes. Sketch the small nose and details such as the earrings and the bolt on the neck. Darken the eyebrows and lips, then add dark strands throughout Frankie’s hair.
Step 7: Add the dress and tie
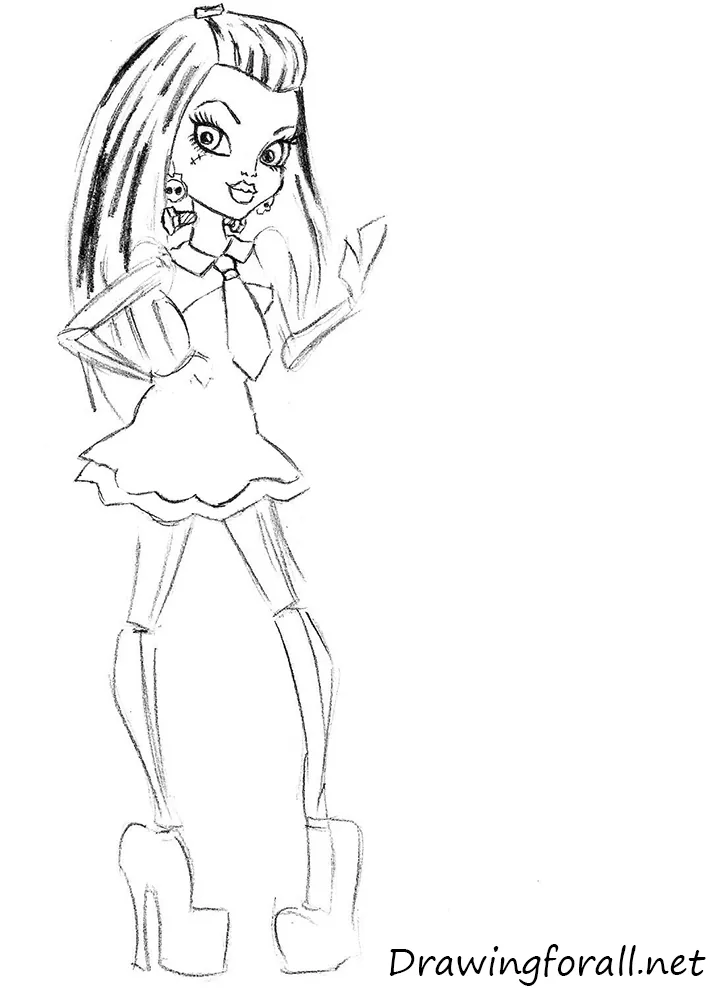
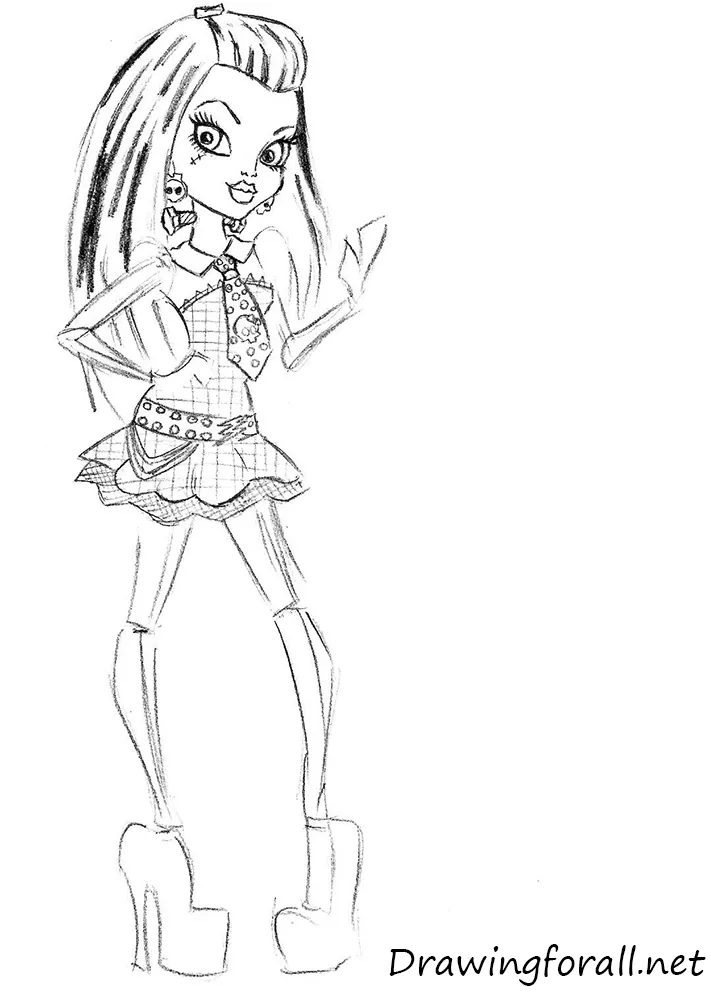
Now work on the torso. At the base of the neck, draw the collar and tie. Following the torso shape established earlier, continue by drawing the dress. It should fit closely around the upper hips and widen considerably toward the bottom.
Step 8: Detail the dress and belt
Add the smaller details. Draw the pattern across Frankie’s dress and a belt decorated with small, bead-like rivets. Shape the belt buckle like a lightning bolt, then add the hanging chain on the left side from the viewer’s perspective. Finish by adding the pattern to the tie.
Step 9: Refine the arms and bag
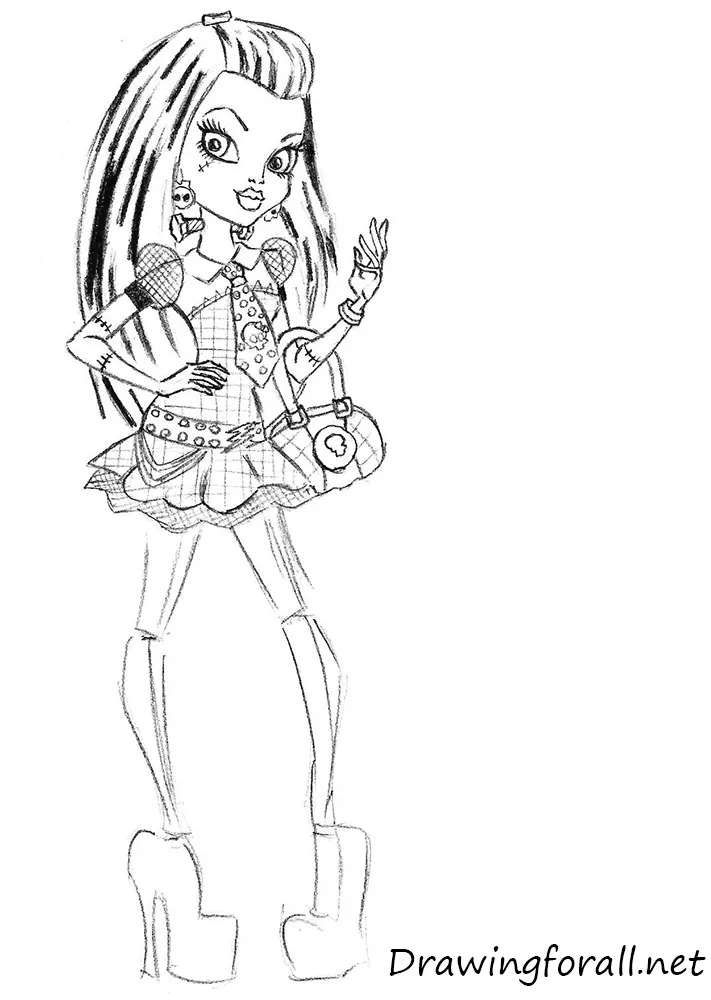
Erase the extra guidelines from the arms and refine their outlines. Add circular details around the shoulders, then draw the seams and bracelet on Frankie’s arms. Draw the bag in her left hand and add its details. Place a round skull-like emblem in the center and square buckles below the handles.
Step 10: Finish the cartoon legs and shoes
Frankie Stein’s upper body is ready, so add the final details to the legs. Erase the guidelines and carefully refine the leg contours. Draw the seams across the legs of Frankie Stein and complete the dark stripes on the shoes.