How to Draw an iPhone
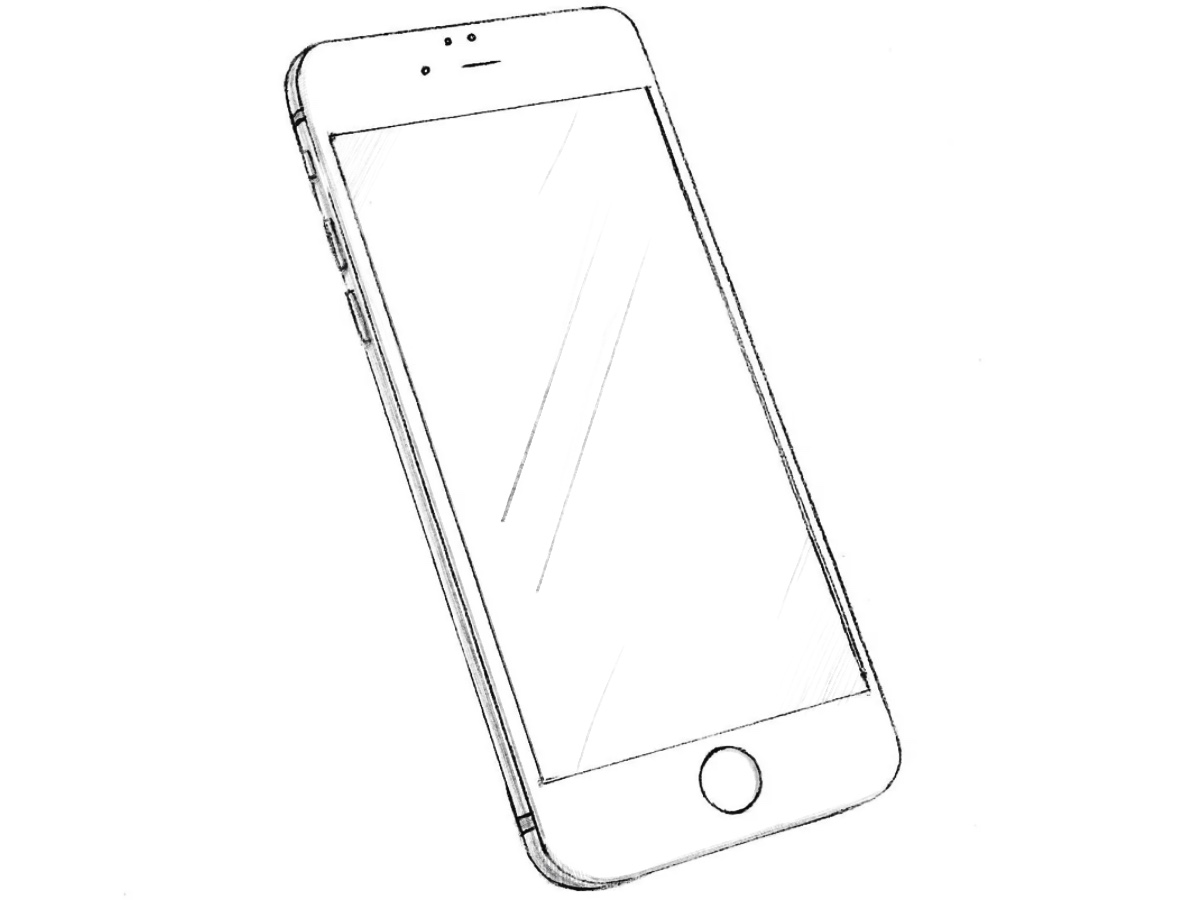
This drawing tutorial was created for the fans of high-tech gadgets. As you may have guessed, here we are going to show you how to draw an iPhone.
By tradition, this tutorial will be very simple, and the final drawing will look quite realistic. There will be many straight lines that you can sketch the phone with a ruler.
But if you want to learn how to draw straight lines, then we advise you to do without additional tools.
So, let’s start this tutorial and learn how to draw an iPhone!
How to draw an iPhone step by step
Step 1: Build the side edges of the phone
First, lightly draw the basic contours of the phone rectangle, starting with the side edges. Please note that we have taken a rather complex view. Here we will draw the iPhone at a slight angle. When drawing the lines of the iPhone, keep the rules of linear perspective in mind. This will help you give your drawing a more dimensional look.

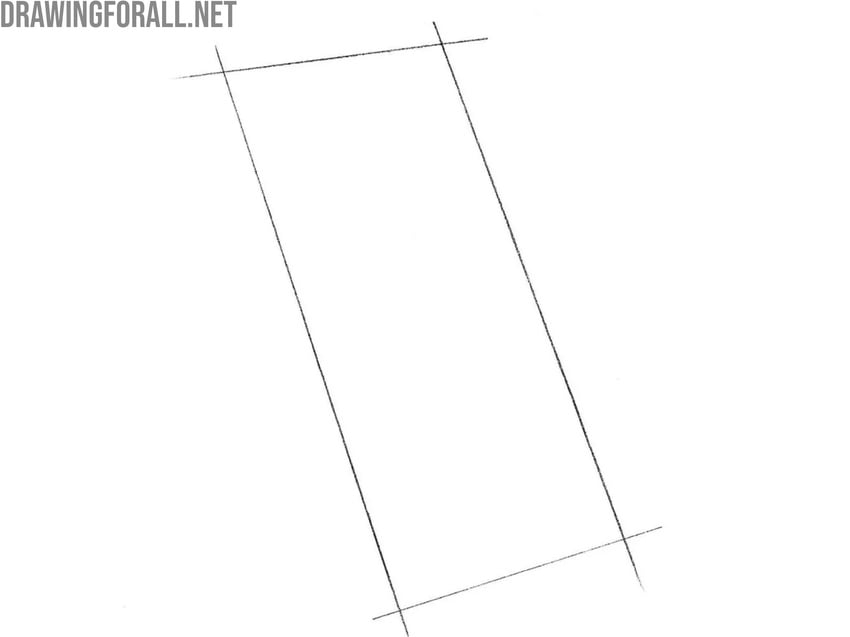
Step 2: Sketch the top and bottom edges
Continuing to sketch the basic outline of the phone, outline the top and bottom edges using very light lines. As you outline the basic shapes, keep in mind that the top and bottom edges should correspond to each other and to the sides in perspective to ensure the iPhone drawing looks convincing and realistic.
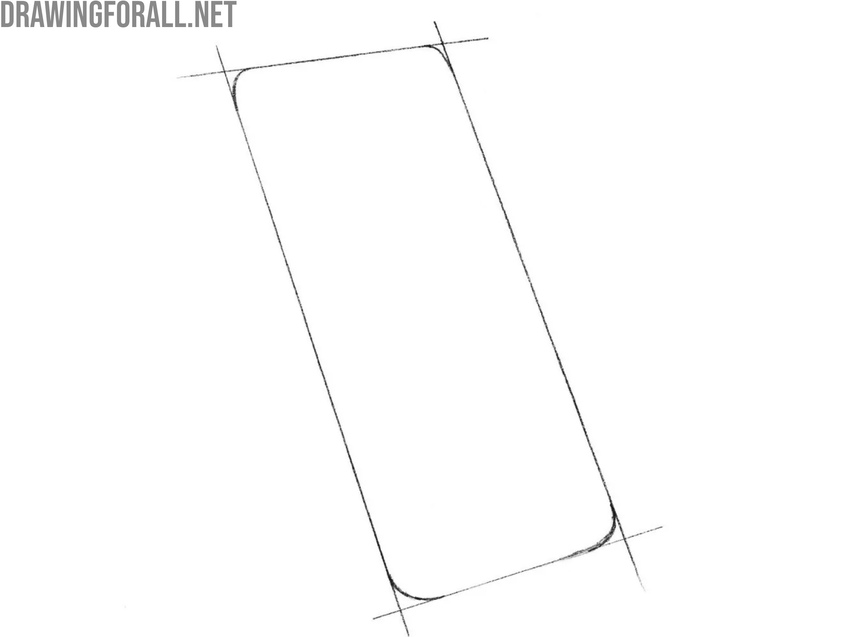
Step 3: Round the corners of the iPhone
Now carefully round the edges of the iPhone to give the device a believable and authentic look. Do not forget that you can always check the correctness of your drawing by looking at it in the mirror or moving away from it a short distance. Make sure that all the angles of the iPhone are evenly rounded, and move to the next step.
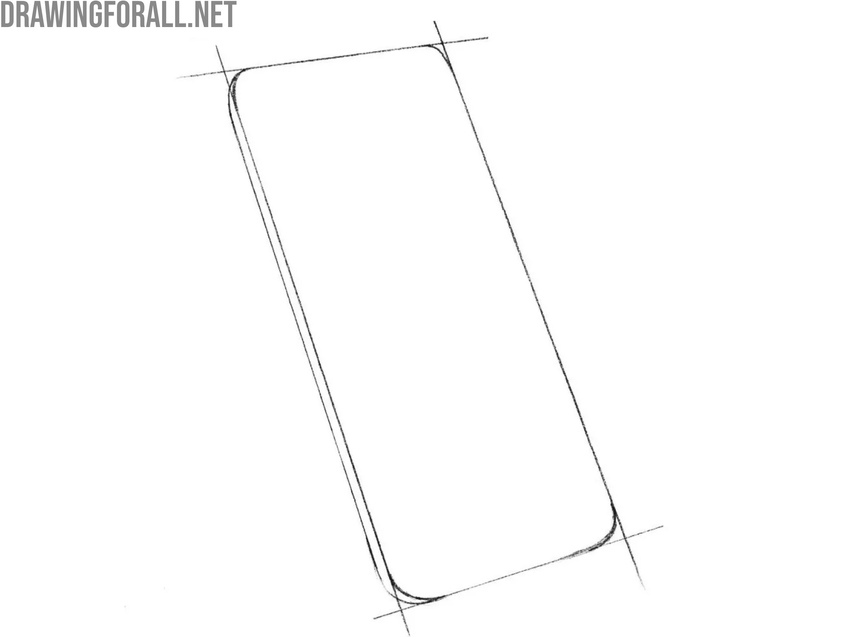
Step 4: Draw the left edge of the iPhone body
Now on the left side, draw a long line that follows the outlines of the left side of the iPhone body. Thus, we have created the left edge of the smartphone. Make sure that this edge has a uniform thickness along its entire length. As you can see, the iPhone sketch now looks much more convincing.
Step 5: Outline the display area
Check your iPhone drawing. If you do not see obvious mistakes and distortions, you can proceed to the actions from this step. After that, draw a rectangle in the center of the main shape to from the screen of your iPhone. The distance from the screen to the edges of the iPhone is noticeably smaller on the sides than at the top and bottom.
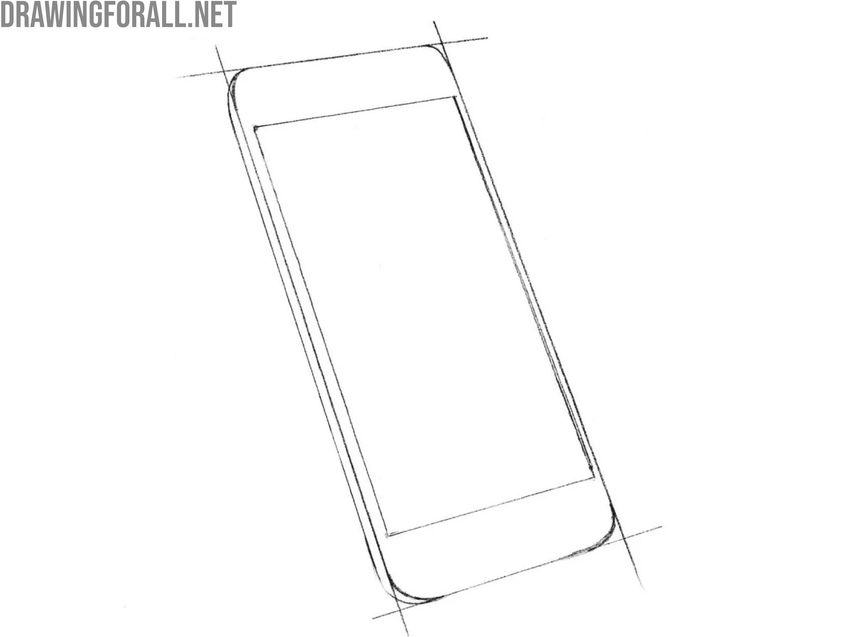
Step 6: Erase auxiliary construction lines
To make your iPhone drawing look realistic and convincing, erase all unnecessary guidelines from the sketch. Remove any unnecessary parts and the rough sketches you outlined in the first steps, leaving only the outlines of the body and screen. Make the lines smooth and fluid, giving them a clean final look.
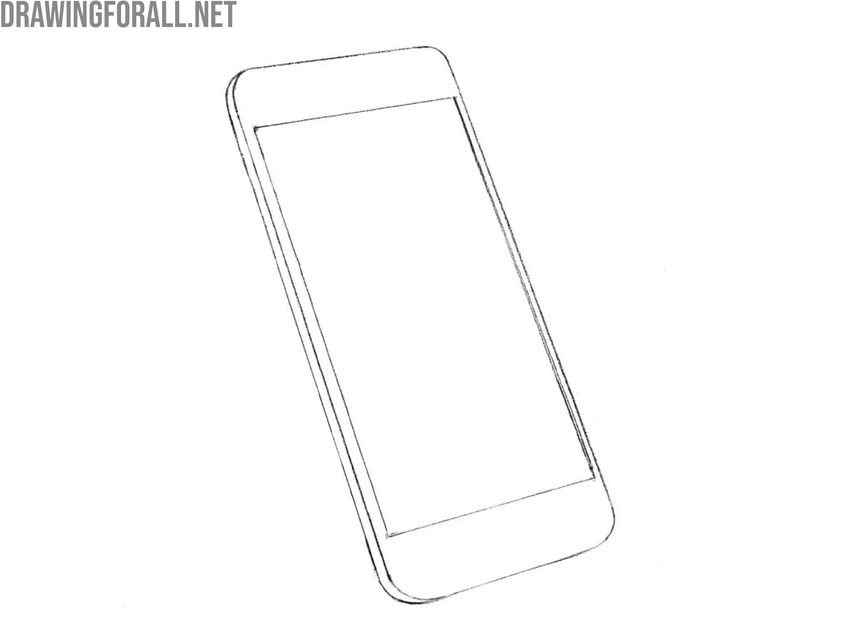
Step 7: Draw the side buttons of the iPhone
Now it’s time to give the phone a more functional look by adding all the essential elements found on iPhones. But it’s worth remembering that smartphones change frequently, so these elements may also change from year to year. First, outline the unchanging parts of the phone that have been present in the design since the very first models, such as the volume buttons and the vibration switch.
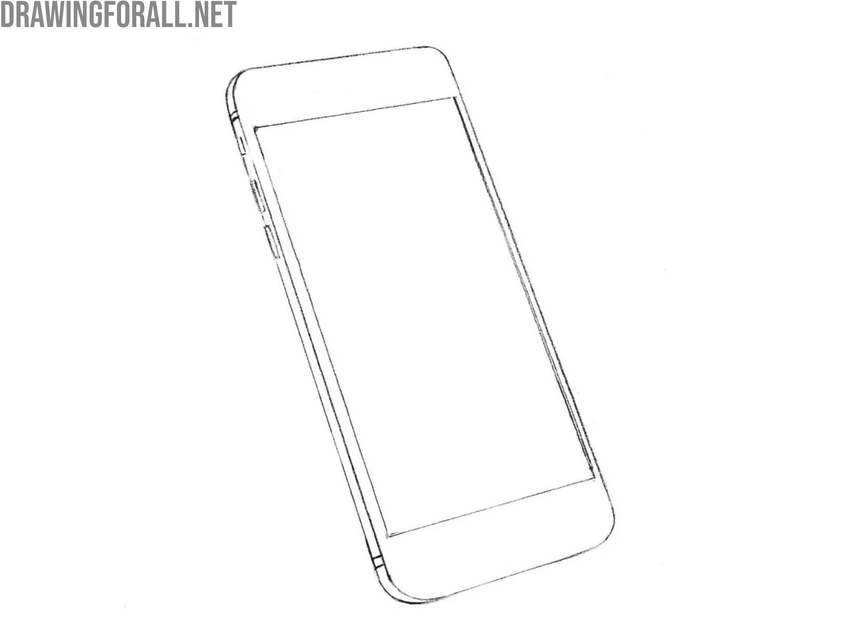
Step 8: Detail the phone’s frontal elements
Now move on to the front of the body to add elements to this side. We’ve added legacy elements to this surface, such as the home button below the screen, as well as the prominent speaker and camera at the top. However, you can customize your iPhone drawing by removing the home button and adding more modern camera and sensor units at the top, above the screen.
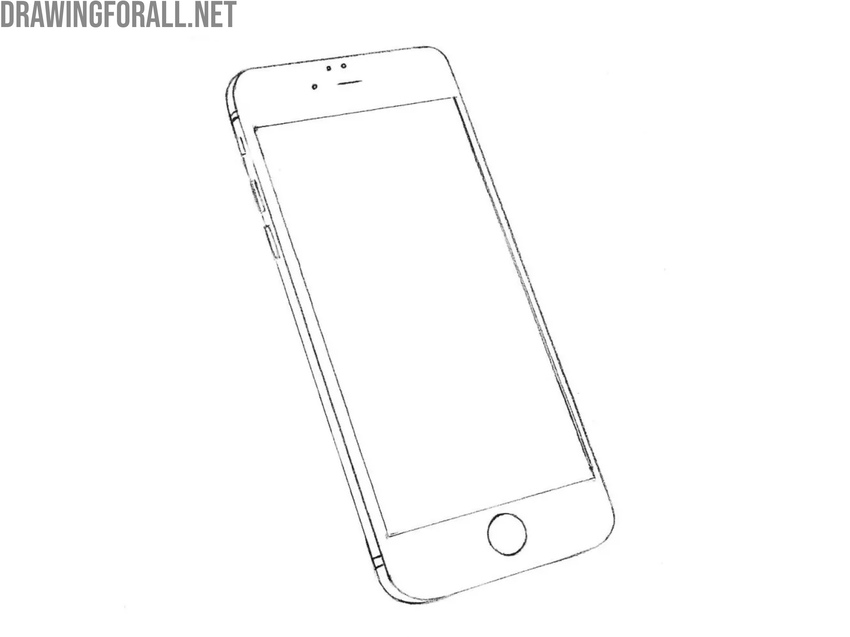
Step 9: Add shadows and highlights to the iPhone
The phone won’t look three-dimensional until shadows and highlights are added. First, outline a few diagonal highlights on the screen, varying their length and location but maintaining their direction. Next, add shadows on the side using light hatching, trying to convey the reflection on the very edge for maximum realism.
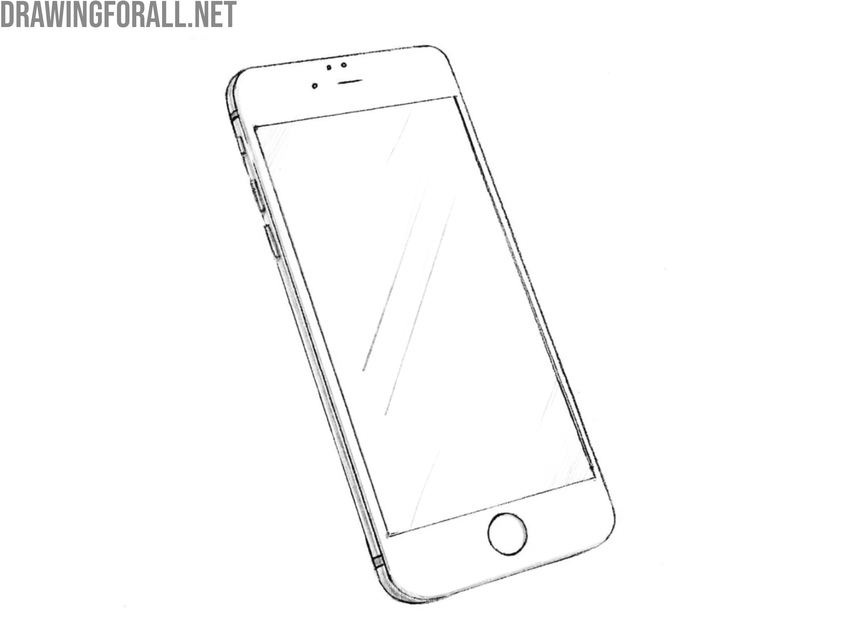
Today, most smartphones are designed in a very similar way, as the industry has settled on the most practical and popular form factor among users.
In this drawing tutorial, we illustrated one of the older iPhone models, but the same methods can easily be used to draw any modern iPhone or even smartphones from other brands.
However, drawing the iPhone from this particular angle is not the only way to practice. For a deeper understanding of the subject, try sketching the iPhone from different viewpoints, adding more shading and highlights, or illustrating the interface on the screen to make your drawing look more convincing and realistic.
To expand your skills, check out our phone drawing tutorial, where we cover in detail the basics of drawing classic phones. To learn more about illustrating Apple products, visit our iPhone X drawing tutorial and learn about a slightly different form factor.
Also, don’t forget to write us what lessons on sketching electronics you would like to see on the pages of our site. Did this lesson help you sketch an iPhone? Do not forget to subscribe to us on social networks, so as not to miss new lessons.


This was awesome!
really easy
Thanks, Bob! That’s great to hear.
THIS WAS COOOOOOL
Thanks, DJ! Glad you enjoyed it.
cool
Thanks!
Our site has a simpler lesson called how to draw a phone for beginners. I think it will be much easier to learn.
Good iPhone drawing
Thanks! Happy you liked the iPhone drawing.
This was surprisingly the easiest picture to draw.
Glad this iPhone was easy for you, Ja’Cory! Keep drawing more.
that was not hard
Glad the tutorial was easy for you, Mounya! Keep practicing more drawings.
can you make more zelda tutorials
Sure, Noah! We’re planning to add more Zelda tutorials soon.