How to Draw a Phone

Hello! Today we have prepared for you another drawing lesson dedicated to home appliances, and we will draw an old-style phone. Now these devices are perceived as something archaic, especially against iPhones and other digital gadgets, but some 15 years ago they were considered as very advanced technology. Let’s start the lesson and learn how to draw a phone!
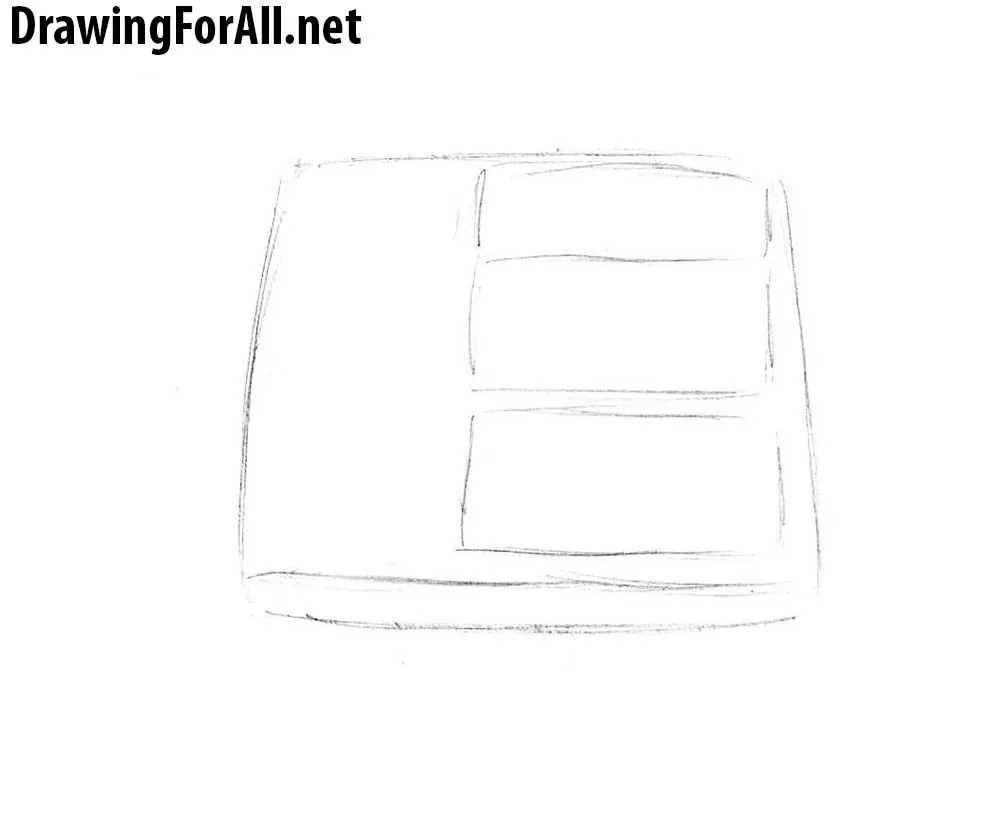
Step 1
We start drawing a phone with a figure similar to square. We draw a phone on the same principle as in the drawing lesson about rose – first draw external circuit, and then draw the detail buttons and the body elements.

Step 2
Draw the bottom plate of the phone, it should looks like a trapezium with slightly rounded corners. Mark up the right part of us the body of the phone by three rectangular blocks.
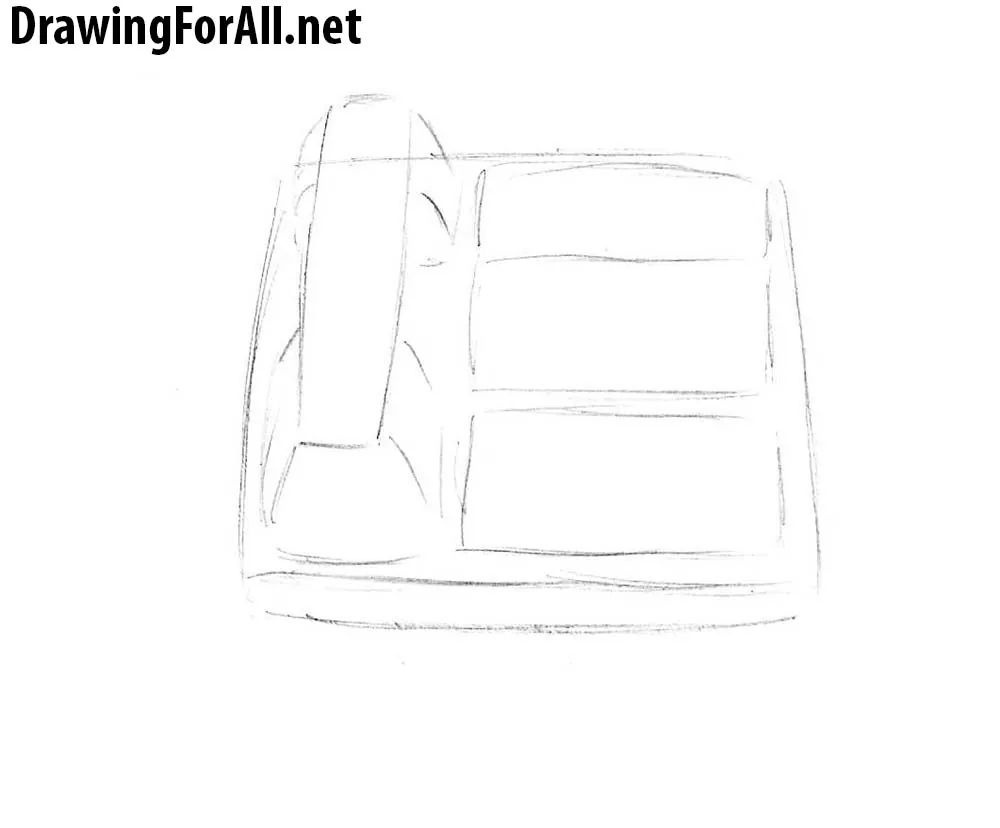
Step 3
We outline the contours of the receiver – first draw a normal rectangle, and then draw wide parts of the top and bottom.
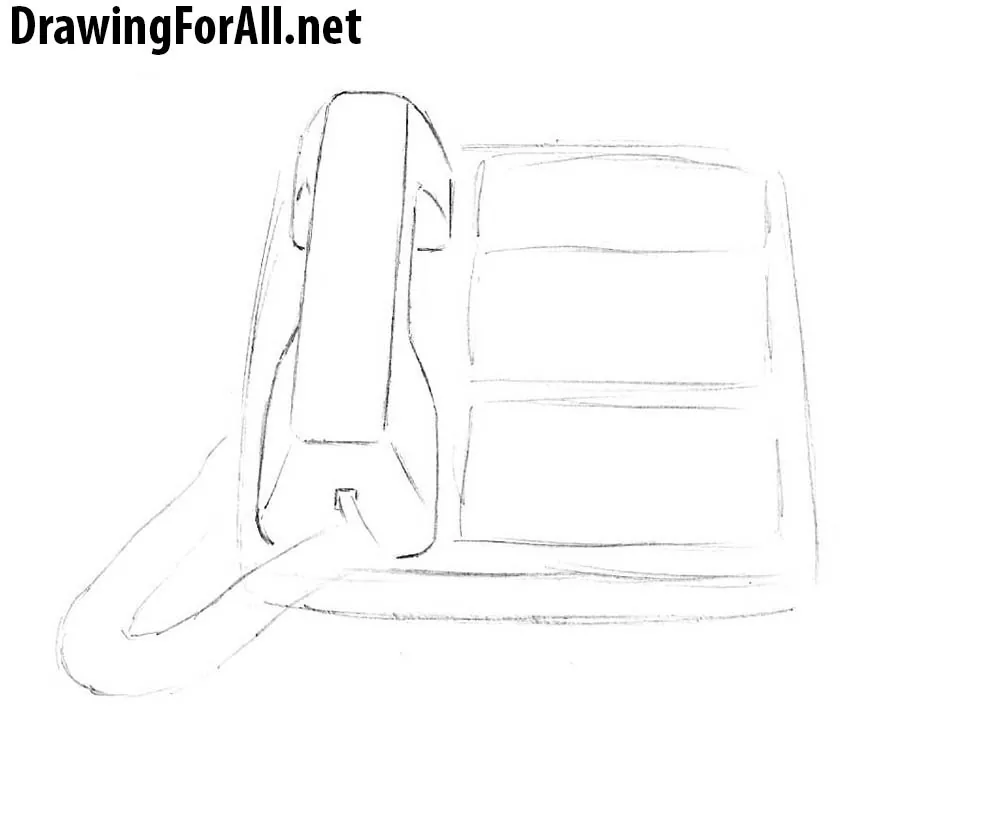
Step 4
Circle the contours of the receiver, erase extra guidelines and draw thick phone wire. The wire begins from the bottom of the receiver and comes over the phone.
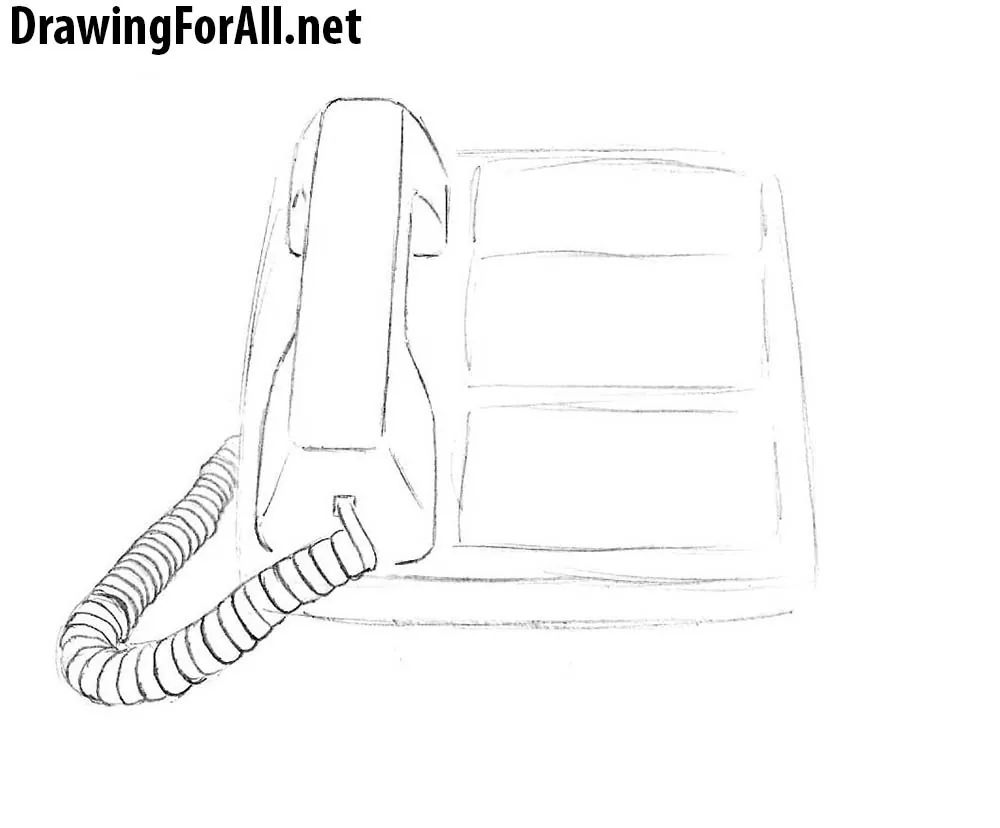
Step 5
Draw twisting and screwed tightly spaced wire rings.Once again, we note that rings are short and located very close to each other.
Step 6
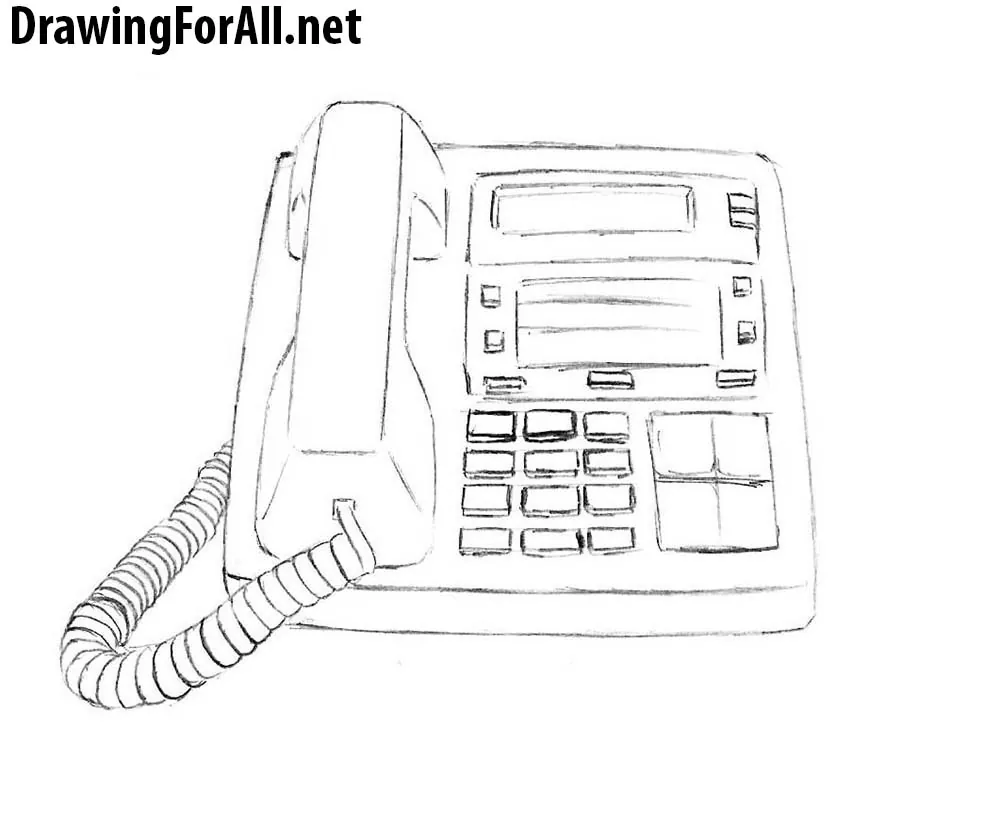
Circle rectangular chassis and draw buttons. It could seem, that there a lot of different elements on the body of phone, but it is not so.
Let’s try to put buttons on the body of phone from top to bottom, and you do not get confused:
- In the upper section draw a couple of buttons in the upper right corner;
- On the middle unit draw three buttons at the bottom and two buttons on the sides;
- The lower block is first divided by the conditional two parts, of which on the right part we draw a plate, that divided into four squares, and on the left part we draw 12 telephone buttons.
Step 7
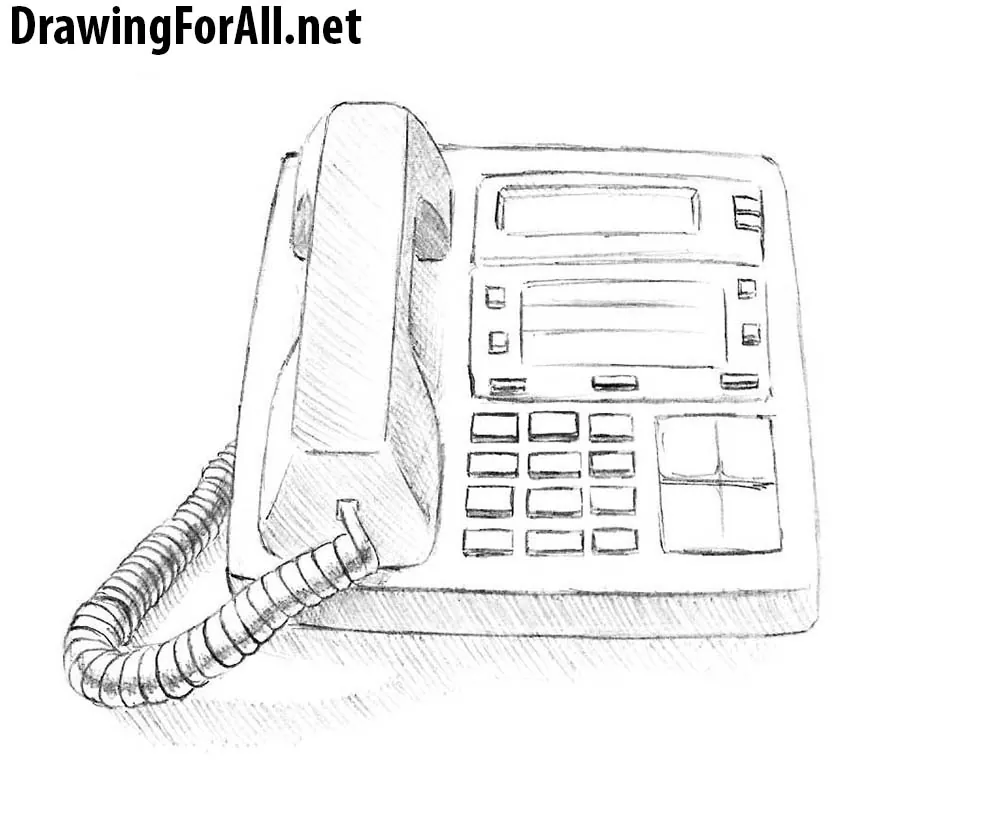
In this step we add shadows, using classic hatching. At first we usually determine the source of the light – in this case the light falls from the upper right part. Hatching should be applied to those areas where light doesn’t fall, by closely spaced hatching.
The drawing lesson, which dealt the theme on how to draw a phone, was prepared by artists of DrawingForAll.net site. And as always, we want to remind you to share this drawing tutorial with your friends and subscribe to us on the social networks.


Thanks very nice blog!
This really helped me. When I saw this I thought “WOW that looks impossible and super hard”. Then I tried making it my self and it wasn’t too hard and I really liked the result. Keep these great tutorials coming!