

How to Draw a Pressure Washer
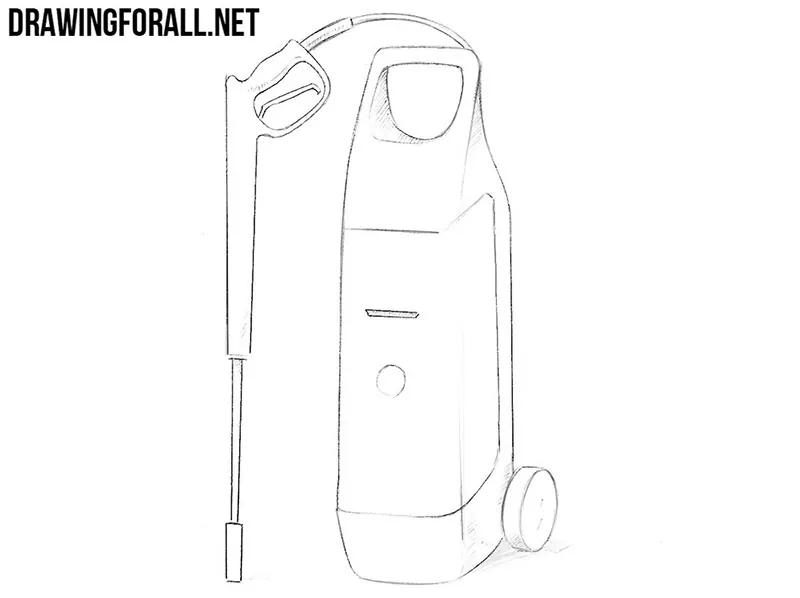
Many car owners have a pressure washer at home or in their garage because it is a convenient tool for cleaning vehicles and other surfaces. In this tutorial, we will show you how to draw a pressure washer and how to reproduce its main parts.
This type of equipment comes in many different shapes and sizes, but most models have the same basic parts: a main body and spray gun.
For our example, we chose a simple pressure washer with wheels. Start with simple geometric forms and gradually add the smaller details as you move through the four steps.
How to draw a pressure washer step by step
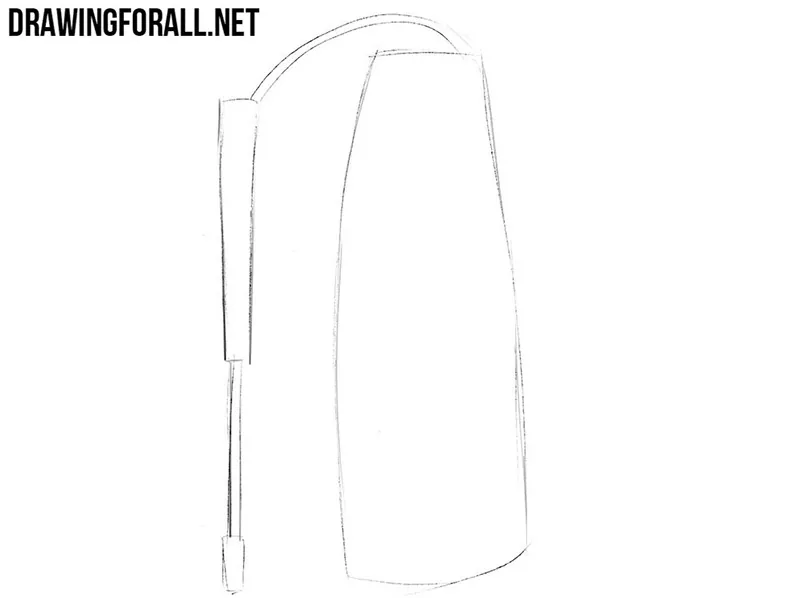
Step 1: Sketch the pressure washer
Begin with the largest parts of the pressure washer. Sketch the main body as a tall rectangular form with smooth corners. Next, use long, light lines to indicate the hose and draw the basic shape of the spray gun at the end. Check the placement and relative size of these parts. Use very light pencil lines at this stage because you will erase most of them later.
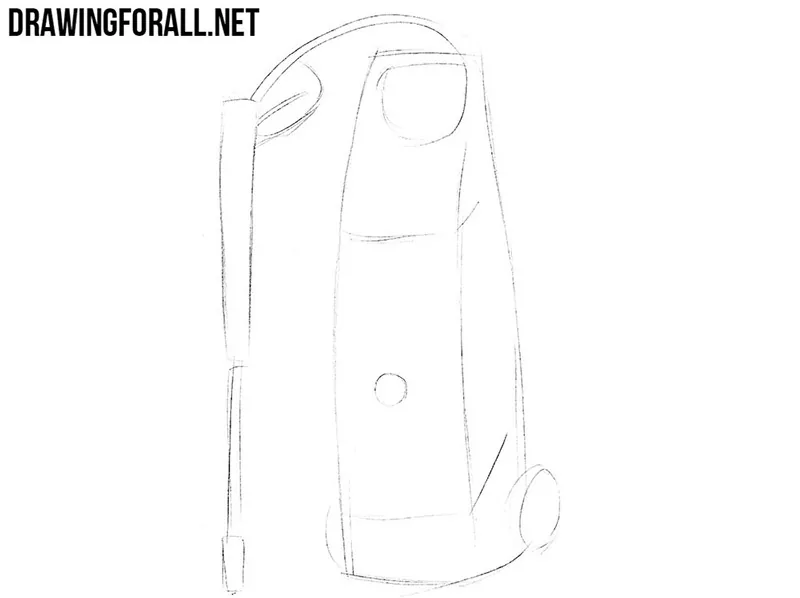
Step 2: Add the washer details
Now add the main details to the pressure washer. Draw the carrying handle at the top of the body and the two small wheels at the bottom. Add the switch and the other visible details on the front panel. Then refine the spray gun and draw its handle and trigger. Use the construction lines from the previous step to position these smaller parts.
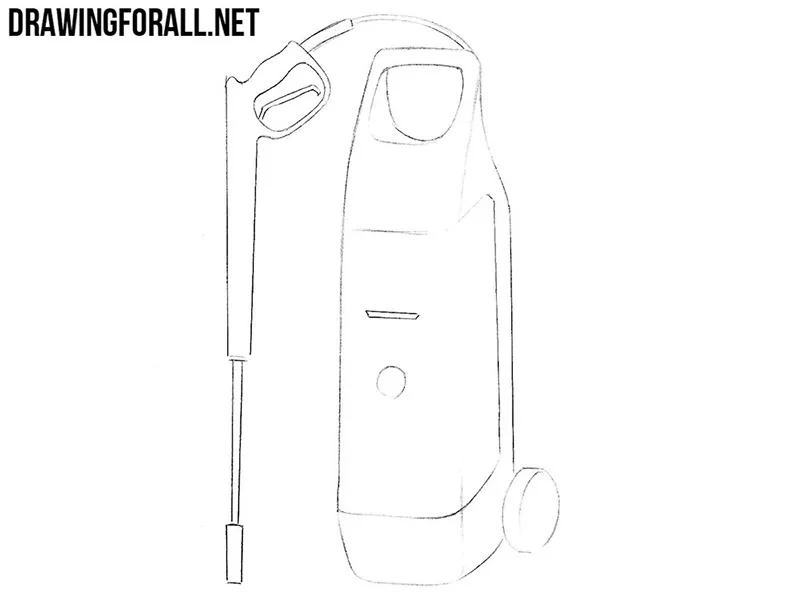
Step 3: Refine the pressure washer
With the main shapes and details in place, trace the pressure washer with clean, smooth lines. Carefully refine the body, handle, wheels, hose, and spray gun. Pay attention to the smooth corners and small changes in the contours of the housing. Erase the construction lines as you complete the final outlines.
Step 4: Add the final shadows
Determine the direction of the light and add shadows to the areas that receive less light. Use hatching to shade the side and lower planes of the pressure washer and the darker parts of the spray gun. Finally, draw a cast shadow beneath the machine. Make this shadow darkest near the wheels and body and gradually lighten it farther away.
Drawing pressure washers and similar equipment
You can change the appearance of the pressure washer by modifying any part. Different models have noticeably different housings and arrangements of these parts, so use another pressure washer as a reference and draw your own variation.
You can also add a brand name or logo to the body or practice drawing the machine from another angle.
When drawing another pressure washer, do not start by copying all the curves and small details of its housing.
First look at the machine as a combination of simple three-dimensional forms. This is the same basic principle of form and volume that can be used when drawing almost any complex object.
Once the main volumes are in place, gradually divide them into smaller forms. This approach makes it much easier to draw a pressure washer from a reference than trying to reproduce its finished contour from the beginning.
Perspective becomes more noticeable when you turn the pressure washer away from a direct front or side view. The top and side planes become visible, circular parts turn into ellipses, and forms farther from the viewer appear slightly smaller.
Keep these changes in mind if you practice drawing the machine from different angles. You can study this subject separately in our lesson on drawing linear perspective.
The same construction method works well for other types of household and workshop equipment. After this tutorial, try to draw a vacuum cleaner or draw a lawn mower. In both cases, begin with the largest forms and add the functional parts and smaller details afterward.



I used it in my background of a car from this website and I really like this website. And I will always use it.