

How to Draw a Shovel
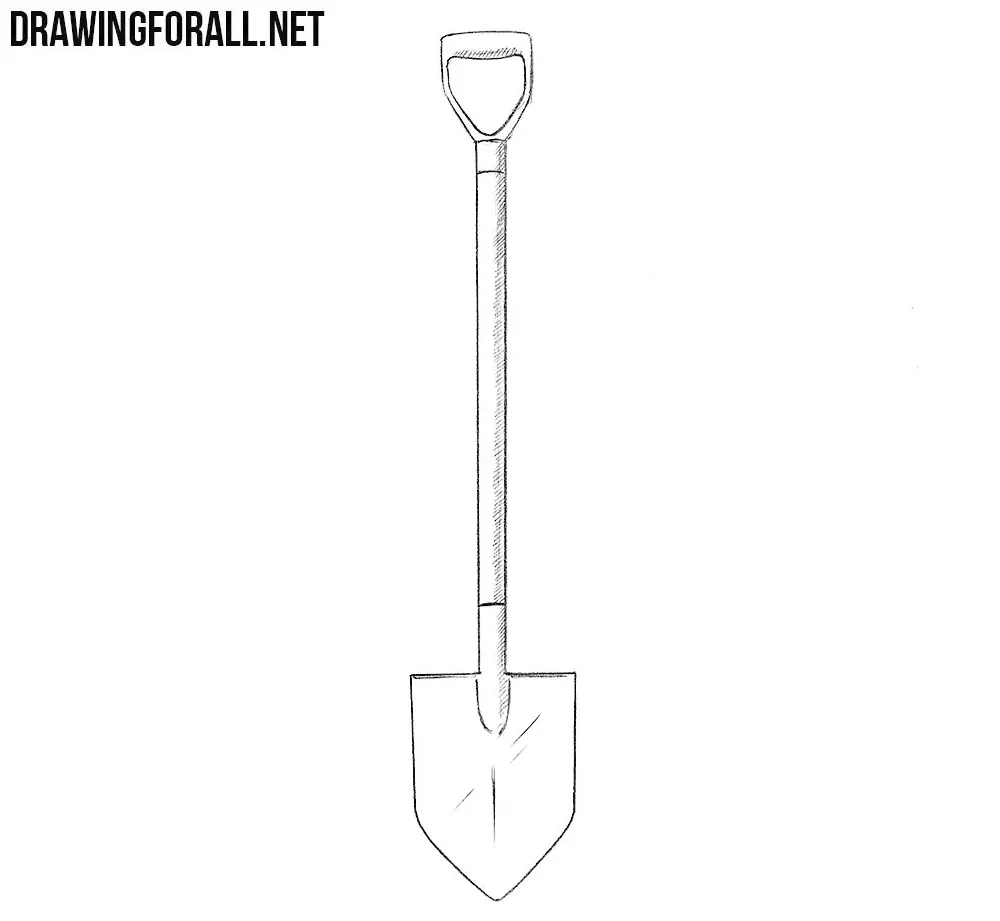
Simple everyday objects are great for learning the basics of drawing and training your hand. In this tutorial, you will learn how to draw a shovel, an object without which it is difficult to imagine gardening or construction work.
At the same time, you will practice your skill of drawing straight and even lines.
How to draw a shovel step by step
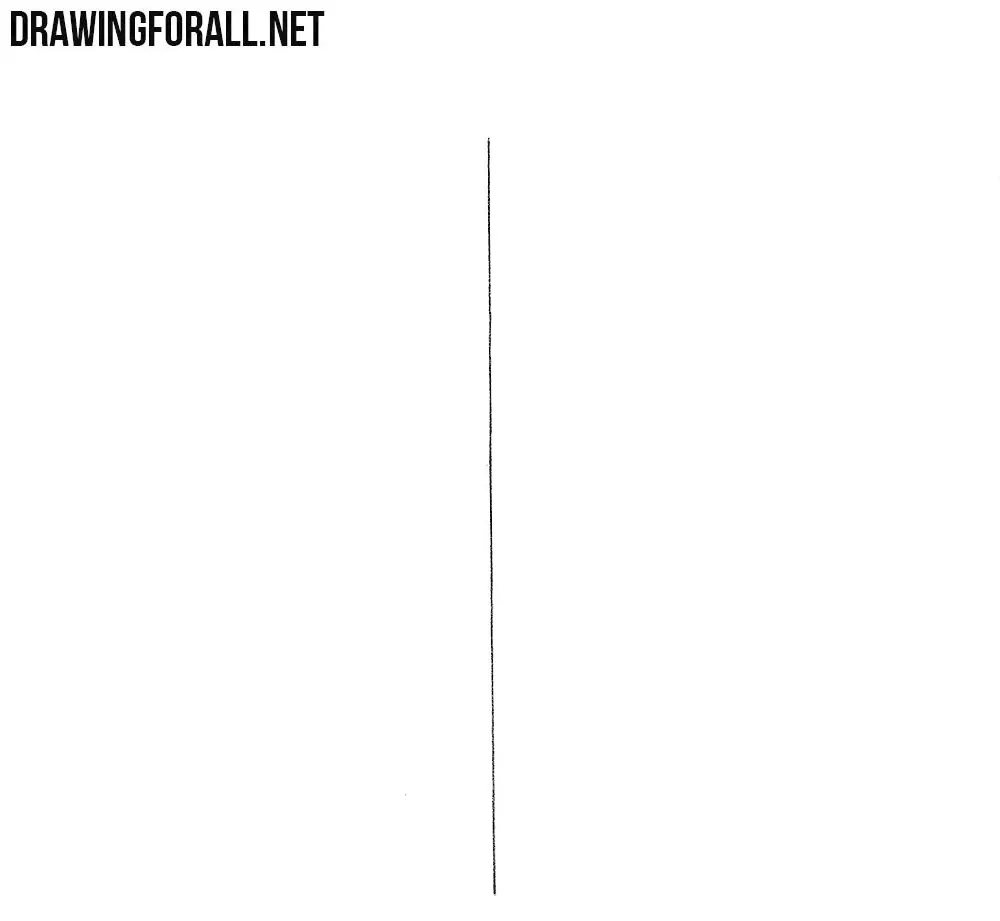
Step 1: Mark the shovel axis
Mark a long straight line to set the main axis of the shovel. This guideline will help you draw the shaft, handle, and blade aligned and symmetrical. Make the line light so it will be easy to erase later. Pay attention to its direction because the entire shovel will be built around it.
Step 2: Form the long shaft
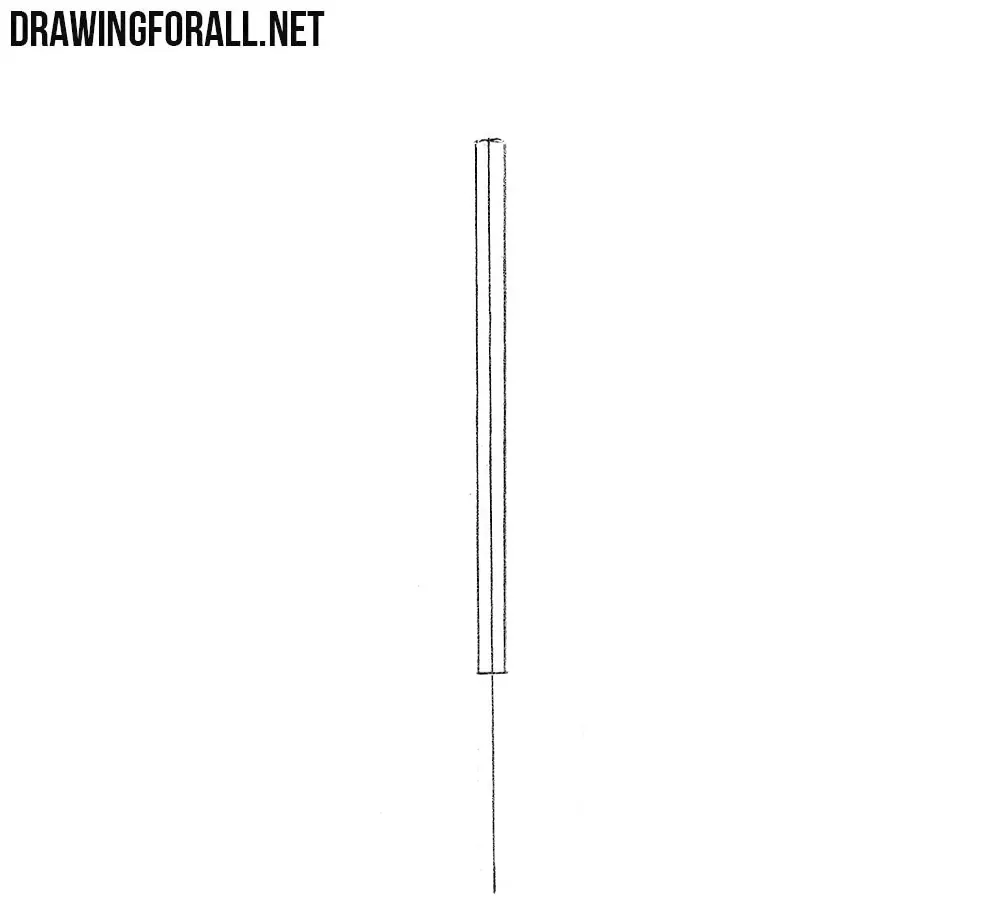
Now draw the shovel shaft around the upper part of the guideline. Give it the shape of a long, narrow rectangle with parallel sides. Try to make the shovel shaft centered on the line from the previous step. Maintain an even width along its entire length.
Step 3: Attach the grip and blade
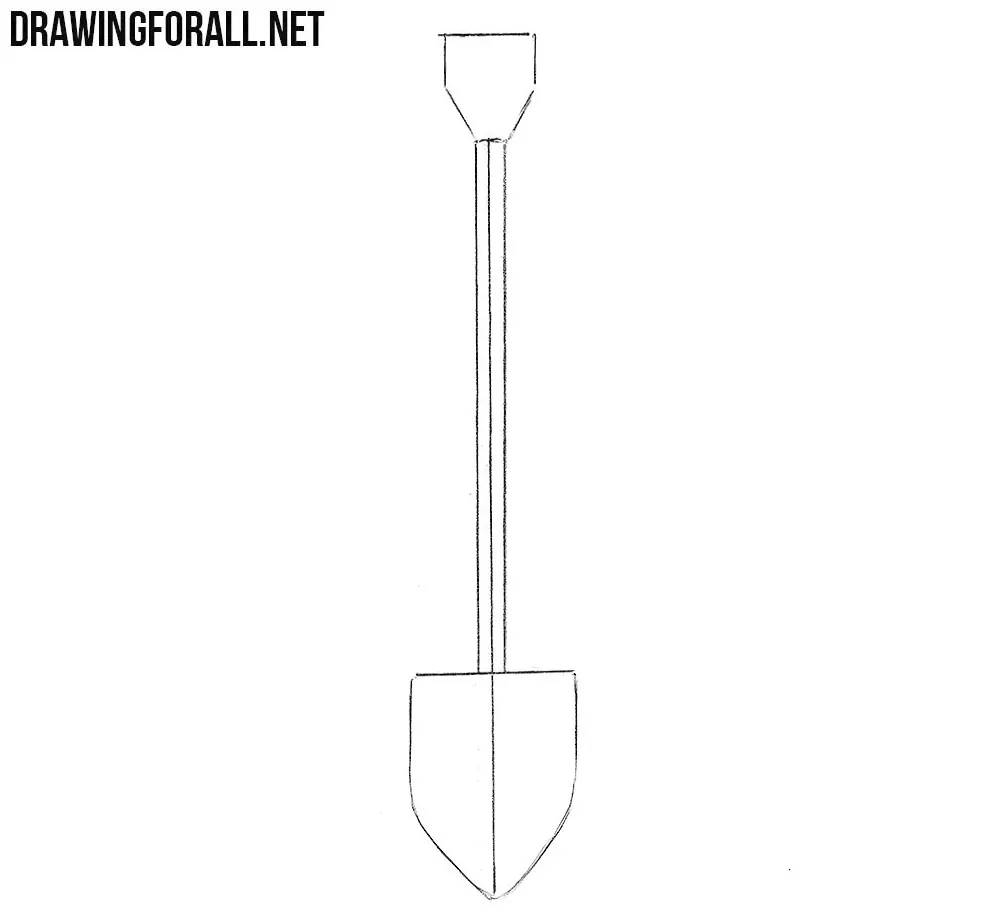
At the top of the shaft, draw the D-shaped handle grip. At the opposite end, draw the broad shovel blade. Try to make both parts centered on the main axis. Here, you can choose the shape of the shovel blade according to your preference.
Step 4: Remove the construction lines
Now erase the unnecessary construction lines from the shovel drawing. Remove the central guideline where it is no longer needed. Refine the outer contours of the shovel.
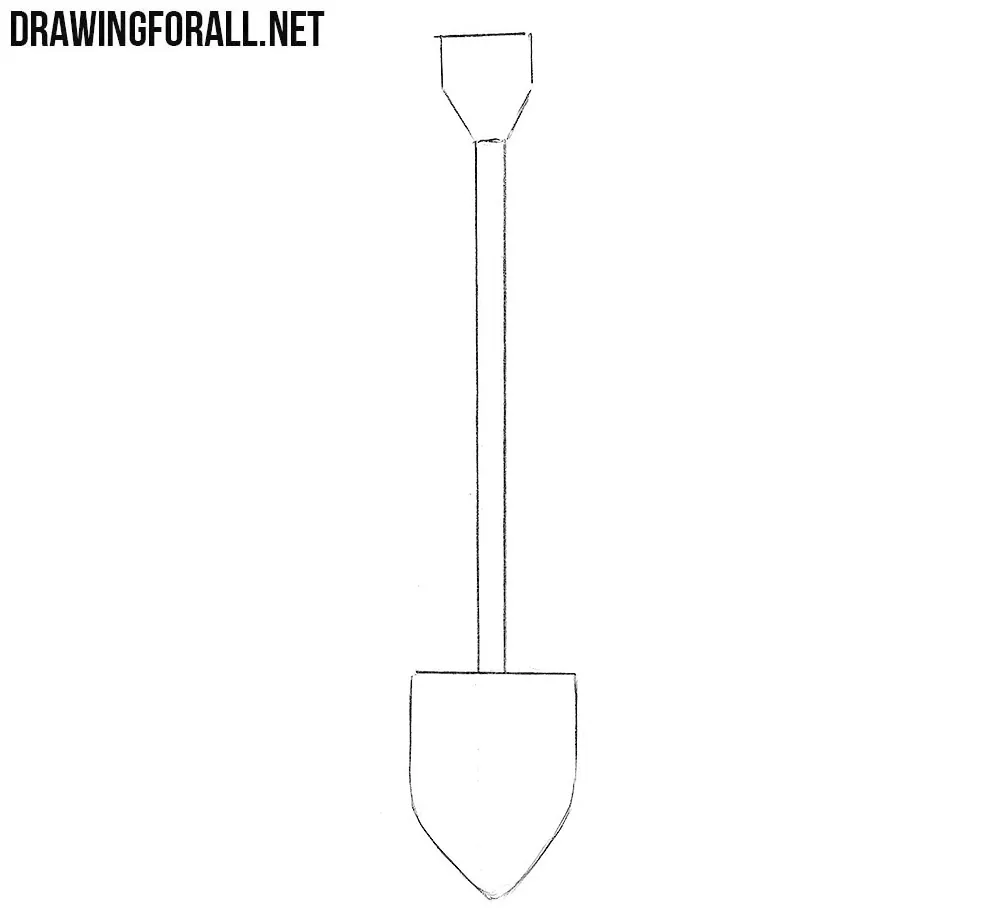
Step 5: Add the smaller details
Add a few final details to make the shovel drawing more convincing. Draw the opening inside the handle grip, then add short lines to indicate the shape of the shaft and the connection with the blade. You can also add a line across the blade to emphasize its curved metal surface.
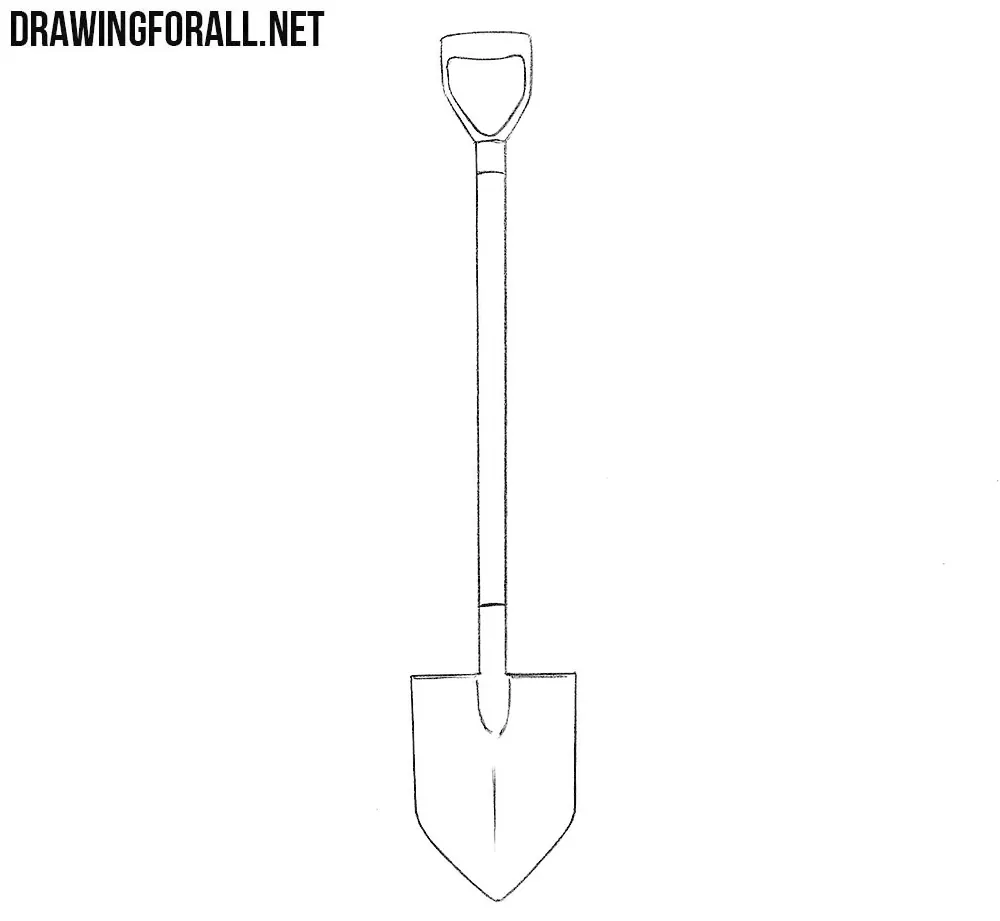
Step 6: Shade the shovel surfaces
Finally, add highlights and shadows to give the shovel drawing more volume. Use simple hatching along the darker side of the shaft, grip, and blade.
We hope your shovel drawing is similar to our example. Pay special attention to symmetry, especially when drawing the handle, shaft, and blade around the central axis.
If something looks uneven, you can view the drawing in a mirror to make asymmetrical areas easier to notice.
You can continue practicing your skills with similarly simple objects. They are easy to draw, and you can quickly sketch many of them on paper.
For example, draw a screwdriver, which has a very similar sequence of steps. Or draw a hammer, a tool with a different arrangement of its parts but the same simple basic construction.


this is good
It makes it really easy!!!😄😄😄
i love this program!!!
It’s omg 😮
It very good
Somehow I like the drawing
I can’t still draw it
it looks really good I tried to draw it and it turned out really well so thanks