How to Draw a Pitchfork

Have you ever worked in the garden? Or in a country house? If you had to move a large amount of hay, then you probably picked up the forks. This is a great garden tool that helps a lot to transport hay, foliage or other waste. That is why we present you this drawing guide on how to draw a pitchfork.
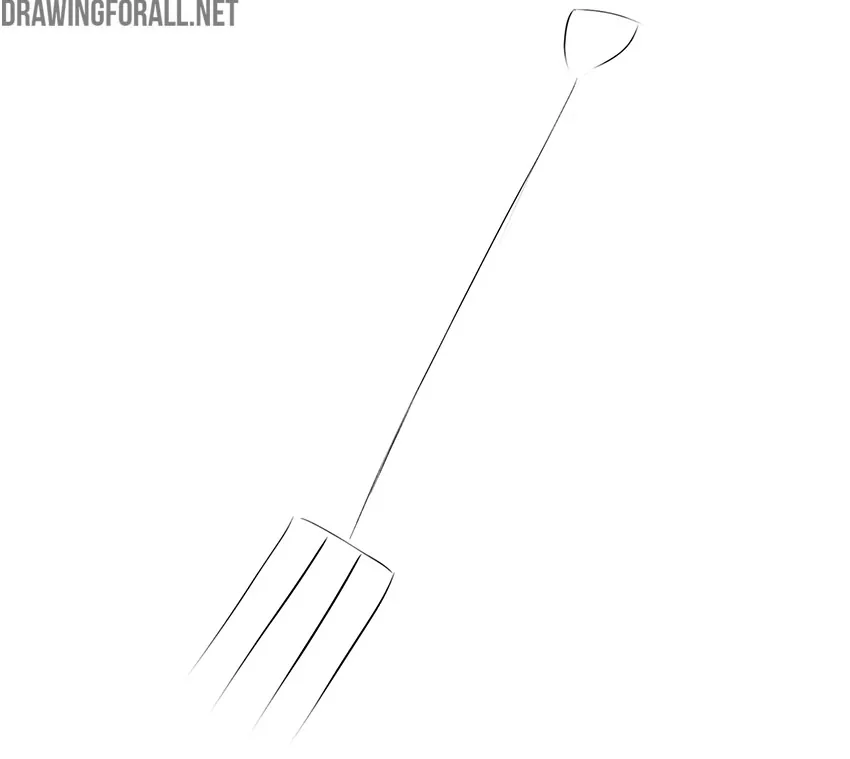
Step 1
First, we outline the rough contours of this beautiful pitchfork. This is something like a stickman that we create when we want to draw a man or woman. As in those cases, in the first step, we outline the outline and location of what we want to draw. Avoid volumetric figures in this step, this is just a small sketch.
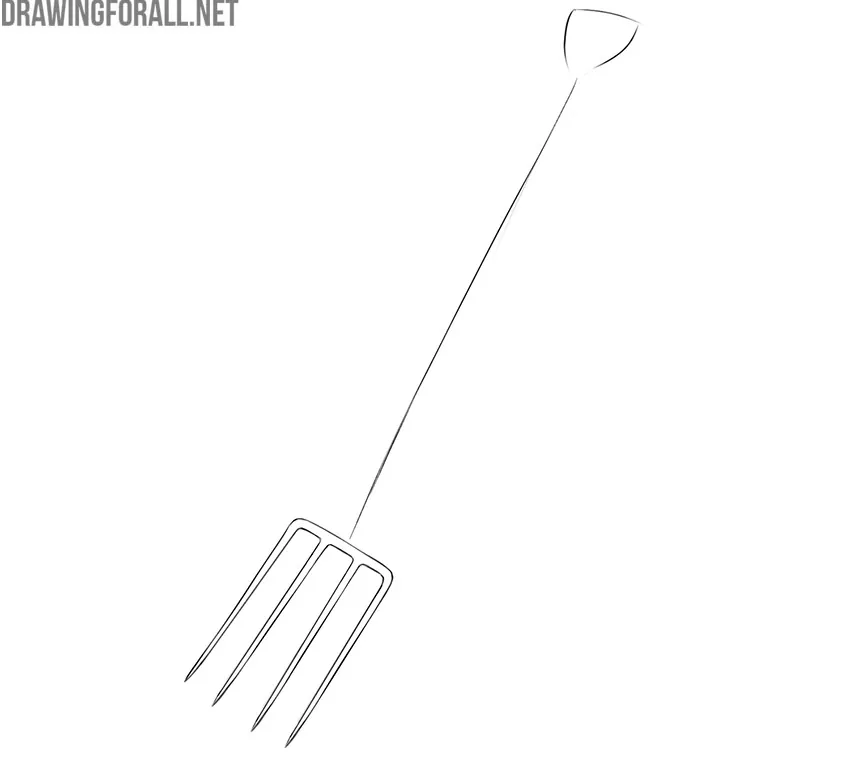
Step 2
Now we will add a little volume to our garden tool. Sharp ends are a must for good pitchforks. It is with the help of these sharp ends that we can collect a lot of hay or greatly frighten the devil who hid in our barn.
Try to draw this part of the pitchfork as smoothly and evenly as possible. At the end of the step, remove all excess lines from this area.
Step 3
Repeat the same action for the wooden part of the pitchfork. You can choose any design for the handle. In any case, try to use smooth and even lines. The wooden part of our forks should gradually taper towards the grinders.
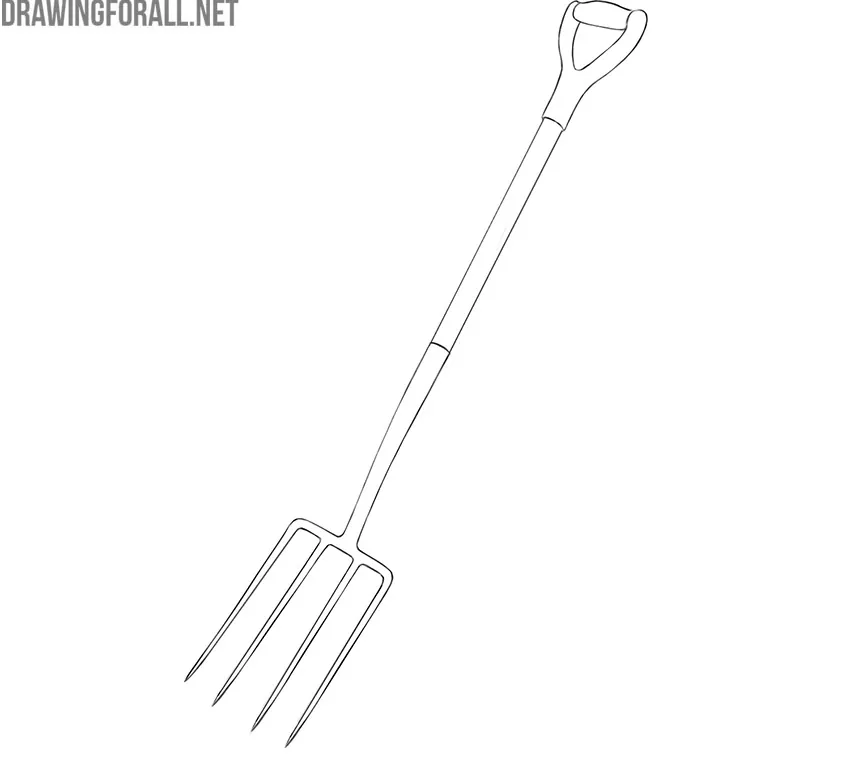
Step 4
So we have the last step of the guide on how to draw a pitchfork. Here we need to work with shadows. To create beautiful and realistic shadows, you need to correctly identify the light source. Think about how your pitchfork should be positioned relative to the light source.
In our case, the light falls in front and a little to the left. So, a light shadow will be located on the left edge of the wooden part and the teeth of the pitchfork.
We tried to create a truly accessible and simple drawing lesson. Write to us if you have any difficulty indicating the step. We will explain this point to you and take this into account in the following drawing lessons.