

How to Draw a Shampoo Bottle
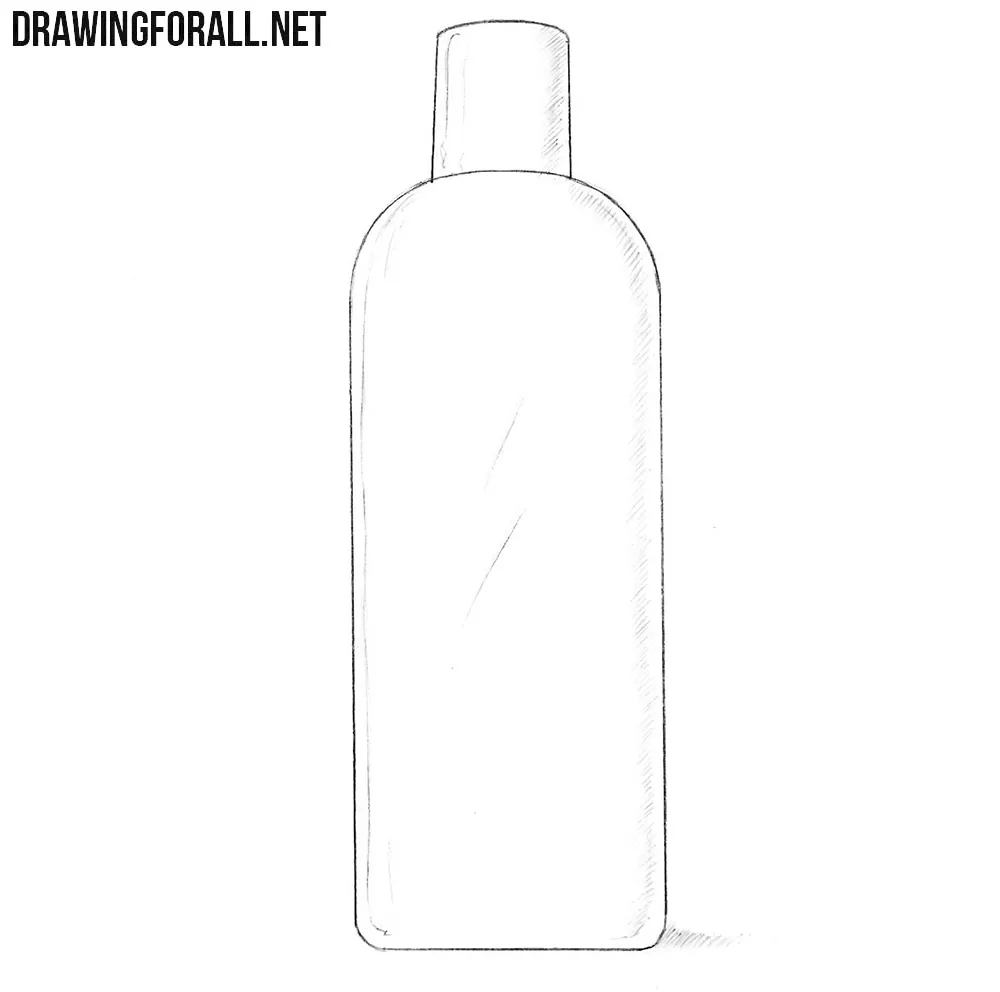
Drawing bottles follows a simple general pattern, but different types of bottles have their own specific features. Using this tutorial, you will learn how to draw a shampoo bottle and convey its simple form.
The main thing to understand about shampoo bottles is that they are usually shorter and wider than beverage bottles, while the neck is either very short or absent altogether.
How to draw a shampoo bottle step by step
Step 1: Sketch the bottle and cap
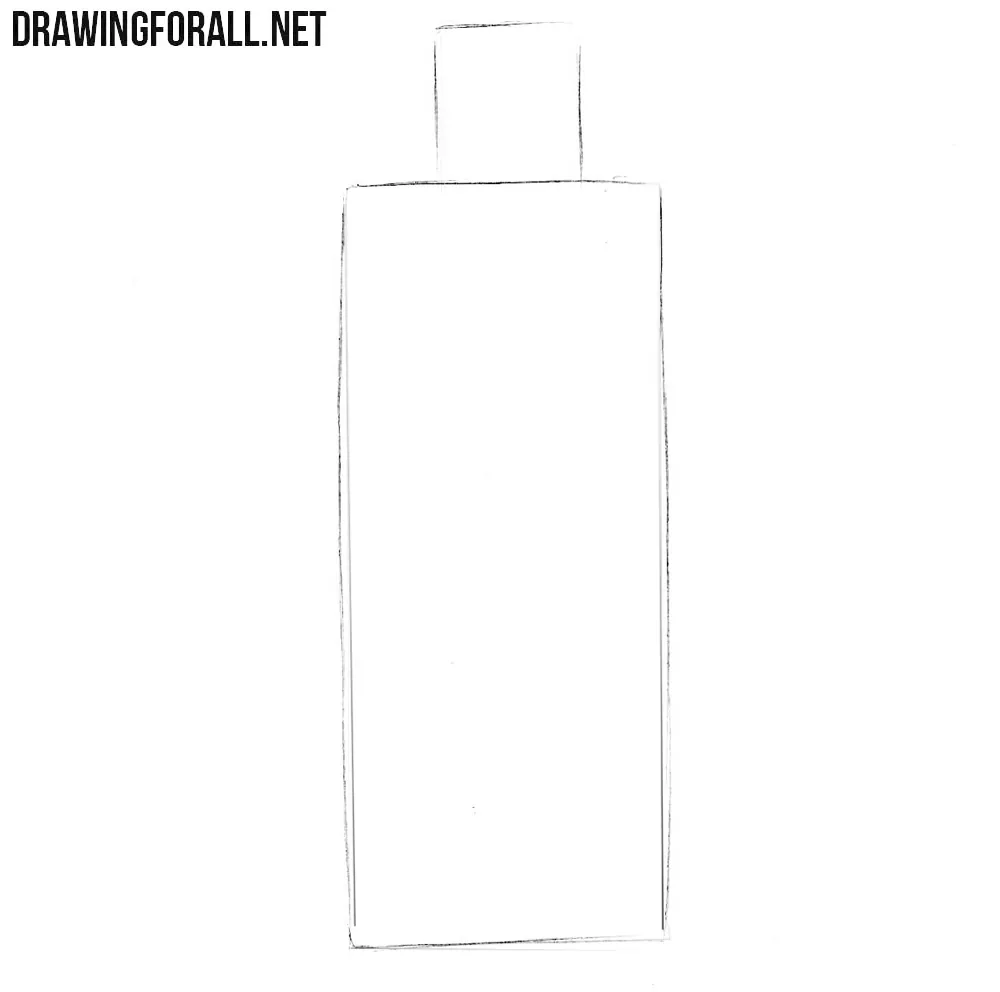
Draw two rectangles for the bottle and cap. The lower rectangle should be larger and more elongated vertically. Place the smaller rectangle directly above the center of the larger one, with its bottom resting on the bottle’s top edge. Make the cap slightly less than half the bottle’s width and use light lines for both shapes.
Step 2: Round the bottle’s corners
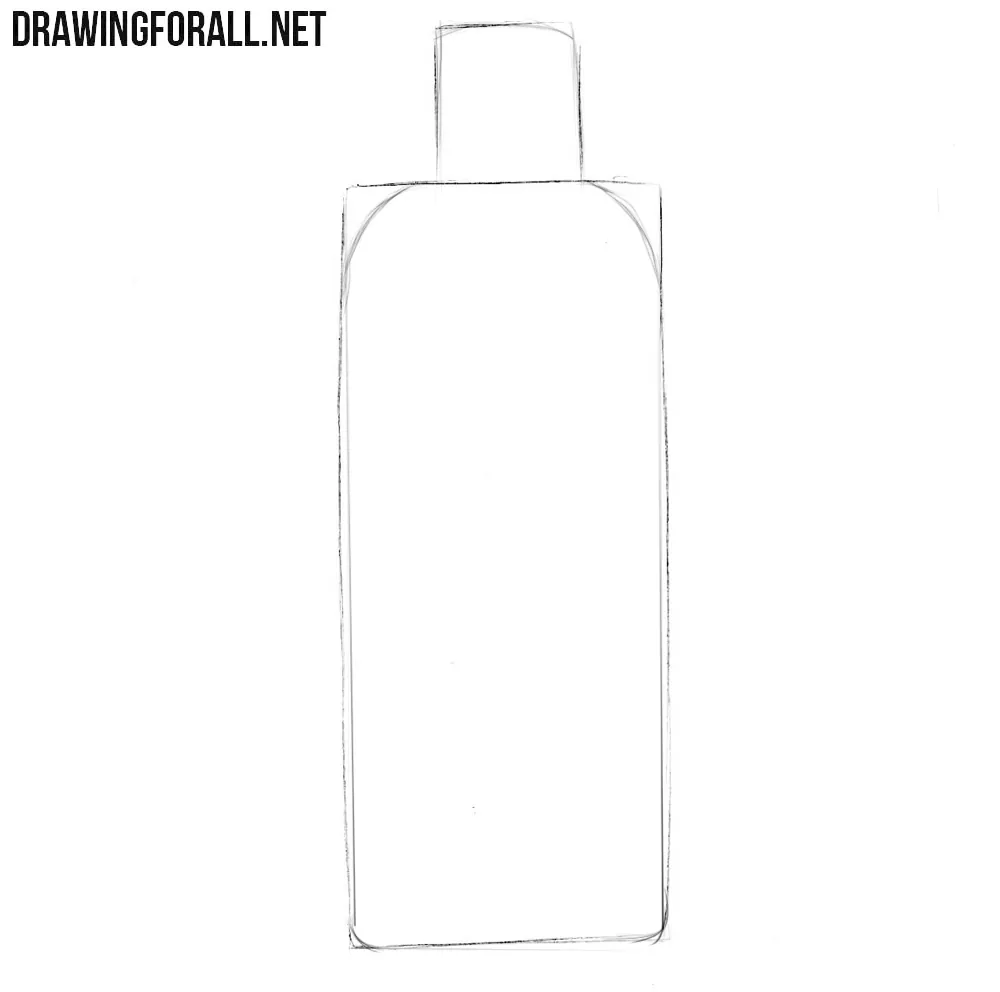
Now round the corners of both rectangles to refine the shape of the bottle and cap. Draw curves at the bottle’s upper corners to form its shoulders. Use much smaller curves at the bottom corners. As you draw, regularly check the symmetry and make sure the left and right halves mirror each other.
Step 3: Clean up the bottle outline
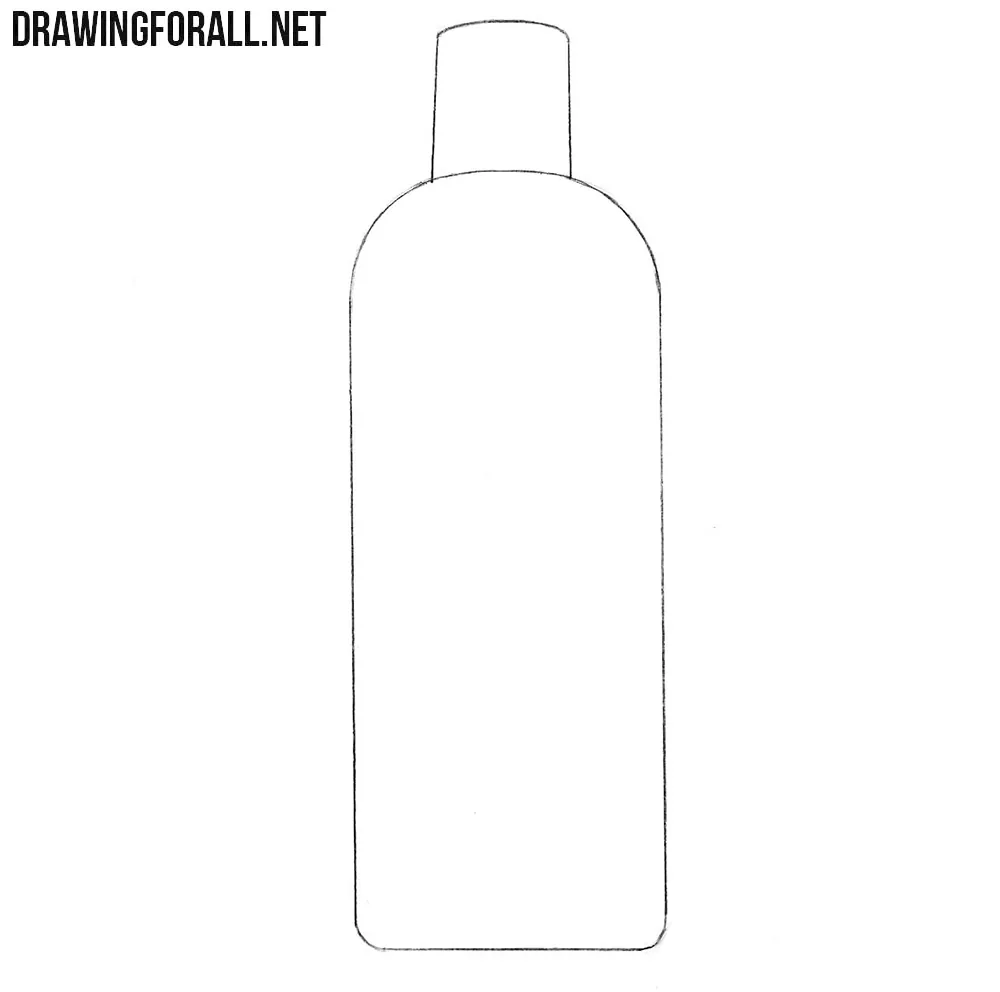
Erase the guidelines left over from the original rectangles to leave a clean outline. Remove the sharp corners outside the new curves and trace the finished contours with darker lines. Replace the straight line beneath the cap with a shallow upward arch that continues into the shoulders.
Step 4: Add shadows to the bottle
Now add light shading to the areas that receive less light. Don’t forget to hatch the cast shadow on the surface beneath the bottle. On the opposite side, draw the highlights as vertically elongated lines. Add two faint diagonal reflection lines across the otherwise white front surface.
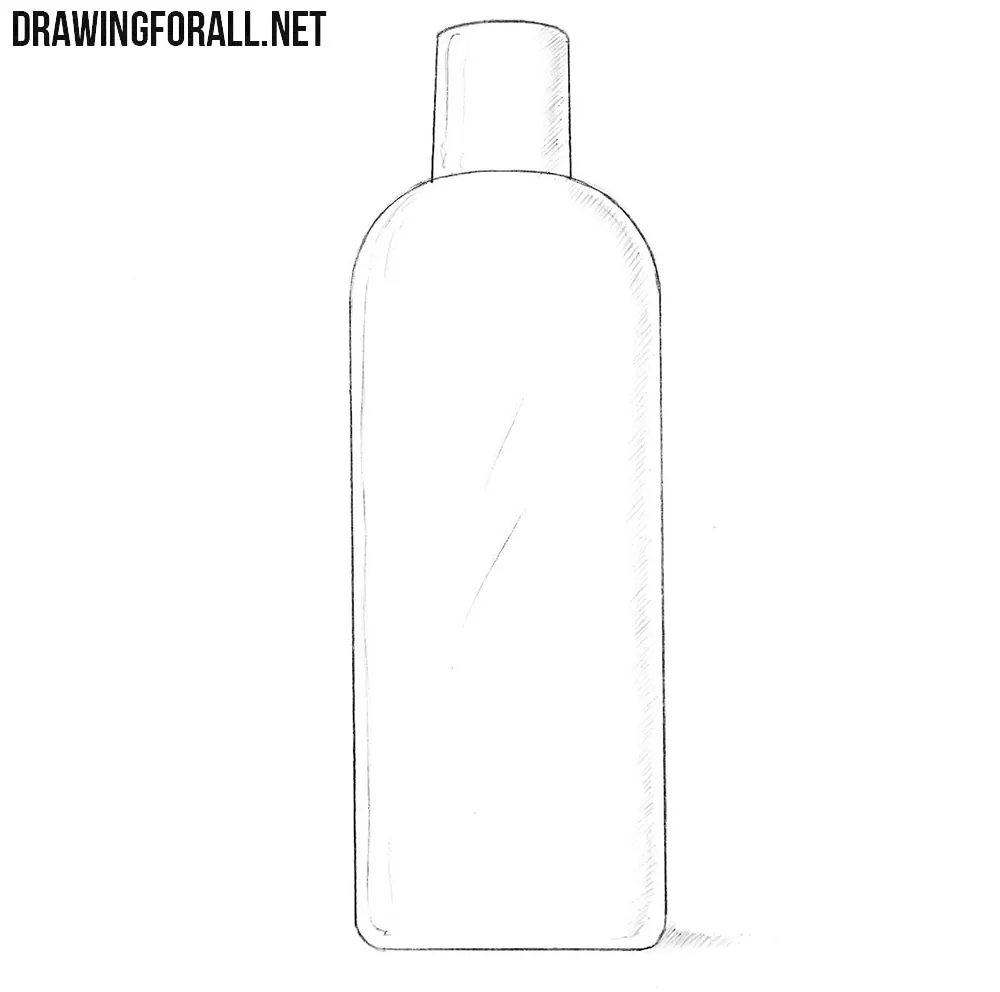
The basis of most bottles is a cylinder. This cylindrical form should remain in your mind throughout the entire drawing process.
First, indicate a cylinder for the main part of the bottle and the cap, then darken the necessary lines, erase the construction lines, and finish the drawing with shadows and highlights.
The same principle underlies drawing bottles of any type and shape. For example, if you want to draw a liquid soap dispenser or a bottle of dishwashing liquid, the process will be very similar.
Constructing such objects from simple forms greatly helps develop your artistic vision and overall understanding of the fundamentals of drawing. This way, you are not simply copying images, but constructing three-dimensional objects on a flat surface.




Thank you so much ohh…im so happy