How to Draw a Human Face
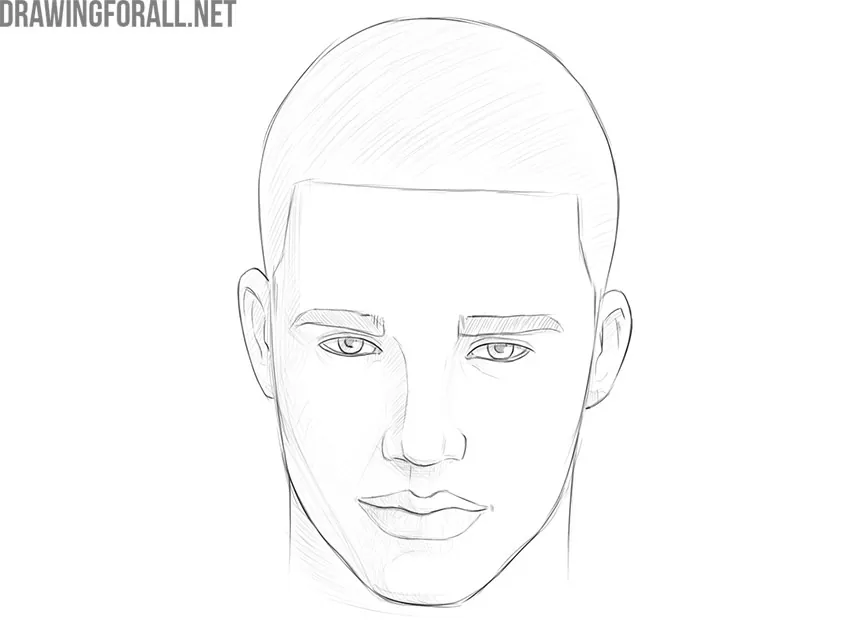
So, we present another guide on how to draw a human face. This is not the easiest portrait drawing lesson, however, we have tried to adapt it for artists of any skill level.
You can change the actions of each step to your liking if you want to create a character with a different appearance. The main thing is to observe the correct proportions and sequence of steps.
So let’s get started!
Step 1
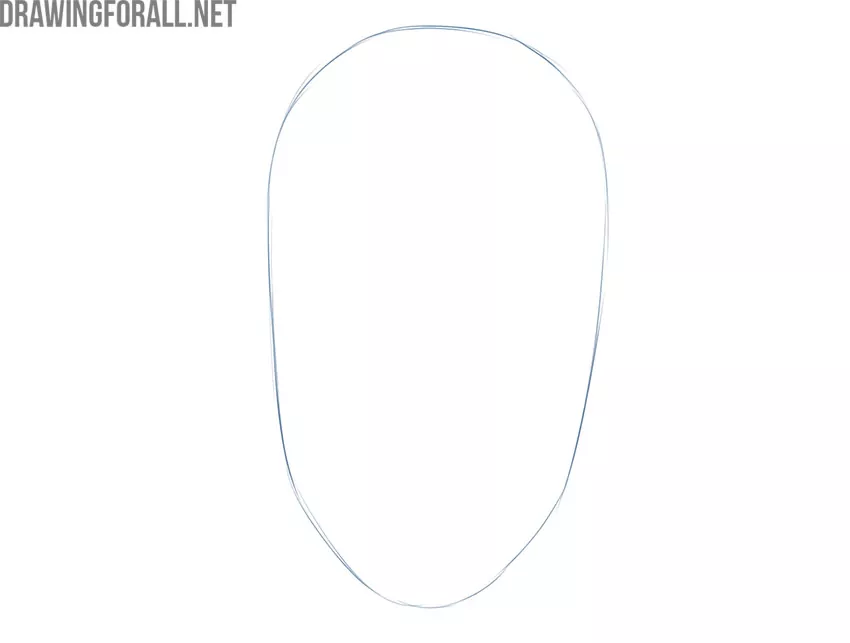
Firstly, draw an elongated oval in the center of a piece of paper. Use light lines and draw the most correct figure. This is a very important step indeed.
Step 2
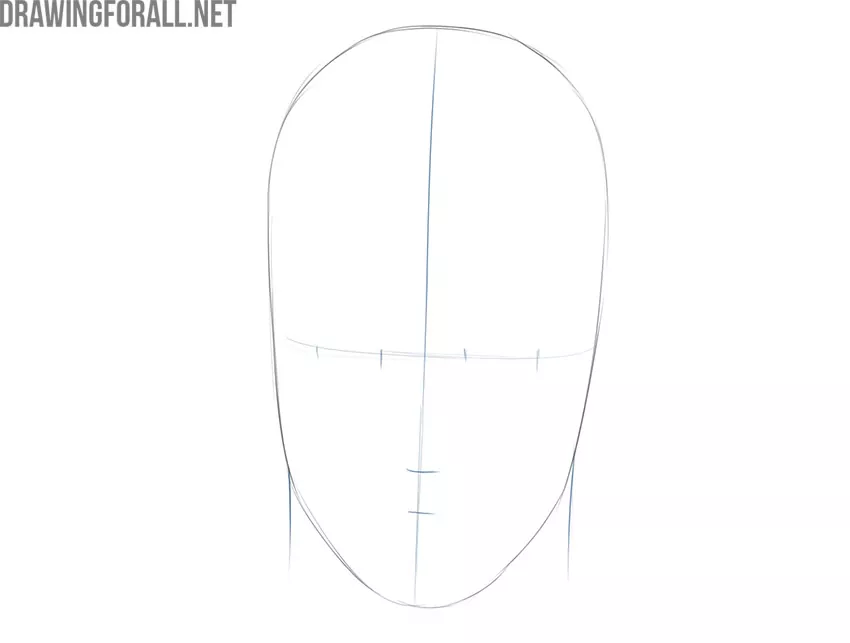
Secondly, draw two intersecting lines inside the outline of the face. The vertical line is the line of facial symmetry. The horizontal line is the approximate eye level. Also, with the help of strokes, mark the localization of the eyes, nose and mouth.
Step 3
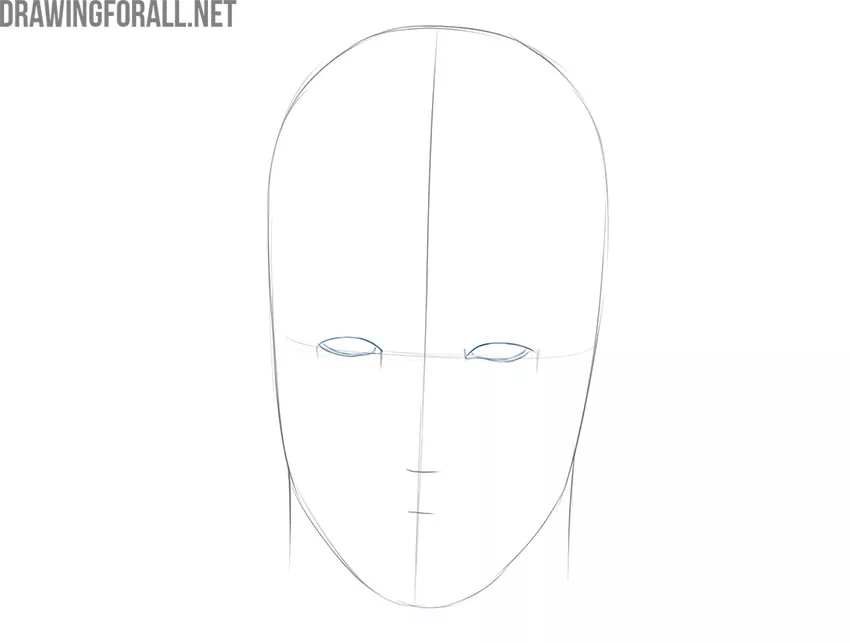
Now we can draw the outlines of the eyes. Use the guidelines from the previous step to create realistic outlines.
Step 4
Draw a few details to complete the eyes. First of all, these are pupils and eyelids. Be sure to check out our eye drawing and eye anatomy guides for artists.
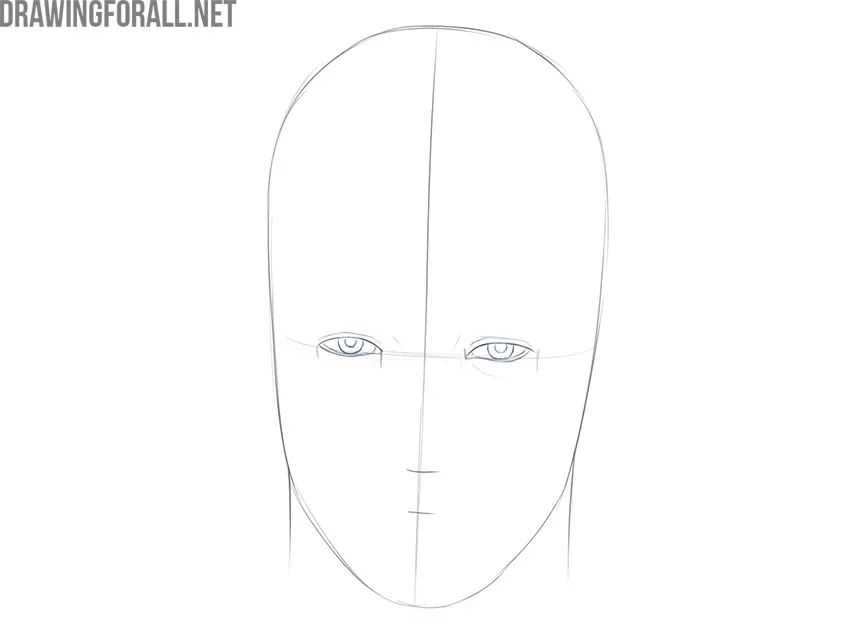
Step 5
Draw the eyebrows. These are wide figures that are located above the eyes and noticeably narrow in the lateral direction.
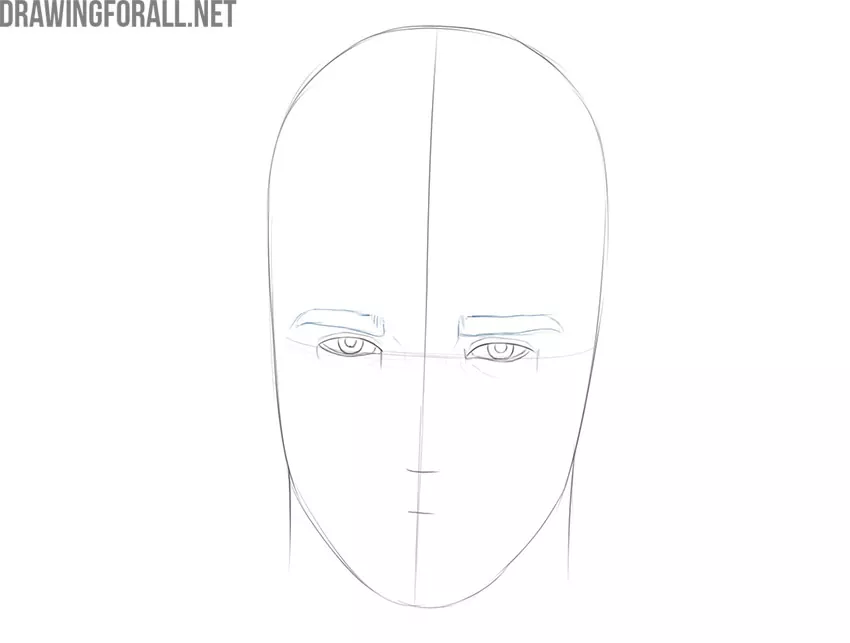
Step 6
Depict the nose. In the simplest case, it looks like three semicircles and a long, smooth line from these shapes to the eyebrow. If you want to draw more difficult, use our guides about the anatomy of the nose and drawing the nose.
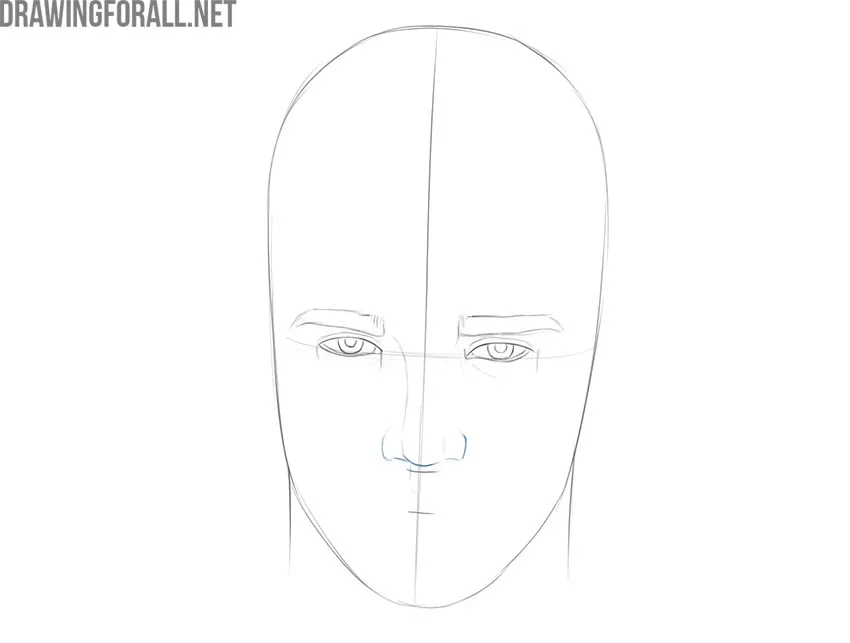
Step 7
Draw the mouth. It’s a pretty simple thing. In our version, the upper lip is slightly thinner than the lower lip, but you can change this to your taste. We also have a good mouth anatomy guide for artists, you can check it out.
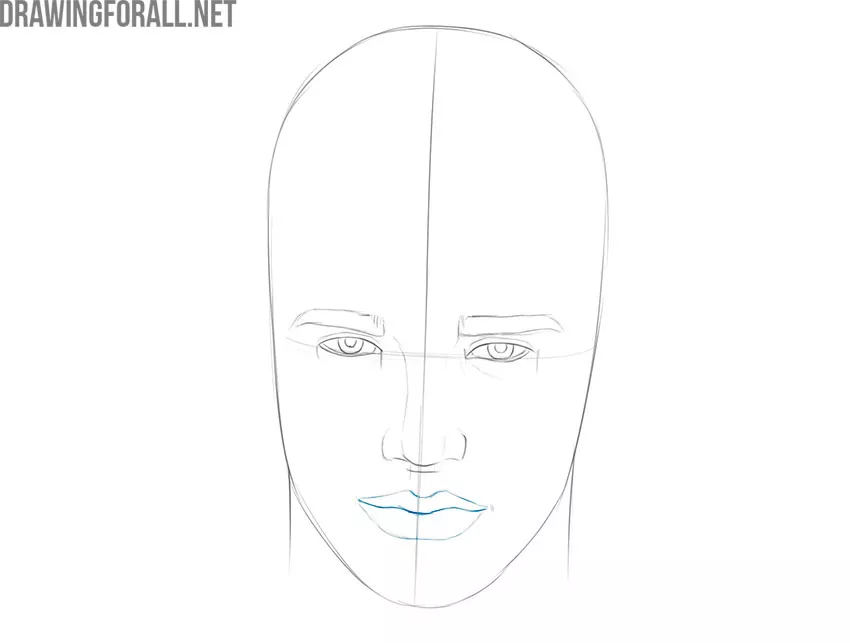
Step 8
Depict the outlines of the ears. It is very important to correlate the location and size of the ears with the location of the eyebrows and nose.
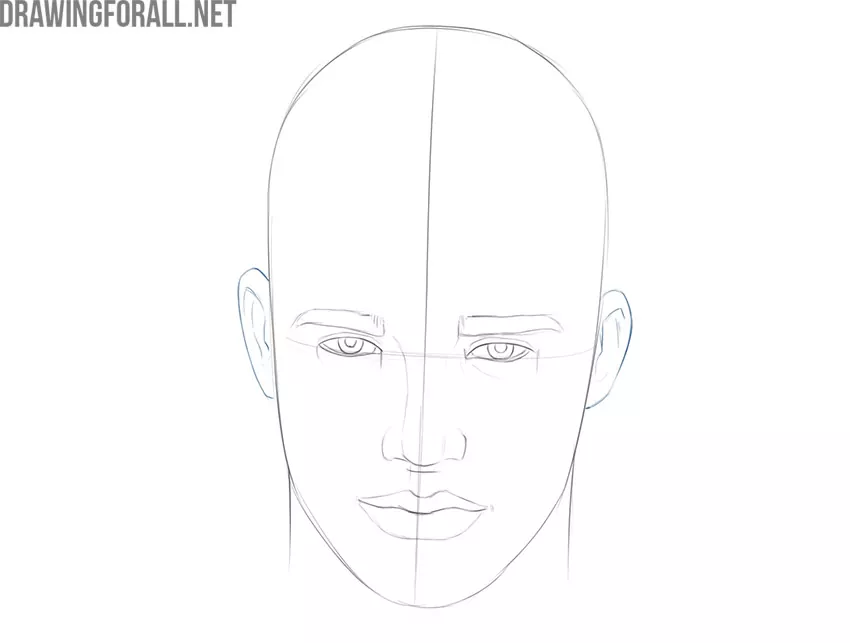
Step 9
Ok, now it’s time to draw our character’s hair. In our case, this is a neat short haircut with smooth rounded edges.
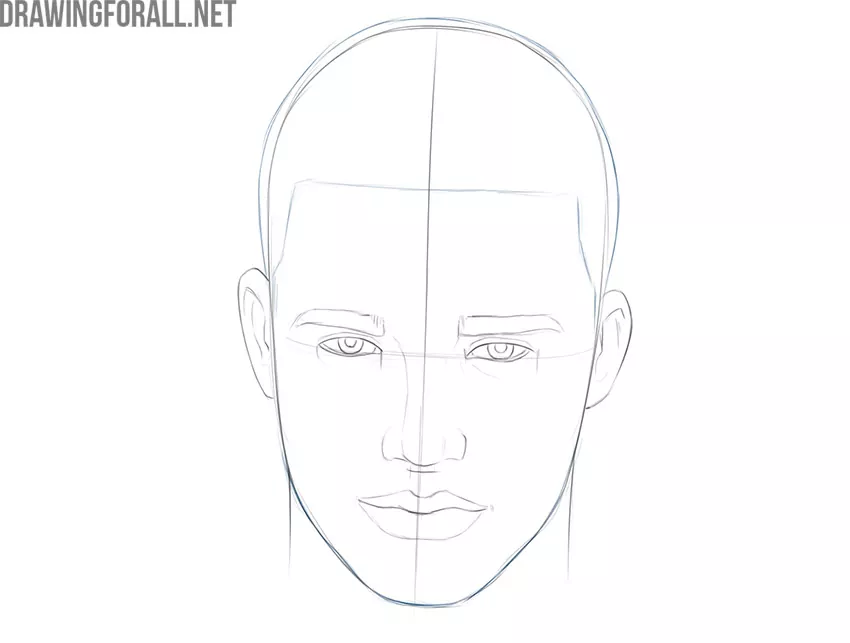
Step 10
Erase the extra lines from the previous steps. Check the correctness of all lines and proportions again. Now it remains only to work a little with the shadows.
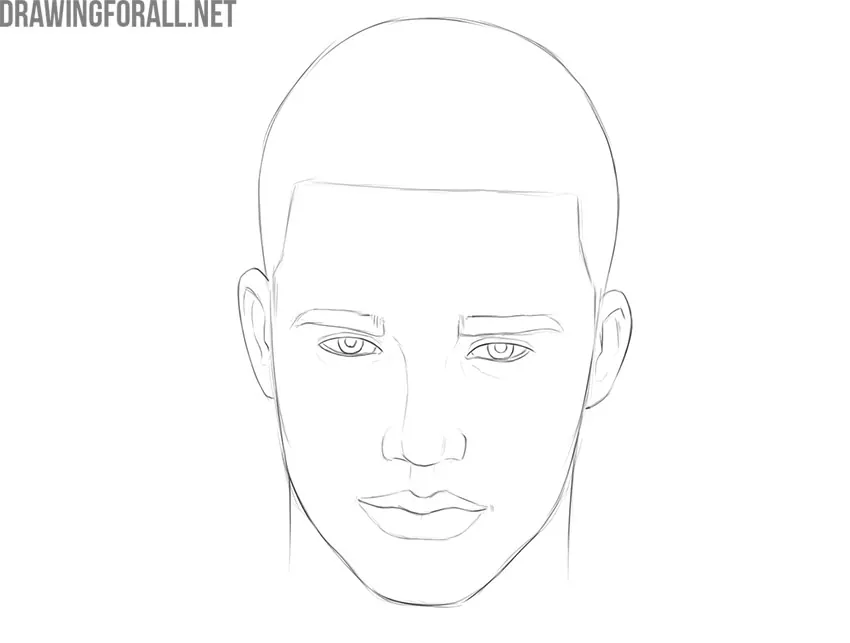
Step 11
Add light shadows. Pay attention to the glare inside the pupils of the eyes. Such small details really enliven any drawing.
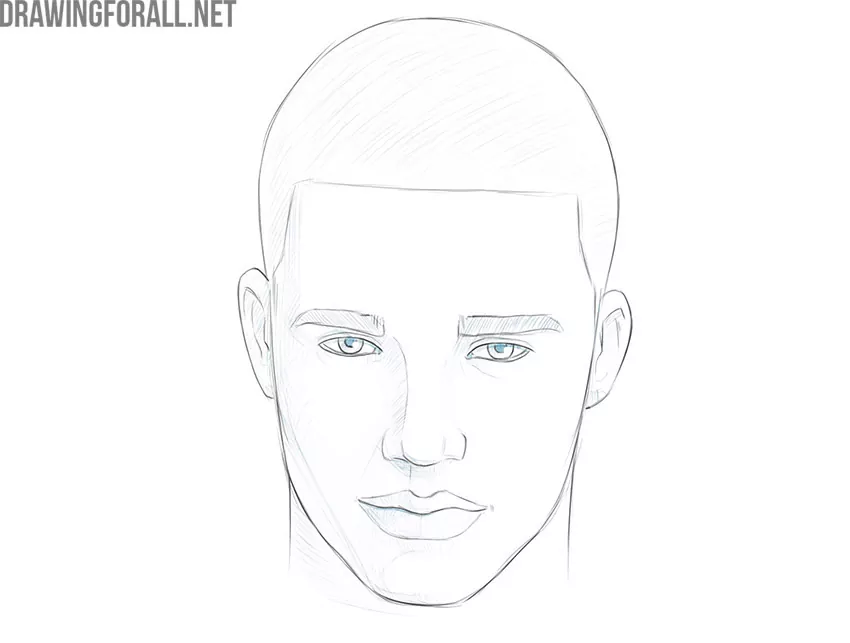
Step 12
As a result, you can see something like this result. You have probably created a cooler portrait than we did in this drawing tutorial.


this is a good drawing website
Sir what’s the uses of STAEDTLER pencils
Yh I love it