

How to Draw a Compass Rose
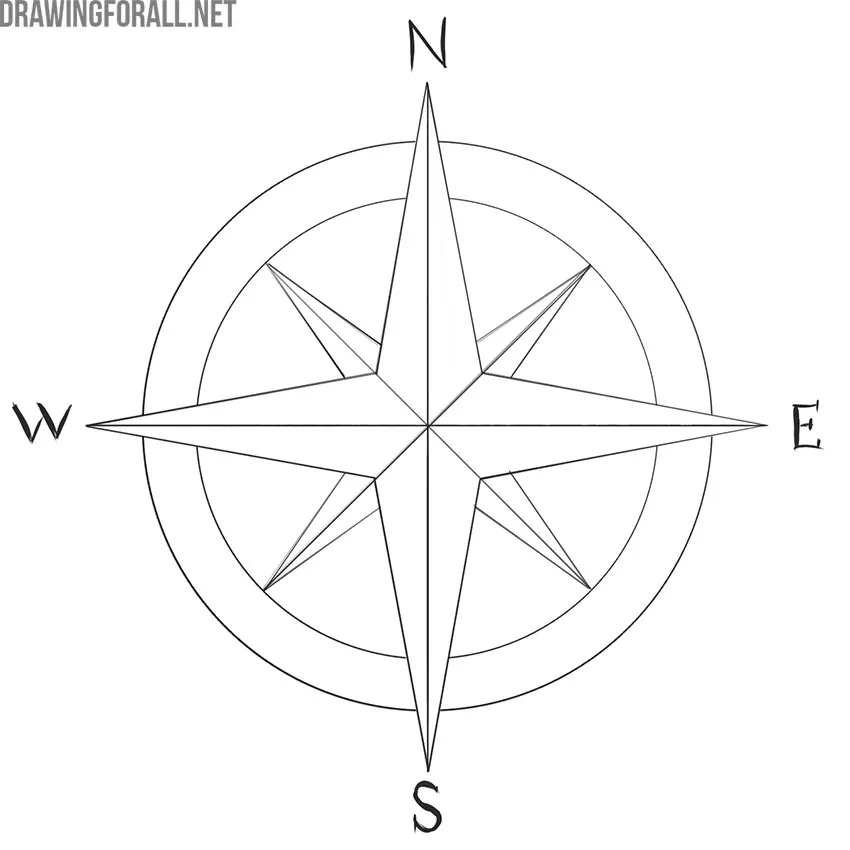
The best way to learn how to draw a compass rose is to construct the form using basic geometric shapes. In this tutorial, we will show you how to do it correctly.
The compass rose is a fairly simple drawing, but it is a good opportunity to practice drawing straight lines and circles. Use very light lines in the first steps so that you can easily erase incorrect strokes.
How to Draw a Compass Rose Step by Step
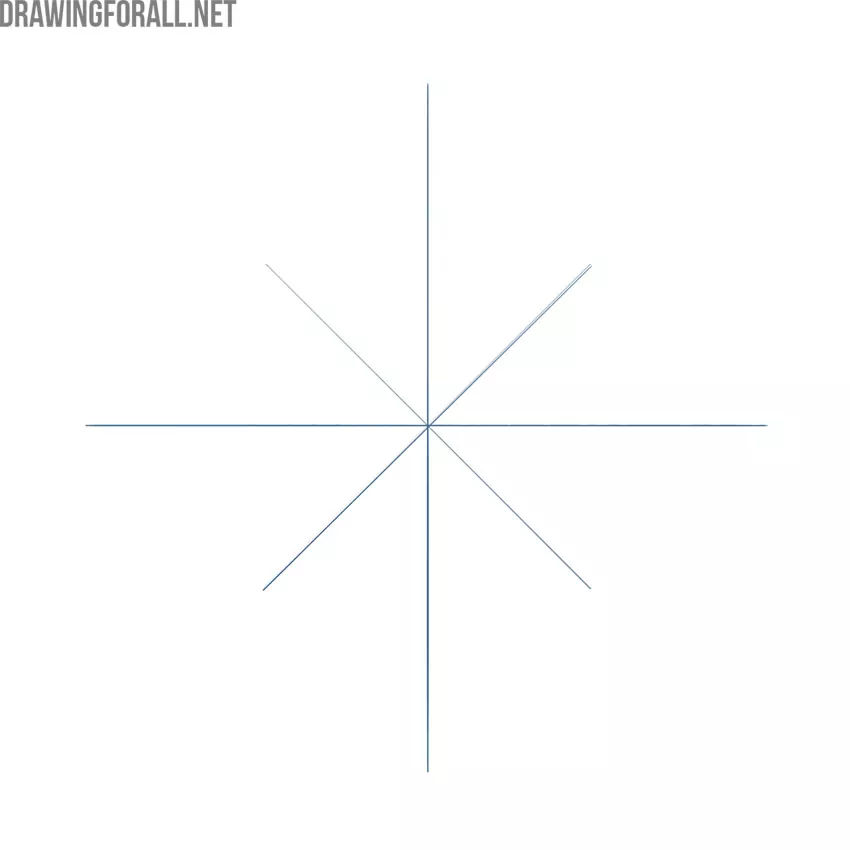
Step 1: Draw the guidelines
First, draw the basic guidelines for the compass rose. Try to do this without using a ruler or other drawing aids. These lines will define the center of each ray in the following steps. Keep the spacing between all the lines equal.
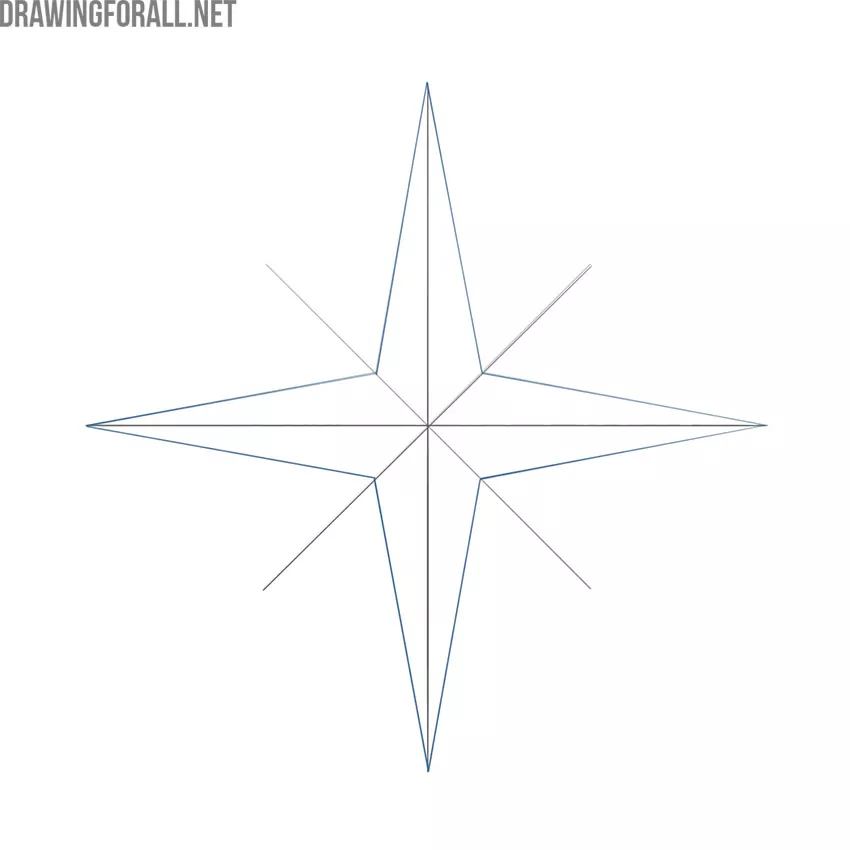
Step 2: Draw the main rays of the compass rose
Draw the four main rays of the compass rose. Try to make these triangles as accurate and symmetrical as possible. Use straight lines of equal length, and make sure all four triangles match in size and shape. To check the symmetry, look at your compass rose in a mirror.
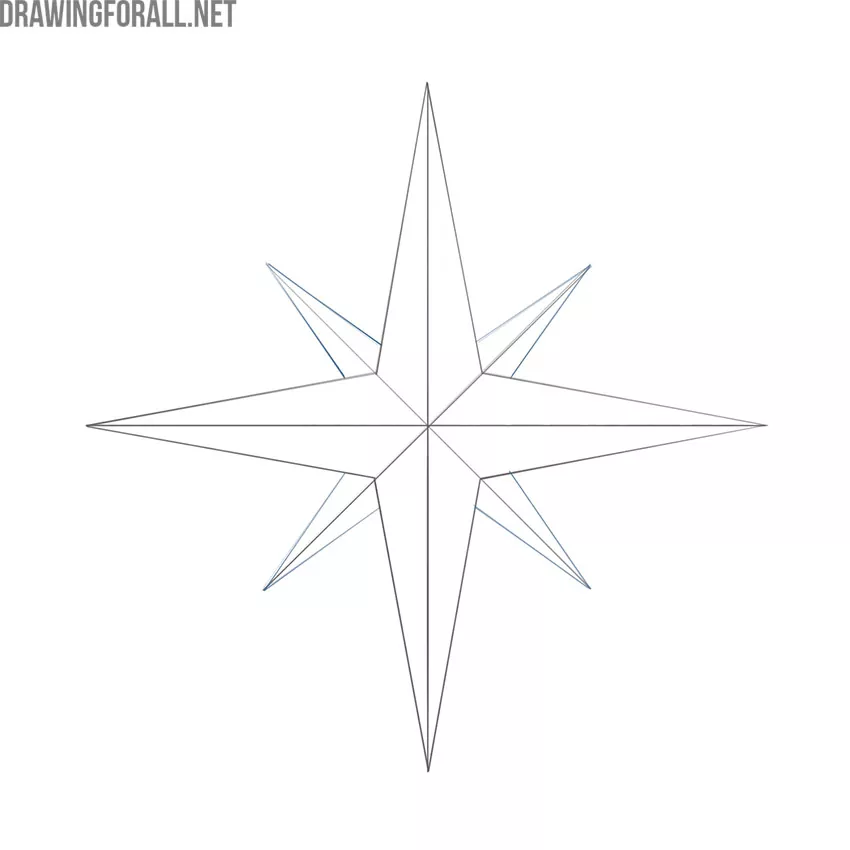
Step 3: Draw the additional rays of the compass rose
Now, draw the smaller rays between the main ones. Compare these triangles with those from the previous step, paying close attention to their size and placement. They should be noticeably smaller, equal in length, and arranged symmetrically.
Step 4: Sketch the circles around the compass rose’s center
Draw two circles of different sizes around the center of the compass rose. Keep the spacing between the circles even. If you are new to drawing circles, practice them on a separate sheet of paper first.
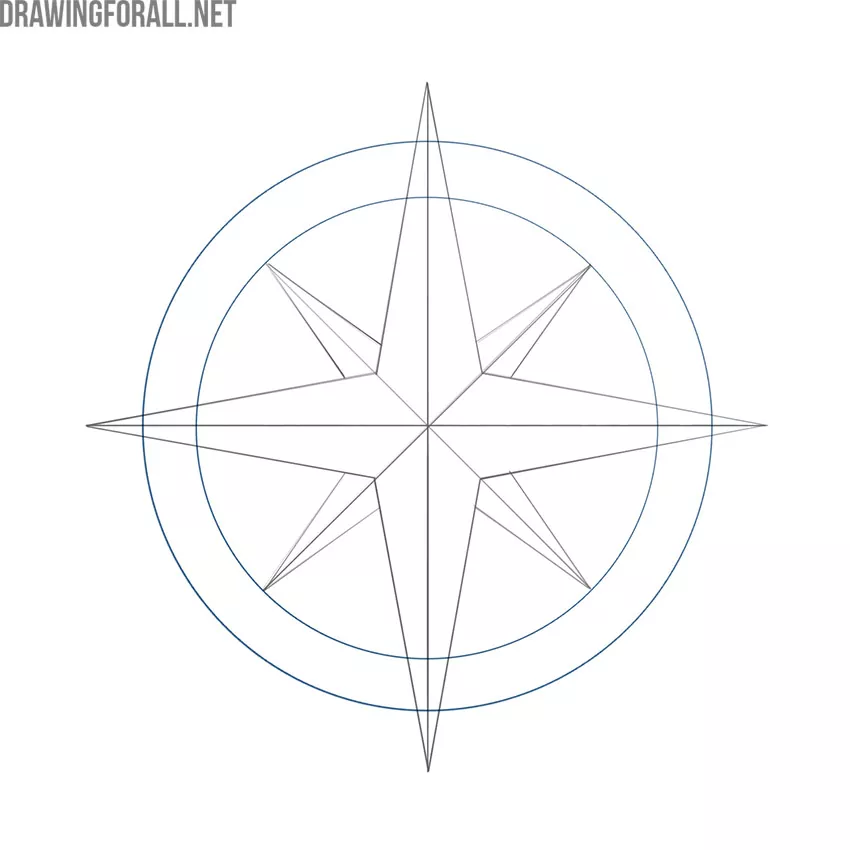
Step 5: Add cardinal direction letters
Erase the unnecessary guidelines and check the compass rose for mistakes or uneven shapes. Then add the cardinal direction letters around the design, keeping them evenly spaced.
Your finished compass rose should look similar to this. You can add decorative details, place it on a map, or leave it as a standalone drawing. Adding light hatching to one side of each ray will also make the compass rose look more dimensional.
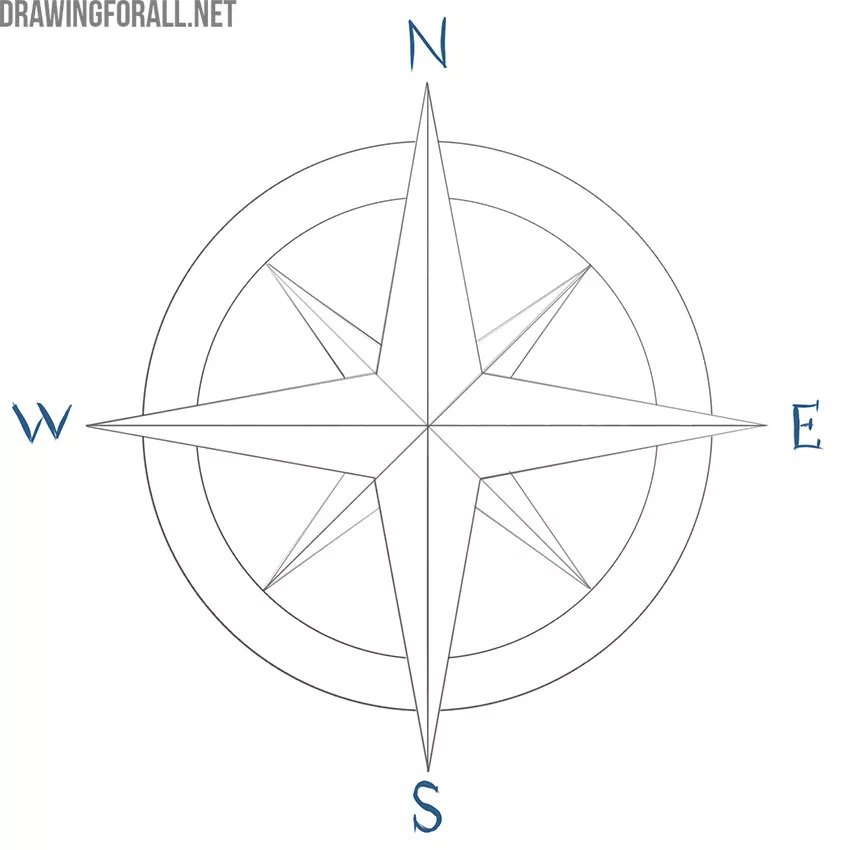
The compass rose has a long history as a design element and has appeared in a wide variety of artworks.
It was often included on old maps to indicate the cardinal directions, but it has also been used as a standalone decorative illustration. Today, it remains a popular design found on clothing, signs, and many decorative objects.
Try drawing a compass rose and incorporating it into a map. You can also draw your hometown from a bird’s-eye view and place a compass rose in one corner.
Adding contrasting colors, such as blue and red, is another great way to finish your drawing.
We also recommend checking out our tutorials on drawing a compass and drawing a globe to expand your skills in illustrating geographic subjects.


thank you
Thank you! Before this, I was tremendously scared of compass roses. This tutorial helped me overcome that fear. I will always be greatful for this!
Thank you, Jim.
This was really helpful in my map of Duckberg! Now I can keep the city safe from the dastardly villains like Quakerjack, Megavolt, and Dr. Bushroot
Nice to hear you used the compass rose in your map and it was useful for your project.
this helped a lot