

How to Draw a Dragon from the Side
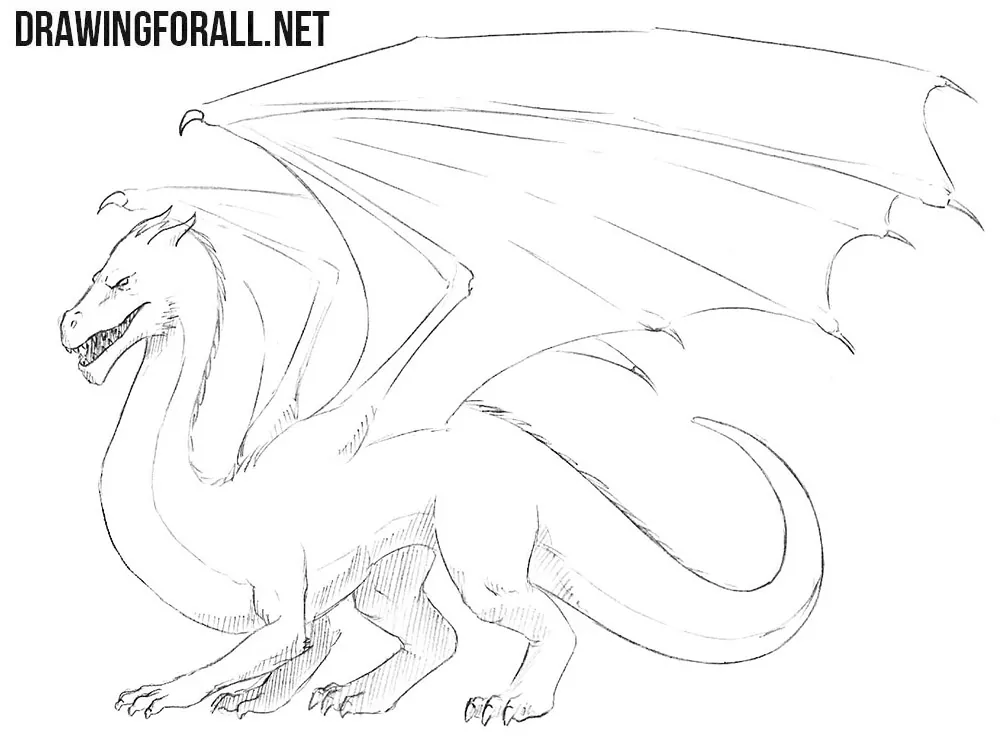
Here we will show you how to draw a dragon from the side using the image of a dragon from classic European fairy tales and legends. This tutorial is based on the basic steps of drawing a dragon but focuses primarily on the specific features of depicting it from a side view.
How to draw a dragon from the side step by step
Step 1: Sketch the dragon skeleton
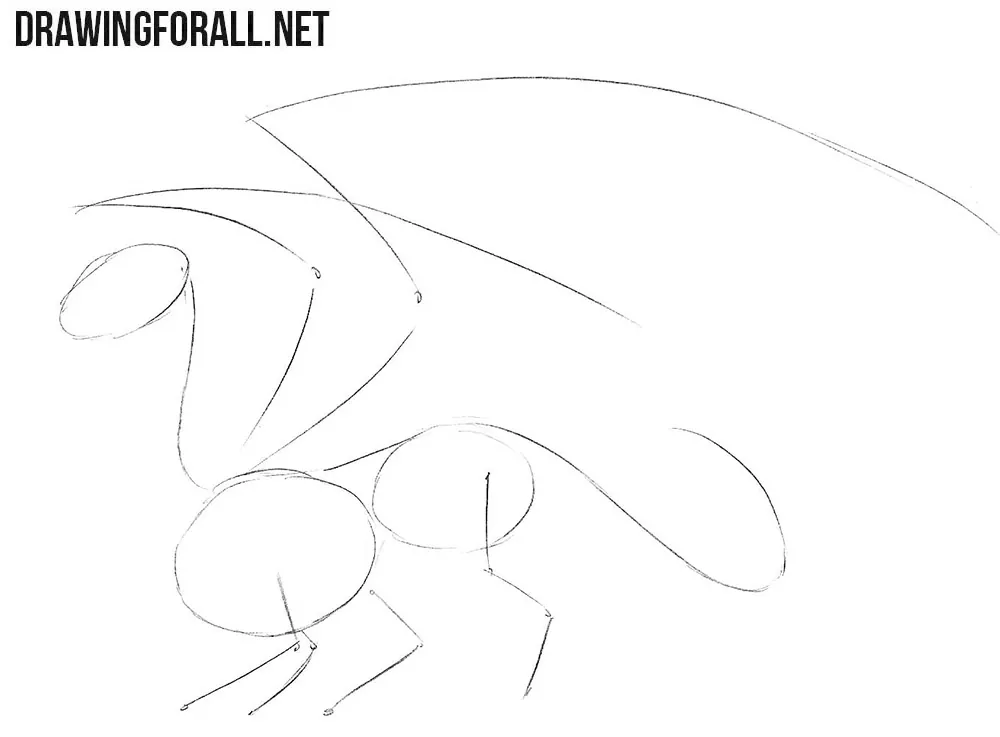
First, outline the skeleton of the dragon. Sketch the dragon’s head and a long curved line that runs through the neck, spine, and tail. Then add simple rounded forms for the chest and pelvis. Since the dragon is shown from the side, arrange these two masses one after the other along the spine. After that, outline the arms and legs and add light lines for the wings.
Step 2: Build the dragon body
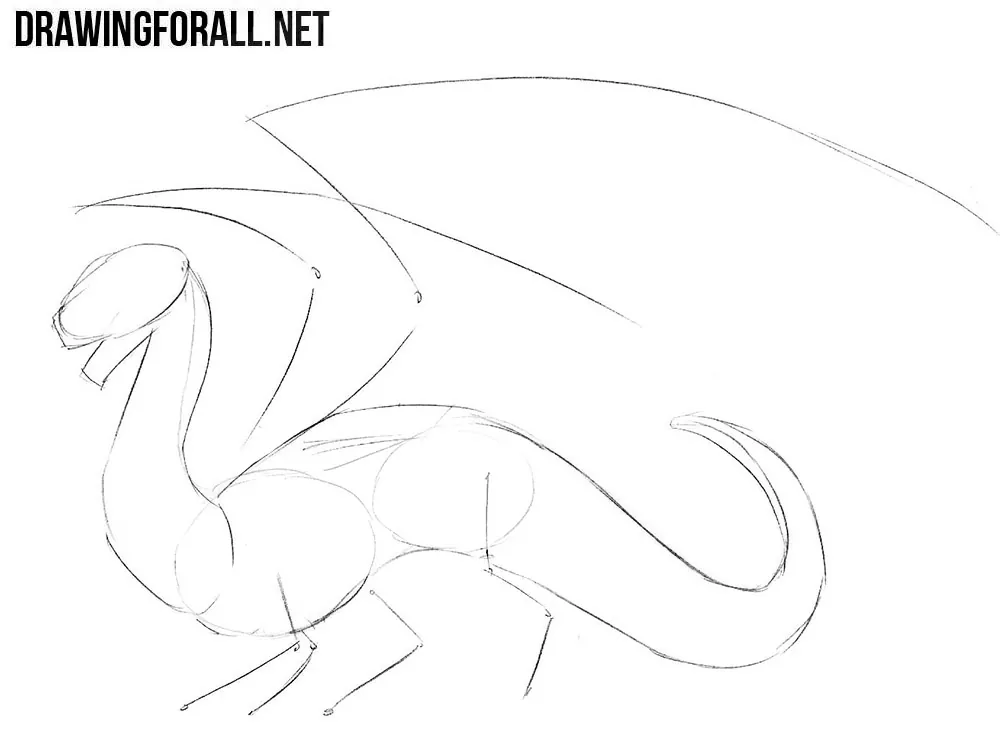
The dragon’s skeleton is done, and now we will add some volume. Start with the head and sketch the open jaws. Next, draw the contours of the curved neck, which passes into the torso and then into the long tail. On the lower side, make a deeper curve around the chest and belly before narrowing the body into the tail.
Step 3: Add the legs and wings
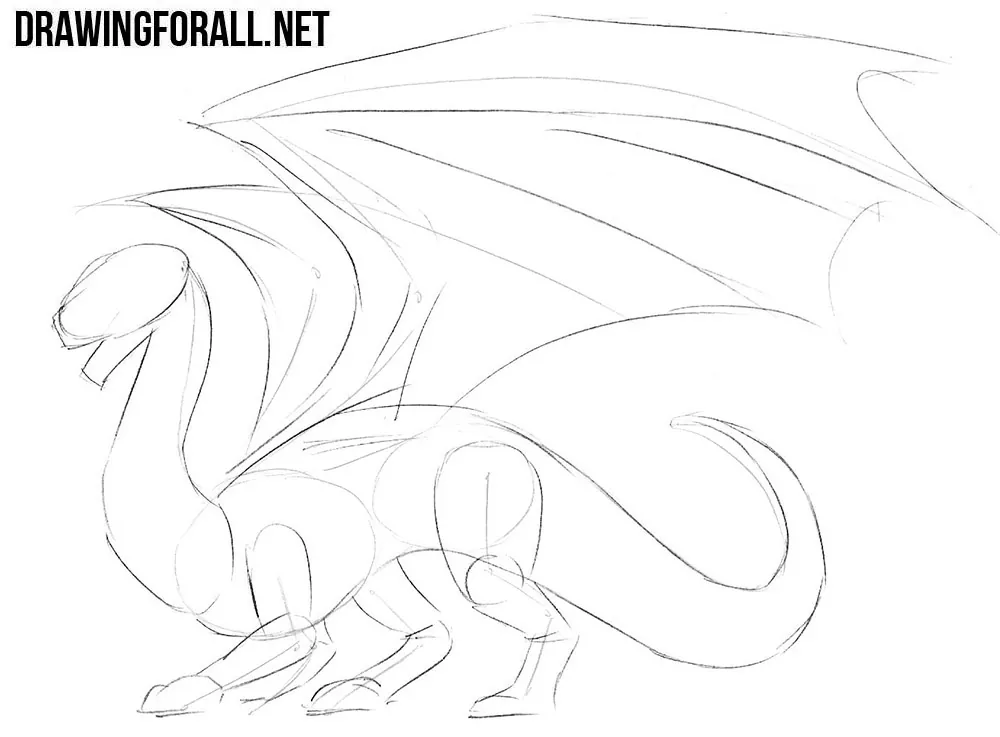
Continue adding volume to the body of the dragon. Carefully sketch the legs around the simple construction lines from the first step. Make the upper parts of the legs thicker and narrow them toward the feet. After that, outline the huge wings with long lines and mark their main bends.
Step 4: Sketch the main dragon details
Now add the main details to the dragon. Start with the head and sketch the dragon’s eye, mouth, and small spikes. Mark the rows of teeth inside the open jaws and outline the nostril near the front of the muzzle. After that, add the claws on the feet and mark the main details and joints of the wings.
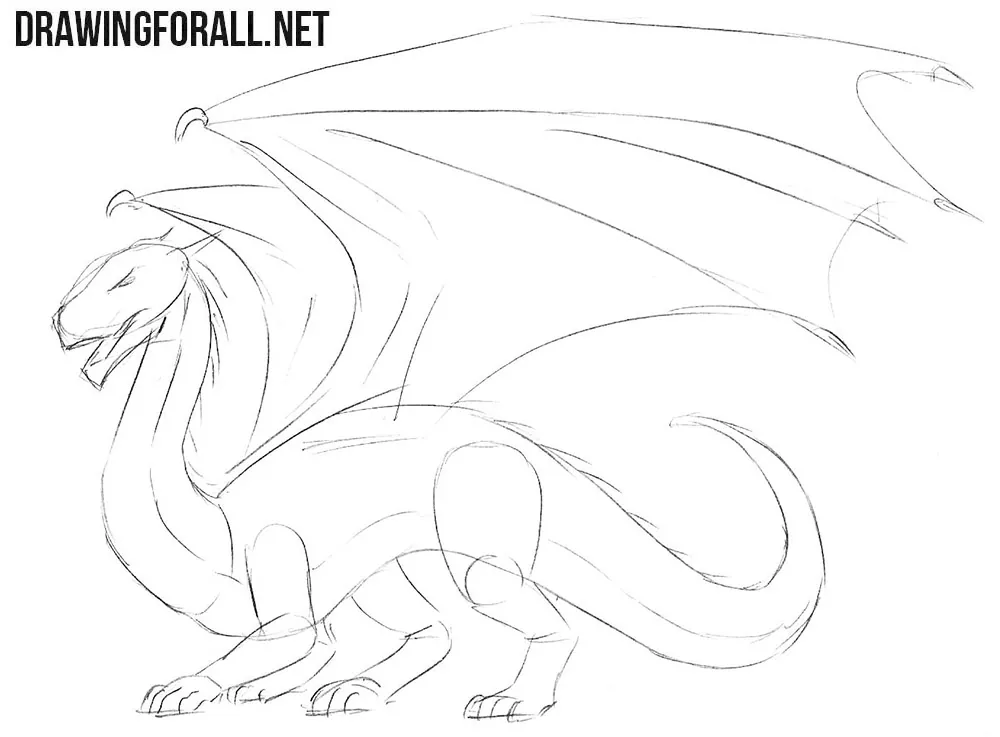
Step 5: Refine the dragon head
It is time for clear lines and dark strokes. Begin with the head. Carefully draw the uneven mouth with rows of sharp teeth. Vary their length slightly. Next, refine the eye, nostril, horns, and outer contours of the head. Add the small folds and short lines around the eye and mouth. Remove the unnecessary guidelines from this area.
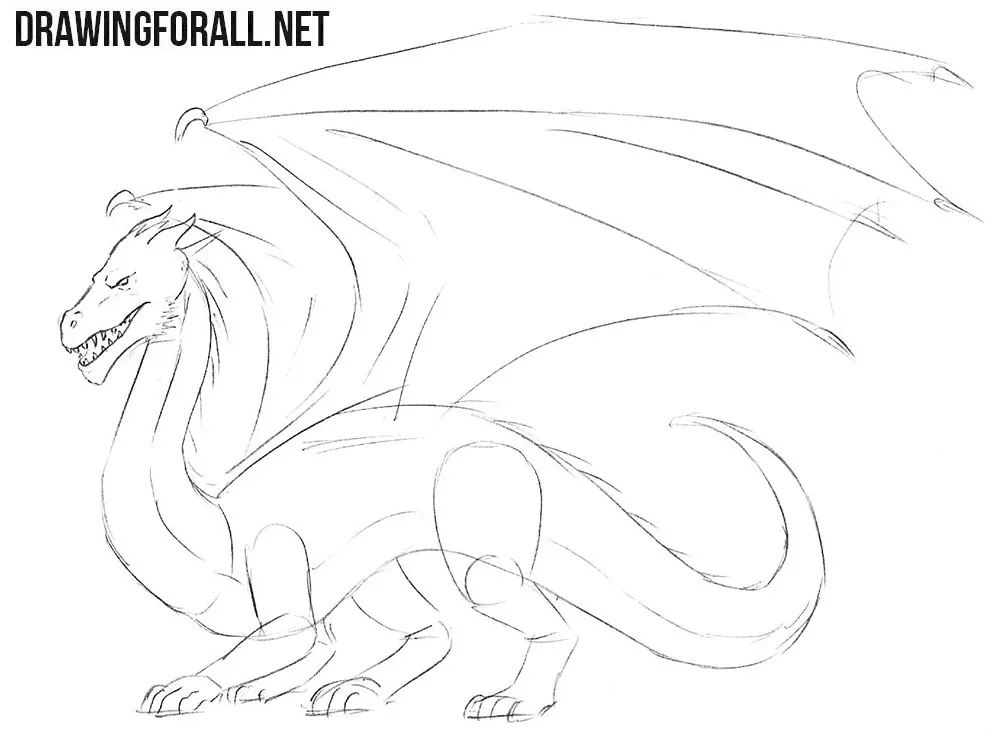
Step 6: Refine the dragon’s neck and forelegs
Continue the lines of the head into the long curved neck and then into the torso. With smooth lines, draw the muscular forelegs and refine the claws. Define the bends at the elbows and wrists and start drawing the separate toes and pointed claws. The nearer foreleg is almost completely visible, while part of the opposite foreleg is concealed by the chest and the leg in front of it.
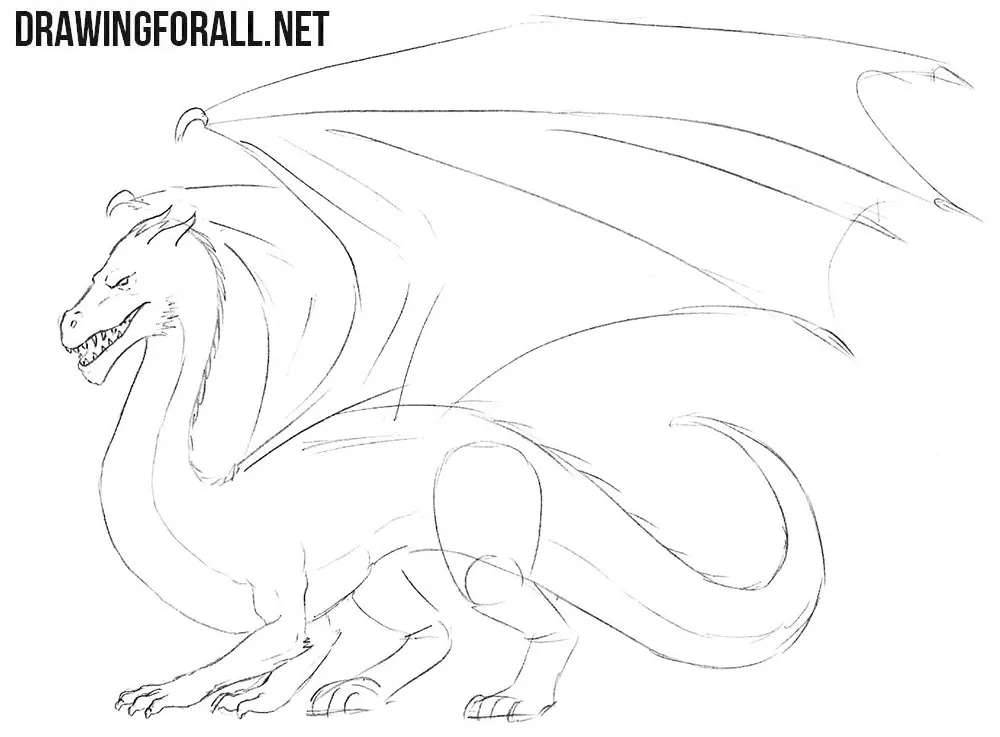
Step 7: Refine the body and tail
Continue the contours of the torso into the long curved tail. Then refine the hind legs, feet, and claws and erase the remaining guidelines from these areas. Make the thighs noticeably more massive than the lower parts of the legs. The tail should taper smoothly toward the tip.
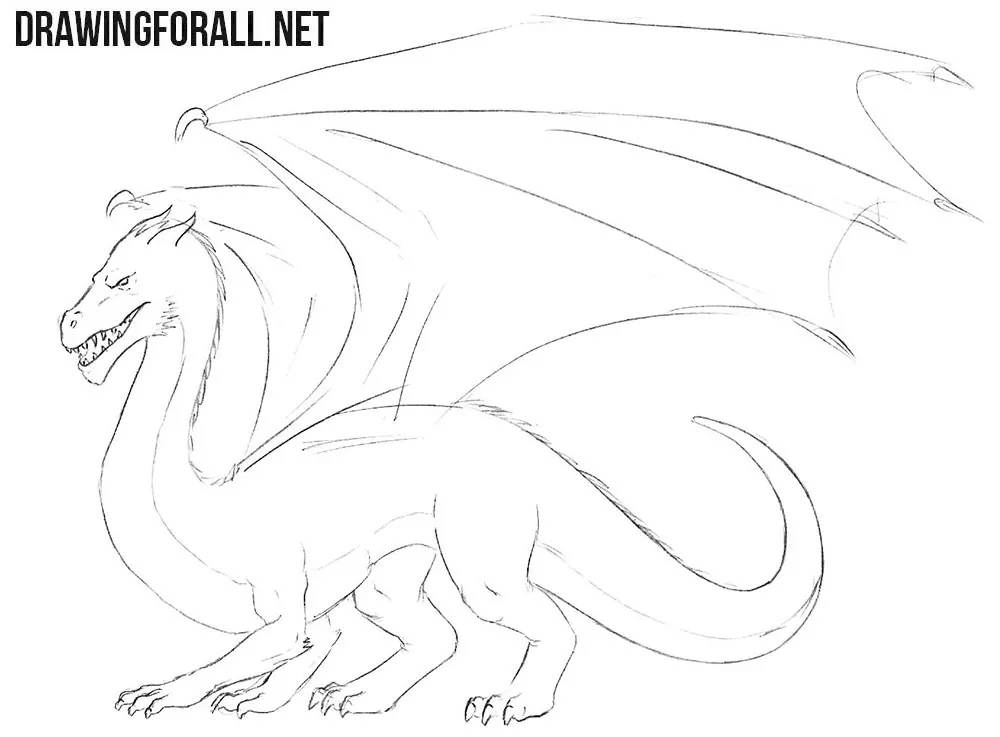
Step 8: Draw the dragon wings
Carefully refine the long upper edges and the wing bones, then draw the lower edges of the membranes stretched between them. Give the main supporting parts some thickness. Draw the wing closer to us more clearly, and make the farther wing lighter and less detailed. This will help make the drawing look slightly more three-dimensional even from the side.
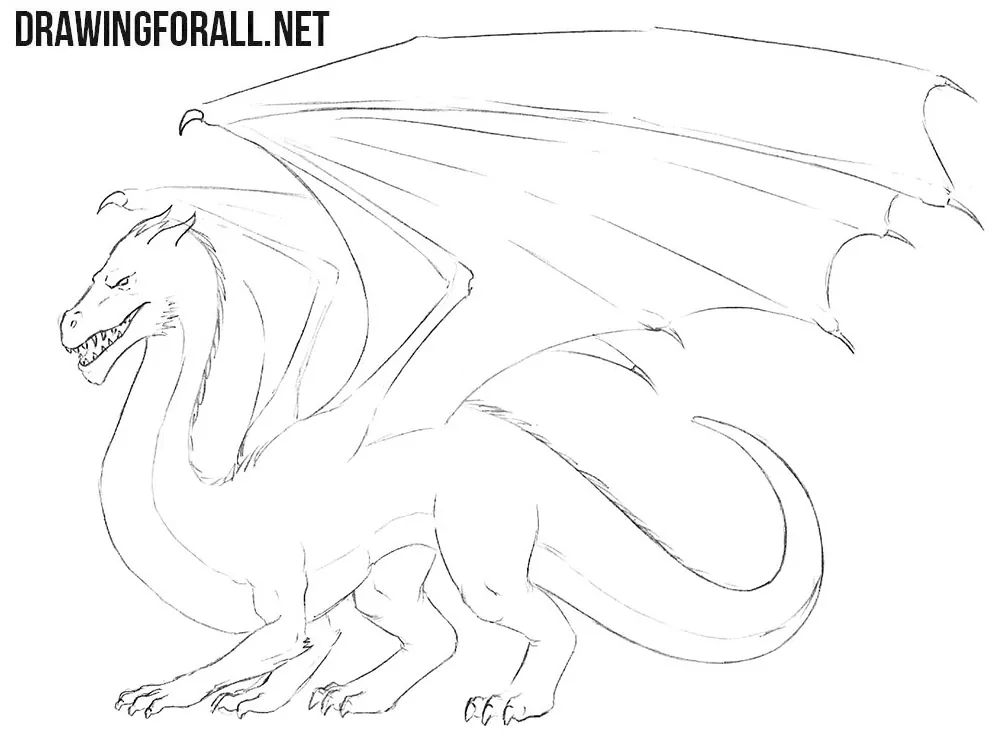
Step 9: Add shadows to the dragon
The dragon drawing is almost complete, and now we only need to add shadows. First, determine the direction of the light. Then add dense hatching under the head, torso, and limbs in the areas where less light falls. Notice how the hatching on the limbs farther away helps separate them from the nearer ones and enhances the sense of volume.
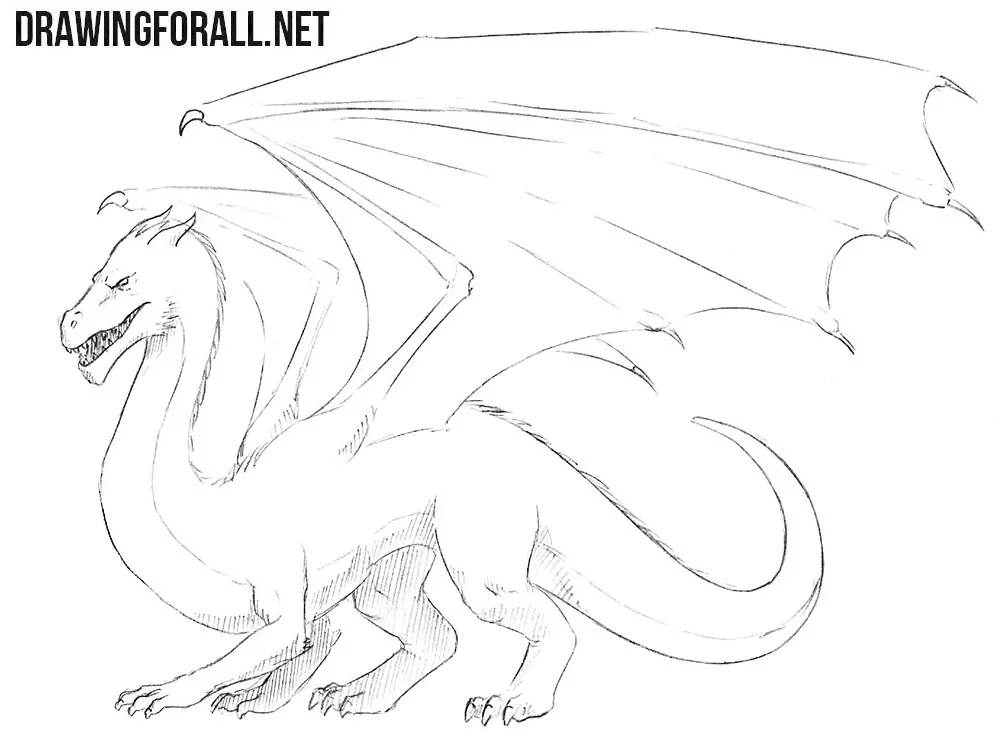
A side view is fairly simple in most cases, especially when drawing a dragon and other similar creatures. This angle is more forgiving of mistakes because slight inaccuracies in perspective and form construction are less noticeable here.
However, you still need to keep the basics of drawing in mind and remember everything that helps create a convincing drawing.
Although perspective is less noticeable from the side, it is still extremely important to consider it. It is also important to consider how forms overlap.
For example, the limbs closer to us partially overlap the torso, while the torso and the nearer limbs, in turn, overlap the limbs farther away.
The same applies when you draw other paired elements, such as horns, ears, and so on. Those closer to us can partially overlap those farther away, as well as the forms to which they are attached.
These slight overlaps are enough to create a sense of volume even in a side view. Shadows are another excellent way to create volume when drawing from the side.
This tutorial showed you how to draw a dragon from the side in a standing pose. All the same principles will work if you draw a flying dragon from the side.
Drawing a dragon from other angles will be slightly more difficult. We showed a similar angle in our tutorial on drawing an attacking dragon, where the monster is shown at a three-quarter angle and its limbs are in a more dynamic position.


This is cool… I drew it. What an awesome dragon!
Can u teach me since u can draw it
The steps are not really clear at the end, the difference between them is so small
its good , but its hard for me to draw it..
it is a good to draw but tricky to make but i made it.
Im 9 and I made it
so quit complaining.
It was great but kinda hard to draw
I thought it was easy
I always look for good experiences in drawing,
And this is one of those!
Tricky and took a long time, that’s why I like it
u 9 year old
I got stuck on step 2 on the jaw. Very cool but difficult. Honestly, the directions should be clearer on the end.
It was easy!
Why are you making a fuss about it!
I just put a peice of paper on the drawing and I trace it!
I drew it And it was hard a little but I got there! Never give up I didn’t!
… my dragon looks like a dog and a snake had a baby… LMAO
Very good drawing, I got stuck at step 5 the face, mine turned out tike a cartoonish but the other body is so realistic. But it is very good.
Like I say every drawing has a critical point
you know it is good and mine turn out good.
Guys, there are SO many comments complaining and not even giving any real feedback. If you’re going to say something, at least make it useful! I enjoyed drawing this a lot, but the facial jump from Step 4 to Step 5 was a little too drastic for me and as a result the face of my dragon isn’t quite right. I also had trouble going from rough lines to clear, but that’s honestly just my inexperience. Otherwise, I’m really pleased with the results (considering I’m a kid who’s never drawn dragons before).
This is one of the oldest tutorials on my site, and I think I can improve it a bit, making this dragging drawing tutorial simpler snd more detailed.
guys I turned mine into a rainwing
Great idea! We always enjoy seeing artists take the basic steps from a tutorials and turn them into their own unique creations.