How to Draw a Flying Dragon
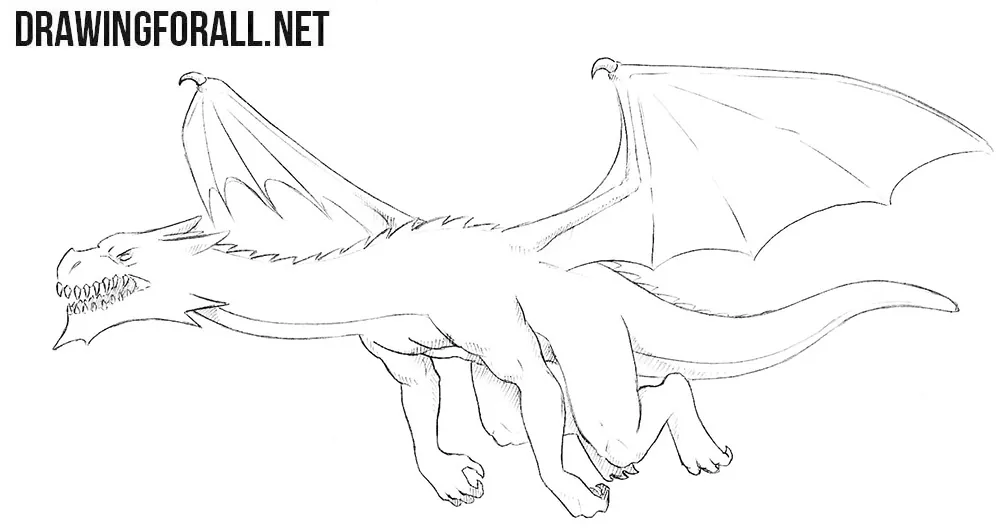
We love the theme of the Middle Ages and everything connected with them, and often create drawing lessons on this subject. In our previous drawing lessons we showed you how to draw a knight, a plague doctor and a medieval castle. Today we want to give you a mythical creature, which is very characteristic not only of the Middle Ages, but also of modern mass culture. So let’s learn how to draw a flying dragon.
Step 1
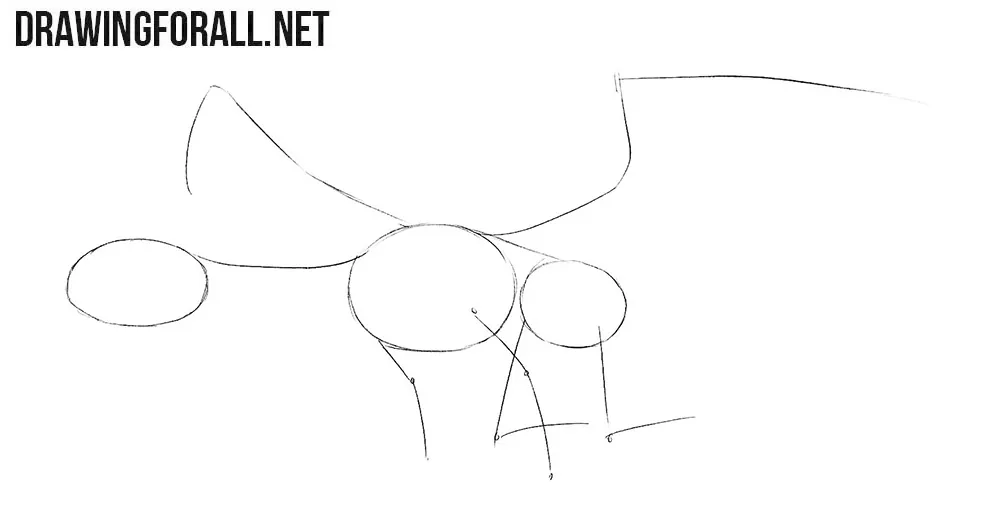
The dragon must begin with a skeleton, such as shown in our example below. The first thing we need to outline the head, which looks like a regular oval. After this we outline a long and slightly curved spine line. On this line we sketch out the chest and pelvis. At the end of the step we sketch out the wings, arms and legs.
Step 2
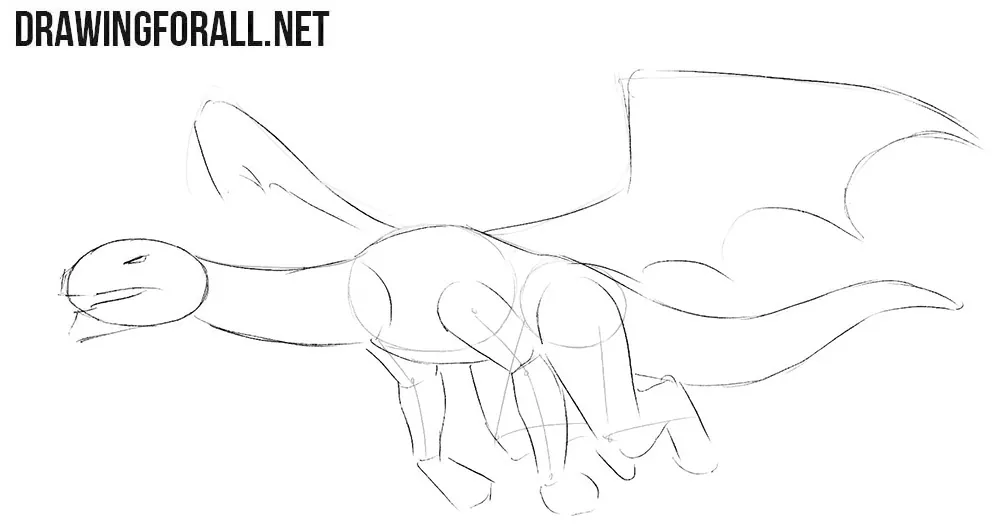
Now let’s make our drawing more voluminous. At the first step outline the location of the eye and mouth. Next, we outline the neck, which gradually moves into the torso. With the help of figures similar to circles and cylinders we outline the arms and legs. At the very end of the step we outline huge wings, and move on to the next step.
Step 3
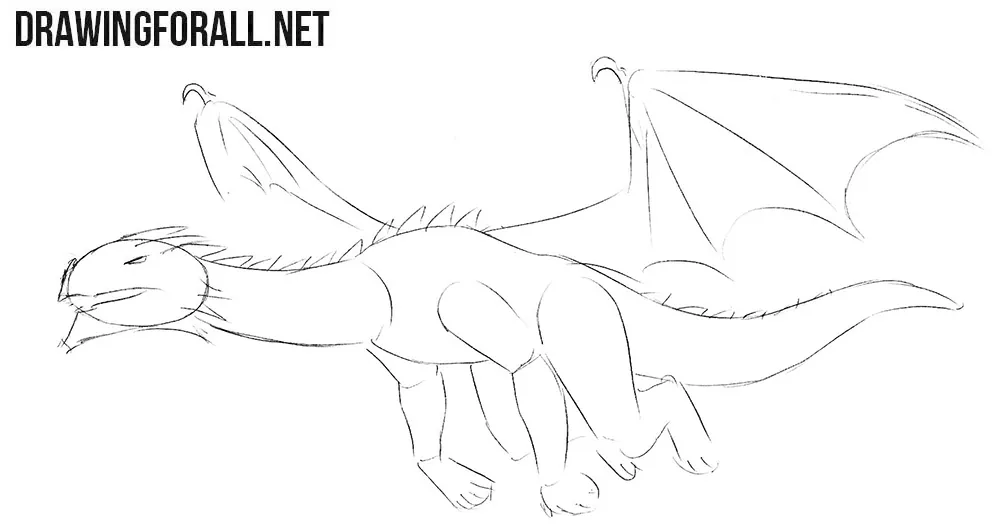
The dragon dummy is ready, and we proceed to the details. These parts must also be made with very light, almost imperceptible lines. Draw the spikes on the head, neck, back and tail. Draw lines and claws on the wings. If you did everything as in our example, then proceed to the next step.
Step 4
So it is time for the final details. Take a pencil stronger in your hands, and gently draw the outlines of the eyes, muzzle and sharp teeth, using drark lines. Next, carefully draw the outlines of the head and remove all unnecessary lines from the head of the dragon.
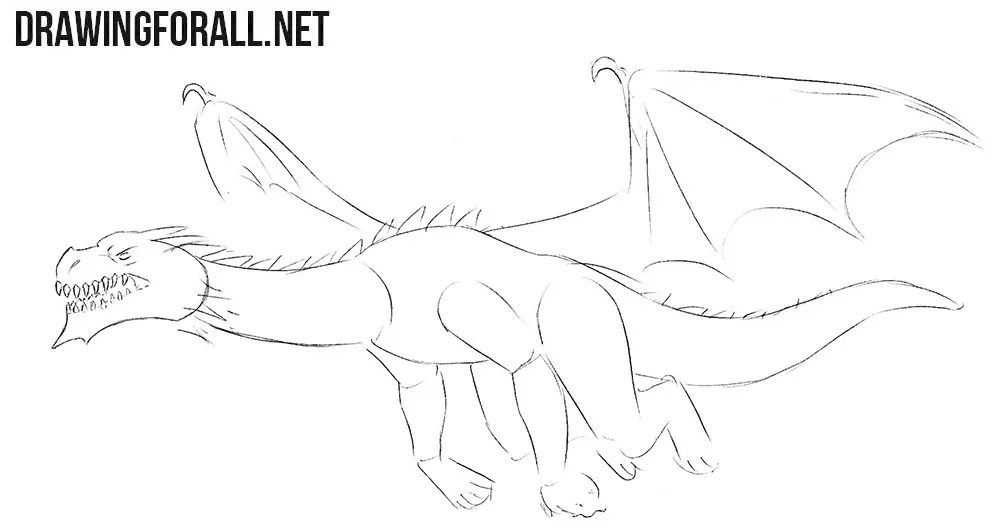
Step 5
This will be a very simple step, perhaps the easiest step of the drawing lesson on how to draw a flying dragon. With the help of clear lines, we here neatly draw spikes on the head and neck. Next, draw the neck itself and delete all unnecessary lines, that we drew in the previous steps.
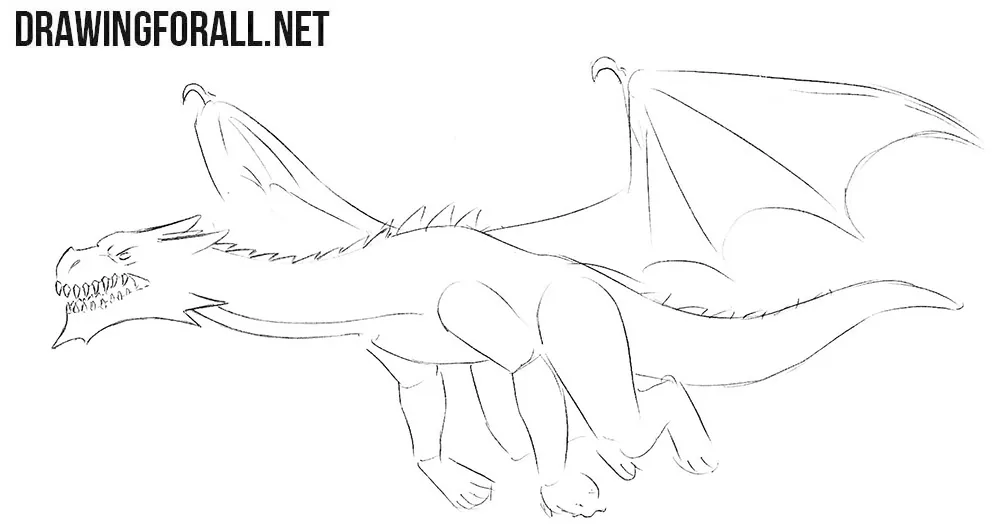
Step 6
Let us now go down a little lower, or rather closer to the tail of the dragon. Using clear and smooth lines gently draw the outlines of the muscles of the arms. Notice that our dragon has quite human arms, so here apply the principles of drawing human arms. And of course, don’t forget to erase the guidelines from the arms.
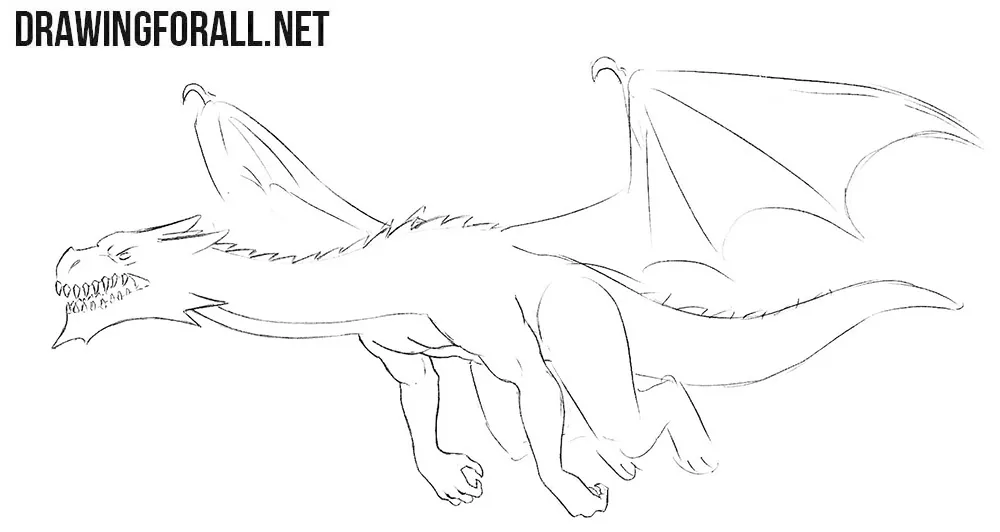
Step 7
We move further and begin to engage the back of the flying dragon. First, carefully drawv the powerful and muscular legs, drawing all the necessary muscles. Note that legs are also very similar to the legs of a human. In the same step neatly draw the long tail of the dragon and remove unnecessary lines.
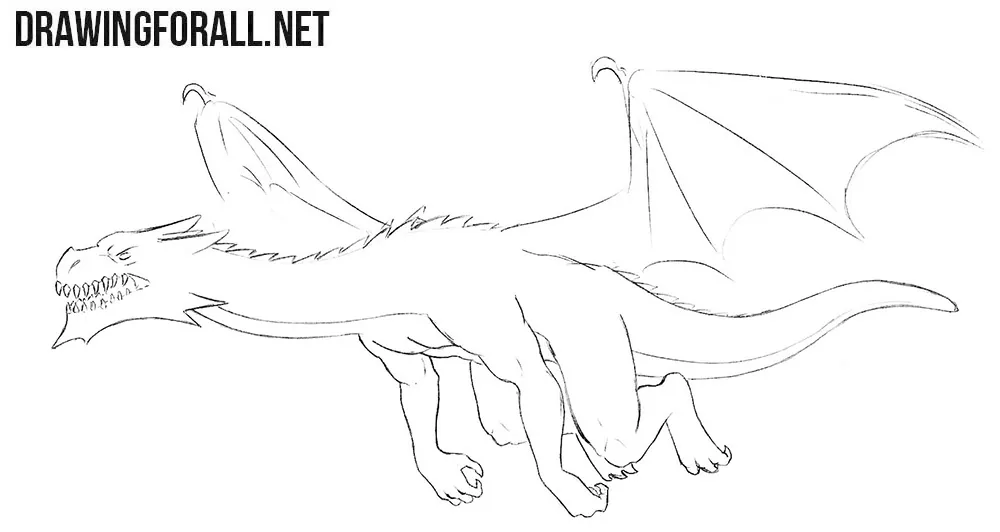
Step 8
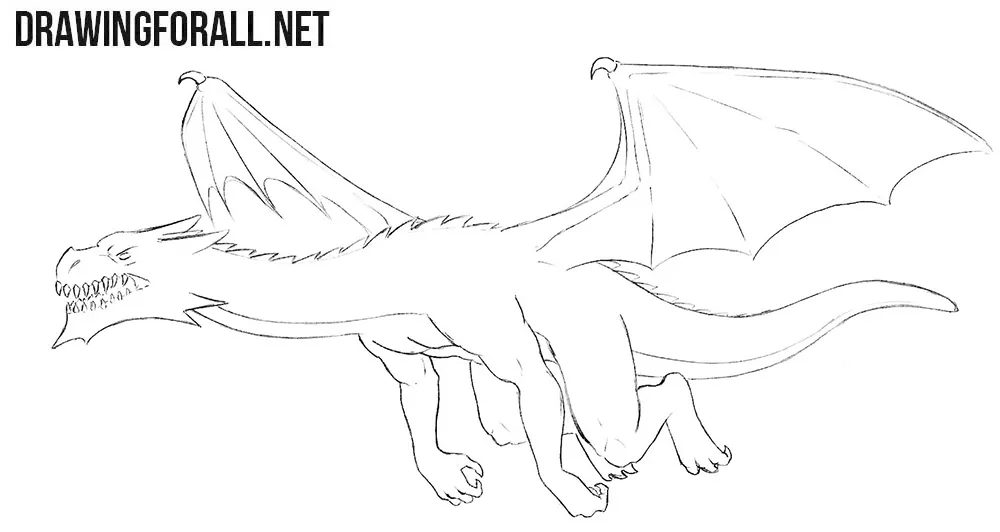
Another fairly simple step of the lesson on how to draw a flying dragon. Here we will be engaged in drawing wings. Carefully draw out the necessary lines, making them darker and more smoother. Remove all unnecessary guidelines remaining in the figure, and proceed to the next step.
Step 9
So let’s start working with shadows. But first we need to determine the source of light in order to then apply shadows to the least lit areas of the dragon’s body. These shadows we will need to draw with the help of dense hatching.
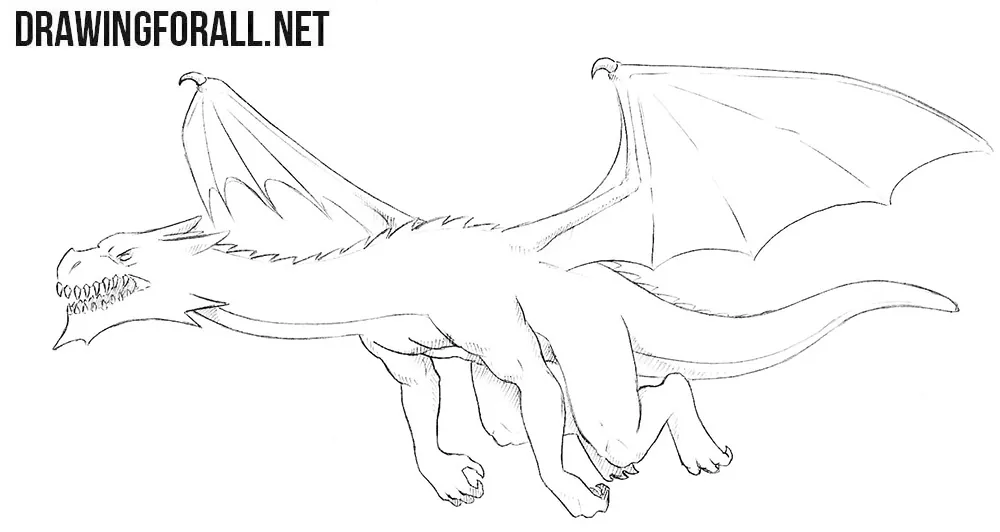
It was another drawing lesson about dragon. If you want to learn how to draw other monsters or mythical characters, then visit our category called Myths and Legends.


AWSOME!!!!! i just finished the eragon book and this is so cool.
It’s amazing! And the finished artwork is so cool as well!
amazing drawing