How to Draw Reptile from Mortal Kombat

Here we will show how to draw Reptile – a mysterious and dangerous warrior who has been present since the very beginning of Mortal Kombat history.
In many games, he has a human-shaped body but the skin and facial features of a lizard. I think everyone has already guessed that today’s lesson will focus on how to draw Reptile.
In this tutorial, Reptile will appear as he does in the version our team prefers from the “Mortal Kombat” movie.
Note that, just like the other main ninjas – Scorpion and Sub-Zero – Reptile looks different in various games, films, and animated series within the franchise.
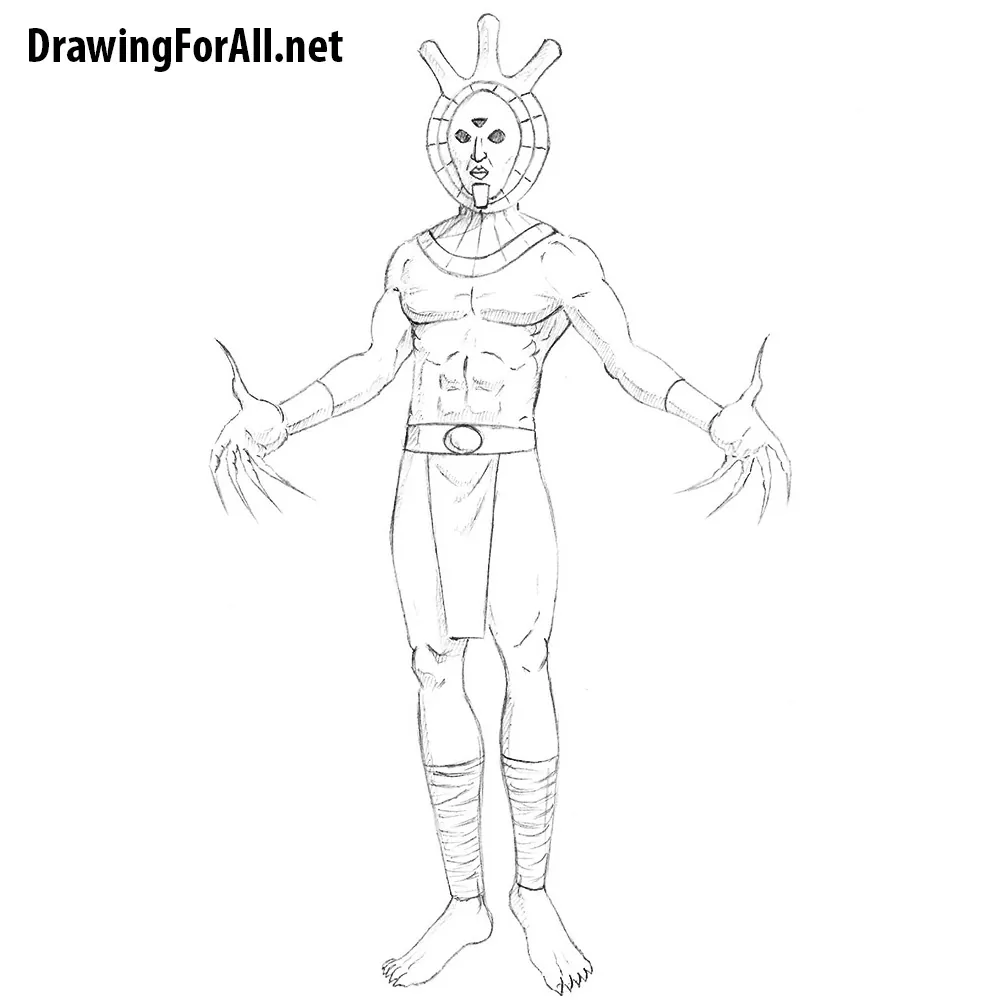
In some games, such as Mortal Kombat 3: Ultimate, Reptile is depicted as a man in a green ninja outfit. In later titles, however, his human form disappears, and he becomes a frightening human-reptile creature.
How to draw Reptile step by step
Step 1: Outline proportions with basic shapes
Let’s start with a stickman – a figure made of simple lines and circles that helps us convey the character’s basic proportions, posture, and placement on the sheet. First, draw an oval as a guide for the head. Then, using simple lines, sketch the torso, arms, and legs. Note that in the first steps you should not press too hard with your pencil. Use light and smooth lines at this stage.

Step 2: Add volume to the upper body
Since the basic figure made of simple geometric shapes and lines is already in place, it’s time to begin adding volume to the Reptile drawing. First, sketch the facial guidelines to simplify drawing the face. Start by marking a vertical line to indicate the center of the face, then add a horizontal line for the eyes. After that, use light, smooth lines to outline the shape of the torso, and then add volume to the arms using simple cylindrical forms.

Step 3: Add volume to the legs of Reptile
Now, using similar principles, begin adding volume to the lower part of Reptile’s body. First, outline the pelvic area with simple, smooth lines. Then sketch the upper legs as two large cylinders, and after that move on to the lower legs, drawing them as slightly smaller cylinders. With basic shapes, mark the placement and position of the feet.

Step 4: Refine the ninja’s mask and head
Starting from this step, gradually refine, complicate, and detail the parts of Reptile’s body. First, beginning with the head, carefully draw the outline of the mask. Sketch the front part of Reptile’s mask by marking the general contours, using the auxiliary guidelines for orientation. Then outline the shape of the head, gradually erasing the unnecessary construction lines.

Step 5: Draw the eyes of Reptile
Next, using the facial symmetry lines from the earlier steps, carefully draw the eyes with small reptile pupils inside. Then, above them, sketch the outlines of the eyebrows. After that, mark the visible part of the nose and erase all unnecessary auxiliary lines from the head area of the Mortal Kombat ninja. In order to convey the aggressive look, add wrinkles in the area of the bridge.

Step 6: Detail the mask of the green ninja
At this step, we will draw Reptile’s mask. But first, add a few more wrinkles around the eyes. Then draw the lines on the sides of the mask – four on each side. In the center of the mask, draw the area that should resemble a mouth with sharp teeth.

Step 7: Draw the torso of Reptile in detail
At this step, we will draw Reptile’s torso. Using curved lines, draw the stripes of the vest. Just below the vest, draw the belt. Add seams to the vest and the belt as shown in our example. With short, curved strokes, add the fabric folds. By the way, the piece of clothing we are conventionally calling a “vest” is actually called a kataginu – a part of traditional Japanese samurai attire.

Step 8: Refine the ninja’s arms and hands
Erase the guidelines from the first steps and slightly adjust the shapes of the hands. You should accurately convey the structure of the arms, keeping the upper limbs anatomy in mind: on the inner side we see the biceps, on the outer side the triceps, and below that the forearm, which narrows toward the palm. Then add some folds to the arms and draw the forearm protectors. Carefully and precisely draw the fingers with their folds and nails.

Step 9: Draw the legs of Reptile in detail
Now, using roughly the same principle, carefully and thoroughly depict all the nuances of the ninja’s lower limbs. First, smoothly and precisely draw the contours and shapes of the pants, adding folds in the necessary places. Then draw the bands on the shins that hold the lower part of the pants. After that, carefully draw the feet and erase all auxiliary lines from the previous steps, leaving a clean, finalized drawing of Reptile.

Step 10: Add realistic shadows to the ninja
The light comes from behind Reptile, so we need to add more shadows to the front part of the ninja. First, use hatching to darken the black parts of the suit, leaving a streak of light on the right side. Then add heavier dark hatching to the left side of the drawing.

In this Mortal Kombat Reptile drawing lesson, we tried to convey all the key nuances related to this classic character from the fighting game series.
As with other color-coded characters in the franchise, Reptile is drawn in a similar way. This means that by using all the principles described in this lesson, you can also draw the other MK ninjas.
For more detailed study of the basics, be sure to visit our Scorpion drawing lesson, the yellow ninja, as well as our Sub-Zero drawing lesson, the blue ninja. This way, you can learn how to draw all three of the main MK ninjas.
And as with the other color-coded ninjas, Reptile can be drawn in many different ways depending on the specific game, movie, or animated series.
You can change the shape of the mask, the costume, or other details to achieve the result you want.


Goood
Thanks!
Hello
Hi there!