How to Draw Rick Astley

This tutorial will show you how to draw Rick Astley, the popular singer from the 1980s best known for the legendary song “Never Gonna Give You Up.”
But this singer was popular not only in the 1980s, but also remains recognizable today. Many people who were born long after the release of Rick Astley’s most famous songs will still immediately recognize and continue singing along when his music starts playing.
At Drawingforall, we also enjoy the overall atmosphere of the 1980s and especially the songs of this singer, so we wanted to pay tribute to him and show you how to draw his appearance from that legendary song.
How to draw Rick Astley step by step
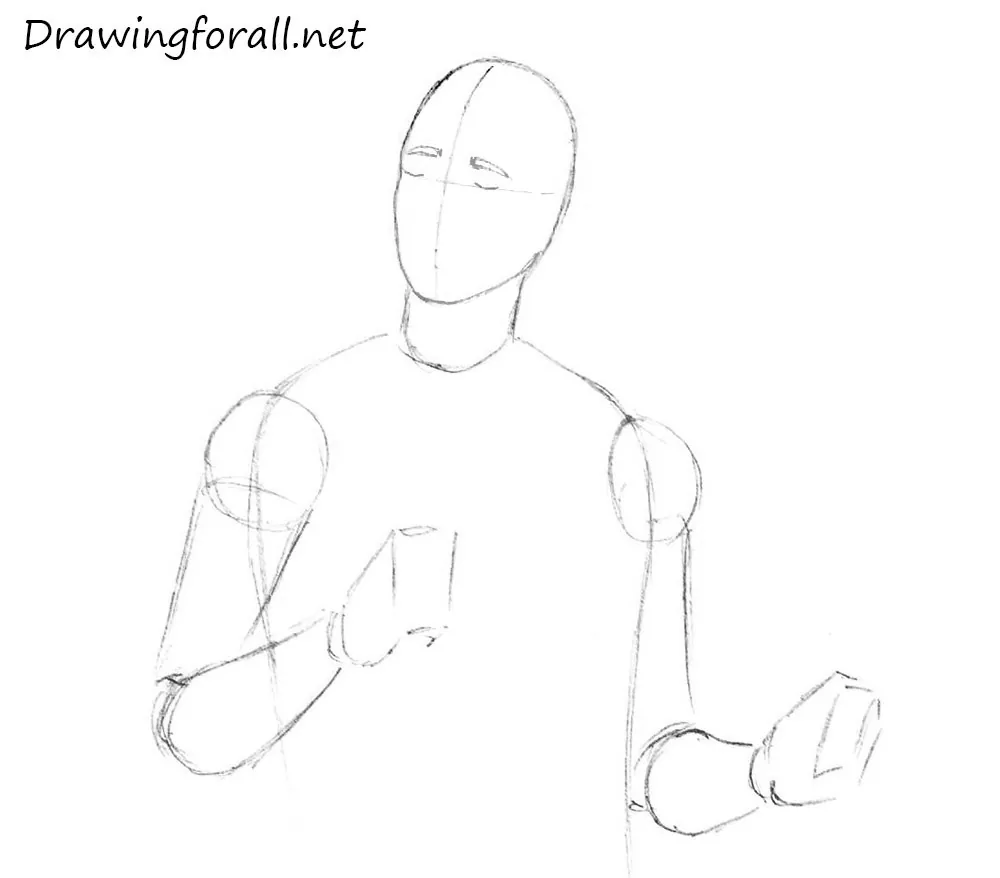
Step 1: Sketch the singer’s head
At first, draw an oval as a guide for the head. In this step, we begin in the same way as in our Spider-Man head drawing tutorial. Draw the facial symmetry lines. The vertical line shows the center of the face, and the horizontal line will help place the eyes. The lines should intersect in the middle of the face.

Step 2: Draw Rick Astley’s torso and arms
Using a cylinder, draw the neck of Rick Astley. Sketch the shape of the torso. Using circles, draw the shoulders. Sketch the arms using cylinders. Each arm consists of two cylinders of the same size. Sketch the hands of the singer using simple shapes.

Step 3: Draw the eyes of Rick Astley
Using two slightly curved lines, draw the closed eyes of Rick Astley, which are positioned along the vertical line from the previous step. Draw the eyebrows above the eyes. Pay attention to proportion and symmetry while drawing the eyes, and also try to capture the facial features as accurately as possible.
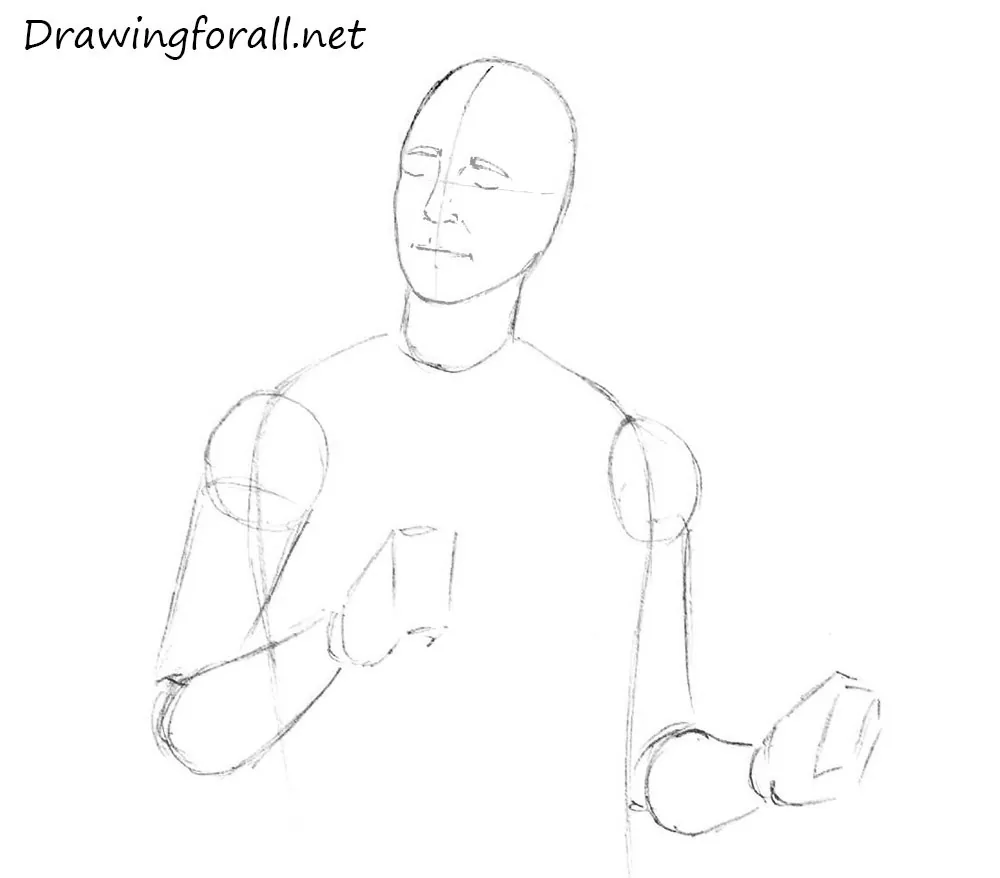
Step 4: Draw the singer’s nose and mouth
When drawing Rick Astley, remember that he has very soft facial features. Using a slightly curved line, draw the nose as shown in our example. Under the nose, draw the mouth. Keep the principles of facial drawing in mind and regularly compare your sketch with the reference for greater accuracy.
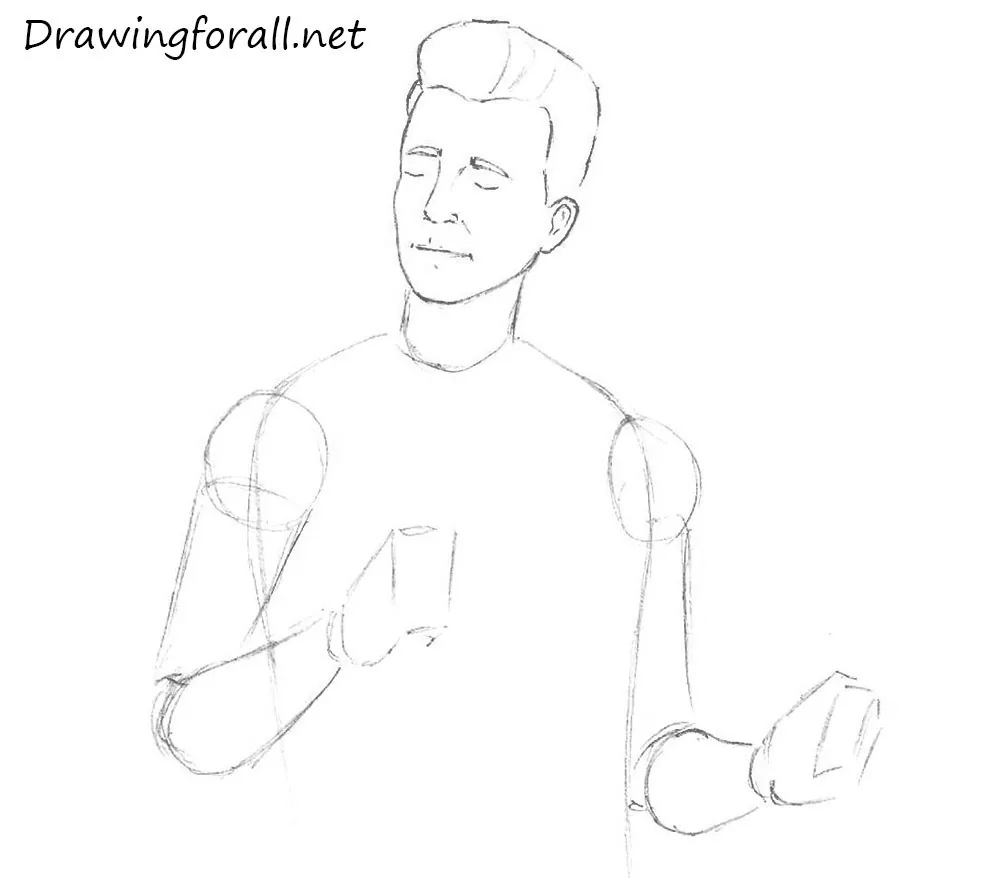
Step 5: Draw Rick Astley’s ear and hairstyle
On the side surface of the head, draw the ear, which is positioned along the eye line. Draw the lines of the jaw, chin, and cheekbone, refining the shape of the head. Erase the guidelines. Then draw the tall 1980s-style hairstyle while continuing to pay attention to the proportions.
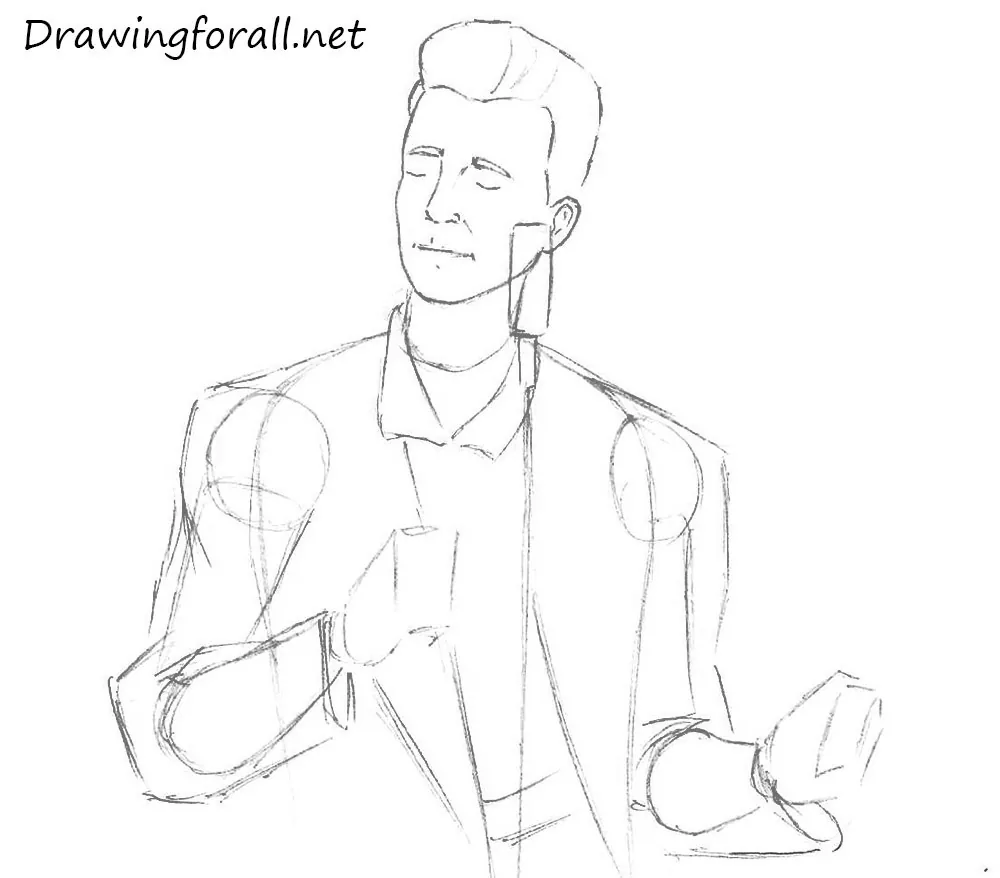
Step 6: Sketch the singer’s jacket and microphone
Using light, general lines, sketch the singer’s wide jacket. First, indicate the part of the jacket covering the torso, then add the wide sleeves. Sketch the polo collar beneath the jacket. In front, slightly closer to the viewer, draw the microphone using straight lines.
Step 7: Refine the singer’s clothes and hands
First, carefully trace the outlines of the jacket and the polo shirt beneath it using dark, clean lines, drawing the folds while keeping the principles of drapery drawing in mind. Then, in the same way, refine the outlines of the arms, detail the fingers, and finish drawing the microphone, giving it a cleaner and more polished appearance.

Step 8: Finalize the realistic Rick Astley portrait
In the legendary music video, the light falls from the upper right part of the frame, so the shadows are concentrated more on the left side. At the same time, reflected light also comes from behind, leaving a light contour along the left edge beyond the shadow. Keeping this in mind, carefully apply hatching, trying to place it according to the form.

Principles of drawing celebrity portraits
Of course, the most important thing to remember is that drawing this character fully follows all the principles of drawing a person and human face.
The task of any artist is not simply to copy the lines they see, but to accurately recreate the volume of forms on paper.
When drawing famous people or trying to create a convincing portrait, there is an additional challenge – capturing the likeness.
In other words, you must not only depict the person and convey the volume of the forms, but also make the result resemble the reference as closely as possible.
One of the most important techniques we can teach here is constantly comparing your drawing with the reference.
Do not focus only on the sheet of paper while drawing Rick Astley, for example. Continuously shift your gaze between the reference and the drawing.
Use your pencil to measure the proportions of the face and transfer them onto the paper. We discuss these methods in detail in our basic drawing course, where we also share the fundamental techniques that help create truly realistic drawings.
In addition, as always, practice is extremely important here as well. Regularly drawing portraits of different people will help you understand the essence of portrait drawing, learn to capture subtle facial nuances, and create convincing likenesses.
This was a tutorial in which we demonstrated how to draw Rick Astley. If something in your drawing did not turn out correctly, remember that you are never gonna give up, and keep practicing and drawing.


how to get gud with drawing
I just started to draw, I’m 51… I tried this one and my gosh, I cannot draw people! I’m Never Gonna Give up though lol
Never give up, even if it seems to you that you will never learn to draw. You will succeed, we believe in you!
I just
I want to draw but i keep giving up and i keep getting let down and every time i turn around i want to desert the paper.
hi are you famous
i am obsessed with rick astley
Me too
I cannot even do step 1. I keep on failing and cannot draw a simple head.
Lesson: some people have drawing dyslexia.
Amazing! So realistic 10/10 !!
My draw sir will not kill me!
Never gonna give this paper up
Never gonna let it down
Never gonna run around and desert it
Never gonna say goodbye
Can you hear me Rick, it looks like you
We are so lucky Rick exists.
I drew it. It kinda worked. Imma use it to Rick Roll my friends. Muahhaha
It worked
Thanks