

How to Draw a Princess
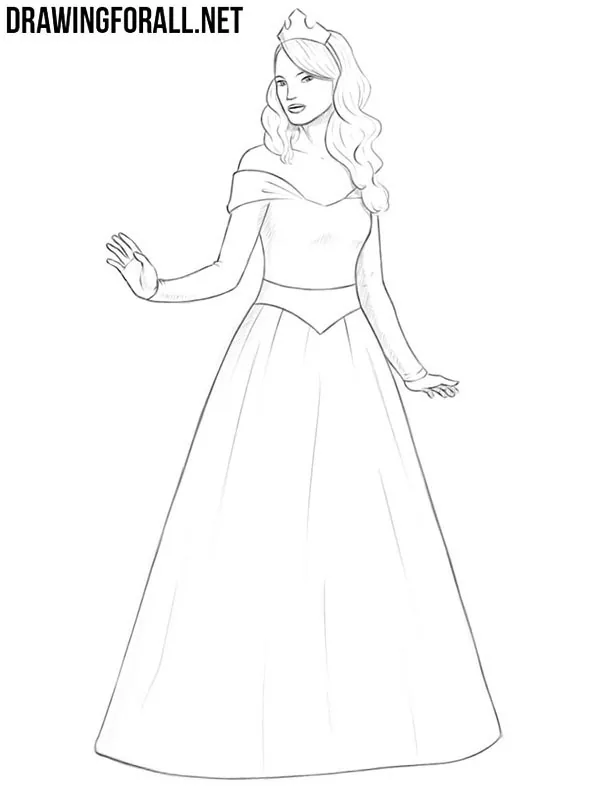
In this step-by-step tutorial we will show you how to draw a princess. This can be a real princess or simply a girl dressed like one.
Here, you will follow the classic techniques for drawing a girl, but use more characteristic clothing and accessories, such as a long princess dress and a crown.
How to draw a princess step by step
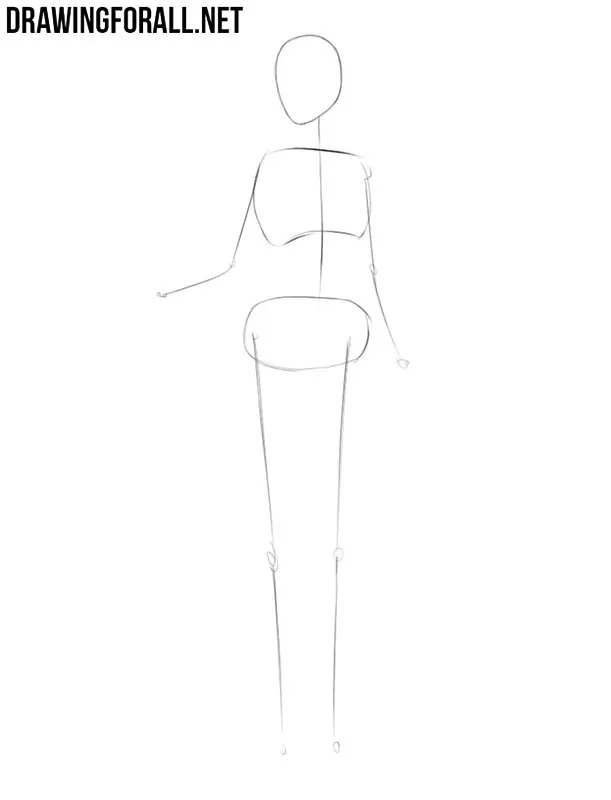
Step 1: Set the princess’s pose
Let’s look at the figure we will draw. We have a tall, slender girl standing with one arm at her side. Start with sketching a stick figure. Pay attention to the wide pelvis and narrow shoulders. The height of our character is equal to about eight head lengths.
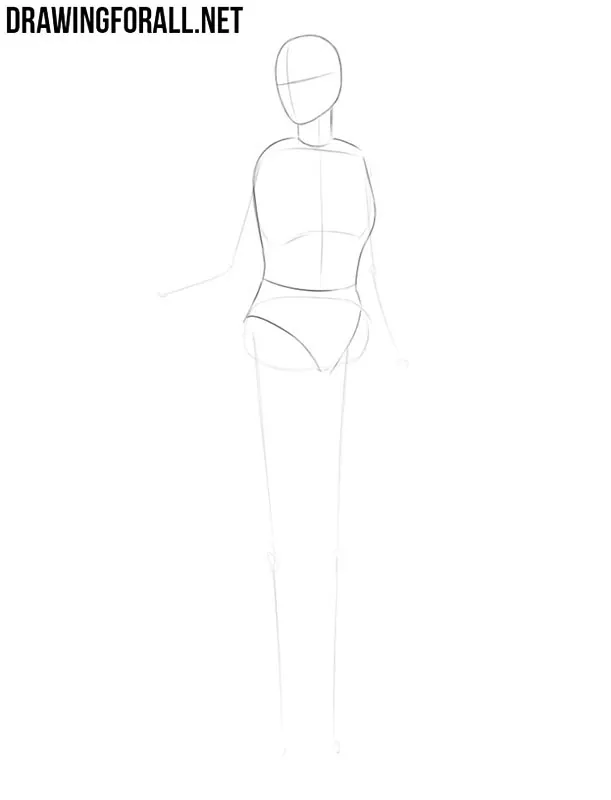
Step 2: Shape the torso of the princess
There are many different kinds of princesses, aren’t there? We will draw a typical fairy-tale princess. Give her a graceful body connected to the head by a thin neck. The transition from the shoulders to the pelvis should be very smooth.
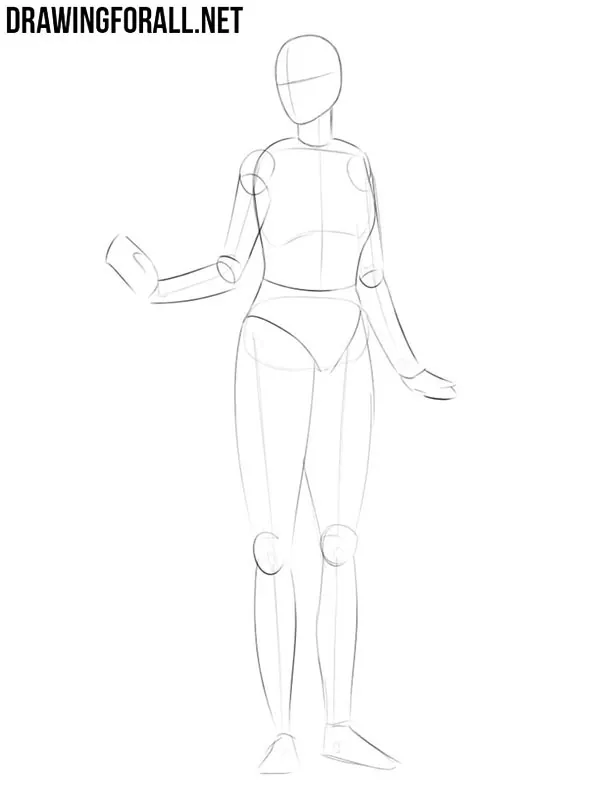
Step 3: Give the limbs volume
Draw the limbs using cylinders and circles. All the cylinders except the lower legs should taper smoothly downward. Pay attention to the circles marking the shoulder joints. They overlap closely with the contour of the torso, with one almost completely hidden and the other partly visible.
Step 4: Add hair, crown, and face
Draw the contours of the hair and crown. The crown resembles an isosceles triangle placed on top of the head. The hair is formed with smooth, wavy lines running along both sides of the head. Also mark the main facial features, using the guidelines on the head to place them correctly.
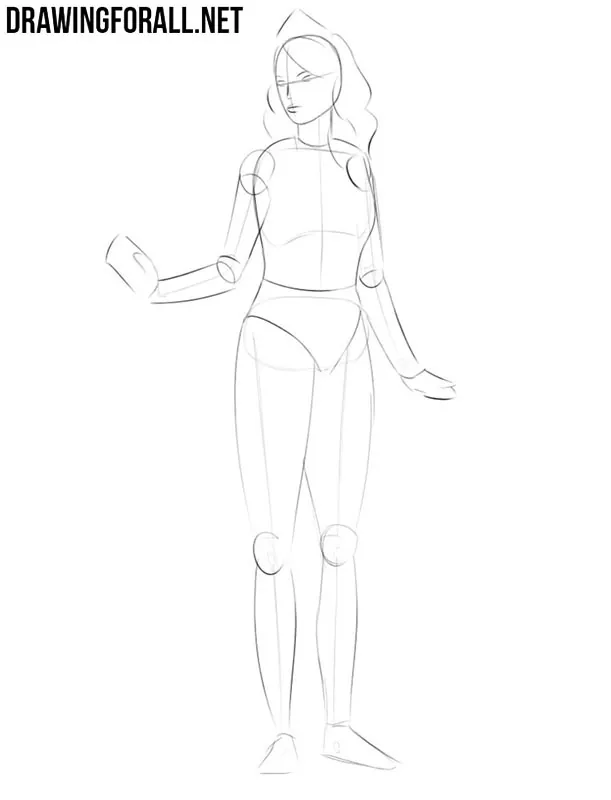
Step 5: Sketch the hands and dress
Now add the approximate contours of the hands. On the left hand, the thumb creates a sharper angle because it points away from the other fingers. On the right hand, the thumb lies closer to the same plane as the fingers, but it should still differ from them in length and width. Also start drawing the princess dress. Pay attention to the wide lower edge and use the leg lines from the previous steps as guides.
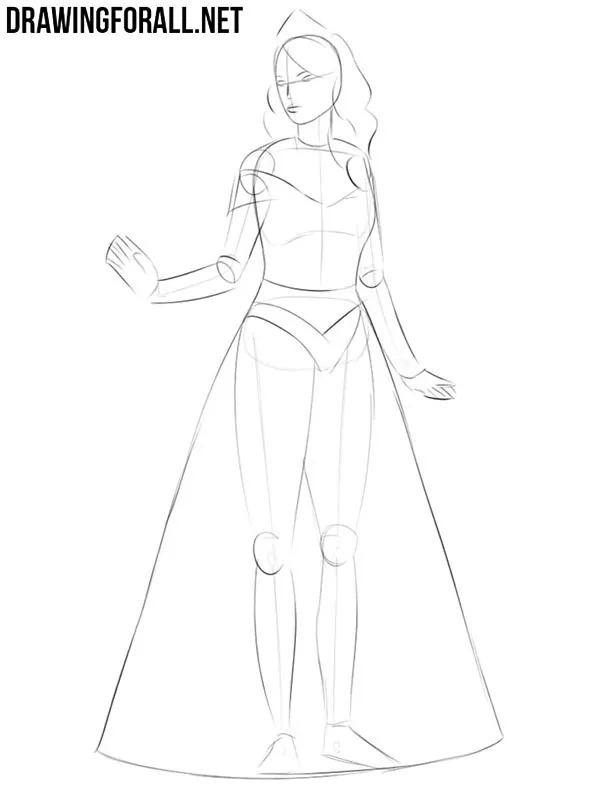
Step 6: Refine the head details
Now work on the final details of the head. Using clear, dark lines, draw the girl’s face, gradually refine the facial features. Next, draw the long wavy hair and the contours of the crown. Remove the unnecessary guidelines from the princess’s face before moving on.
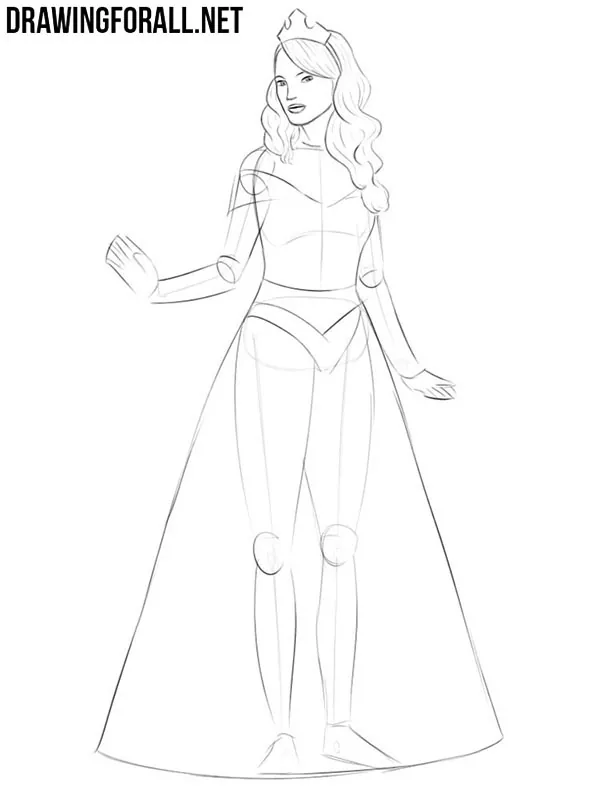
Step 7: Finish the arms and hands
Now carefully refine the princess’s arms. Continue the lines from the torso to create smooth arm contours. Then draw the hands and fingers in detail, remove the unnecessary guidelines, and add the clothing details around the shoulders and arms.
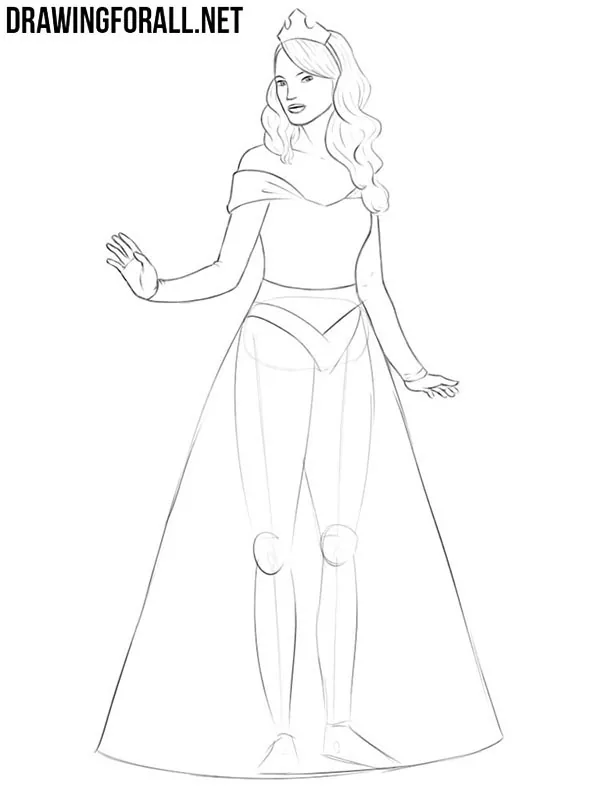
Step 8: Clear the dress interior
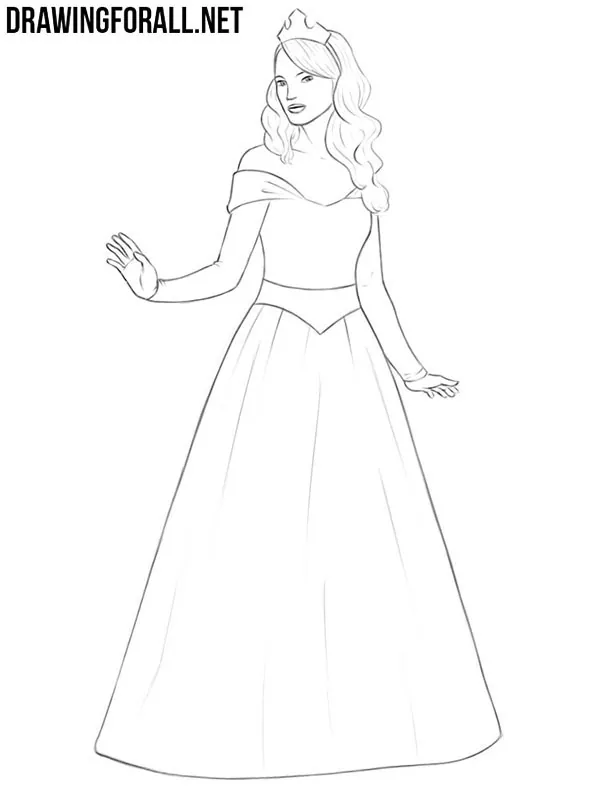
This is one of the simplest stages. Erase all the construction lines inside the outline of the dress. Instead of the leg contours, leave only a few mostly straight folds in the fabric.
Step 9: Shade the finished princess
To make the princess drawing look more complete and dimensional, add shadows. First, lightly mark the areas where the shadows will fall. Then fill these areas with even hatching. You can add another layer of hatching to make selected areas darker.
We have completed this princess drawing tutorial. It is not much more difficult than our other tutorials on drawing female characters.
You may have noticed that we draw comic-style and realistic female figures using many of the same basic principles.
After practicing several such figures, you can use the same approach to draw many other female characters.




you guys next to make videos or something to help understand more better….
exactly. to make it easier.
Exactly to easier and faster because now i cant find the location of my princess face and hair
Princess
AWESOME!! (I NEED to work on my faces)
i like all these beautiful drawing’s. wow, awesome, gorgeous
I all the drawings that make people that what to draw them can.