How to Draw an Artist
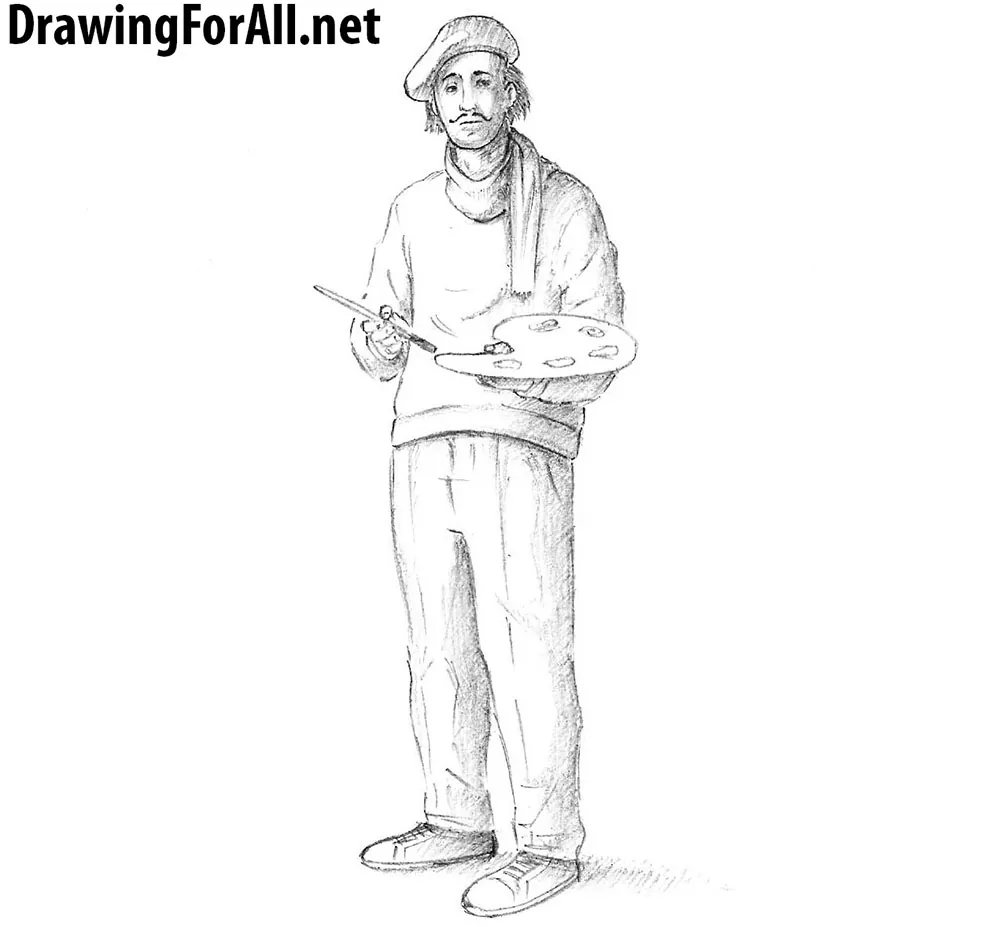
Hello, dear artists! On our site we have drawn a lot of interesting things. But so far we have not drew you, dear artists. So, in this drawing lesson we will show you how to draw an artist!
Step 1
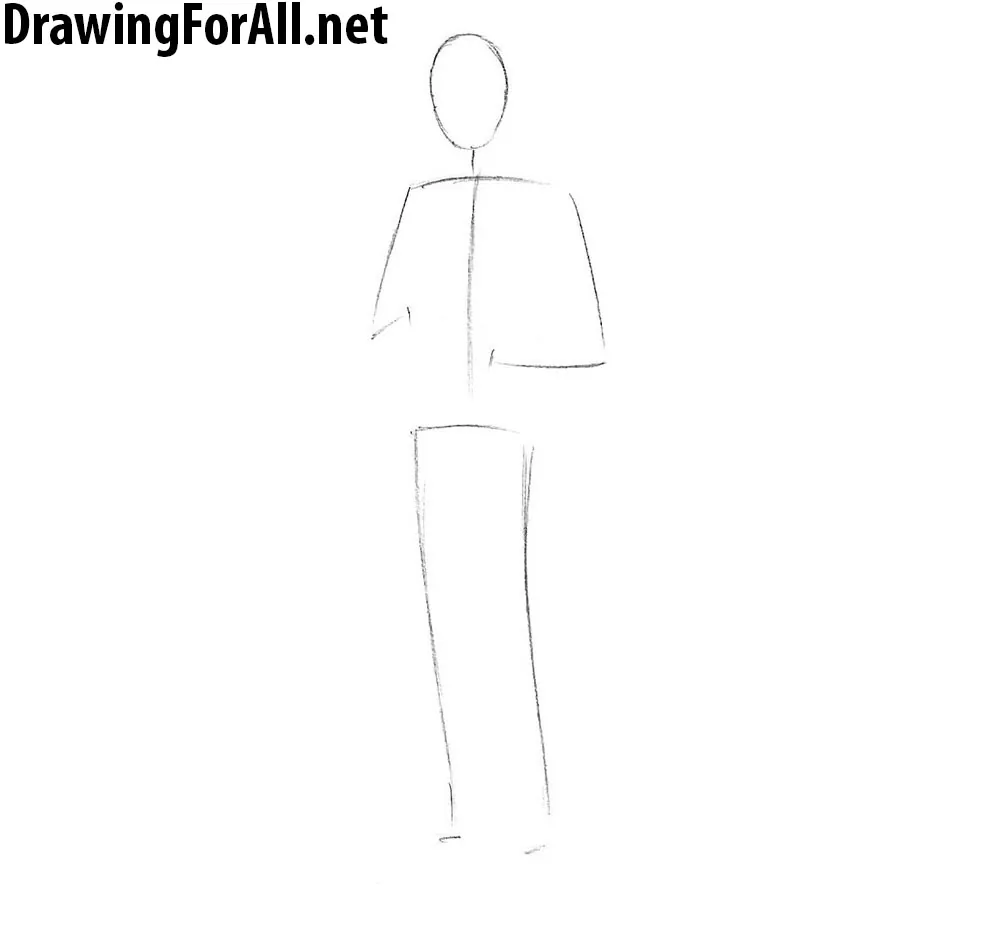
As always at first we choose the pose of character. Our artist is in a very characteristic pose – in one hand he holds a palette and a brush in the second hand. Sketch out the head in the form of an oval and body with the help of simple lines.
Step 2
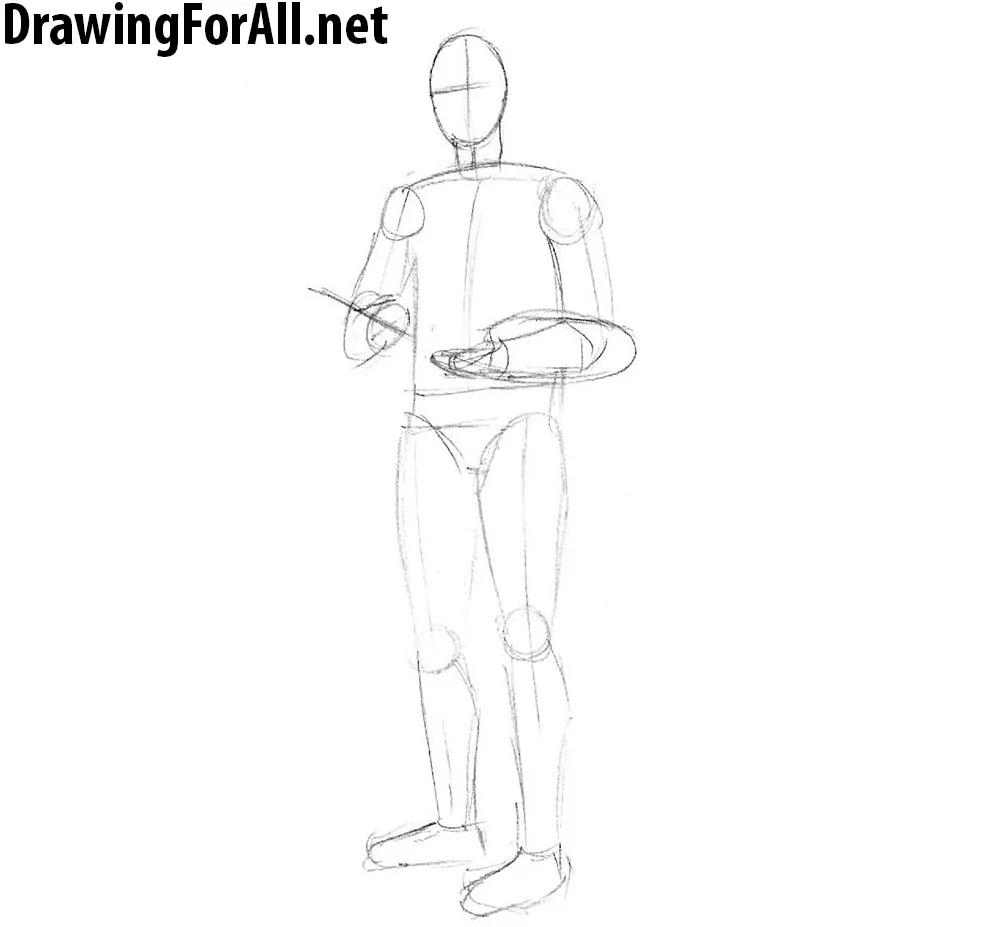
Here we add volume to the figure of artist. Just outline the parts of body using simple geometric figures. Draw the neck, torso and limbs in shape of cylinders. Shoulders, elbows and knees in shape of circles. Sketch out the hands, feet, palette and brush. Don’t forget to draw the lines of facial symmetry.
Step 3
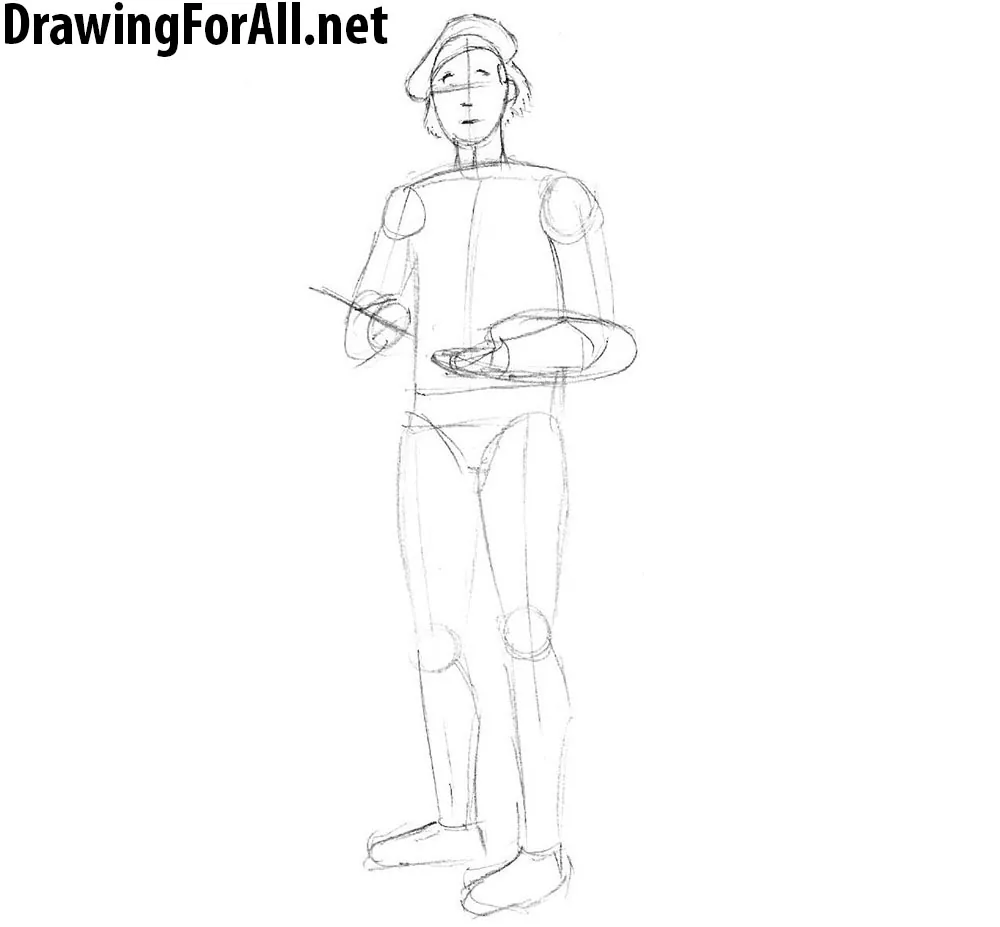
Sketch out the outlines of the beret using curved lines. Sketch out the eyes, nose, ears and mouth. Using ragged lines draw the hair, protruding from under the beret. By the way, if you want a more detailed description of drawing of the human body, visit the lesson on how to draw a man.
Step 4
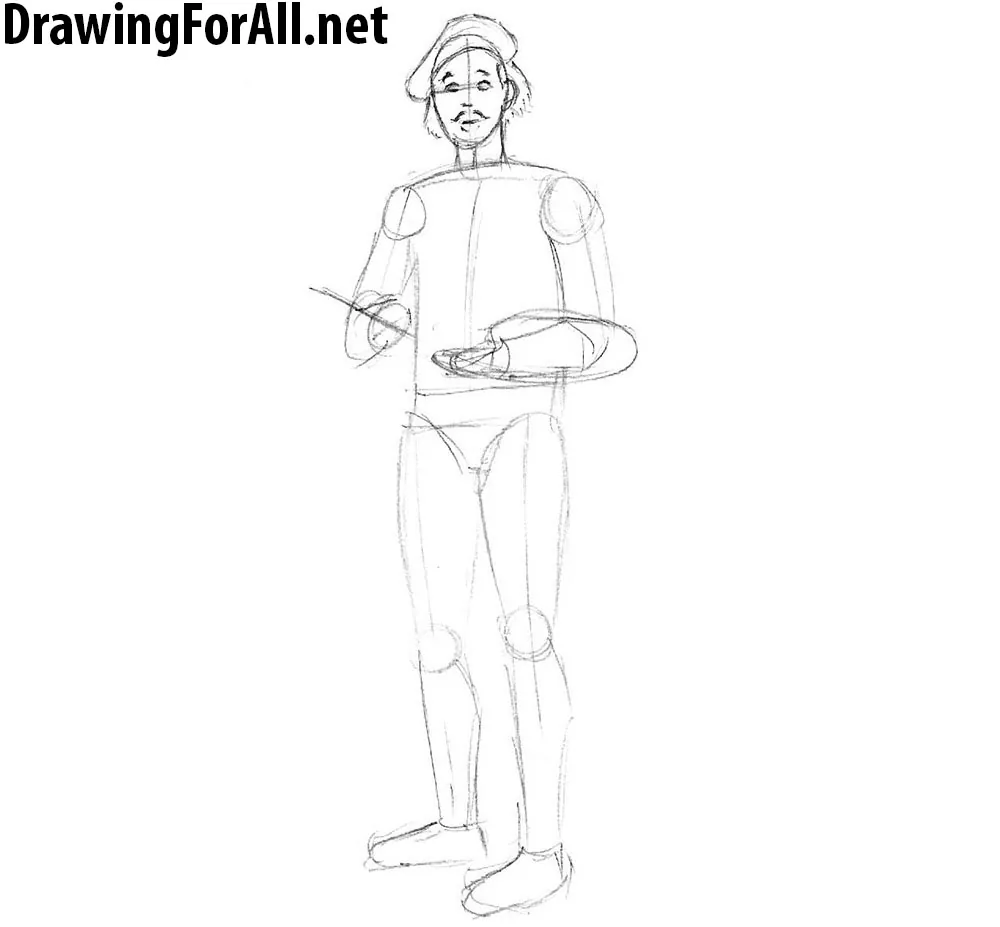
Probably the easiest step of the tutorial on how to draw an artist. Here, we simply add some more details to the head of the artist. Draw out the eyes. Draw out the shapes of the face. Using curved lines draw the mustache. This mustache seem to you too small? Then visit a lesson on how to draw a beard.
Step 5
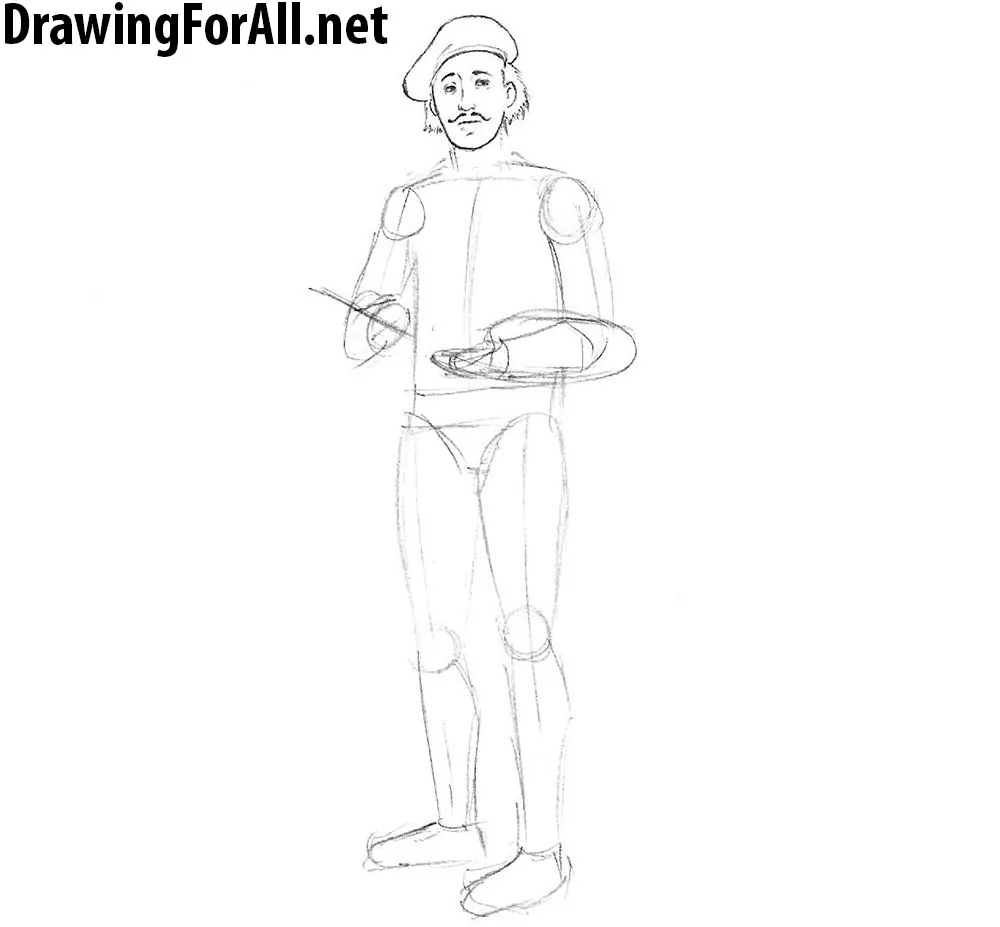
Erase all guidelines from the face of artist. Draw out the lines of the head and face. Add pupils and a few wrinkles to the face. The artist’s face is ready. Note that, of course, you can draw any facial features.
Step 6
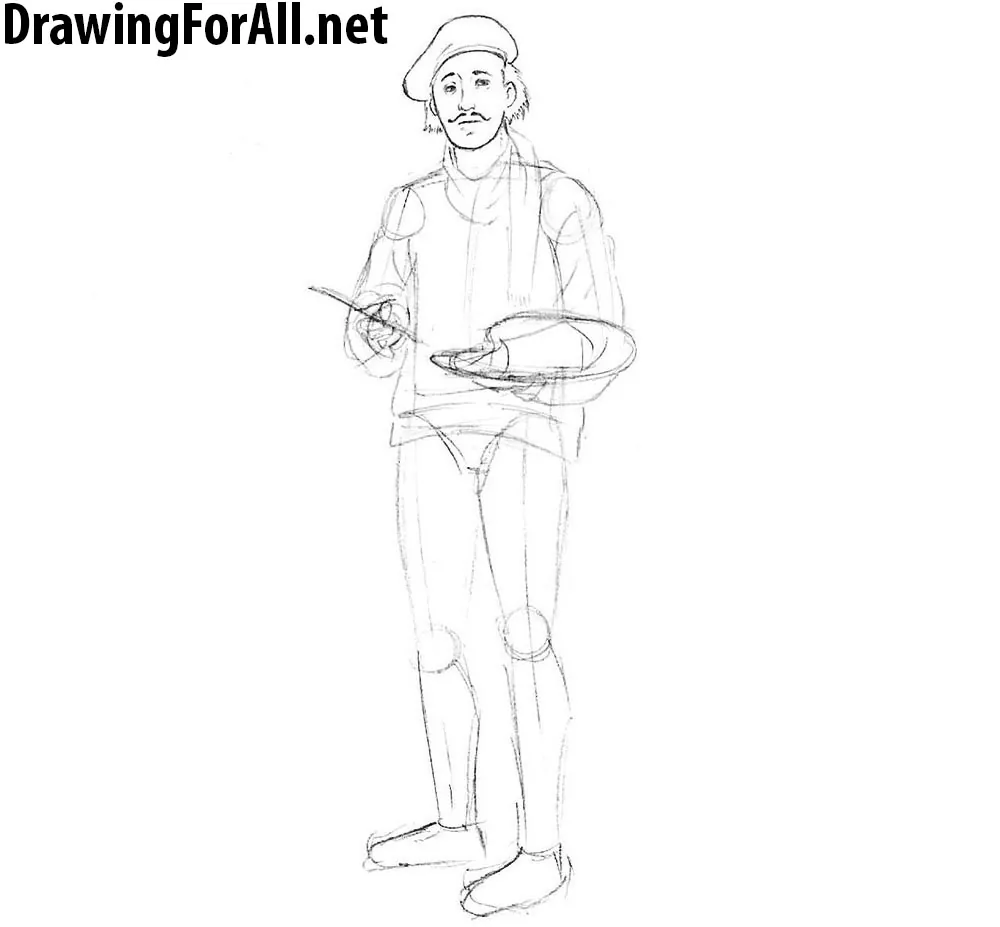
Here we begin to add details to the body of our artist. Using very light lines draw the scarf. Then we outline the large and loose sweater with a large number of links.
Step 7
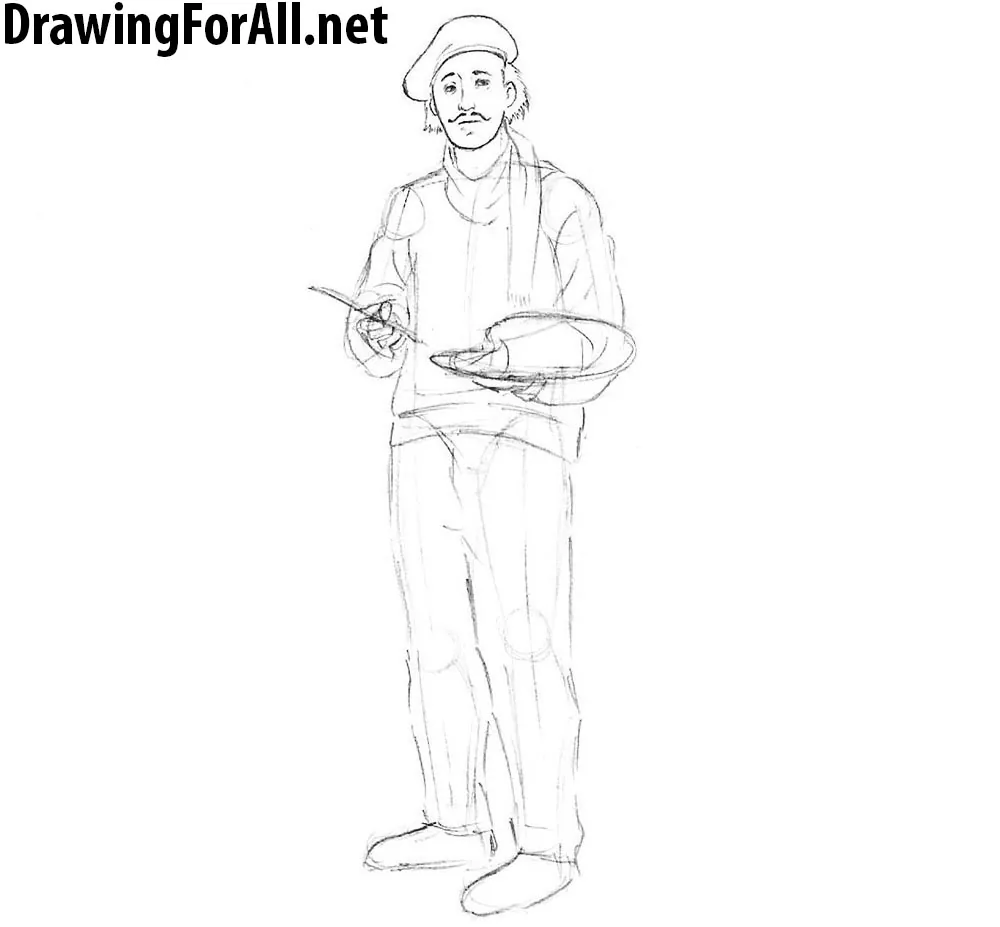
Here we do the same actions with the lower part of body of the artist. Draw the baggy pants as in out example. Draw out the lines of the shoes.
Step 8
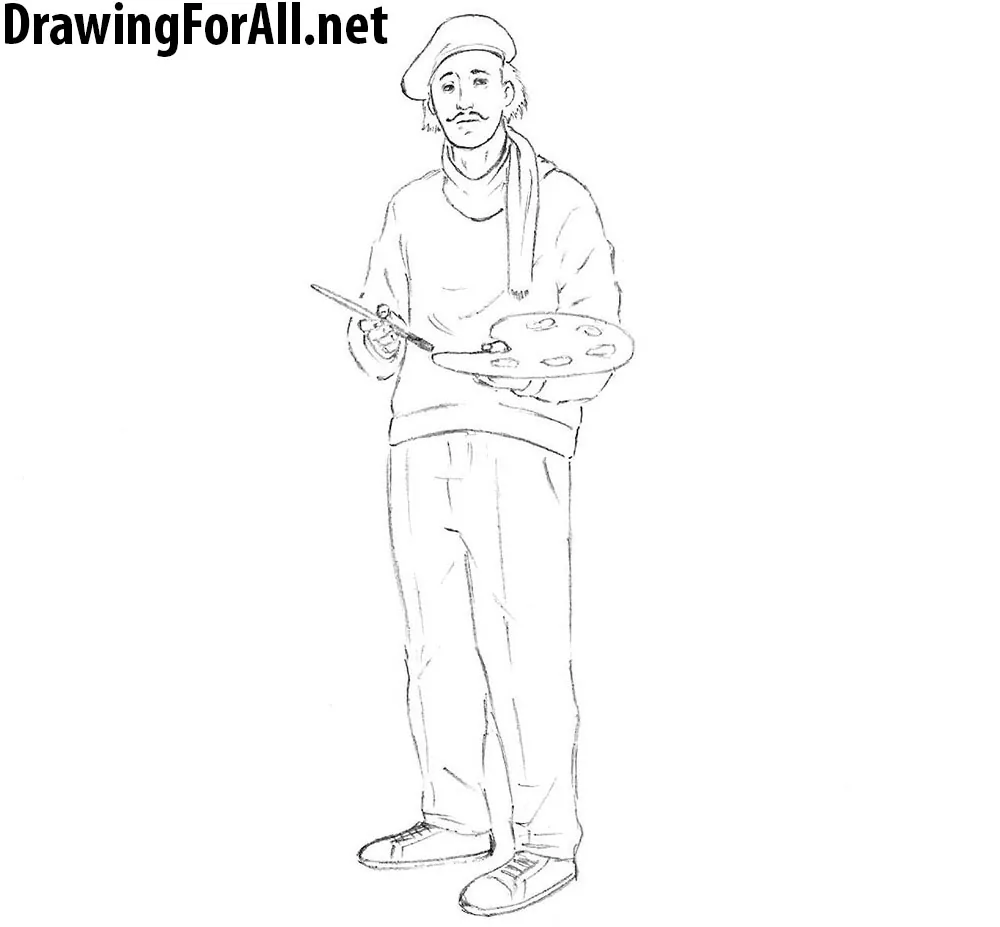
Erase the guidelines from the body. Draw out the lines of the body and clothes. Add some folds to the sweater and pants. Draw such elements as arrows on trousers, pockets and shoelaces.
Step 9
At this step we add shadows to the picture. Using light hatching add shadows. Add a double layer of shading in those parts where the shadow should be darker. Don’t forget about cast shadow.
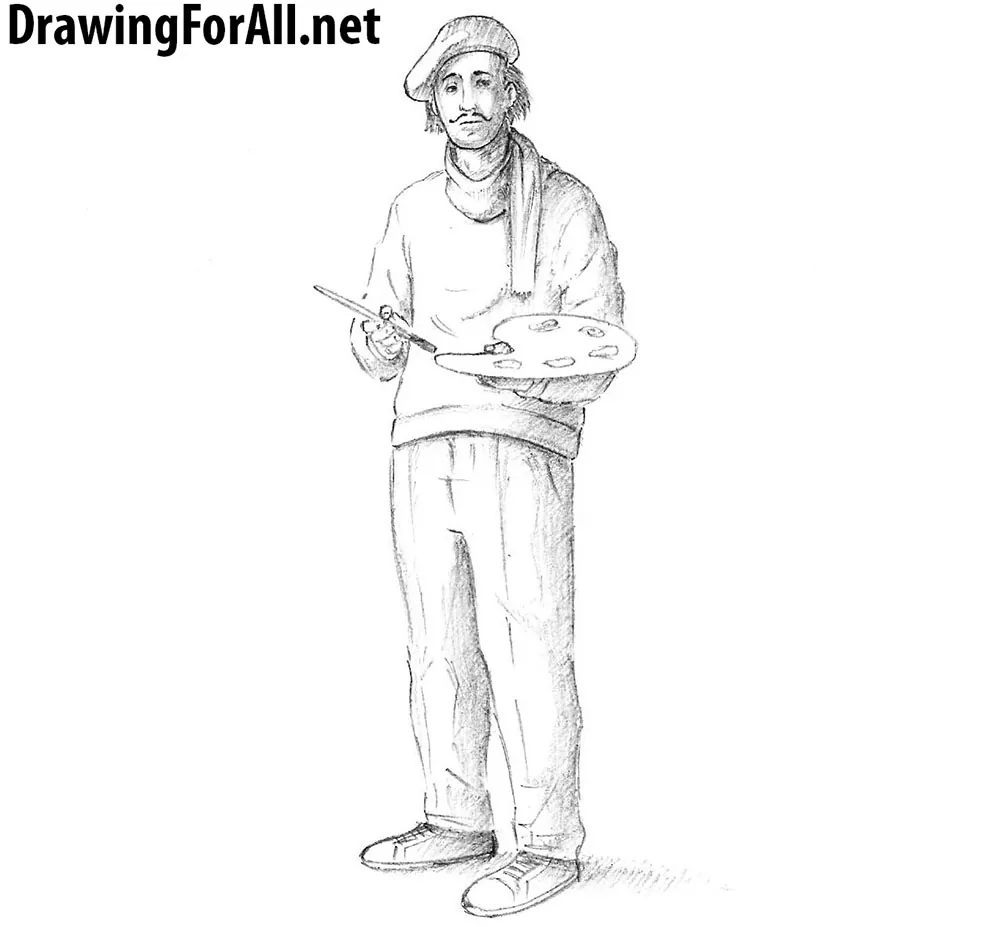
The lesson is over. In this tutorial we have shown you a lot of interesting techniques in drawing the human figure. In fact, exactly the same way you can learn to draw any person, whether a doctor or a knight. Help us make the lessons even steeper – just subscribe to us in social networks, share this lesson and write a comment below this tutorial.


