How to Draw an Eldar
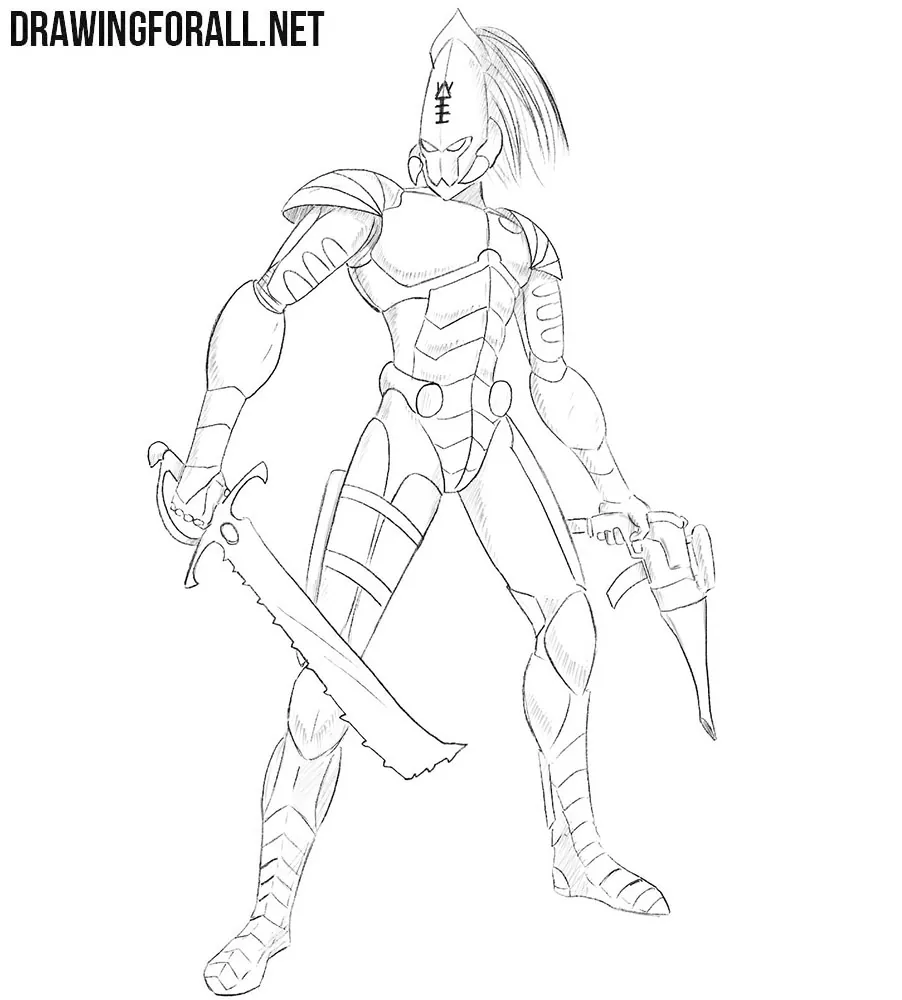
Today is a great time to draw Eldar from Warhammer 40,000. Eldar are very ancient and powerful race. Many fans of computer strategiс games Dawn of War know that the Eldar are very fast and mobile warriors. Under the able guidance they are able to defeat any opponent.
So let’s start this tutorial about how to draw Eldar from Warhammer 40,000.
Step 1
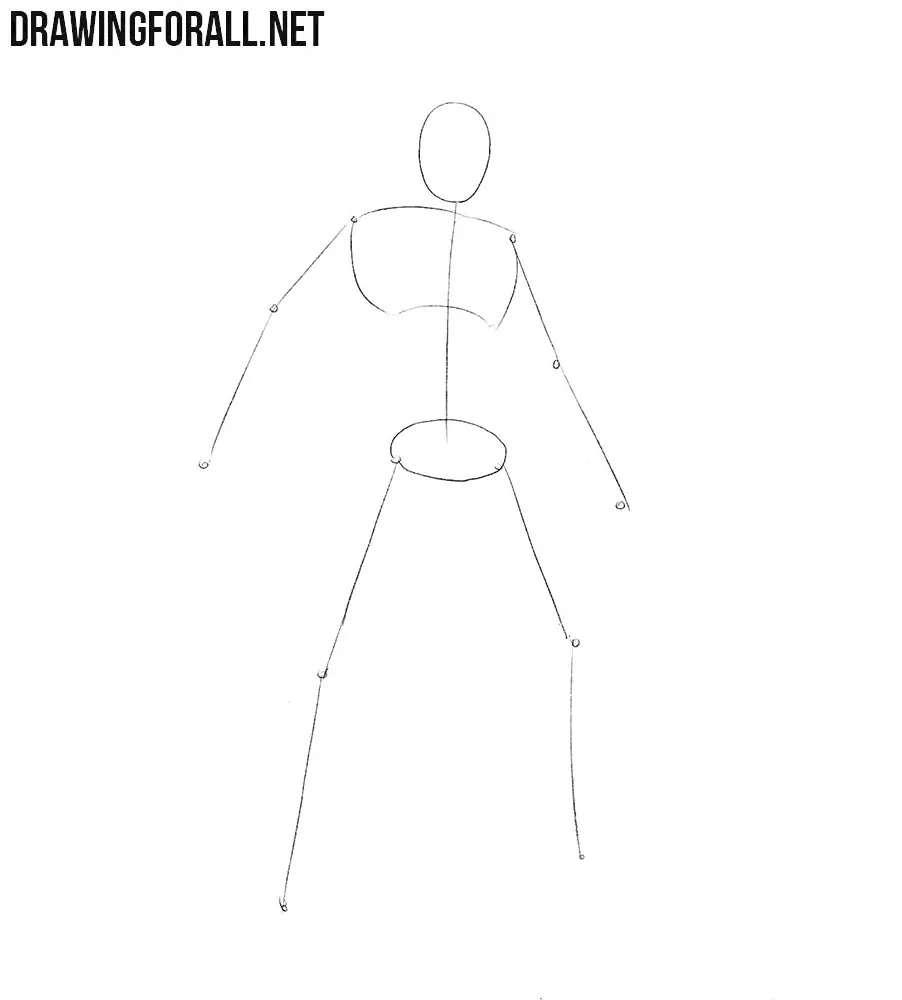
One of the most important thind of all our drawing is the first step, in which we draw the stickman. As in other lessons, we will start with the head, outlining it in the form of a simple oval. Next, the line of the spine, chest, pelvis, arms and legs. The arms and legs of our character are longer than the arms and legs of an ordinary man. Also Eldar is higher than the average man. The difference in height is approximately the length of one head.
Step 2
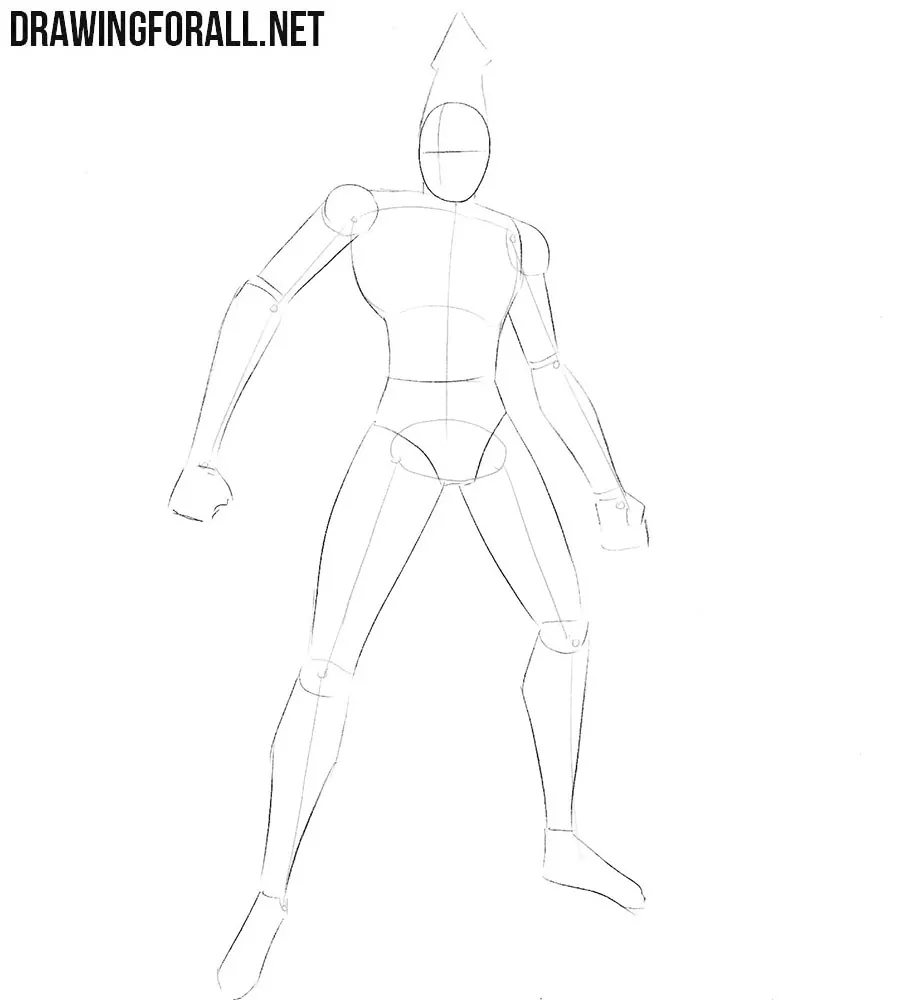
Let’s now add some volume to the skeleton of Eldar. And before it we need to draw out two crossing lines on the head, which will help us to draw the details of the helmet. Next we sketch out the outlines of the athletic but graceful body. With the help of elongated geometric shapes, we sketch out the outlines of arms and legs.
Step 3
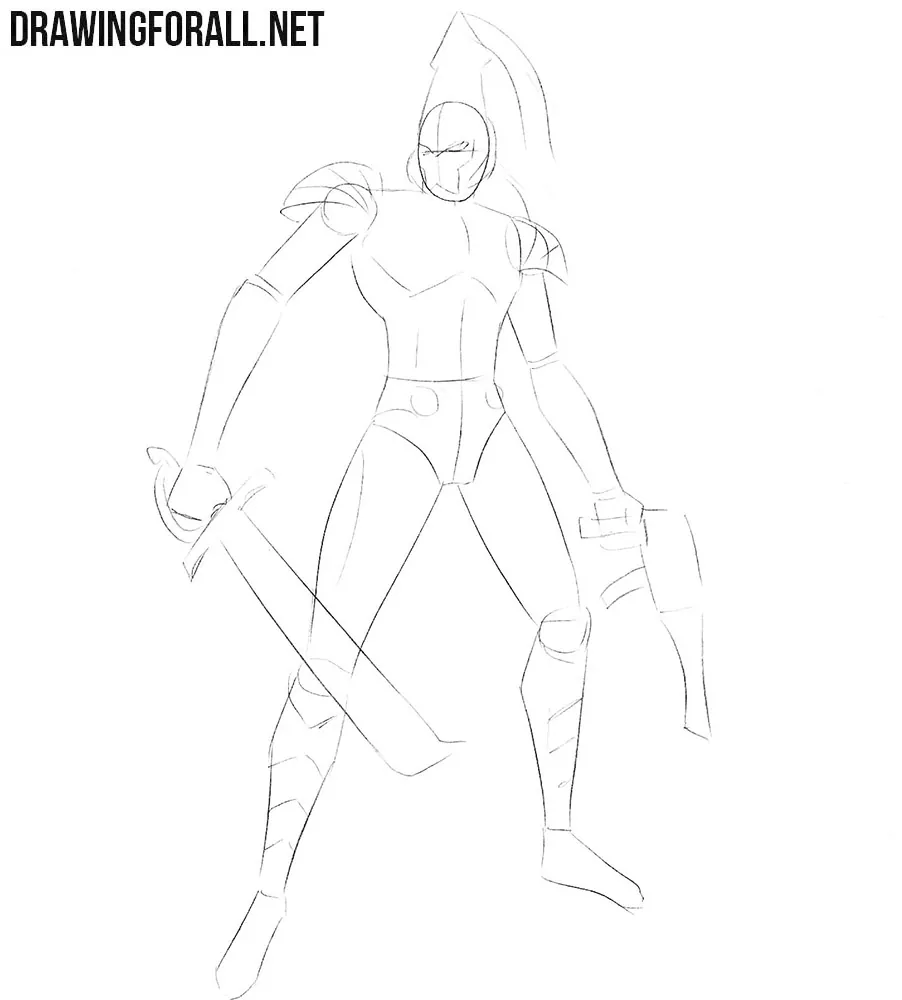
In this step we will draw contours of the armor. First we draw light contours of Eldar’s helmet. Next, go to the corpus, sketching the outlines of the armor, as shown in the example below. All lines of the first, second and third steps should be very light because it is the basic that we will use for other steps.
Step 4
So, now we take either a darker pencil and carefully draw the contours of the helmet in details. After that we need to draw the outlines of the mouth and jaw. Outline the details on the helmet and add horizontal and vertical spikes to the face. It’s a bit like the face of an insect actually Now take an eraser and remove all extralines from the head.
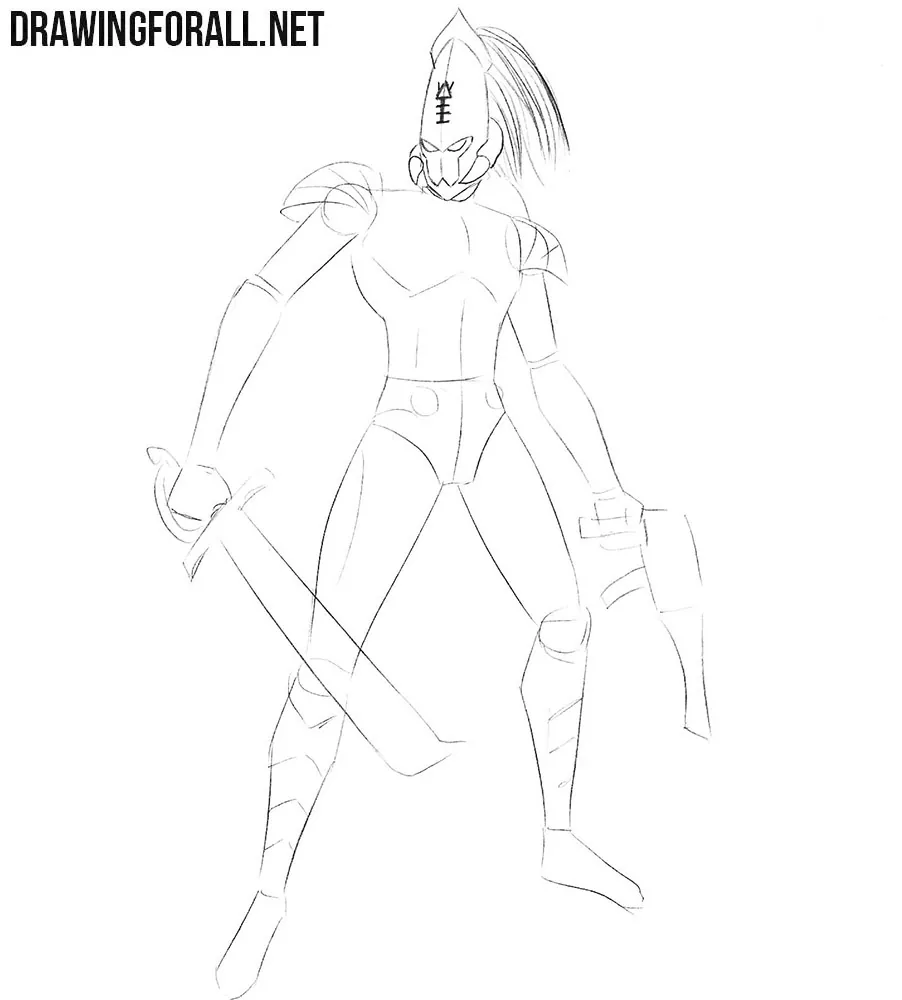
Step 5
In this step we will draw the armor that protect the body of Eldar. We draw two large plates in the area of the pectoralis major muscles and several small plates of armor on the abdomen. You can see that this plates of armor located from the chest to the pelvis area.
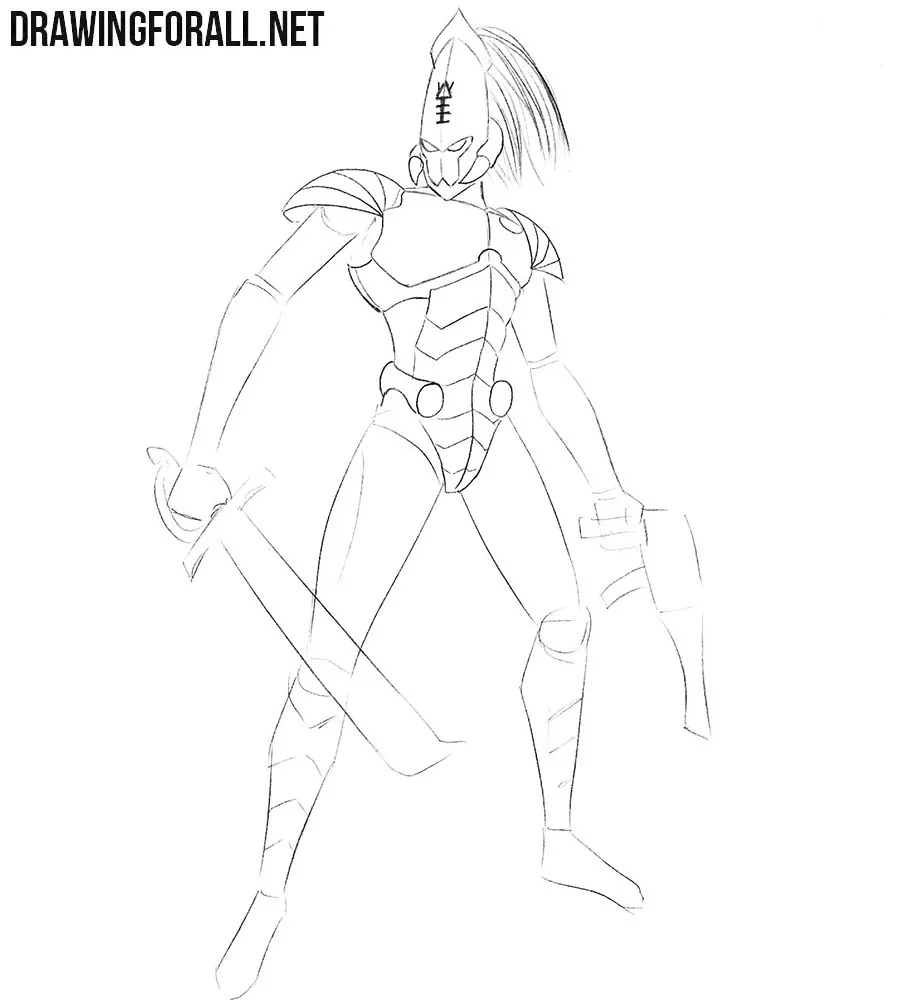
Step 6
It’s time to draw the hands. Our Eldar warrior is armored from head to foots, and we don’t need to draw the hand muscles in detail. Using undulating and straight lines draw the gun in the right hand. And in the left hand draw the Eldar Jagged Sword. And in the end of this step we draw the lines of armor on the shoulders and forearms.
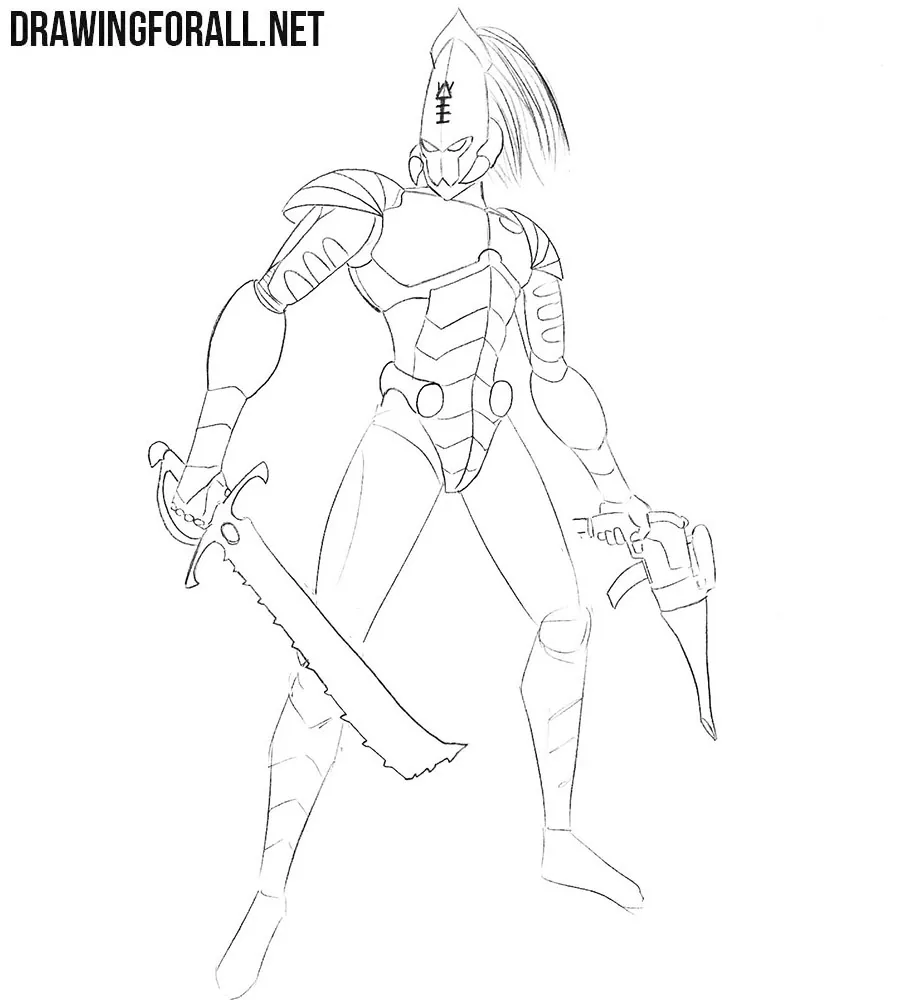
Step 7
So we move on to the lower part of our body of our warrior. Carefully draw the rounded belt. After that draw out the legs with the elements of the armor. And at the end of the step we erase all extra lines from previous steps.
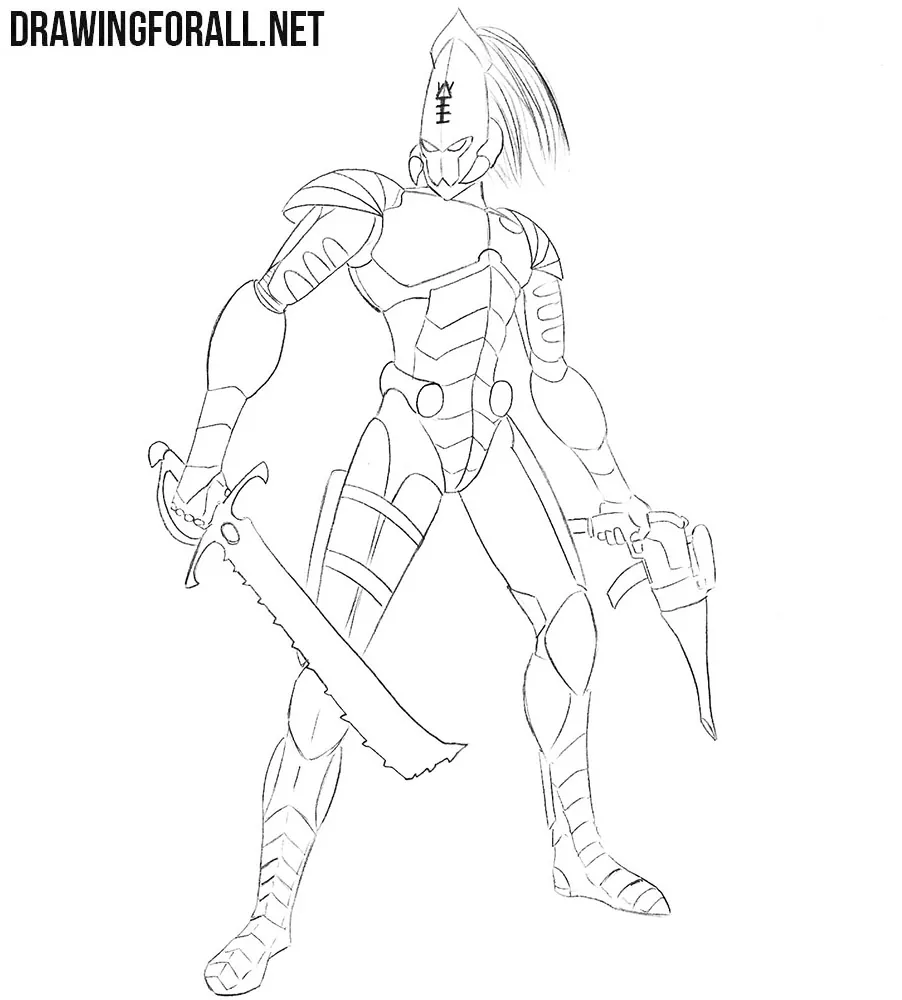
Step 8
Now it’s time to work with the shadows. We will do it to make our Eldar warrior look more realistic and voluminous. Let’s first determine the source of light in order to add shadows in the area with the least light. Shadows will traditionally be drawn with dense hatching.
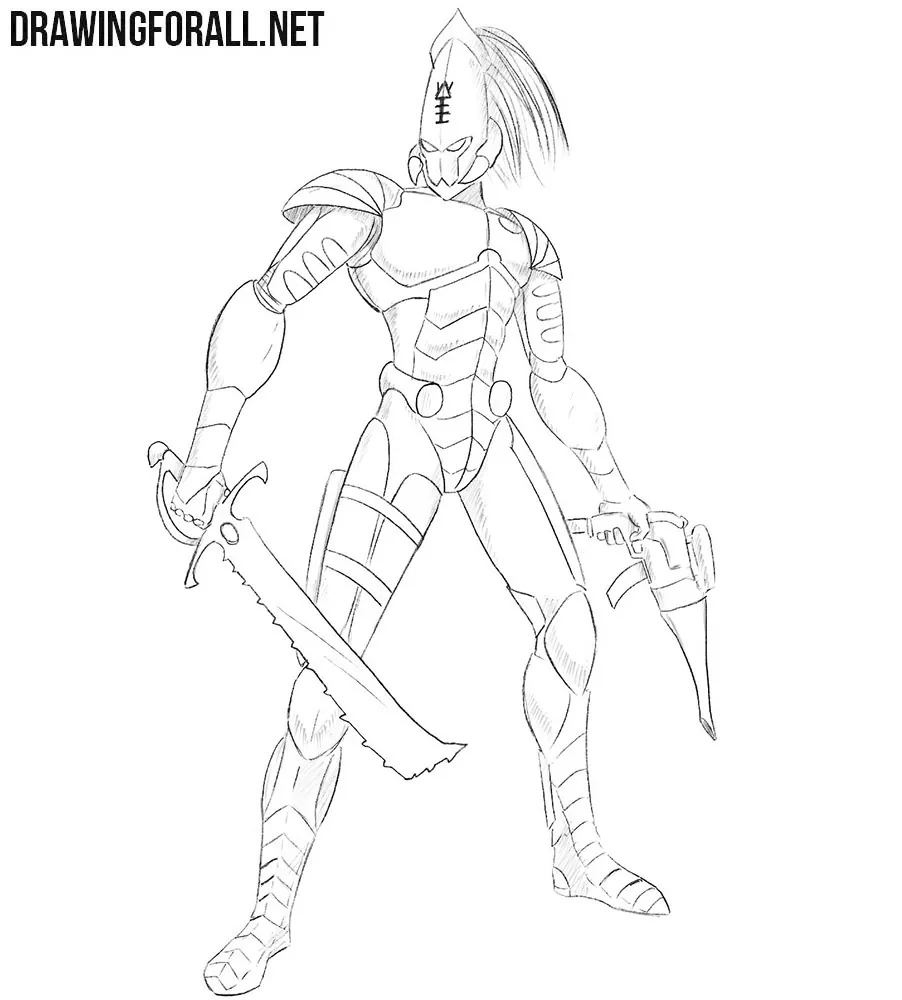
It was really hard drawing tutorial. So If you want to see any new characters from Warhammer 40 000 on the pages of our site, then write us about it in the comments to this article or in our pages in social networks.


cool