How to Draw Santa’s Little Helper
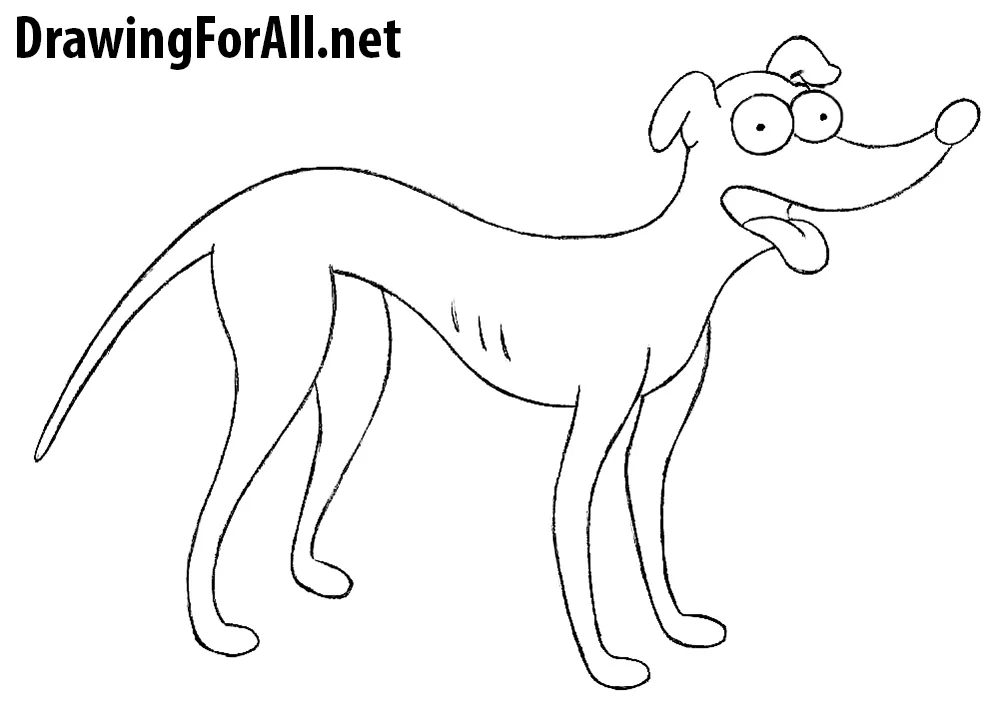
Hello dear readers and welcome to drawing tutorial on how to draw Santa’s Little Helper – one of the most famous dogs on the planet. As you know, Santa’s Little Helper is a dog from the famous animated series Simpsons.
Step 1
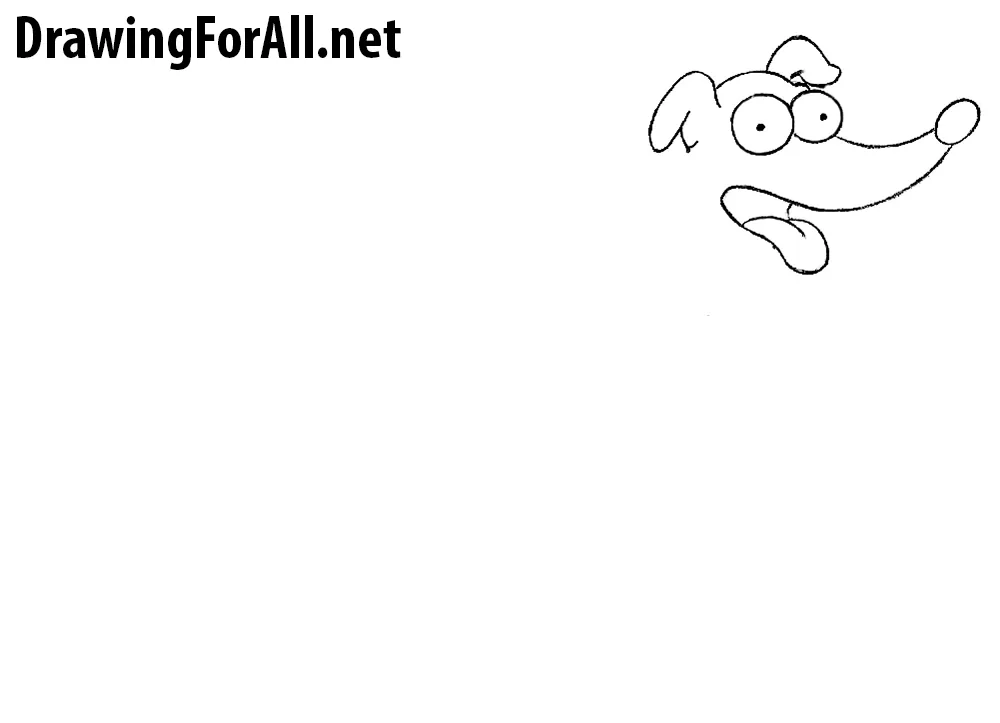
As with other drawing lessons of members of the Simpsons family, we begin this lesson with drawing eyes. An important detail – the eyes should look slightly in different directions.

Step 2
Let’s draw the nose. It should be crowned with a small oval. The lower line is much longer than the upper one. Use only very smooth bends.

Step 3
Continue the lower line and draw the mouth. Draw out the tongue inside the mouth as in our example and move to the next step.

Step 4
Above the eyes draw the contour of the head and ears. Look at the forehead – it is very narrow, the distance from the eyes to the edge of the head is minimal.
Step 5
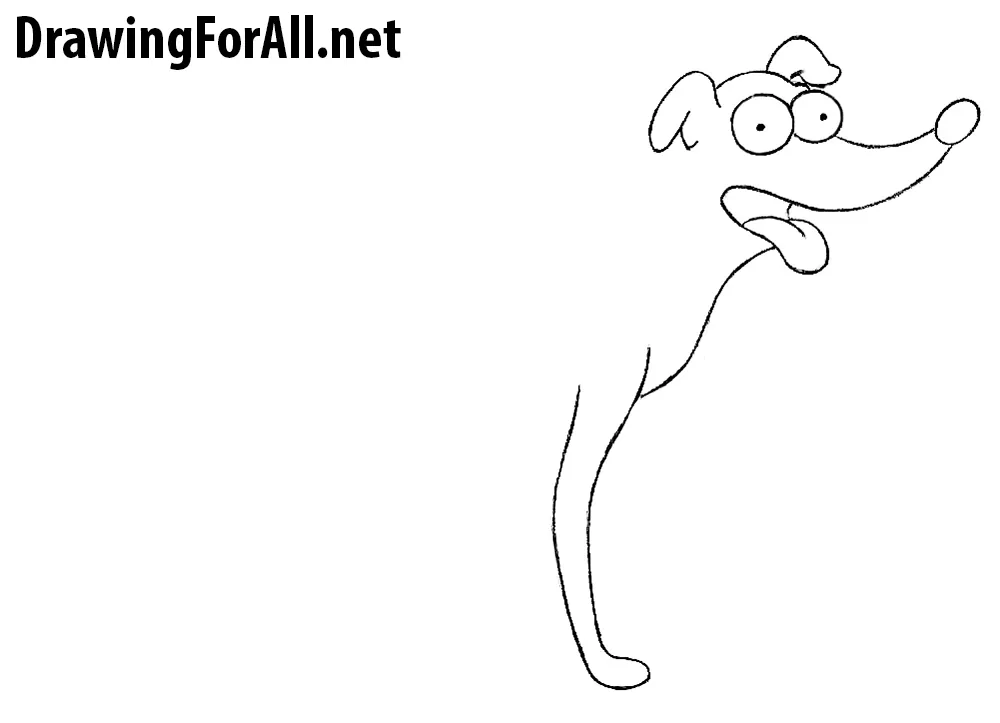
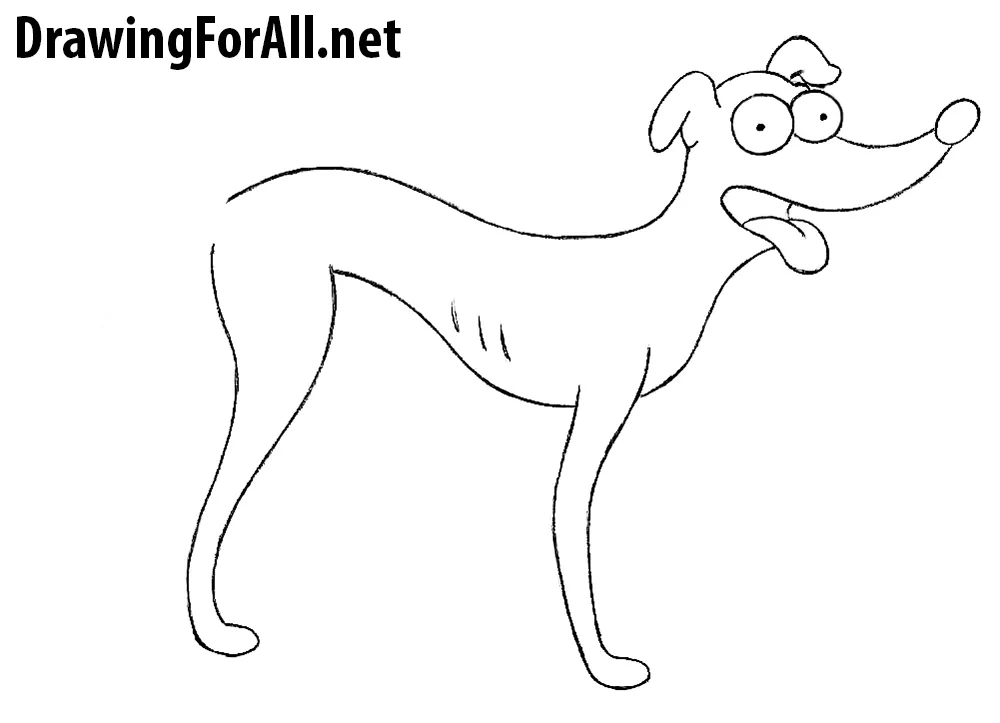
From the mouth draw down two smooth lines – the neck, which passes into the trunk and the front paw, respectively.
Step 6
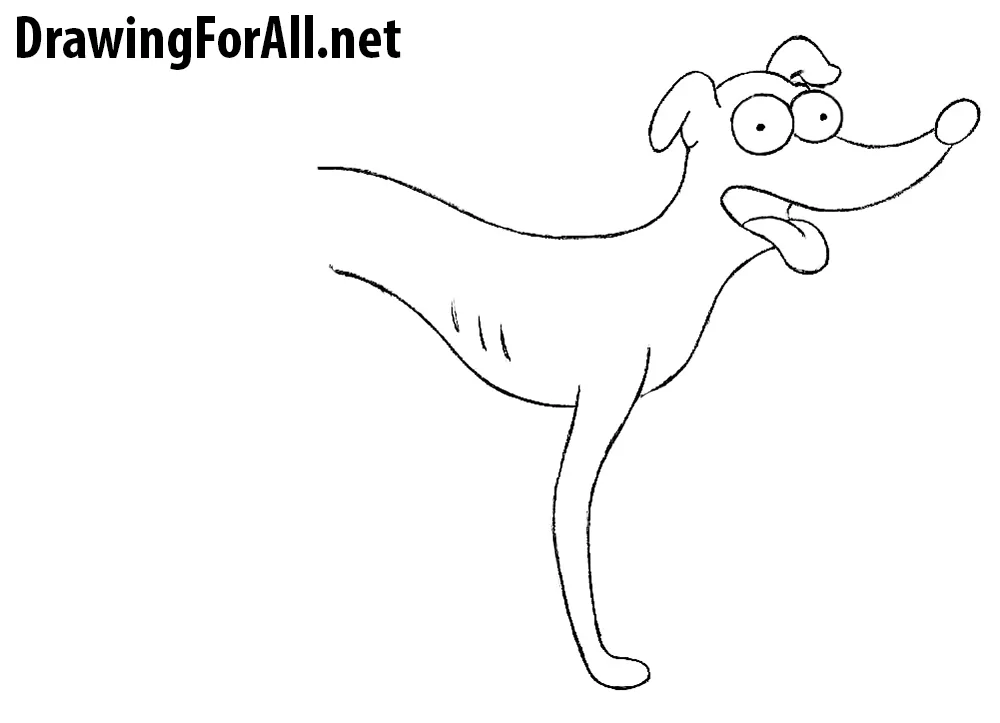
Santa’s little helper does not suffer from excess weight (although, with the exception of one series), so his body should look elegant. Draw the torso that should taper closer to the hind legs and sketch out the lines of the ribs.
Step 7
Now draw the hind paw. The same principles – we use only smooth lines, all bends should be smoothed as in our example.
Step 8
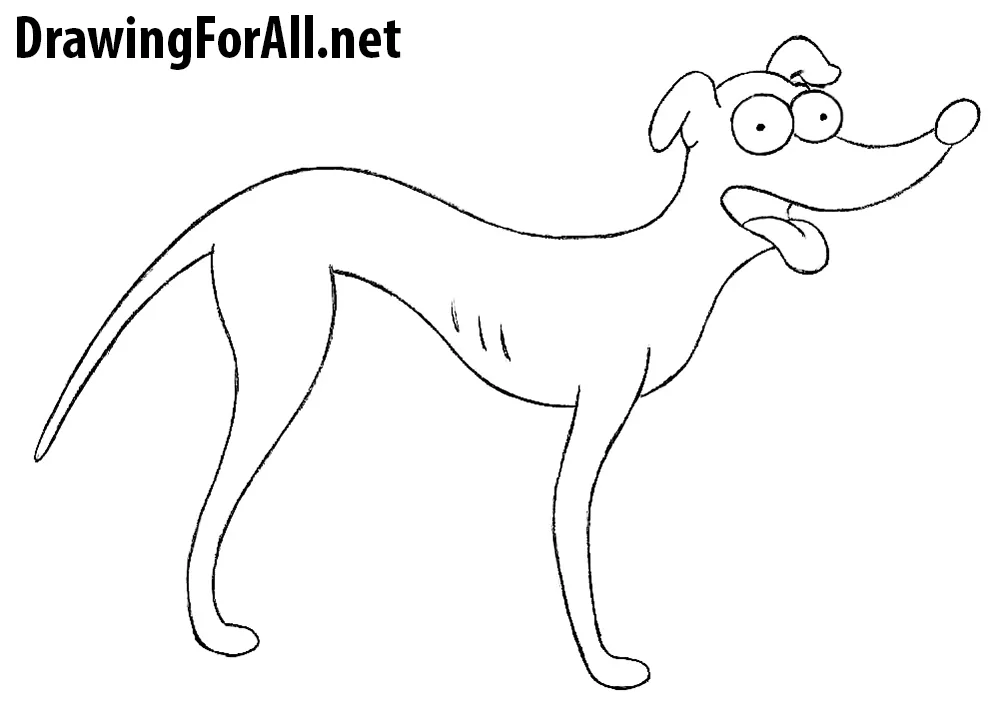
A very short step – we close the space inside the upper and lower contours of the trunk, drawing a tail hanging downward. The tail should also taper downwards.
Step 9
So we on the last step of the tutorial on how to draw Santa’s Little Helper where we should draw the farthest from us front and back paws.

If you are not yet subscribed to us on social networks, now is the time to subscribe and share this and our other drawing lessons.




good
It helped tremendously. Thank you , Drawing For All.net