

How to Draw a Chaos Space Marine
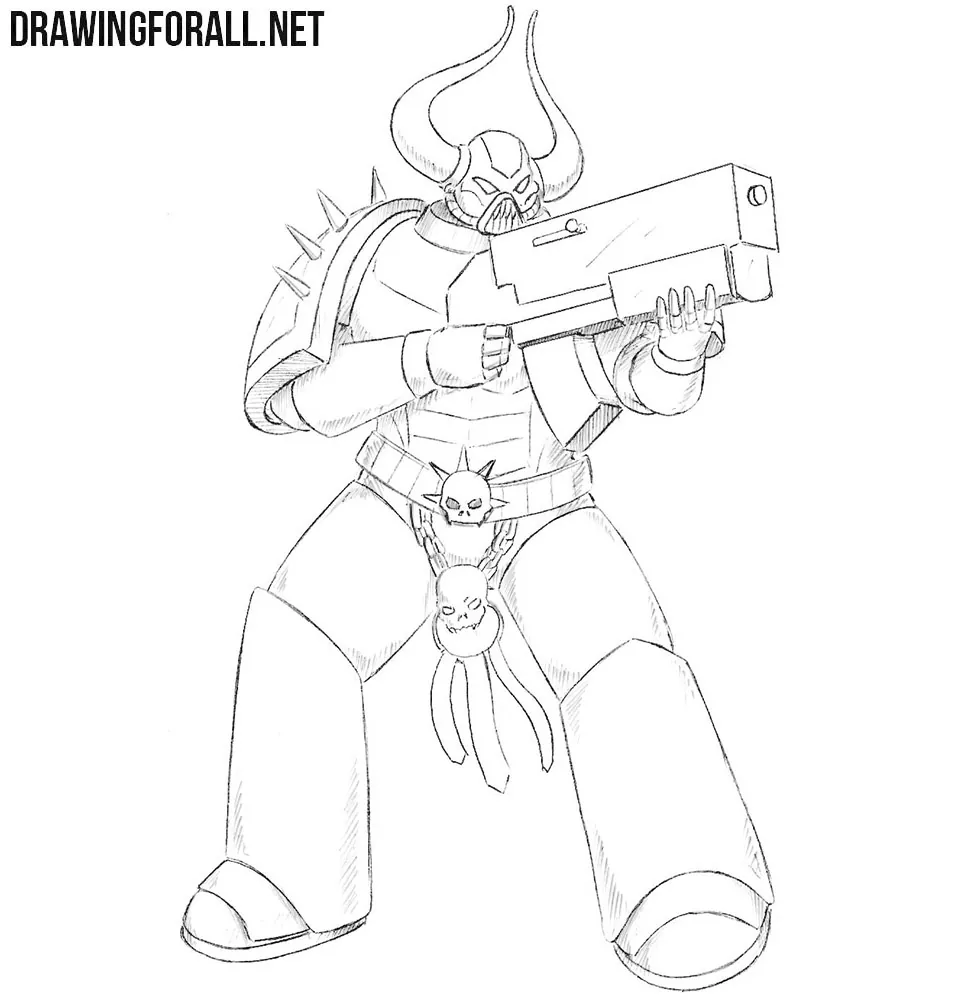
Here we will draw a warrior from one of the most frightening forces in the Warhammer 40,000 universe: Chaos. More specifically, we decided to show you how to draw a Chaos Space Marine, one of the most memorable and unusual units in the entire Warhammer 40,000 universe.
In terms of the overall method and style, the steps are similar to our Space Marine drawing tutorial, but there are a number of characteristic differences, especially in the armor and weapons.
How to draw a Chaos Space Marine step by step
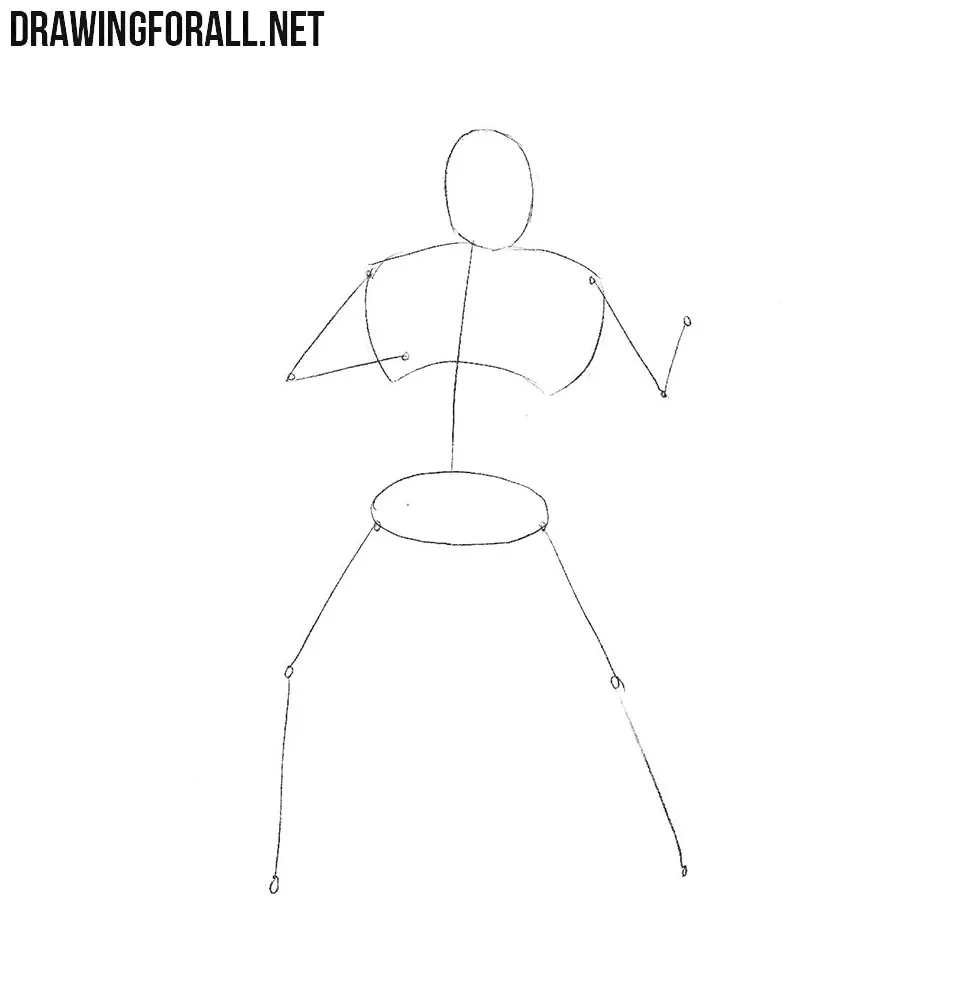
Step 1: Sketch the armored warrior’s framework
A Chaos Space Marine wears heavy armor, which gives him a large, wide silhouette. Draw the head and a line for the spine, then sketch a massive rib cage and pelvis along this line. Use simple lines to mark the arms and legs. Draw lightly in the first steps so you can erase these guidelines later.
Step 2: Build the warrior’s broad body
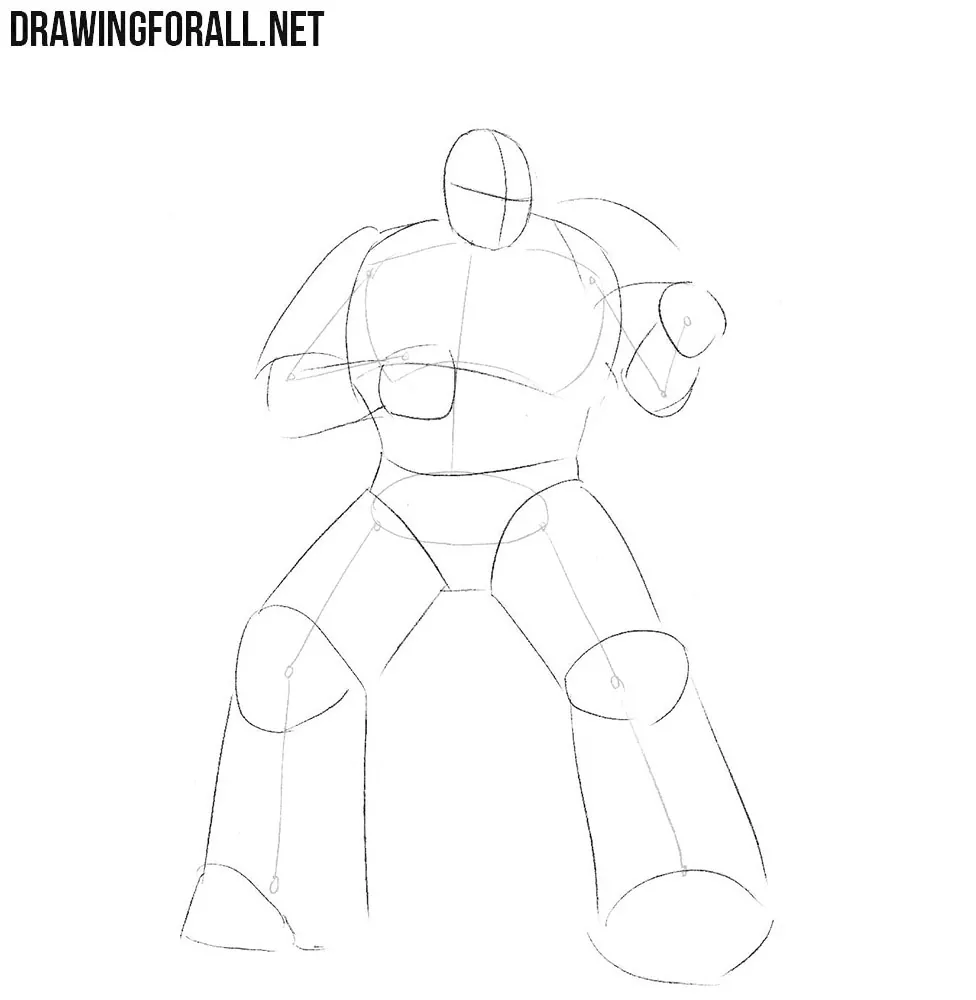
With the stick figure in place, draw two crossing guidelines on the head to mark the placement of the helmet details. Then outline the wide, massive torso with a noticeable narrowing from the chest to the pelvis. Sketch the arms and legs using massive geometric shapes. Use cylindrical forms for the limbs and ovals at the knees. Make the lower legs wider at the bottom.
Step 3: Outline the armor and weapon
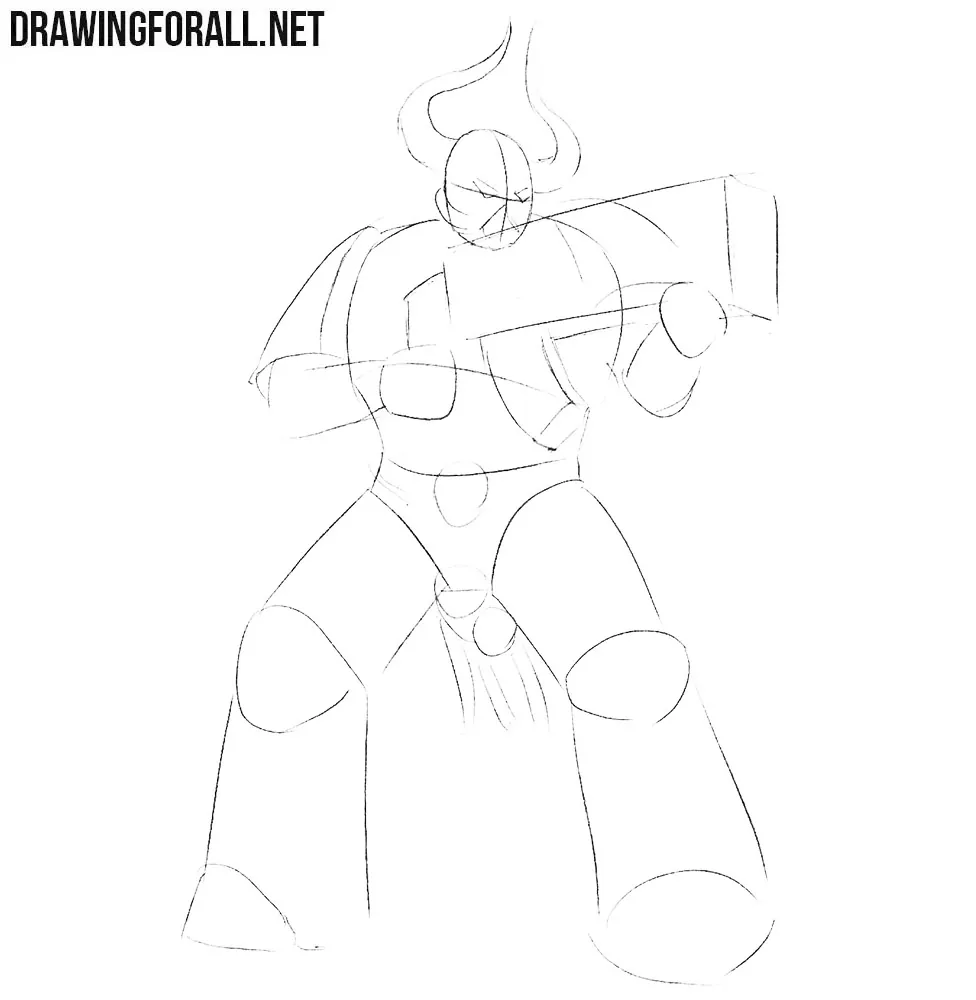
The character wears armor from his helmet to his boots, so now sketch its outlines. Start with the helmet and its huge horns. Then move down to the body and outline the armor with light lines. Sketch the gun in his hands. Draw its long, box-shaped body across the chest and a curved magazine beneath it.
Step 4: Detail the helmet and horns
Now work on the details, starting at the head and moving downward as usual. Refine the contours of the scary helmet, long horns, and mask with sharp teeth. Draw the narrow, slanted eye lenses and the forehead panel that ends in a point between them. Don’t forget the trim along the bottom of the helmet and around the bases of the horns. Add short divisions across the trim beside the cheeks.
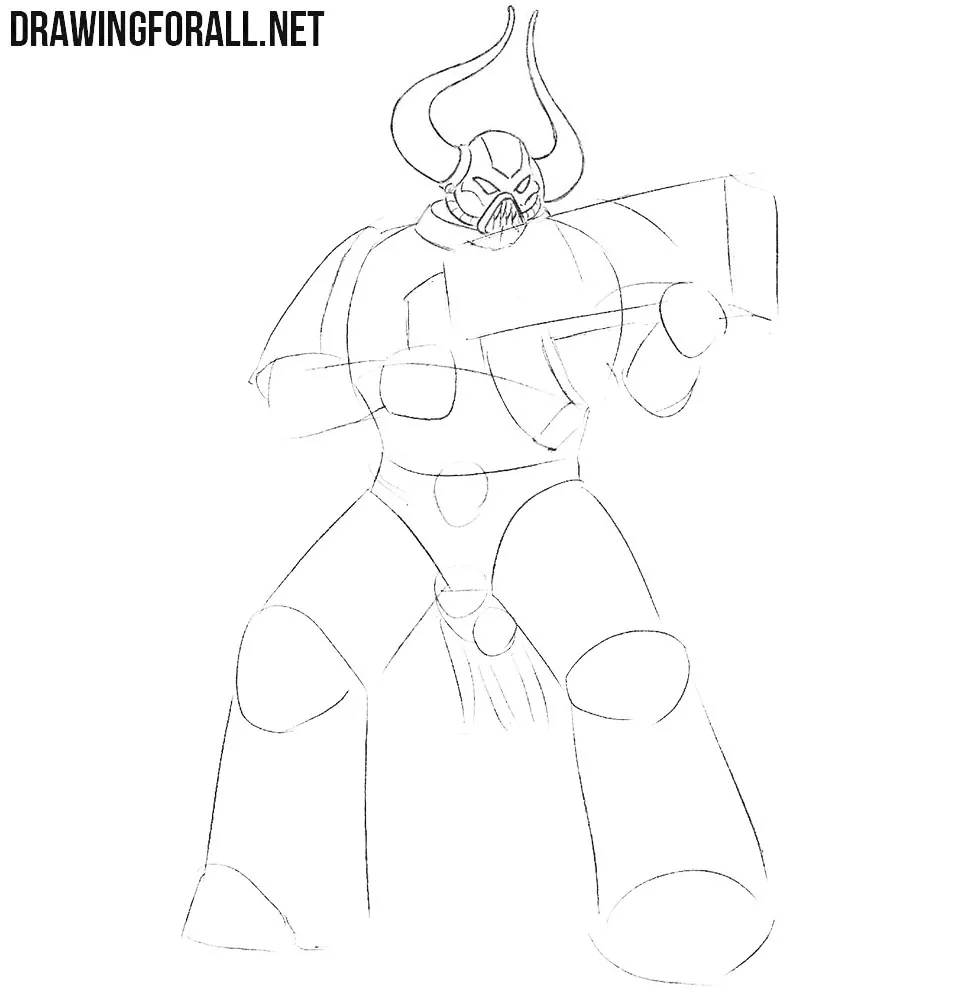
Step 5: Detail the torso, arms, and gun
Draw the armor on the visible chest and divide the abdomen into horizontal sections. Trace the forearms and wrist guards, then draw the hands around the grip and beneath the weapon. Refine the gun’s rectangular casing, circular muzzle opening, and curved magazine. Add the small lever on its side and erase the guidelines that cross the finished details.
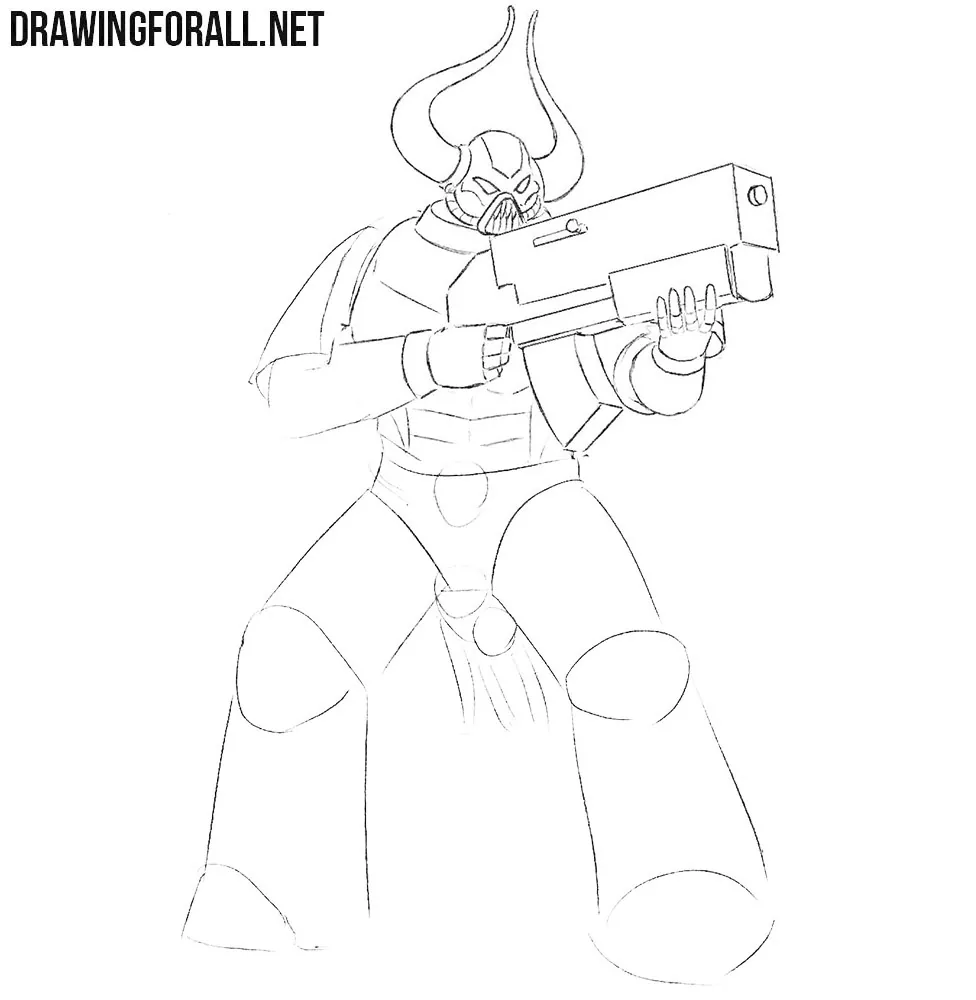
Step 6: Draw the shoulder armor and belt
Now finish the large shoulder pad on the left side of the drawing. Trace its curved outer edge and add a thick border with an angular corner near the bottom. Draw the conical spikes along the top and the opening above the elbow. Next, outline the belt around the waist and divide it into rectangular sections. Add the skull buckle with pointed spikes around it.
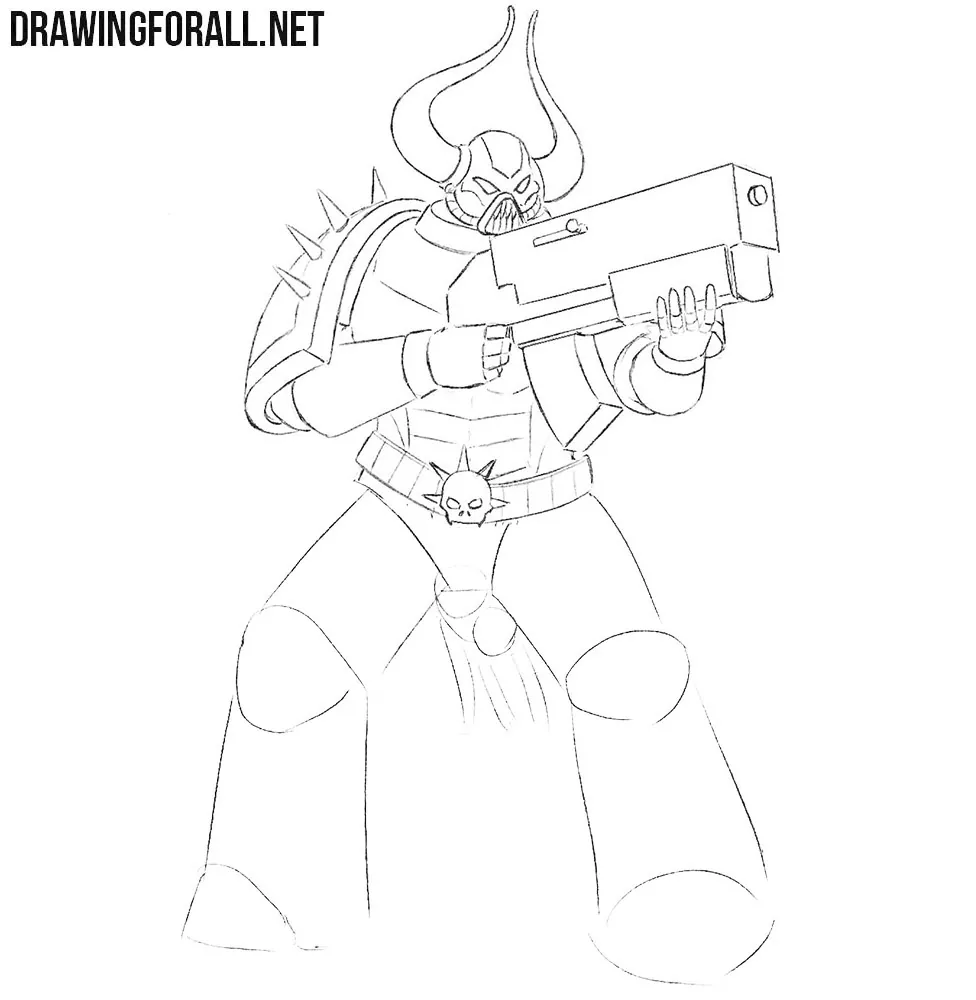
Step 7: Detail the legs and armored boots
Move on to the lower body. Trace the thigh plates and tall shin guards with pointed upper edges. Outline the curved toe caps and narrow soles of the heavy boots. Then draw two rows of chain links between the belt and the hanging skull. Mark its eye sockets and teeth, and add the ring with three long strips beneath it. Erase the remaining construction lines.
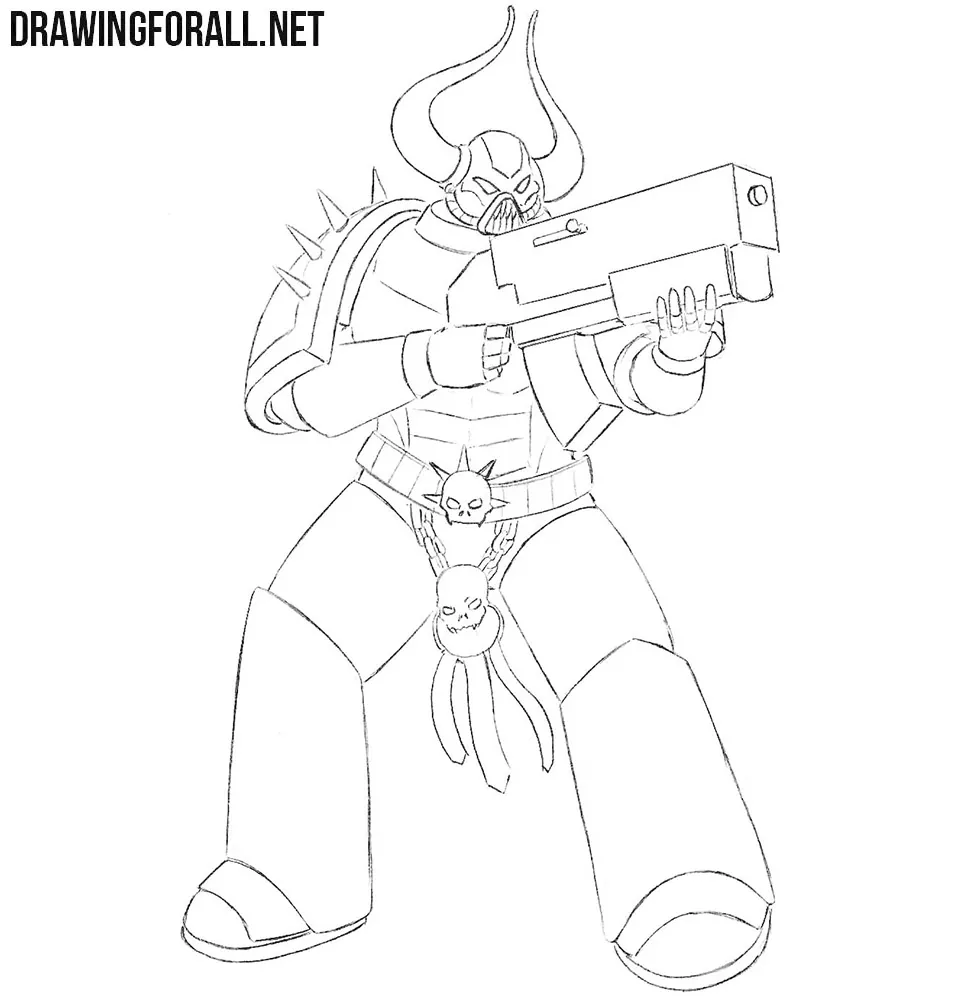
Step 8: Shade the Chaos Space Marine
The Chaos Space Marine drawing is almost finished. Use dense hatching inside the shoulder opening and beneath the gun. Add lighter strokes at the horn bases, under the forearms, and near the edges of the thigh and shin plates. Leave most of the armor’s surface unshaded. Indicate a few reflections on the gun with thin diagonal lines.
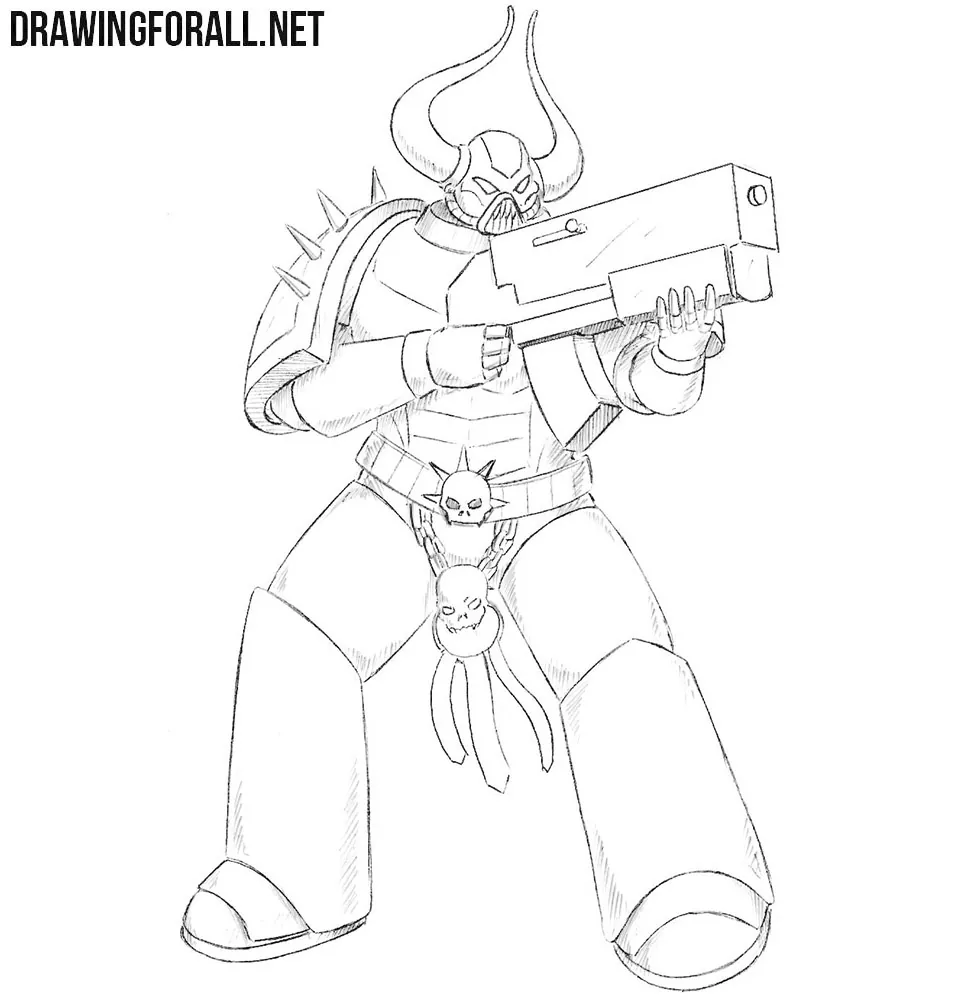
Space Marines and Chaos warriors have very characteristic massive outlines and a large number of details. It is precisely this huge number of details on their armor that can become a problem if you are an inexperienced artist. But here, more than ever, it is important to remember that any details are secondary to the main masses.
Keep in mind the principles of artistic vision and how to construct a drawing correctly. First, you need to indicate the overall masses while keeping their volume and form in mind.
Small details and elements should follow the larger main forms. Textures, armor parts, and helmet elements should all lie on the surfaces they belong to and follow their form and perspective.


Awesome tutorial, this will definitely be my next lesson😁
Can’t wait for some Tyranids! 😜
Поддерживаю.Отличный туториал.Конечно как вахалист отмечу – можно побольше деталей к туториалу добавить в части доспехов нуи и коротковато дуло у болтера +также деталек ему .Для новичков погружающихся в ваху самое то в целом )!